
Hollyhocks Can Thrive With Smart Planting Choices: Spot, Soil, Spacing, and Timing
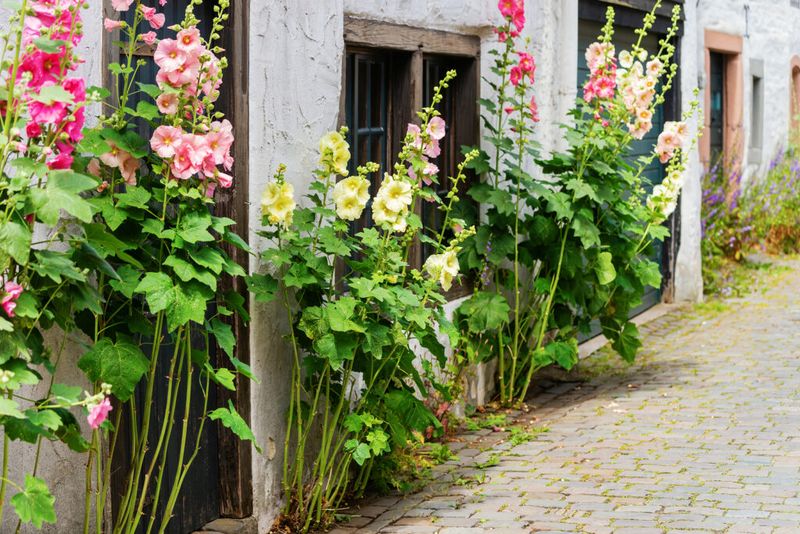
Your hollyhocks may be leafy and healthy but still not send up the tall flower spikes you pictured. That can feel like a sign you did something wrong, but often it is not.
A few ordinary choices about where, when, and how you plant give these old-fashioned flowers a good shot at healthy growth. Here is what those choices can do, and what they cannot promise.
Start with realistic expectations for height
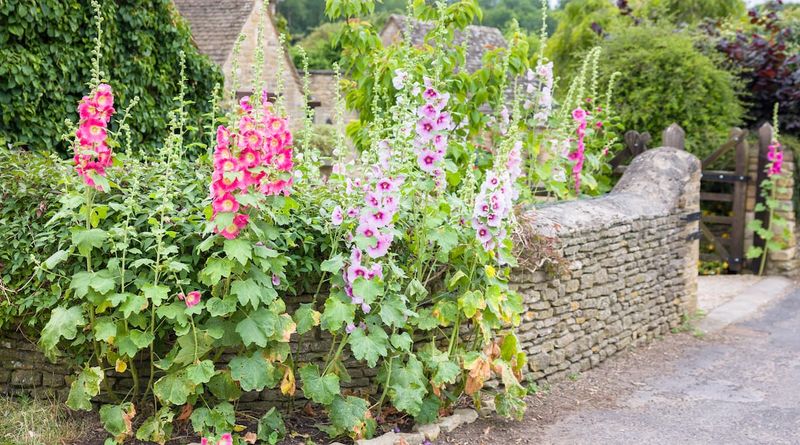
Before you dig a single hole, it helps to know what hollyhocks do and do not owe you. Common hollyhocks often reach about 3 to 6 feet, and some cultivars approach 9 feet, according to Illinois Extension guidance on growing hollyhocks.
Sources give different typical ranges, so no single number applies to every plant in every yard.
Two things shape how tall your plants end up: the cultivar you chose and how mature the plant is. A compact variety will never match a giant one, no matter how well you treat it.
A young plant has not finished growing yet, so a short stalk in its first season may simply be a plant still on its way.
Site conditions matter too, which is where your planting choices come in. Sun, shelter, decent drainage, and elbow room can give hollyhocks favorable conditions for healthy growth.
They are helpful, but they are not a guarantee of dramatic towers, and no planting trick can promise a particular height.
So think of the rest of this guide as a way to stack the odds, not a formula. If your plants are healthy but modest, the variety and life stage may be the real explanation.
If they are struggling, the next sections will help you spot what to adjust, starting with the spot you pick.
Choose a sunny spot with some wind protection
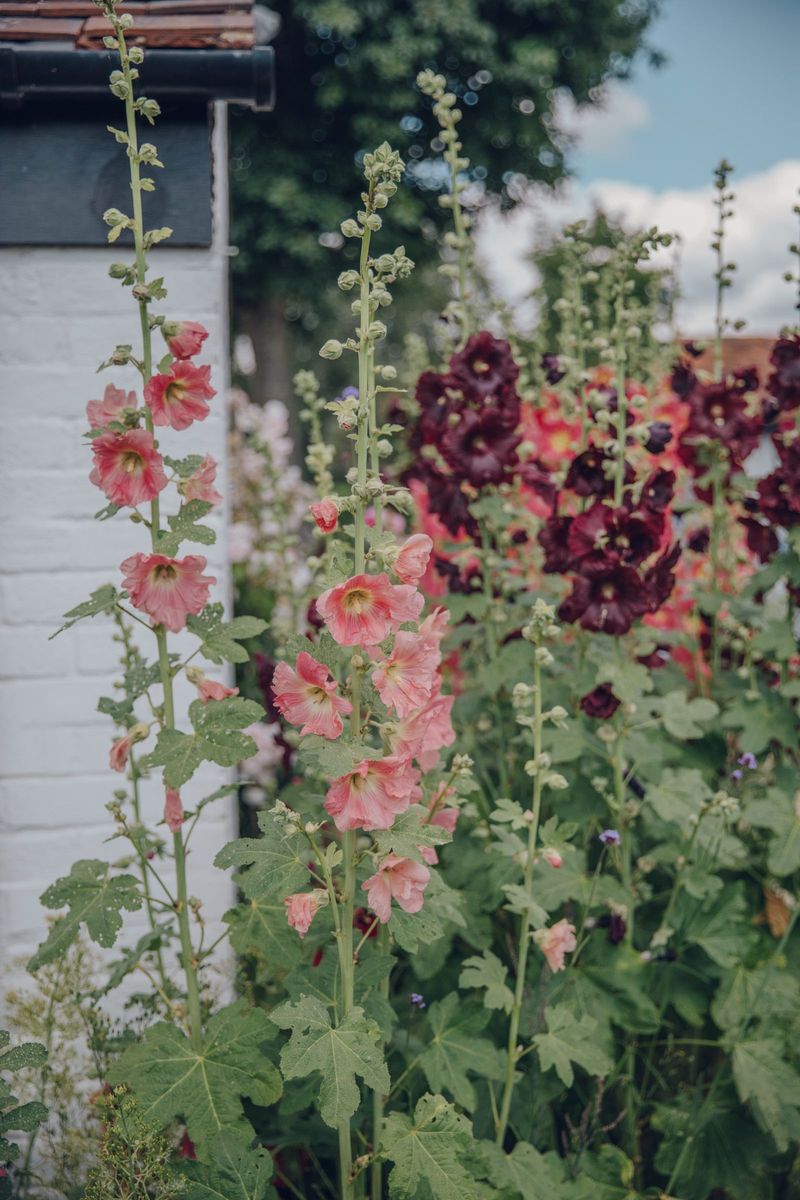
Picture the sunniest, calmest corner of your yard. That is usually where hollyhocks are happiest.
A sunny location is the basic starting point, and South Dakota State University Extension points gardeners toward full sun for these plants.
Wind is the quiet troublemaker. Tall, flower-heavy stems act like sails, and a strong gust can bend or snap them.
A fence, wall, or shed on the windy side can soften the blow and help protect those stems.
Shelter helps, but it does not make a plant storm-proof. A heavy rain or a surprise gust can still knock stems over, even beside a wall.
If your spot is open and exposed, staking may be needed, as noted in Colorado State University Extension perennial gardening advice.
Whether a given hollyhock needs a stake depends on the plant and the exposure. A shorter, sturdier variety in a protected nook may stand fine on its own, while a tall one in a breezy yard may lean.
Watch how yours behave in the first weeks and add support only if they need it.
When choosing between two spots, pick the one that gets more sun and less wind. Walk the yard on a breezy afternoon and notice where the air feels calmest.
That small test can save you a lot of worry later.
Provide drainage and room for airflow
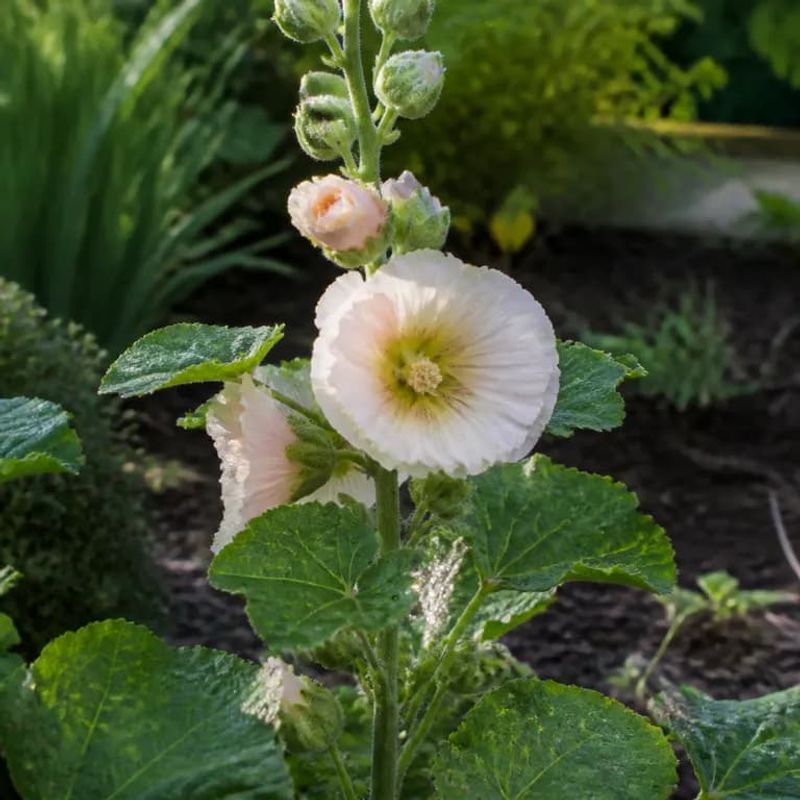
Good news for anyone who dreads soil testing: hollyhocks tolerate a range of soil types. What they like best is ground that stays moist but drains well, so water does not pool around the roots.
University of Wisconsin Extension describes them as adaptable, and you do not need a special soil mix to succeed.
You also do not need to load them up with fertilizer. Established plants need little, according to South Dakota State University Extension.
If water sits in your bed after rain, that is a better thing to fix than the nutrient level.
Now for elbow room. South Dakota State University Extension suggests placing transplants 12 to 18 inches apart.
A gap that size lets air move between leaves, so foliage dries faster after rain or dew.
That matters because crowded, damp leaves favor rust, a common hollyhock disease. Wider spacing can reduce those conditions, as Wisconsin horticulture experts explain.
It cannot prevent rust, since spores travel on the wind, but it tilts things in your favor.
If you have already planted too close, do not panic. Thin out a few seedlings or move small transplants to a better spot.
Keep in mind that self-seeded plants can pop up beyond where you first planted them, so check for volunteers that are crowding their neighbors.
Choose a planting time that suits the task
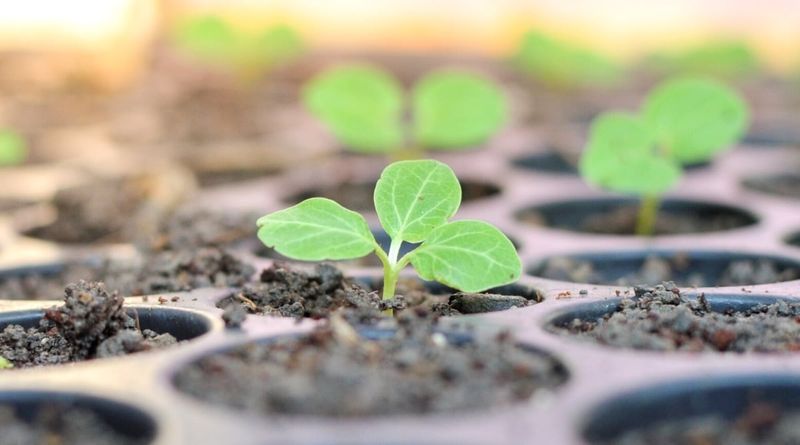
Spring and late summer are both fine times to start hollyhocks from seed. South Dakota State University Extension says you can direct-sow in either season, which gives you some flexibility.
If you missed the spring window, you have not missed your chance.
Direct-sowing simply means putting seeds right into the spot where they will grow. That skips the step of moving seedlings later.
Press the seeds into prepared soil, cover them lightly, and keep the area watered until sprouts appear.
Here is the candid part: the date on your calendar does not decide when you get flowers. Neither a spring sowing nor a late summer sowing guarantees blooms in the first year.
Many traditional hollyhocks take a full extra season before they flower.
So instead of asking which date is best for instant blooms, ask what kind of hollyhock you have. Check the seed packet or plant tag for words like biennial or short-lived perennial, since that tells you far more about when to expect flowers.
Different varieties follow different clocks.
Choose the timing that fits your schedule and your garden space. A late summer sowing might suit you if spring is already crowded with other jobs.
Whichever season you pick, give the young plants a spot they can stay in for a while.
Read the plant’s life cycle before judging its progress
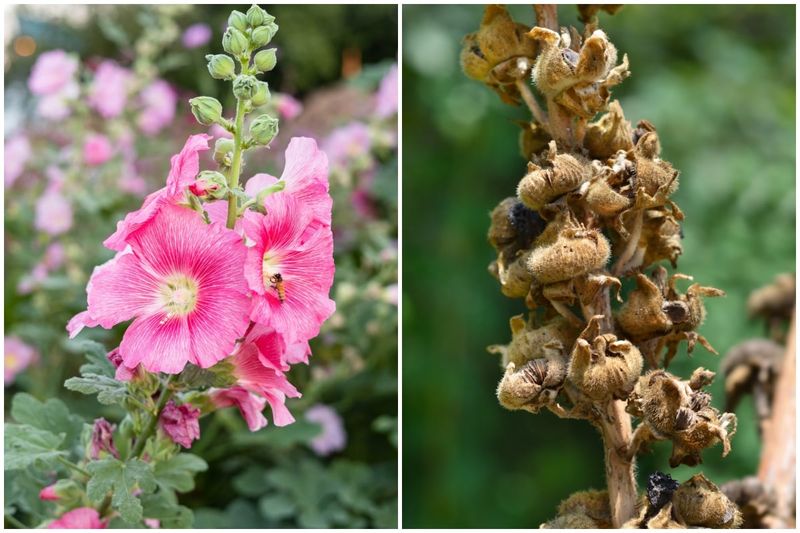
A low clump of leaves with no flower stalk can look like failure, but it often is not. Many traditional hollyhocks are biennial, which means they grow leaves the first year and flower in their second growing season.
University of Wisconsin Extension notes this pattern for old-fashioned types.
That first-year clump is called a rosette. Seeing one without a stalk is normal for many varieties, not proof that you planted wrongly.
If the leaves look green and healthy, your plant is likely right on schedule.
Not every hollyhock follows that script. Some newer varieties are described as short-lived perennials, so they may flower sooner and live a few years.
Even so, short-lived means exactly that, and you should not count on one plant staying for the long haul.
Self-seeding adds a twist. Hollyhocks drop seed, and new plants sprout nearby, so a patch can look like it returns year after year.
In reality, the individual plants may be gone while their offspring fill in, which is a point University of Maine Cooperative Extension touches on when explaining why only some plants bloom in a given year.
A practical tip: leave a few spent flower stalks to drop seed if you want your patch to keep going. Then mark your calendar for next year.
If a plant in its second season still has no stalk, that is the time to look harder at light and site.
Support new plants and manage rust risk
Newly planted hollyhocks need steady moisture while they settle in. South Dakota State University Extension advises keeping new plantings watered during establishment.
Water at the base of the plant, ideally in the morning, so the roots get the benefit.
As stems rise, watch for leaning. Tall stems in exposed spots may need staking, a point also raised in Illinois Extension advice.
Use a sturdy stake and soft ties, and add them only if your plants lean.
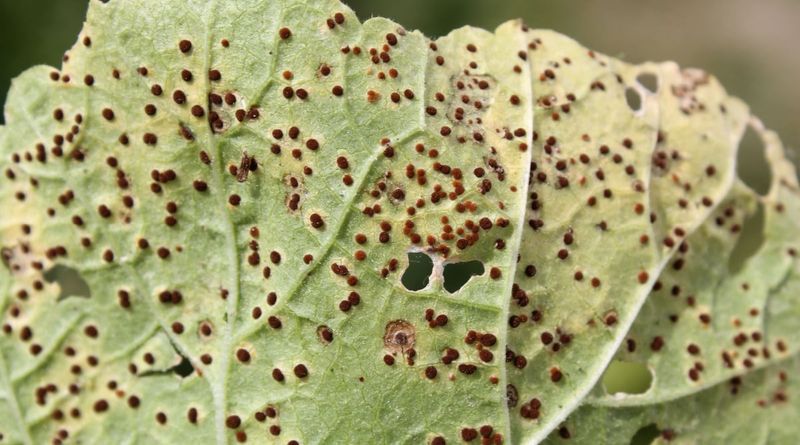
Rust is the problem most hollyhock growers eventually meet. It often starts on the lower leaves, showing up as orange or brown spots, and it can still appear even in well-kept beds.
Spotting it early gives you the best chance to slow it down.
Several habits can reduce the risk. Keep air moving by not crowding plants, avoid overhead watering that leaves leaves wet, and remove infected debris from the ground and the plant.
Wisconsin horticulture specialists describe these steps, and they also caution that rust-resistant varieties may not resist every rust variant.
Fungicide is not a cure for rust that is already established, and control can be difficult once symptoms appear. If you consider a product, check that the label permits use on hollyhocks and follow the label directions.
Mostly, a little rust is a leaf problem you can live with.
Hollyhocks reward patience far more than perfection.