
Blossom End Rot Ruined Your Tomatoes This Year? 17 Causes To Fix Before Next Spring
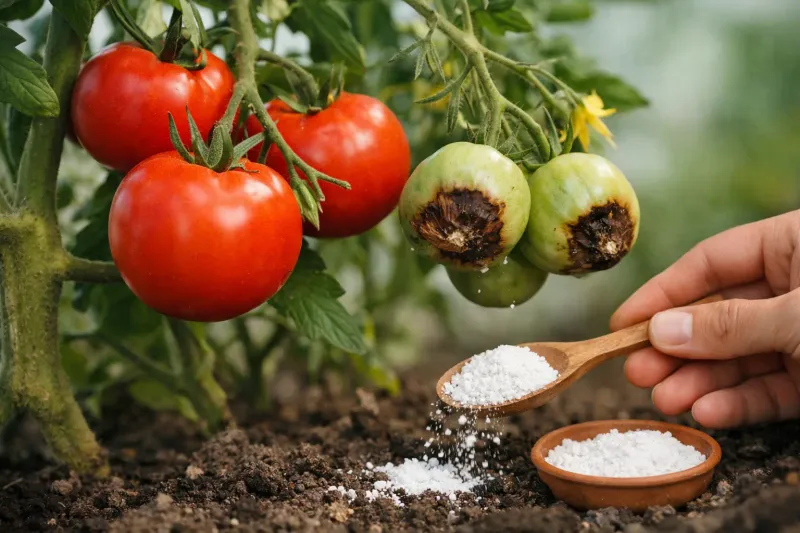
Few things sting like flipping over a ripe-looking tomato and finding a black, leathery patch on the bottom. That ugly spot is called blossom end rot, and it is not a bug or a germ.
It happens when the growing fruit cannot get enough calcium, usually because something in the soil, water, or weather got in the way. The good news is that most of the causes are easy to fix, and fall and winter are the perfect time to get ready for a better harvest.
1. True Calcium Shortage in the Soil
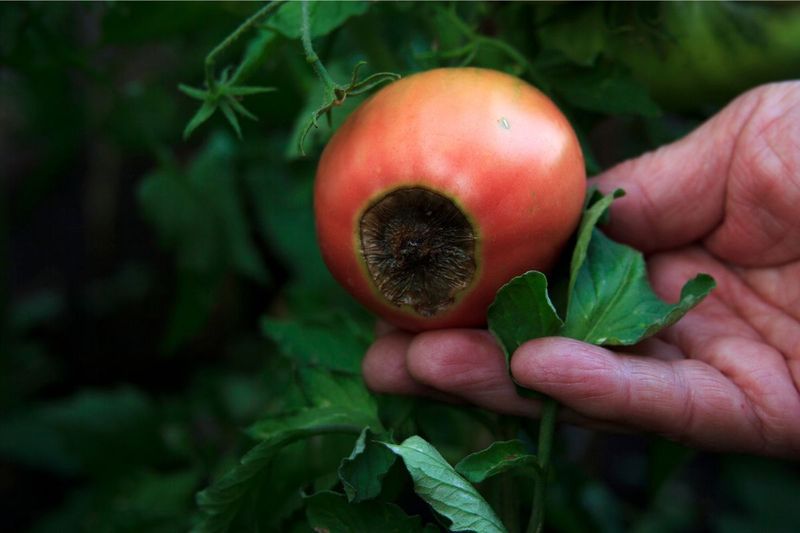
Here is a surprise for many gardeners: actual low calcium in the soil is one of the rarer reasons for blossom end rot. Most US garden soils hold plenty.
Still, sandy or heavily leached soils can come up short.
The only way to know is a soil test. Your county extension office usually offers one for a small fee, and fall is a quiet time to send a sample in.
If the results show a real deficiency, work dolomitic or high-calcium limestone into the bed 2 to 4 months before planting. That gives it time to start working.
Skip guessing with random calcium products until you have numbers in hand.
2. Calcium That Never Reaches the Fruit
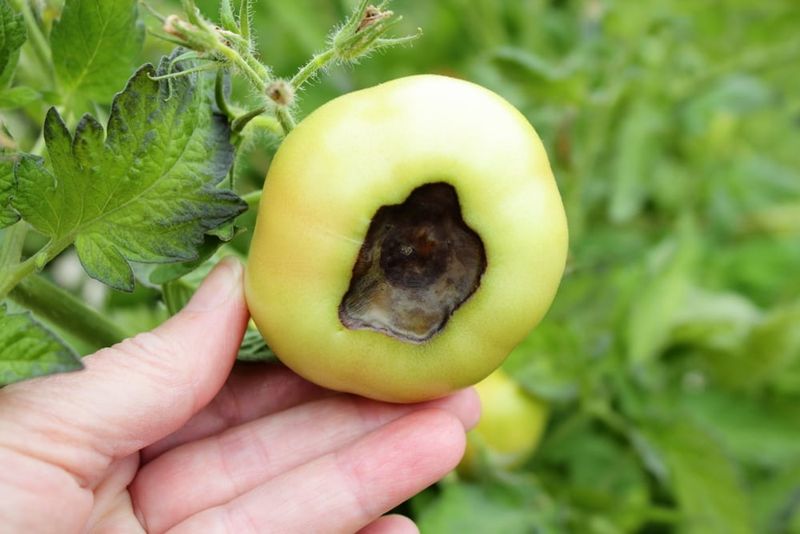
Picture a pantry stocked full, but the door is stuck. That is what happens when your soil has calcium but the tomato plant cannot move it into the fruit.
Calcium travels with water through the plant. Anything that slows water flow, like stress, damaged roots, or the wrong pH, leaves the fruit hungry while leaves grab what they can.
So the fix is less about adding calcium and more about keeping the plant comfortable. Steady moisture, healthy roots, balanced feeding, and a good pH all keep that pantry door swinging open.
Many of the causes below are really pieces of this one big idea.
3. Up-and-Down Watering Habits
Soaked on Monday, bone dry by Thursday, flooded again Saturday. Sound familiar?
Swinging between wet and dry is the number one trigger for blossom end rot.
Each dry spell interrupts the steady stream of water that carries calcium into young fruit. Even a few stressful days while tomatoes are small can leave a mark that shows up weeks later.
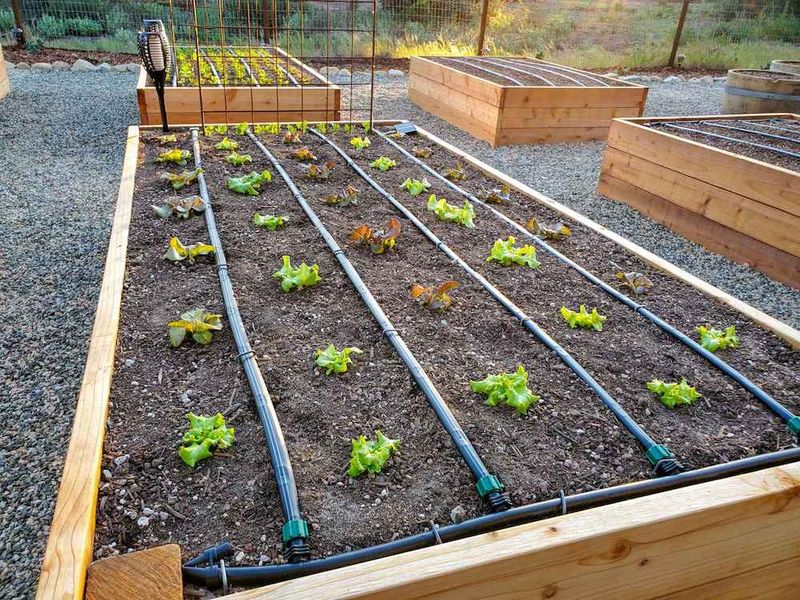
Aim for deep, regular watering, roughly an inch or so a week from rain and hose combined, more in heat. A simple drip line or soaker hose on a timer can take the guesswork out.
Your tomatoes love boring routines.
4. Long Dry Spells
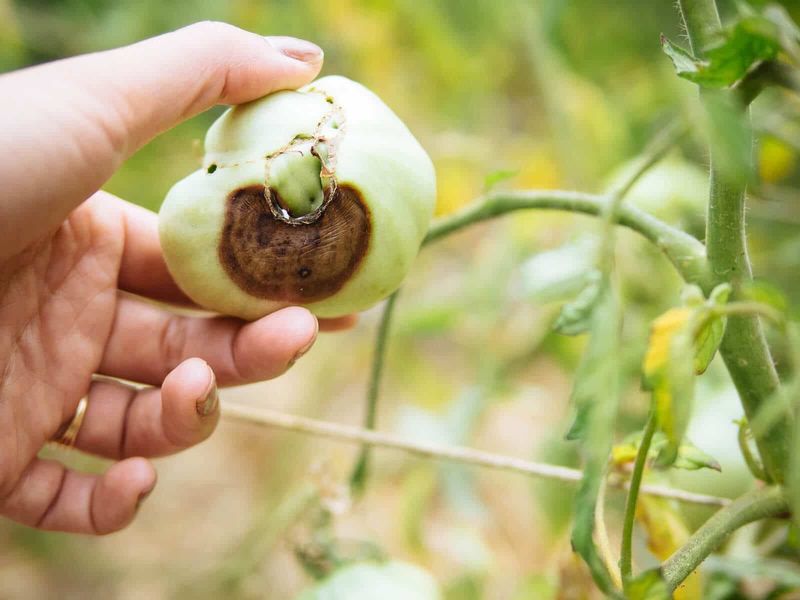
Drought is the bigger, meaner cousin of uneven watering. When weeks go by without real rain, the soil around tomato roots simply runs out of moisture to give.
Light sprinkles do not help much here. They wet the top inch and evaporate, while roots deeper down stay thirsty.
During dry stretches, water slowly and deeply so moisture soaks 6 to 8 inches down. Early morning is the best time.
Push a finger into the soil a couple of inches; if it feels dry, it is time to water again.
5. Too Much Water and Poor Drainage
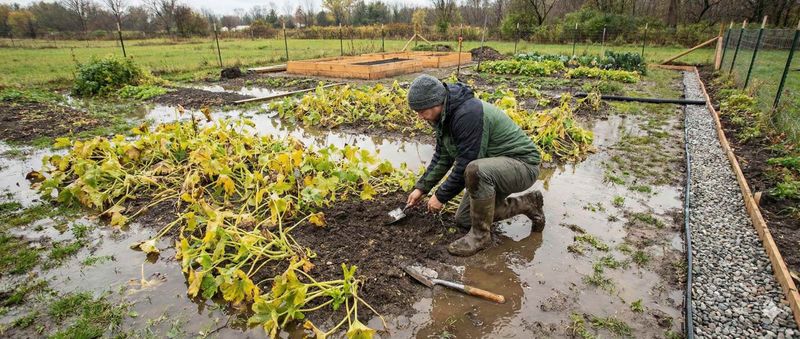
It feels backwards, but drowning your tomatoes can cause the same black bottoms as starving them of water. Soggy soil squeezes out air, and roots without oxygen stop working well.
Weak roots cannot pull in water and calcium properly, so the fruit pays the price. Long rainy spells and heavy clay soil are common culprits.
Before spring, check where water pools in your yard. Raised beds, added compost, and containers with real drainage holes all help.
And if the soil is still damp, hold off on the hose.
6. Damaged Roots
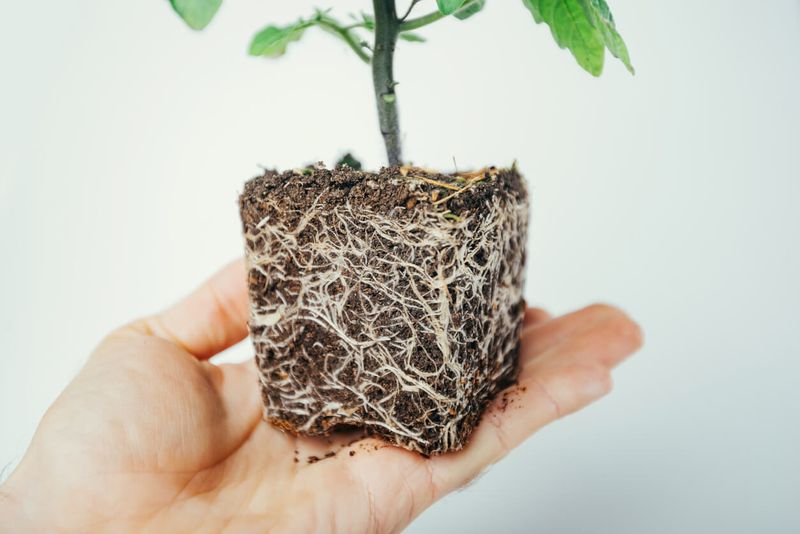
Roots do quiet work underground, so it is easy to forget how fragile they are. A deep swipe with a hoe or tiller near the stem can tear away the fine feeder roots that soak up water.
Rough transplanting and fertilizer burn cause similar harm. A plant busy repairing roots has less to send to its fruit.
Next spring, handle seedlings by their leaves, keep the root ball intact, and water well after planting. Pull weeds by hand or keep cultivation shallow near the base.
Mulch, covered later, reduces the need to scratch around at all.
7. Heavy Doses of Nitrogen
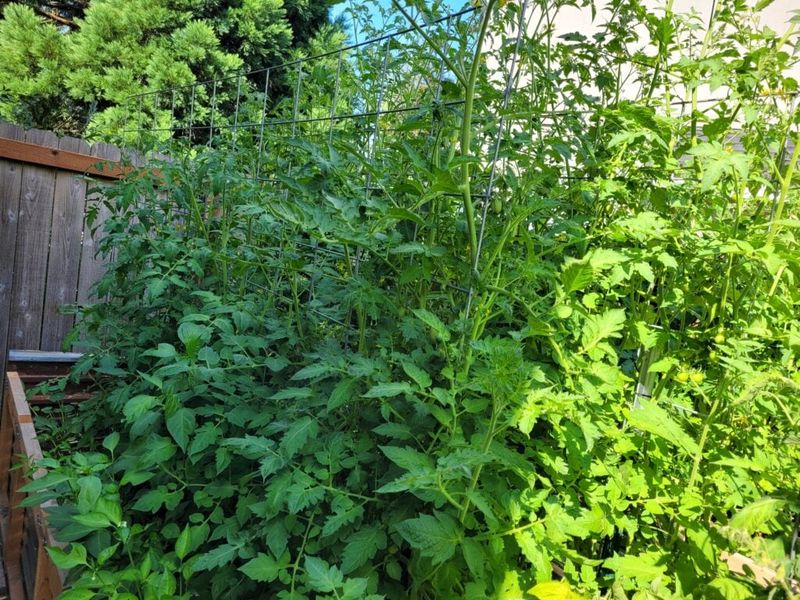
Big, jungle-green tomato vines look impressive. Yet if you fed them a lot of high-nitrogen fertilizer, especially ammonium or urea types, those leaves may be stealing calcium from your fruit.
Leaves pull water hard, and calcium follows the water. More leaves mean more competition, and the fruit ends up last in line.
Ammonium forms of nitrogen can also directly interfere with calcium uptake.
Choose a fertilizer made for tomatoes, lower in nitrogen. If you need extra nitrogen, calcium nitrate is a smart pick since it feeds both at once.
8. Soil That Leans Too Acidic
Tomatoes are happiest when soil pH sits around 6.0 to 6.5. Drop much below that and calcium becomes harder for roots to grab, even when it is present.
Acidic soil is common in rainy parts of the East and Southeast, and in beds with lots of pine needles or oak leaves.
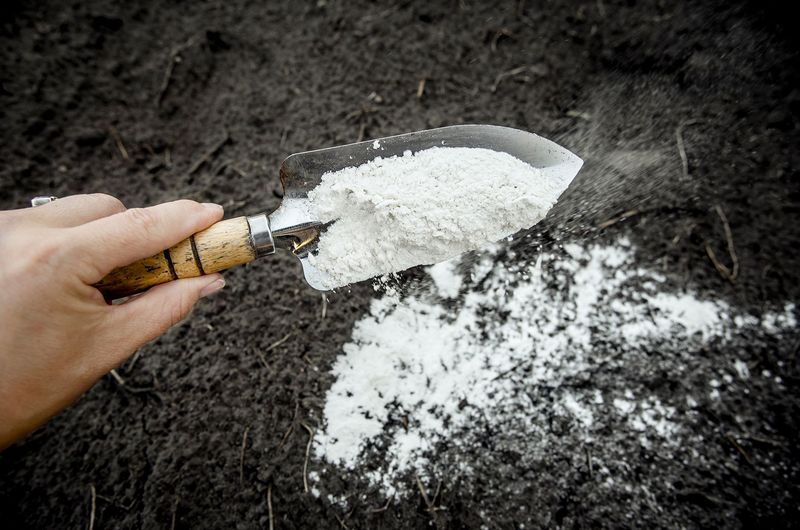
A soil test tells you where you stand. If pH is low, spread garden lime in fall so it has months to adjust things before planting.
Bonus: lime adds calcium too, which makes it a two-for-one fix.
9. Overly Alkaline Ground
Gardeners in much of the West and Southwest face the opposite headache. High pH soil can tie up nutrients and make balanced uptake tricky.
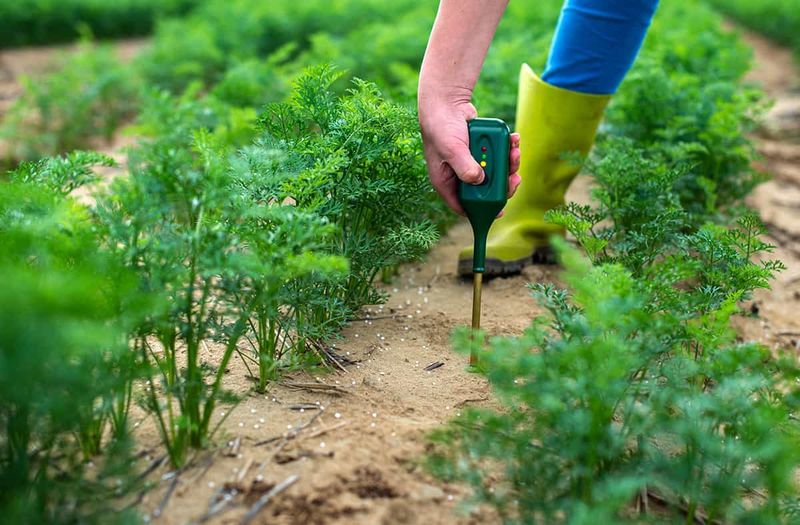
Do not add lime here, since it pushes pH even higher. Instead, start with a soil test to confirm the number.
Working in compost and other organic matter year after year can slowly nudge things toward the middle. For very high pH, your local extension office can suggest options like elemental sulfur at safe rates.
Patience pays off, since pH shifts gradually.
10. Planting Into Cold Soil
Spring fever is real. Those first warm days make everyone rush tomatoes into the ground, but chilly soil slows roots to a crawl.
Sluggish roots absorb less water and calcium, which is why the very first tomatoes of the season often show blossom end rot.
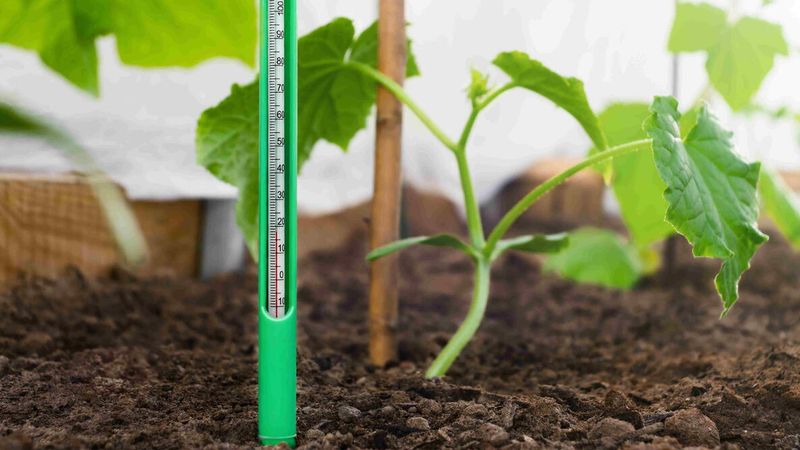
Grab an inexpensive soil thermometer and wait until soil stays above 60 degrees F. Raised beds warm faster, and black plastic laid down a week or two early helps too.
A short wait often means earlier healthy fruit anyway.
11. Scorching Summer Heat
On a 95-degree afternoon, tomato leaves sweat water fast. Leaves win the tug-of-war for moisture, and fast-growing fruit gets shortchanged on calcium.
Heat plus dry soil is an especially rough combination. Many gardeners notice a burst of blossom end rot right after a heat wave.
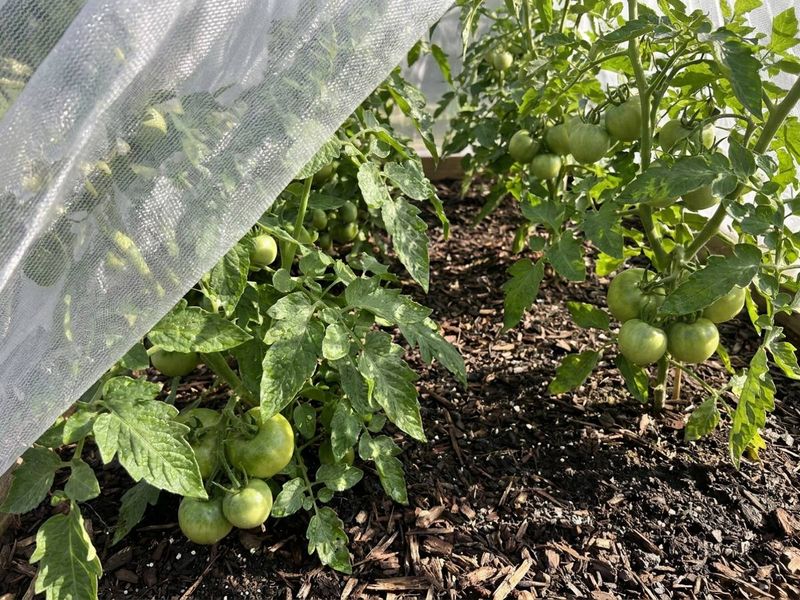
Plan ahead with shade cloth, around 30 percent, ready to drape over cages in the hottest weeks. Water deeply in the morning and keep mulch thick.
In southern states, planting so fruit sets before peak summer can also help.
12. Salt Buildup in the Soil
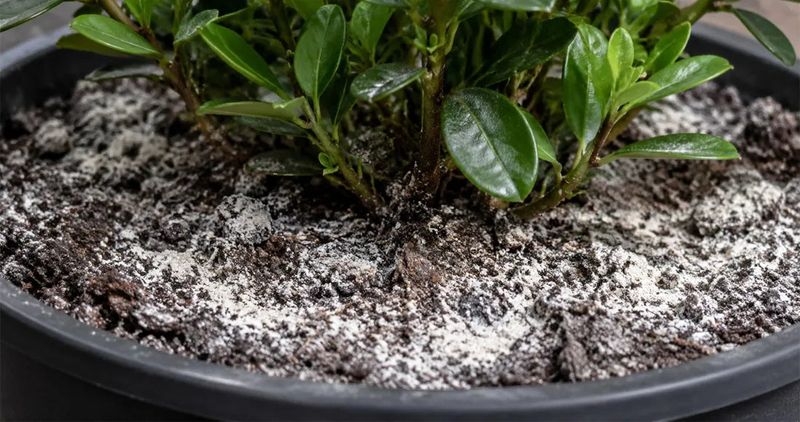
Ever spotted a white crust on top of a pot or dry garden bed? That is salt, and too much of it makes calcium uptake harder.
Salts come from heavy fertilizer use, some manures, and certain well or softened water. They compete with calcium and make it tougher for roots to drink.
Go easy on fertilizer, never use softened water on the garden, and flush containers with a deep soak now and then so excess drains out. Good drainage lets rain do the rinsing for you.
13. Growth Spurts That Outrun Supply
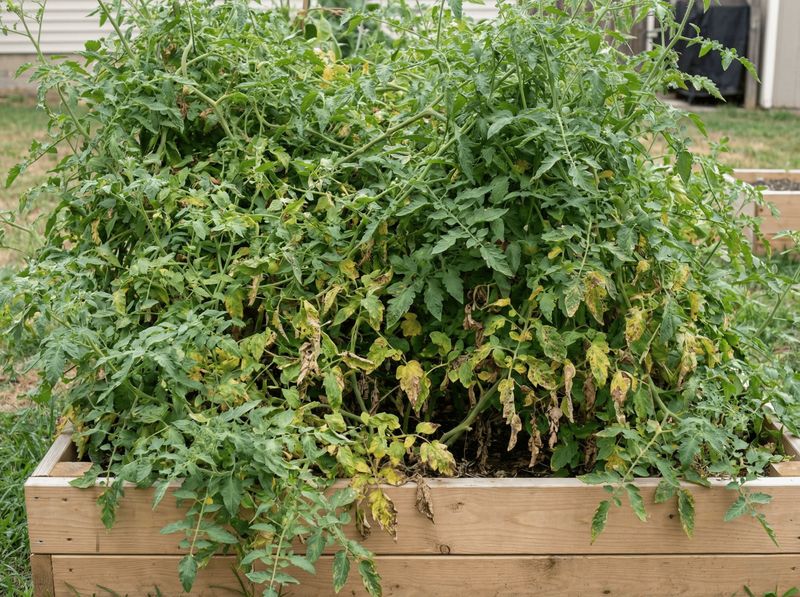
Think of a teenager outgrowing shoes every month. Tomatoes pushed into sudden, rapid growth can outpace their own calcium supply chain.
Overfeeding is usually to blame, especially big doses all at once. The plant pours energy into stems and leaves, and fruit tips run short.
Feed smaller amounts on a steady schedule and follow label rates. Slow-release or organic tomato fertilizers smooth out the peaks.
Steady growth may look less dramatic, but it tends to give cleaner fruit.
14. Tomato Varieties Prone to the Problem
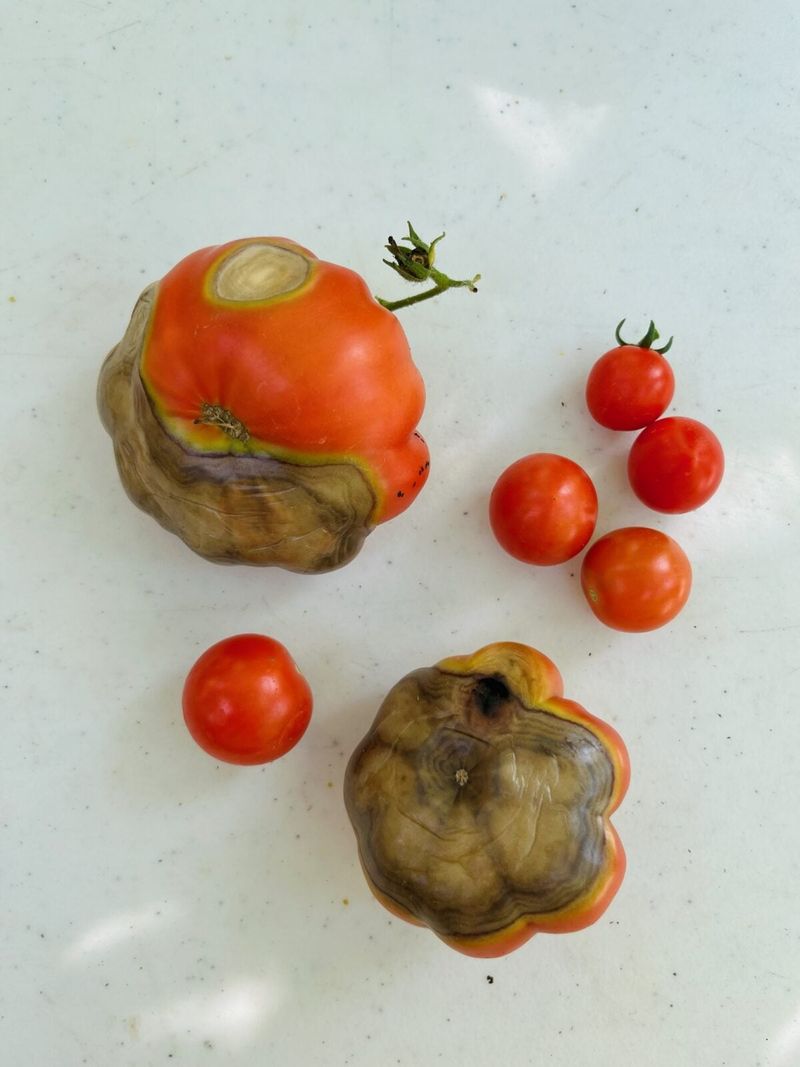
Did you know paste tomatoes like Roma are famous for blossom end rot? Elongated and large-fruited types build fruit quickly and demand lots of calcium fast.
Cherry tomatoes, on the other hand, rarely show it much. Their small fruit needs less calcium in a short window.
If one variety struggles year after year, try another. Seed catalogs and local gardeners can point you toward types that hold up better.
Growing a mix also spreads your risk, so one tough season does not wipe out your salsa plans.
15. Nutrient Imbalance Beyond Nitrogen
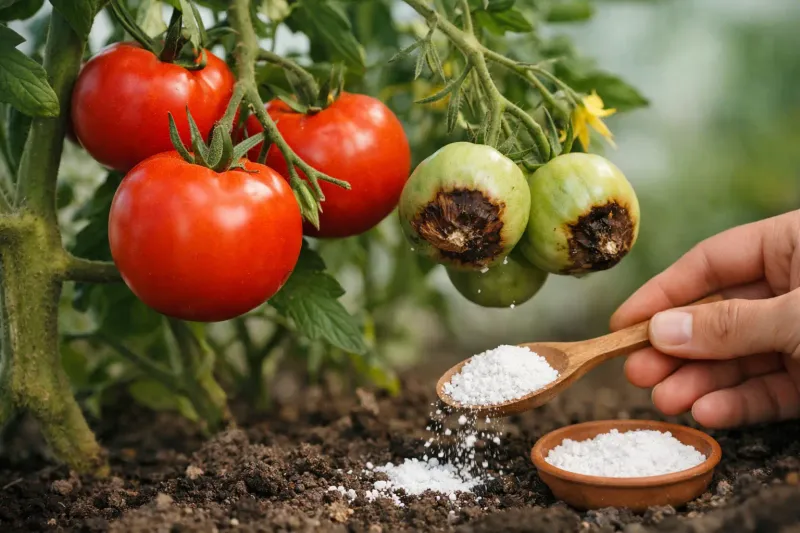
Calcium has rivals. High levels of potassium, magnesium, or ammonium in the soil can crowd it out at the root, a bit like too many people at one doorway.
This often happens when gardeners keep adding the same products every year without testing. Heavy potash or certain manures can tip the scales.
A full soil test shows these levels clearly. Then build your feeding plan around the results instead of habit.
You may save money too, since many beds need less fertilizer than people think.
16. Bare Soil With No Mulch
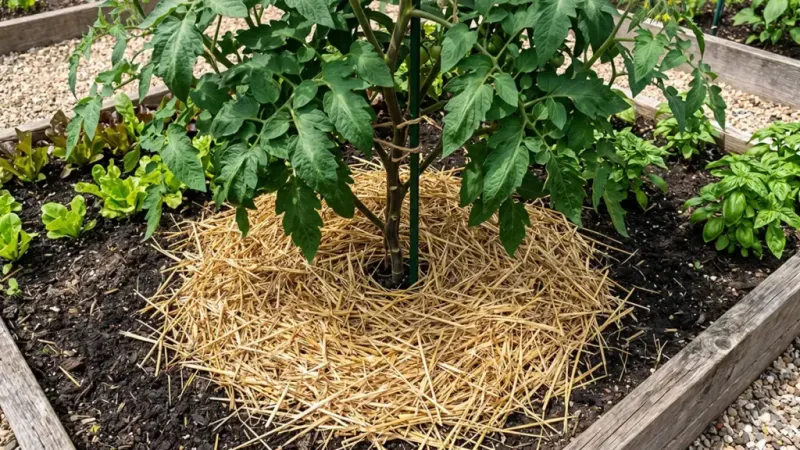
Bare soil is like a pan on the stove. Sun bakes it, wind dries it, and moisture swings wildly from morning to evening.
Those swings are exactly what tomatoes hate. A blanket of mulch keeps soil evenly moist and cooler, smoothing out many of the stresses covered above.
Once soil has warmed in spring, spread 3 to 4 inches of straw, shredded leaves, or wood chips around plants, keeping it a couple inches off the stems. Collect fall leaves now and you will have free mulch waiting.
17. Soil Starved of Organic Matter
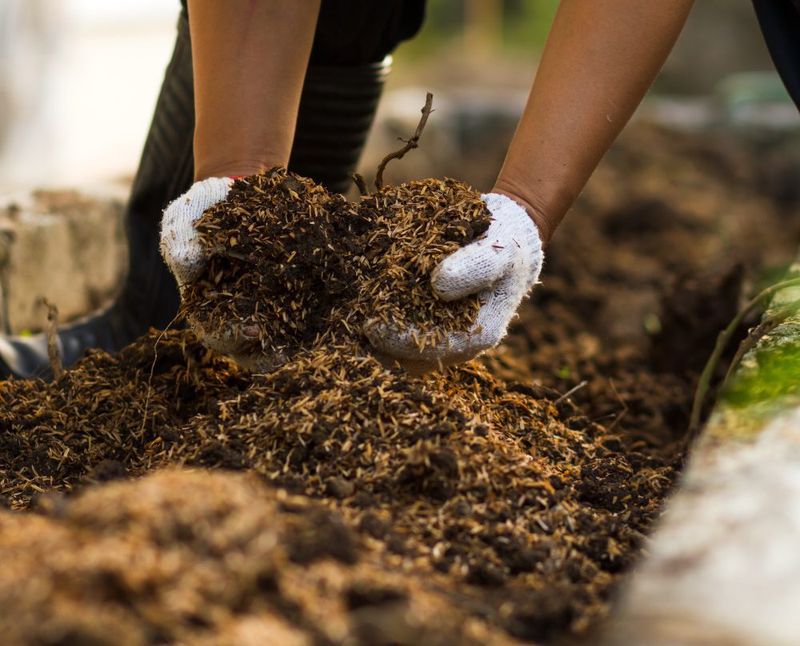
Healthy soil acts like a sponge, holding water and releasing it slowly. Soil low in organic matter behaves more like gravel or brick, either draining too fast or packing down hard.
Either way, roots struggle, and the steady moisture tomatoes crave disappears.
Fall is the perfect time to spread 2 to 3 inches of compost or well-rotted manure and work it in lightly. By spring it will be settled and ready.
Repeat every year, and your soil gets better and better at protecting your tomatoes. One last tip: pick off any spotted fruit this season, since it will not recover, and focus on these fixes for next year.