
Don’t Toss Those Clematis Trimmings – 8 Easy Steps Turn Them Into Free New Vines
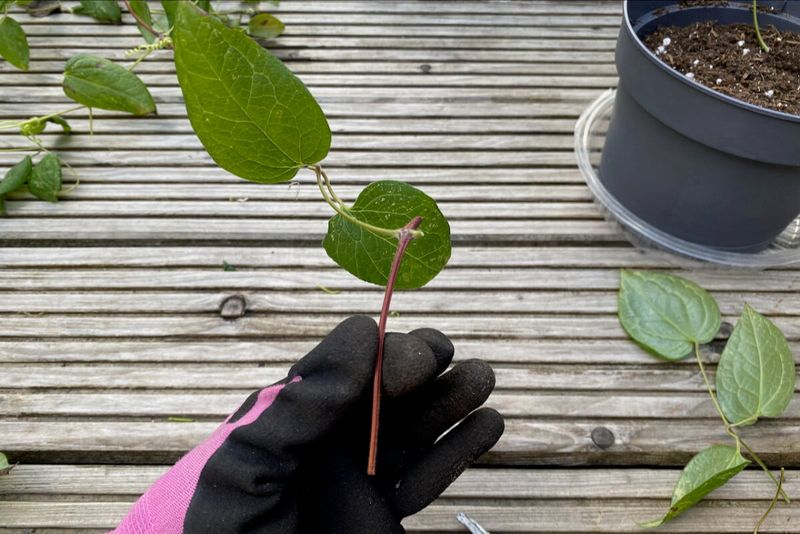
Every time you trim your clematis, you might be throwing away free plants. Those leftover stems can grow roots and turn into brand new vines with very little work.
A new clematis at the garden center can cost twenty dollars or more, so learning this trick saves real money. Grab your pruners, because your next batch of vines may already be sitting in your trash pile.
1. Pick the Right Time to Cut
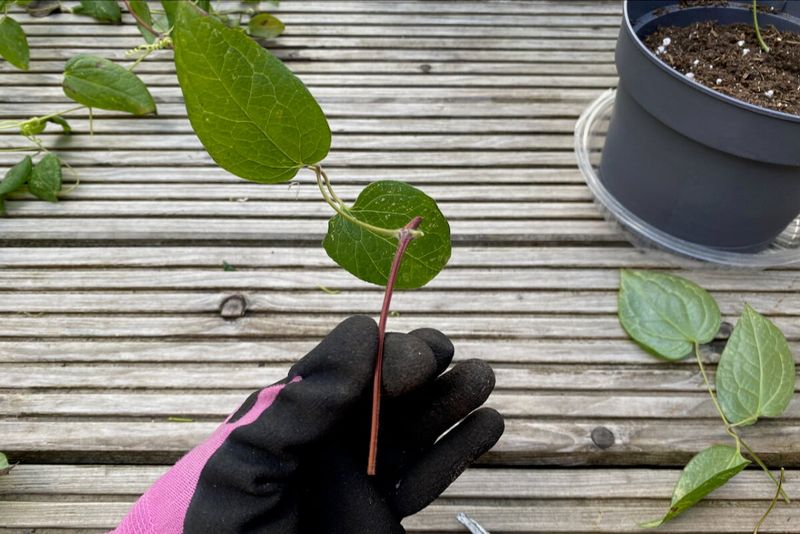
Timing can make or break your clematis cuttings. Late spring to early summer is the sweet spot across most of the US, when the vine is pushing out lots of fresh growth.
At that point, the new stems are starting to firm up but have not turned woody yet. Gardeners call that stage semi-hardwood, and it roots far more easily than stiff old wood or floppy baby shoots.
Here is a simple test. Bend a stem gently, and if it feels springy but does not snap or flop over, you are in business.
If your clematis is already blooming heavily, look for side shoots that are skipping flowers this round.
2. Choose Healthy, Flower-Free Stems
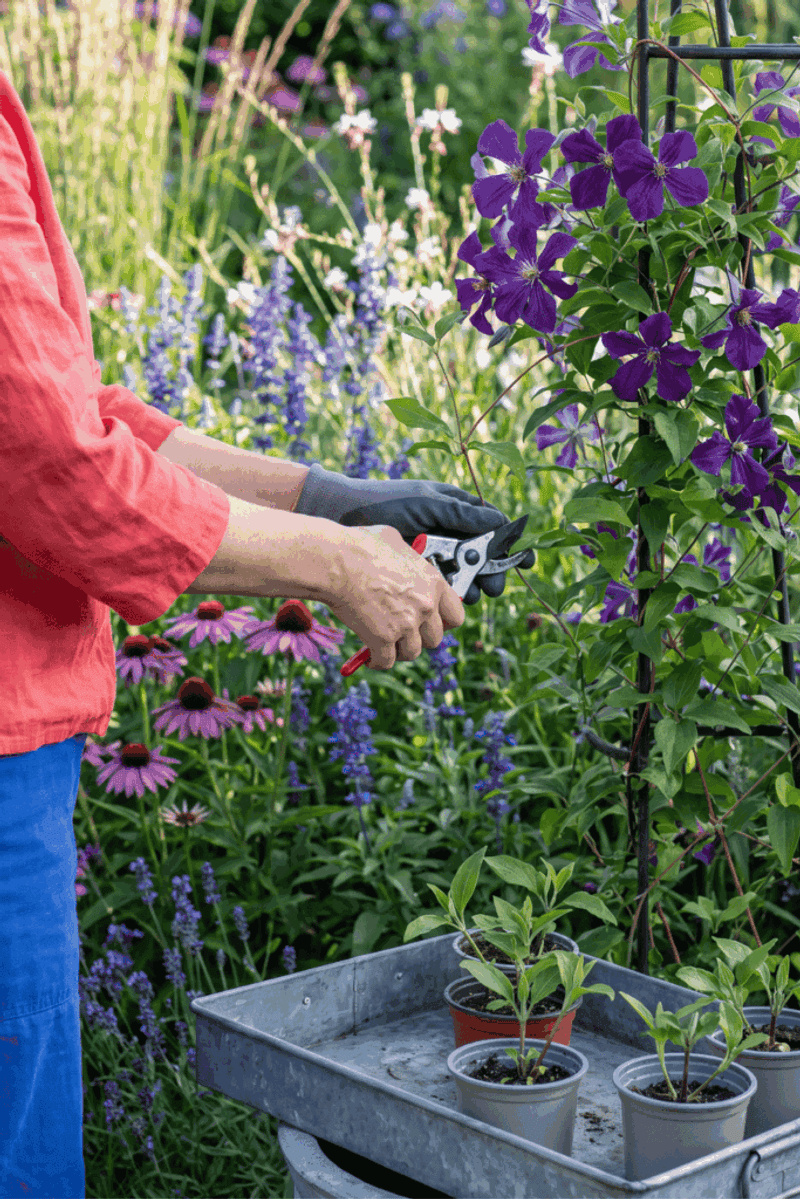
Think of a cutting like a tiny athlete. It needs all its energy for one job, which is growing roots, so skip any stem that is busy making flowers or buds.
Look for vigorous stems with bright green leaves and no spots, wilting, or brown patches. A sickly stem rarely gets better once it is cut off from the mother plant.
Avoid the very soft tips at the end of the vine, since they tend to wilt fast. The tough, woody base near the ground is also a poor choice.
The middle part of a healthy stem is where the magic usually happens.
3. Cut 4 to 6 Inch Sections
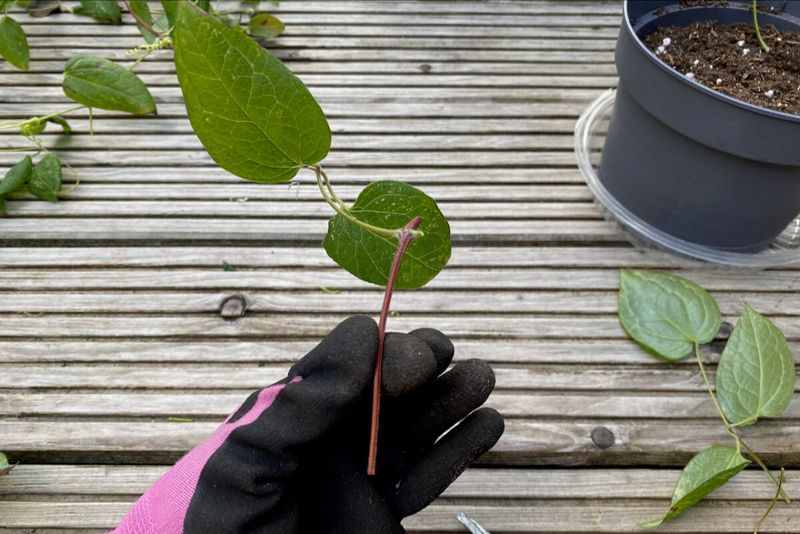
Clean pruners matter more than most people realize. A quick wipe with rubbing alcohol may help reduce the spread of disease into your fresh cuts.
Snip sections about 4 to 6 inches long. Make the bottom cut just below a leaf node, which is the bump where a leaf joins the stem, because that spot is packed with root-making cells.
Some growers swear by internodal cuttings instead, cut halfway between two nodes. Clematis is one of the few plants that often roots well this way.
Try both and see which works better in your yard.
Fun fact: the name clematis comes from an ancient Greek word for a climbing plant or vine branch. Pretty fitting for something you are about to multiply.
4. Strip Lower Leaves and Mark the Top
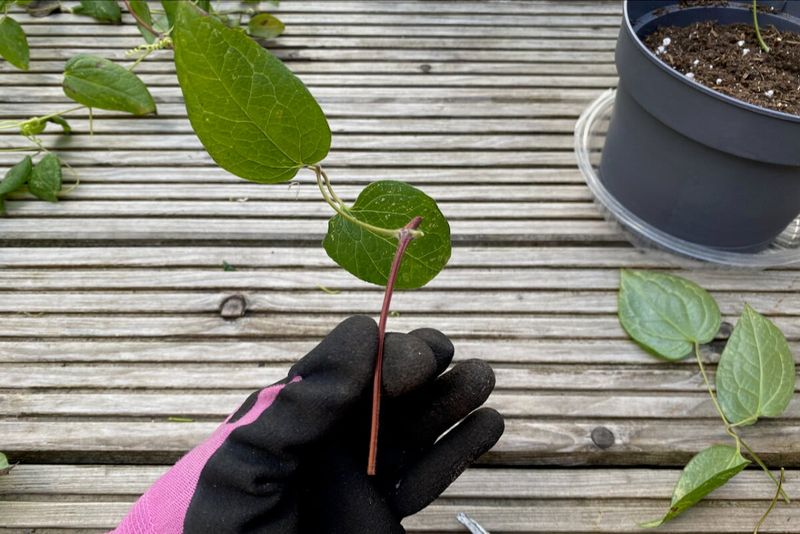
Leaves drink water, and a rootless cutting cannot keep up with a lot of thirsty foliage. Pull off the lower leaves and leave just two at the top.
Are the remaining leaves huge? Trim them in half with scissors.
Less leaf surface means less moisture escaping while roots form.
Here is a sneaky mistake beginners make all the time. Once a long vine gets chopped into pieces, it is surprisingly easy to forget which end is up, and an upside-down cutting will never root.
Tie a bit of string or ribbon on the bottom end before you cut, and the guesswork disappears.
5. Dip in Rooting Hormone
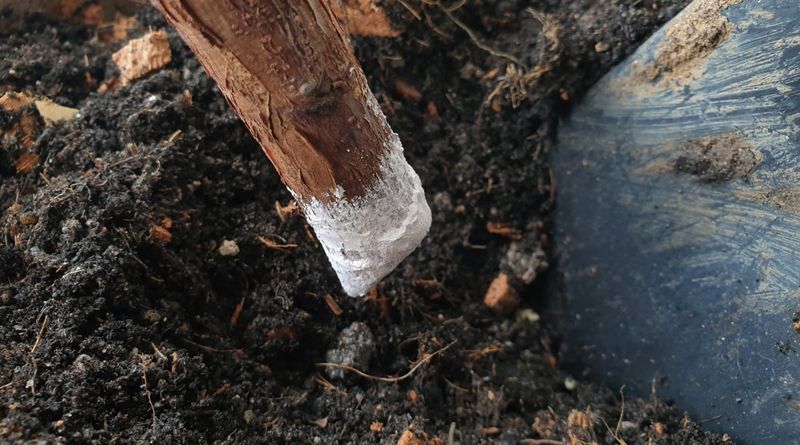
You can skip this step, but your success rate will likely thank you if you do not. Rooting hormone gives cuttings a nudge to start growing roots sooner.
Pour a little powder or gel into a separate dish so you do not contaminate the whole jar. Dip the bottom end of each clematis cutting, tap off the extra, and you are done.
A small container lasts for years, so it is one of the cheapest upgrades in gardening. Clematis can be a bit slow to root, which makes this little boost especially handy.
6. Fill Pots With a Fast-Draining Mix
Soggy soil is the number one cutting killer. Without roots, a stem sitting in heavy, wet dirt can rot in just a few days.
Fill small pots with a light mix, such as equal parts perlite and peat moss. Coarse horticultural sand also works nicely if that is what you have in the garage.
Skip regular garden soil entirely. It packs down hard and holds too much water for these delicate stems.
7. Plant Gently and Cover for Humidity
Shoving a cutting straight into the mix can scrape off the hormone and bruise the stem. Poke a hole first with a pencil or skewer, then slide the cutting in and firm the mix around it.
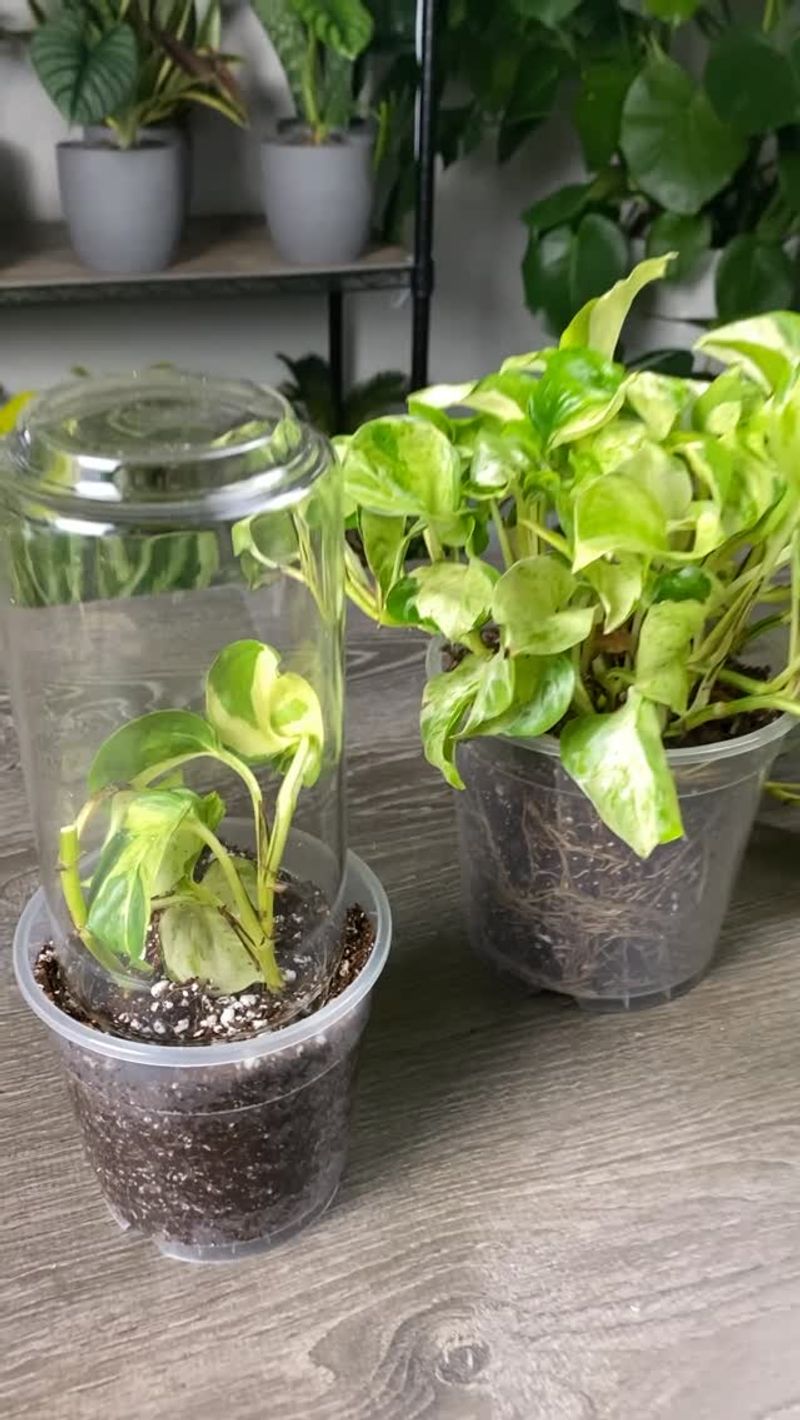
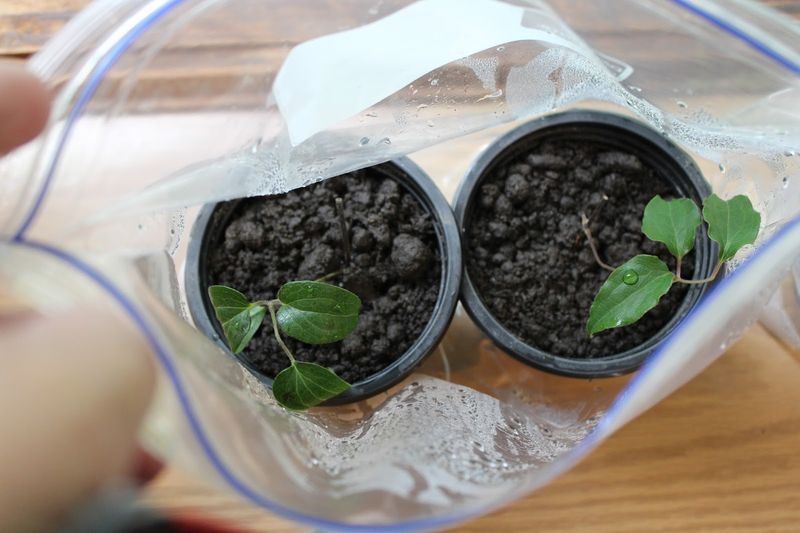
Water each pot well until it drains from the bottom. Next, slip a clear plastic bag over the pot or set it inside a propagator lid.
That plastic cover acts like a tiny greenhouse. Trapped moisture keeps the leaves from drying out while the stem works on growing roots below.
8. Give Bright Shade and Patience
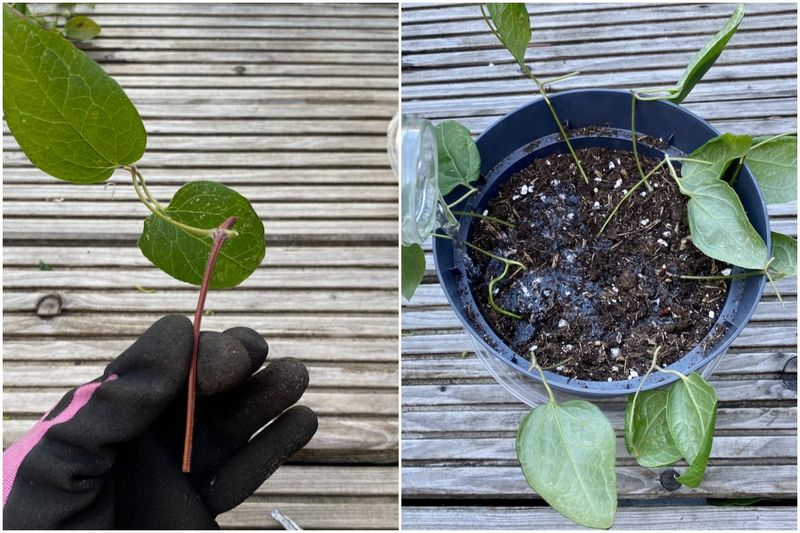
Now comes the hardest part for eager gardeners: waiting. Set your pots in bright, indirect light, like a shaded porch or a north-facing window, because direct sun can cook cuttings under plastic.
Keep the mix lightly moist, never soaked. Gentle warmth around 68 degrees Fahrenheit can speed things up, though it is not a must.
Roots usually show up in about 4 to 6 weeks, and a gentle tug that meets resistance is your sign. Not every cutting will make it, so plant several.
Grow the winners in a sheltered spot and move them into the garden next season, ready to climb.