Brown Spider Plant Tips in Winter: Could Fluoride in Tap Water Be One Reason?
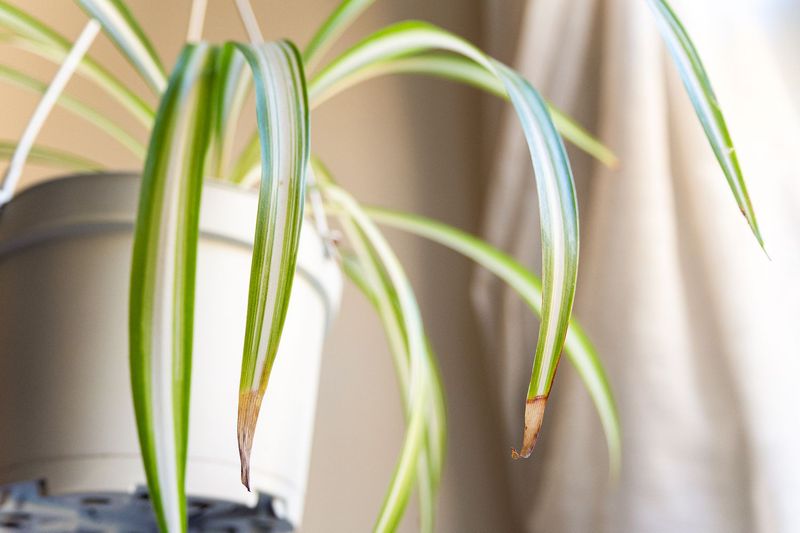
Brown tips on a spider plant can make you feel like you have done something wrong. In winter, the cause is often not as simple as too much or too little water.
Tap water is one possible clue, along with dry indoor air and soil buildup. A few quick checks can help you sort out what your plant is trying to tell you.
Brown tips are a symptom, not a diagnosis
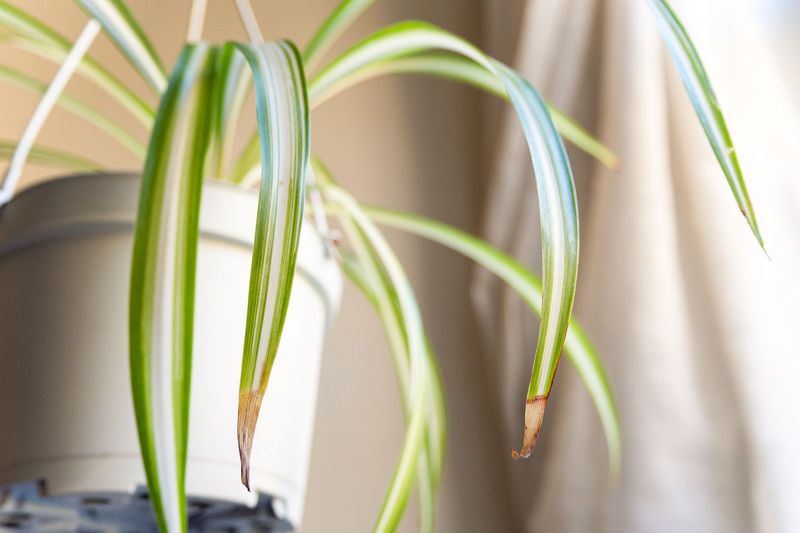
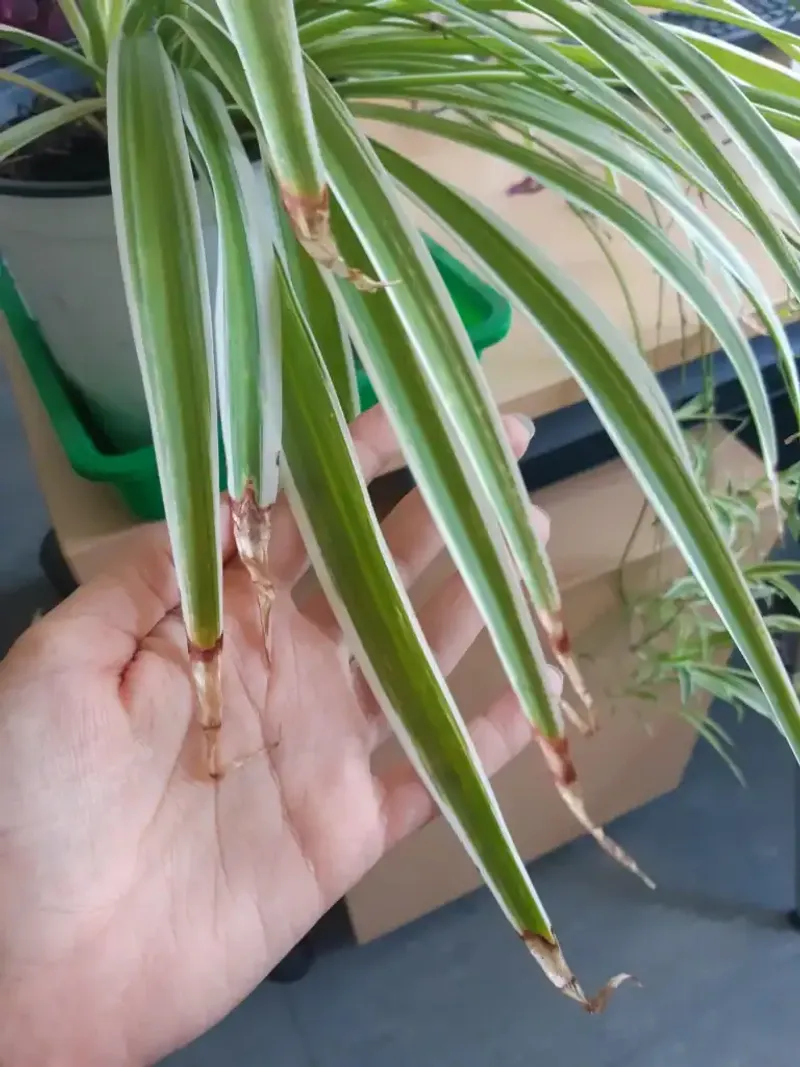
Crispy brown tips on a spider plant are a clue, not a verdict. The same look can come from several different causes, so the leaf itself cannot tell you which one is at work.
That is good news, because it means you probably have not ruined anything with one bad watering.
Iowa State Extension names low humidity as the most common cause of brown tips in general. It also lists inconsistent watering, fertilizer or salt buildup, and water quality as other possibilities.
Winter often brings several of these at once, since heated air is dry and many people change how often they water.
Spider plants are also known to be sensitive to fluoride, which is why tap water belongs on the list. UF/IFAS Extension points to fluoridated water as a possible contributor for this plant.
A possible contributor is not the same as a proven cause for your particular plant, though.
So the goal is to look for a pattern. Where does the plant sit, near a heating vent or a cold window?
How does the soil feel between waterings? Have you fertilized lately?
Jot down answers before you change anything, because changing everything at once leaves you guessing about what helped.
Also keep in mind that brown tips already on the leaves will not turn green again. What you are really watching for is whether new growth comes in cleaner over the coming weeks.
Can tap water be the culprit?
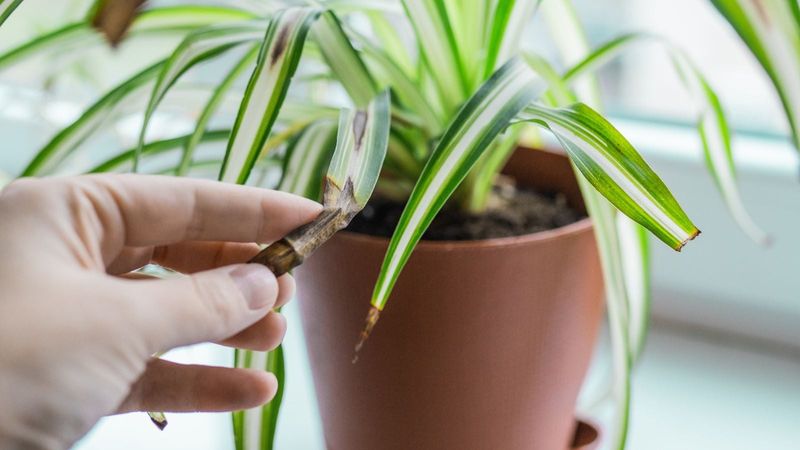
Yes, it can, for some plants. Spider plants are sensitive to fluoride, and UF/IFAS Extension recommends rainwater or distilled water when your tap water is fluoridated.
That makes fluoridated tap water a believable suspect when the tips brown.
Believable is not the same as certain, though. Brown tips in winter do not prove your water is the problem, and they do not rule out your watering habits either.
Think of water chemistry as one item on a checklist rather than the answer.
Tap water is also not the same everywhere. Some towns add fluoride and some do not.
Utilities also treat water differently, and some use chlorine while others use chloramine.
If you want to know what is in your water, look up your utility’s annual water-quality report. It is usually posted on the utility’s website or mailed with a bill.
CDC guidance suggests checking that report to learn whether your system uses chlorine or chloramine.
Reading the report takes a few minutes and costs nothing. It can help you decide whether a water change is worth trying later, after you have checked the other likely causes.
Winter dryness can mimic a water problem
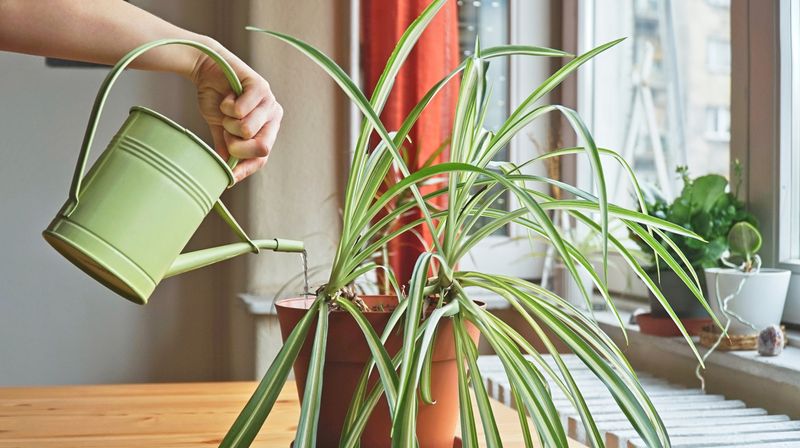
Walk past a heating vent in January and you can feel how dry the air gets. Your spider plant feels it too.
Low humidity is the most common cause of brown tips in general, according to Iowa State Extension, and winter indoor air is often dry.
Here is where it gets confusing. Dry air can brown tips even when your watering is fine.
Uneven watering can brown them too. Because the two look alike, brown tips alone cannot tell you whether the plant is getting too much water or too little.
A few simple steps can raise humidity around the plant. University of Illinois Extension suggests grouping plants together or running a humidifier.
A humidity tray with pebbles and water also works, as long as the pot sits above the water rather than in it.
Move the plant away from heating vents and drafty doors if you can. Spider plants are fairly easygoing, and Illinois Extension’s spider plant page is a handy reference for general care.
These steps will not explain every winter case, and they will not fix existing tips. But they are cheap, easy, and worth trying before you blame the water or reshape your whole routine.
Check soil, fertilizer, and salt buildup
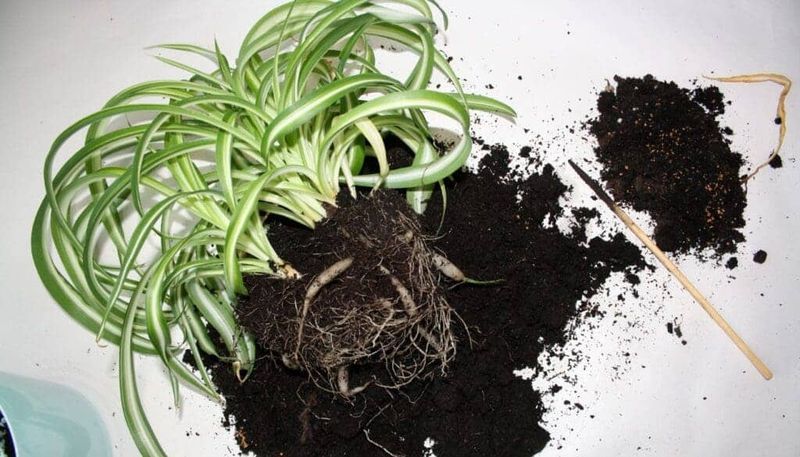
Start with the soil, since it takes ten seconds. Push a finger about an inch into the pot.
Spider plants do best when the upper soil dries briefly between waterings, as UF/IFAS Extension advises, so wet soil right after you watered is normal, but soggy soil days later deserves a second look.
Try not to swing to the other extreme. Letting the plant dry out hard over and over can brown tips too, and a rigid calendar schedule does not help.
Check the soil first, then water when it feels ready.
Next, think about fertilizer. Too much can leave soluble salts in the potting mix, and a white crust on the soil surface or pot rim is one hint.
Iowa State Extension recommends cutting back on fertilizer and flushing the potting mix when salts build up.
To flush, take the plant to a sink or tub and water slowly until water runs freely out the bottom. UC ANR describes saturating and draining the mix several times to wash salts out.
Let the pot drain fully afterward so the roots are not left sitting in water.
Do this before changing anything else, and note the date. If tips stay brown on older leaves but new ones look better, you may be on the right track.
Choose water that targets the suspected mineral
If the other checks come up clean, or you suspect fluoride from the start, a water swap is a low-cost experiment. UF/IFAS Extension recommends rainwater or distilled water for spider plants when tap water is fluoridated.
A gallon of distilled water from the grocery store is an easy place to start.
Treat it as a test, not a cure. Use the new water for the next couple of months and watch the fresh leaves.
If new growth stays greener at the tips, that is a useful clue. If nothing changes, you have learned something too.
Be careful with the word filtered. It covers a lot of different products, and many do not target fluoride.
A basic pitcher filter should not be assumed to remove it.
If you want to use a filter, read its documented claims. NSF/ANSI 58 includes an optional fluoride-reduction claim for reverse-osmosis systems, but not every system makes that claim.
Look for that specific wording on the product’s data sheet.
Rainwater collected in a clean container is another option. Keep it covered and use it fairly soon so it does not turn stale.
Resting water will not remove fluoride
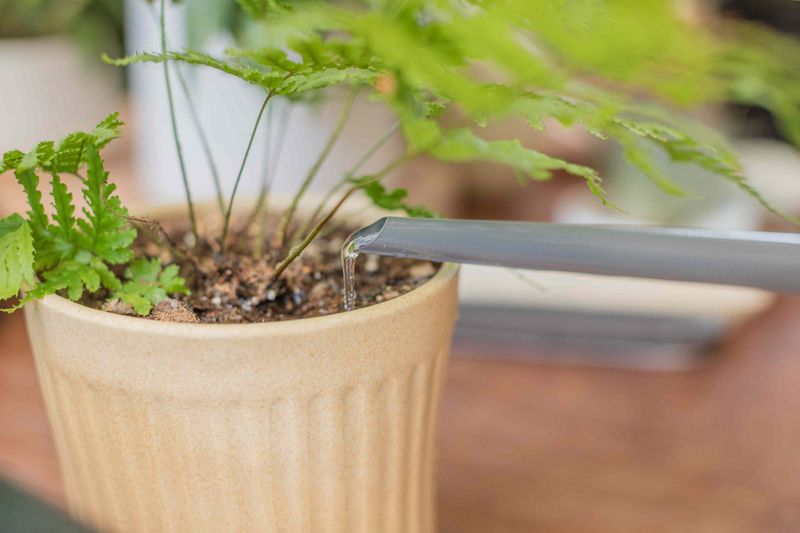
You may have heard that letting tap water sit overnight makes it safe for plants. That tip is tempting, but it does not work for fluoride.
EPA information says boiling does not remove fluoride, and simply leaving water out will not do it either.
Chlorine is different. CDC guidance says chlorine can dissipate if water sits out for a few days.
Chloramine does not leave that way, and EPA guidance on monochloramine confirms that standing and boiling do not remove it.
So resting water may help with one disinfectant in some places, but it is not a fluoride fix. If fluoride is your suspect, rainwater, distilled water, or a system with a documented fluoride-reduction claim are the better routes.
One more caution: skip sodium-softened water. Penn State Extension says softened water is not recommended for houseplants because the softening process adds sodium.
Some gardening pages still say standing water lets fluoride evaporate. That advice conflicts with EPA information, so it is safer not to count on it.
Make one change at a time
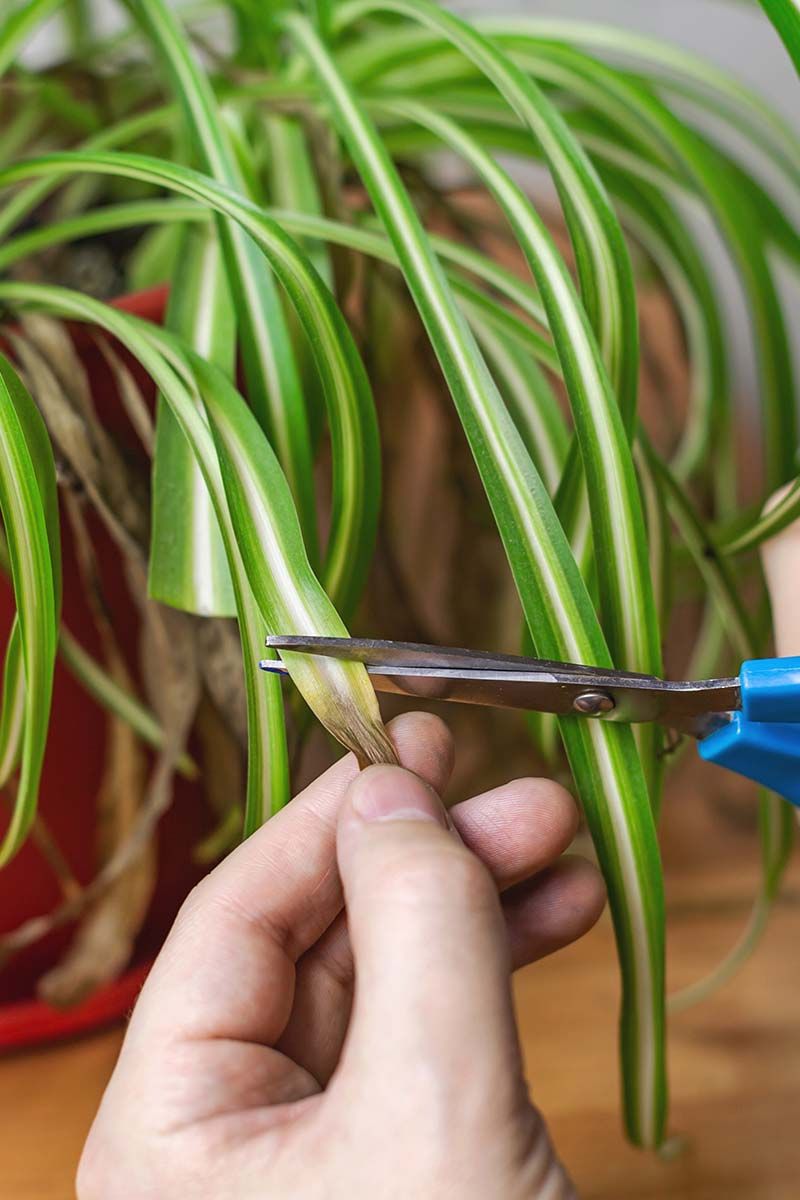
Here is a simple order to follow. First, check the soil and the winter air around the plant, using tips from Illinois Extension.
Second, review fertilizer and flush out salts if needed. Third, if fluoride still seems plausible, try rainwater or distilled water.
Change only one thing at a time and give it a few weeks. Write down what you did.
The Iowa State guide and the UF/IFAS page are good references to keep handy.
Old brown tips will stay brown, so judge progress by new leaves. Trim the tips if they bother you.
A brown tip is the plant leaving you a note, and it takes patience to read it.