
Don’t Toss Your Mums When The Flowers Fade – 11 Steps That Bring Them Back Bushier Next Fall

Those brown, crispy mums on your porch are not trash yet. Many garden mums are perennials, which means the same plant can come back next fall bigger and fuller than the one you bought.
All it takes is a few simple steps at the right time of year. Follow along, and next autumn you could have a mound of blooms that cost you nothing.
1. Remember That Your Mums Are Likely Perennials

Every November, curbside trash bins fill up with pots of brown mums. It feels normal, because stores sell them like a pumpkin or a scarecrow, a seasonal decoration you replace each year.
Yet plenty of those plants were perfectly able to live on.
Garden mums, often labeled hardy mums, are typically perennial in USDA zones 5 through 9. That range covers most of the lower 48 states.
So if you live anywhere from Ohio to Georgia to central California, there is a good chance your plant can survive winter outdoors.
Faded flowers do not mean a dead plant. The roots are usually still healthy, quietly storing energy for spring.
Give them a chance, and you may be surprised how much they bounce back.
2. Figure Out If You Have a Garden Mum or a Florist Mum

Not every mum is built for the long haul, and knowing which one you own saves a lot of heartache. Think of it like comparing a work boot to a dress shoe.
Both look nice, but only one handles mud and snow.
Garden mums are bred to live outside. Many send out underground runners called stolons, which help the plant spread and return each spring.
Florist mums, the kind often wrapped in shiny foil or sold as gifts, are bred for big showy flowers and usually lack those runners.
Check the tag first. Words like hardy, garden, or perennial are good signs.
If your plant came from a flower shop with huge blooms, enjoy it indoors, but understand it may not make it through a cold winter outside.
3. Deadhead the Faded Blooms
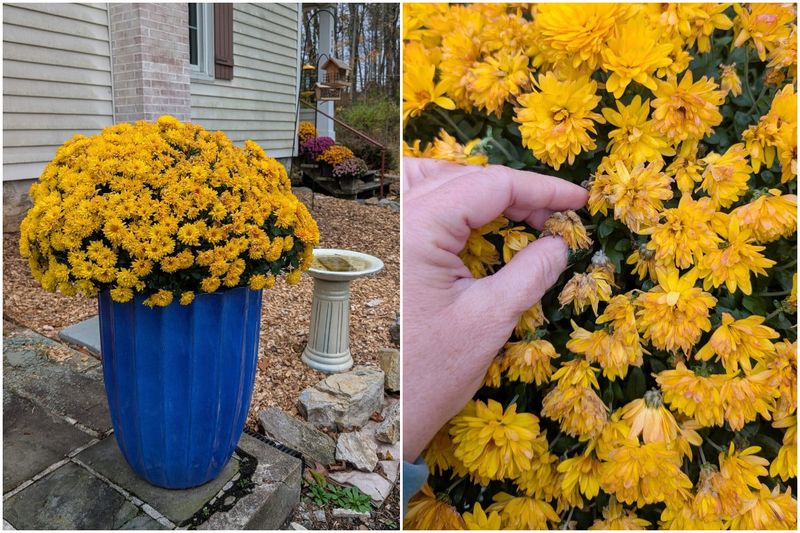
Snip, snip, done. Deadheading is one of the easiest chores in the garden, and it pays off quickly.
All you do is cut off flowers that have turned brown, gone limp, or collapsed.
Tidying up is a bonus, but the real reason matters more. When you remove old flowers, the plant stops spending energy making seeds.
That energy can go into the roots instead, which is exactly what you want before winter.
Early in the season, deadheading can sometimes trigger a second, smaller round of flowers. Use clean scissors or snips and cut just below the faded bloom.
Toss the clippings into compost rather than leaving them on the soil.
4. Plant Potted Mums in the Ground Early

Here is the step most people skip, and it is often the reason mums fail. A plastic nursery pot is a rough place to spend winter.
Roots inside a pot freeze much faster than roots tucked into the earth.
For the best results, plant your mums in the ground as early in fall as you can, ideally late August or early September. That gives the roots several weeks to spread out and anchor themselves before the soil freezes.
Mums bought later in the season can still be planted, though their odds of surviving drop.
Dig a hole about as deep as the pot and a bit wider. Loosen any circling roots with your fingers, set the plant in, and water it well.
Keep watering through dry spells until cold weather arrives.
5. Choose a Sunny, Well-Drained Spot

Mums are sun lovers, plain and simple. Aim for a place that gets at least six hours of direct sunlight each day.
Shady corners lead to floppy stems and fewer flowers.
Drainage matters just as much as light. Mums hate wet feet, and soggy soil can cause root rot, especially in winter.
A quick test helps: dig a hole, fill it with water, and see if it drains within a few hours.
If water lingers, mix compost into the soil to loosen it up. A slightly raised bed or a gentle slope can also help water run away from the roots.
Picking the right home now prevents problems you cannot fix later.
6. Cut Back Stems After a Hard Frost
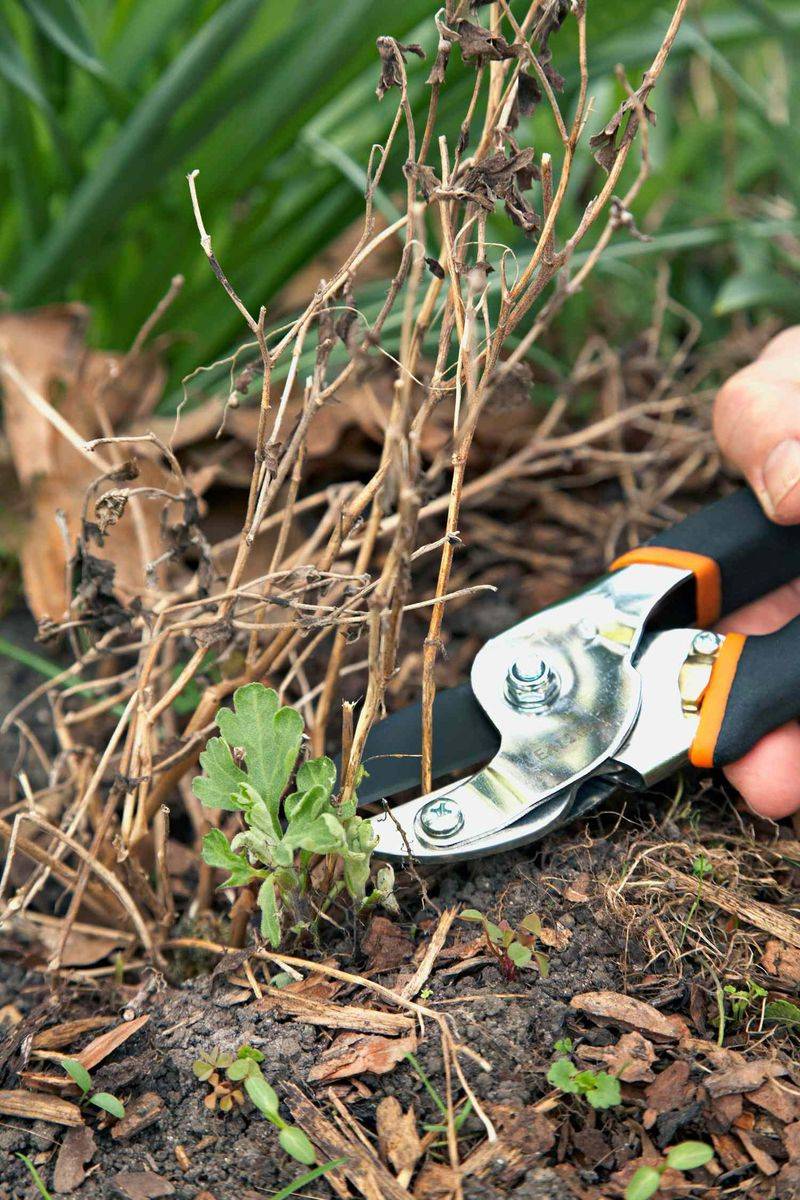
One frosty morning, you will walk outside and find your mums blackened and drooping. Do not panic.
That hard frost is actually your signal to trim.
Cut the stems back to about 4 to 6 inches above the soil. In most of the US, this happens sometime in October or November, depending on your zone.
Northern gardeners have another option. Some leave the dead stems standing all winter, because they can trap snow and add a little extra insulation for the roots.
If you go that route, simply cut them down in spring.
7. Mulch Heavily for Winter Protection

Picture a cozy blanket on a cold night, because that is what mulch does for mum roots. After cutting back and once the ground has cooled, spread 2 to 4 inches of mulch around the base of each plant.
Pine straw, shredded wood, or compost all work well. The layer keeps soil temperatures steadier and helps prevent frost heave.
That is when repeated freezing and thawing pushes roots right up out of the ground, leaving them exposed and dry.
Fun fact: mums have been grown in China for more than 2,000 years, and gardeners there were protecting them through winter long before plastic mulch existed. A simple layer of straw is a time-tested trick.
8. Water Sparingly During Winter Dormancy
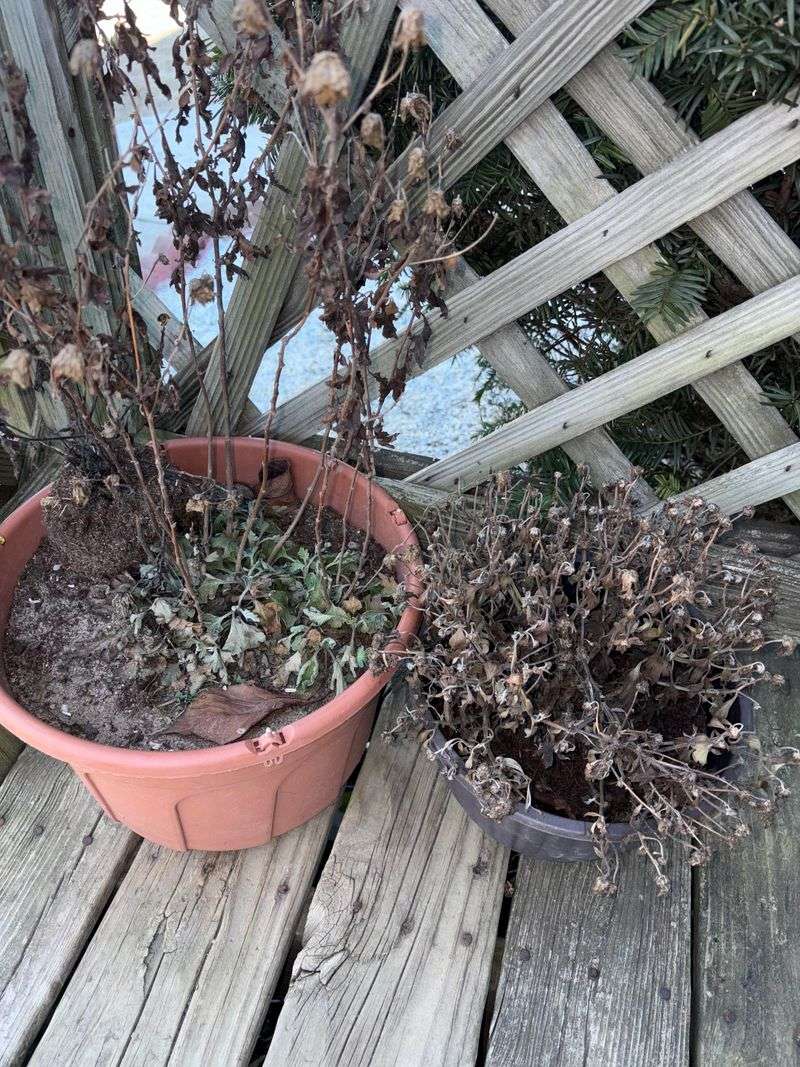
Less really is more once winter sets in. Your mums are resting, so they need very little water.
Check the soil now and then during dry stretches. If it feels bone dry a couple of inches down, give a light drink on a mild day.
Otherwise, let rain and snow do the job.
Too much water is the bigger danger. Cold, soggy soil can rot dormant roots and undo all your hard work.
When in doubt, wait a few more days.
9. Remove Mulch and Old Stems in Spring
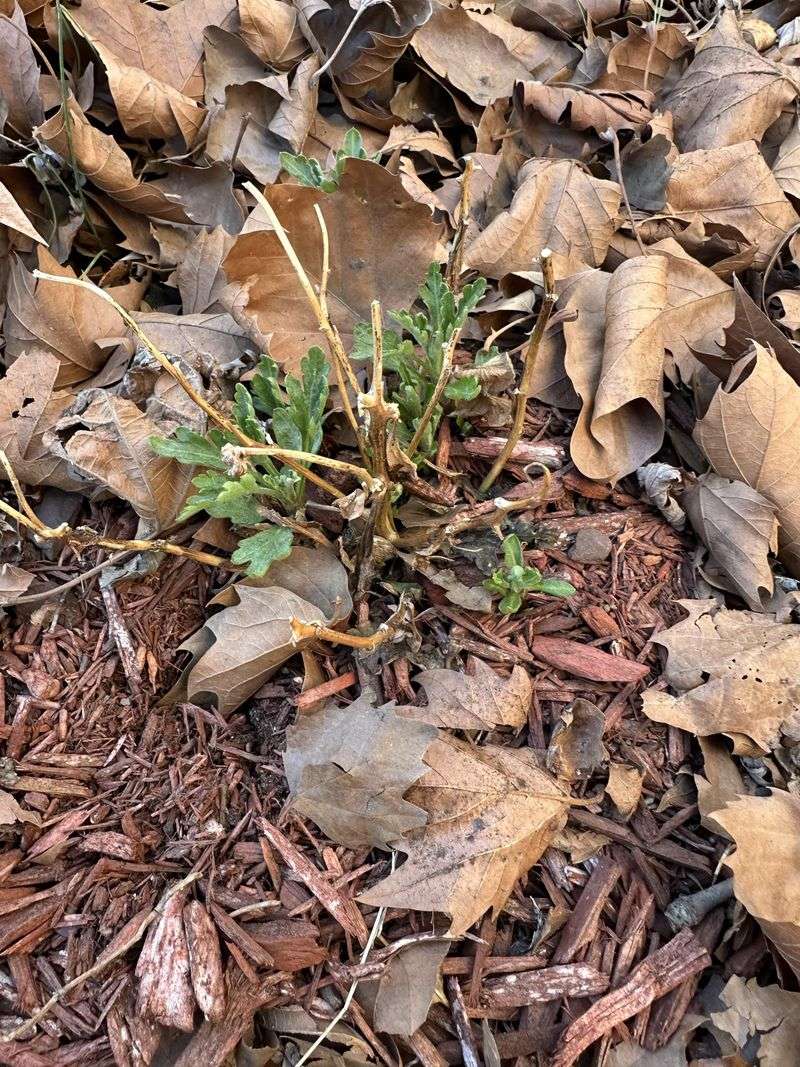
That first flash of green in spring feels like a small victory, and honestly, it is. Tiny new shoots near the base mean your mum made it through.
Once the danger of frost has passed and growth is showing, pull the winter mulch back from the plant. Leaving it piled up can hold too much moisture and slow warming soil.
If you kept the old stems standing, cut them all the way to the ground now.
This is also a good time to look for crowding. Older clumps can be dug and divided, with the healthy outer pieces replanted for even more mums.
10. Start Pinching in Late Spring for Bushiness

Want a mum shaped like a big round cushion instead of a few lanky sticks? Pinching is the secret, and it requires nothing but your fingers.
When the plant reaches about 6 inches tall in late spring, pinch off the soft growing tips of each stem, removing roughly one-third of its height. Each pinch makes the stem split into two new branches.
More branches mean more spots for flowers later.
Keep going every 2 to 3 weeks, each time the plant grows about another 6 inches. It might feel strange to keep cutting a healthy plant.
Trust the process, because this is what garden centers do to grow those perfect domes.
11. Stop Pinching by Mid-July
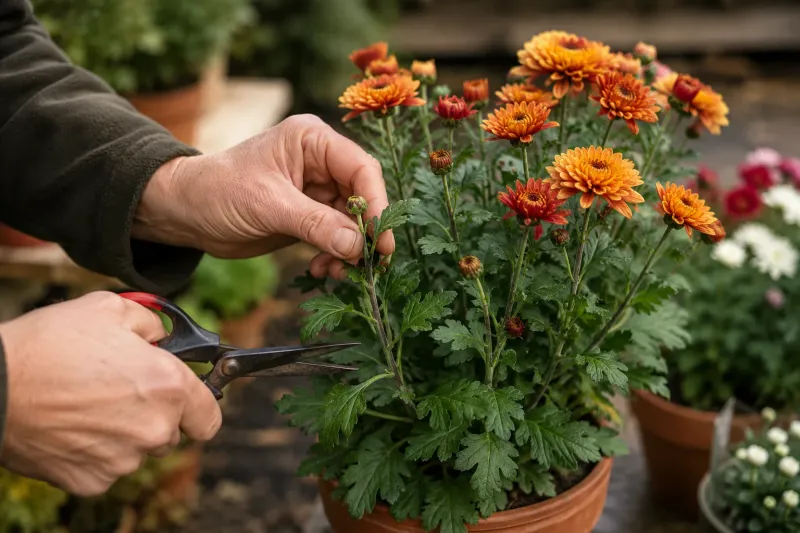
Timing is everything with this last step. Pinch too late, and you snip off the very stems that would have carried your fall flowers.
As a general rule, stop pinching around July 15 in zones 5 to 7 and around July 30 in zones 8 and 9. After that, let the plant grow freely so it can set buds as days get shorter.
Mark the date on your calendar or phone so you do not forget. Then sit back and watch.
By fall, you can enjoy a fuller, flower-packed mum that came straight from the plant you almost threw away.