
Frayed Grass Tips Turning Brown? Your Mower Blade May Be Dull
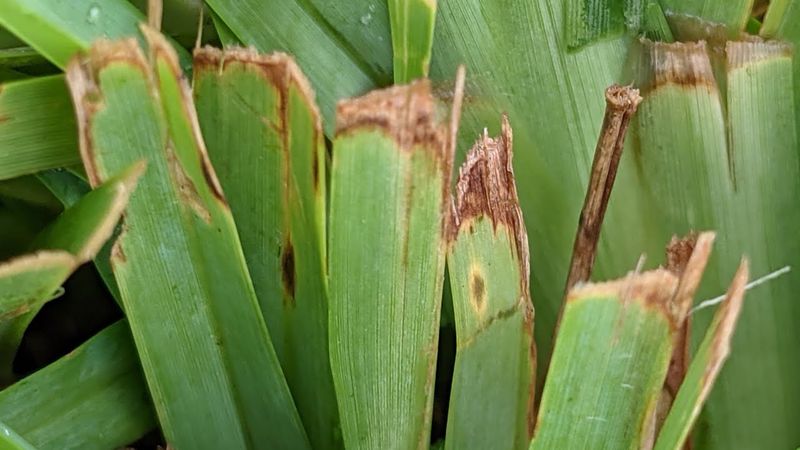
Walk across your lawn and look closely at the grass tips. If they look ragged and tan instead of clean and green, your mower may be part of the story.
A dull blade can tear grass instead of slicing it, and the fix may be simpler than you think. Here is how to tell whether the blade is the likely culprit, and what to do next.
What does a dull-blade injury look like?
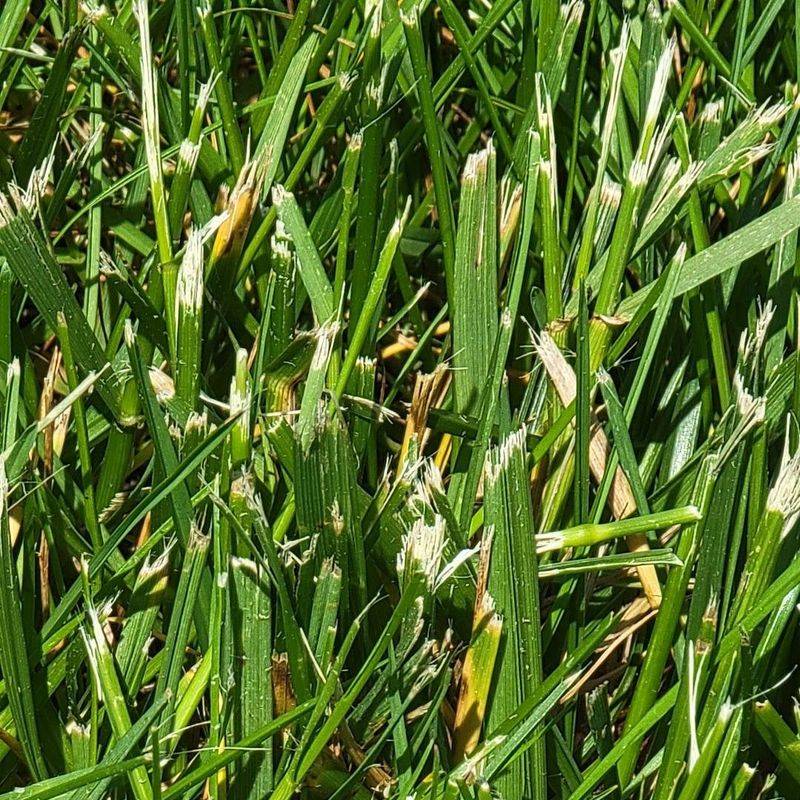
Kneel down and pick a few grass leaves from a spot you mowed recently. Look at the very ends.
A clean cut leaves a flat, neat edge, while a torn one looks shredded, split, or frayed like a worn rope.
Timing gives you another clue. Damaged tips often look dull or pale at first and then turn tan or brown.
University of Maryland Extension’s lawn diagnosis guide describes this pattern as consistent with mower injury, and it points to sharpening or replacing the blade as the response.
Notice what this clue does and does not tell you. Ragged tips on individual leaves make the blade a sensible suspect.
They do not prove the blade explains every brown spot in your yard, and lawn symptoms can overlap, which is why careful looking matters.
Try a quick routine. Check several spots, including sunny and shady areas, and compare grass you mowed a few days ago with grass that has not been cut.
If the frayed look shows up only on mowed grass, a blade check is a reasonable first step.
Looking from a few feet away can help too. A lawn with torn tips often takes on a slightly gray, tan, or whitish cast across the top, even though the grass near the soil is still green.
Maryland Extension’s guide to problems not caused by pests or diseases lists a dull mower blade among the everyday causes of this kind of browning.
A blade check costs little compared with guessing at fertilizer or extra watering, and it keeps you from treating a problem you may not have.
A dull blade tears instead of slicing
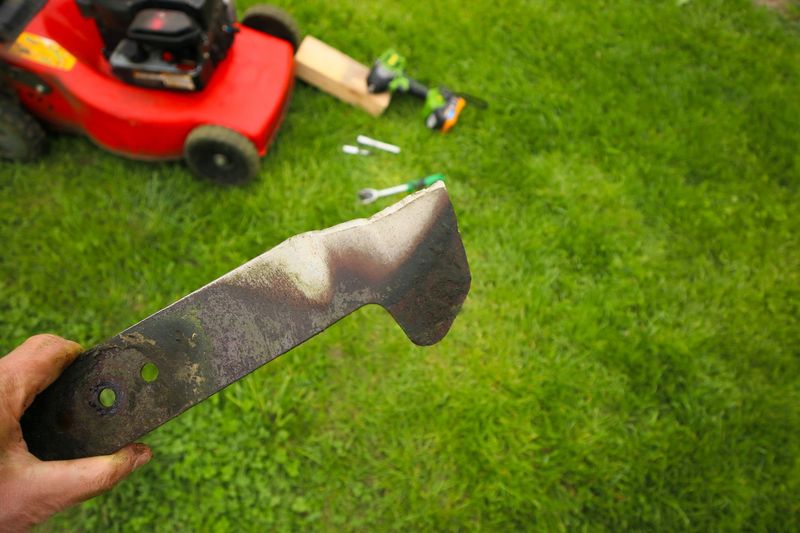
Think of scissors versus a butter knife. Sharp scissors slice paper cleanly, while a dull knife crushes and rips it.
A rotary mower blade works the same way, spinning fast to cut each leaf.
When the edge is dull, the blade can tear and fray the leaf tip instead of slicing it. The injured tissue then dries out and turns light brown.
A sharp blade leaves a cleaner cut that does not dry out as much.
University of Minnesota Extension’s mowing guidance notes that a sharp blade makes a cleaner cut, and that dull blades can wound grass in ways that may make it more open to some diseases.
Keep that last point in proportion. A wounded leaf is not a guaranteed sick leaf.
Maryland Extension’s page on lawn diseases treats disease as something that depends on several conditions, so a dull blade is only one possible contributor.
The takeaway is practical. A torn cut gives your lawn extra stress it does not need, and a cleaner cut removes one avoidable source of it.
Other causes of lawn trouble still deserve a look.
Brown tips are not the same as a brown lawn
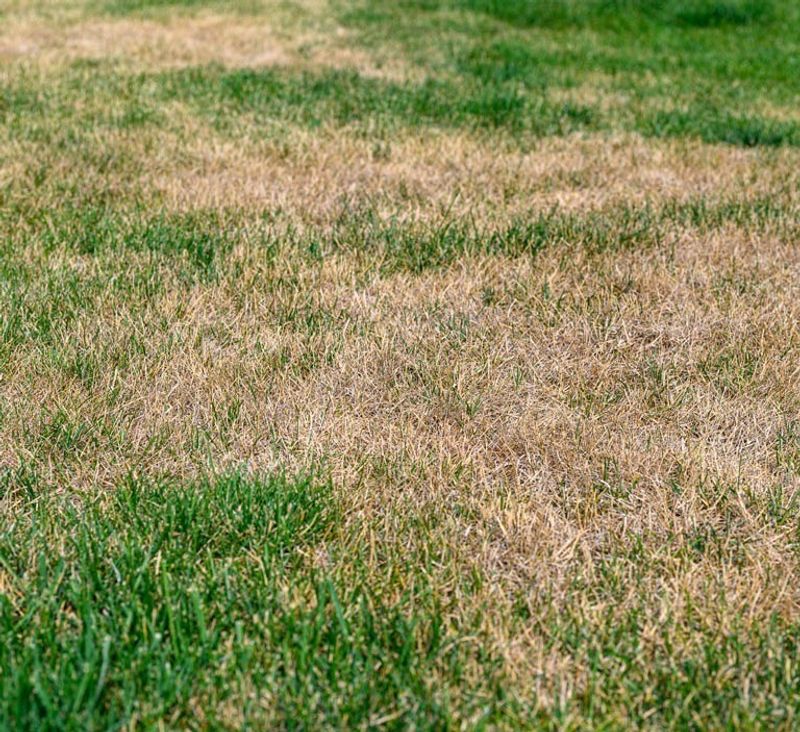
Brown grass can come from many sources, so scale is your best clue. Damage on individual leaf tips, with the rest of each leaf still green, points toward the cut.
Large patches, widespread browning, or yellowing point somewhere else.
Maryland Extension’s diagnosis guide lists drought, disease, pests, scalping, and nutrient problems among the possible causes of broader symptoms. It also cautions that diagnosis can be hard because symptoms overlap.
Drought has its own clues. Maryland Extension’s established lawn guide says thirsty grass may look dull blue-gray or blue-green, the blades may roll inward, and footprints may linger instead of springing back.
Drought can brown a lawn even with a perfectly sharp blade.
No single clue settles the question. A lawn can have thirsty grass and ragged tips at the same time, and one problem can hide another.
Treat each clue as a piece of the puzzle.
Try a simple test. Walk across a brown area and see whether your footprints stay.
Pull a few blades and check whether they are rolled. Then look at the tips of grass in green areas.
If you see patches, spreading discoloration, or damage down at the crown, a sharper blade will not be enough, and it is worth checking watering, soil, and pests too.
A Maryland Extension overview of non-pest lawn problems is a helpful place to compare what you see.
Make the mower safe before blade work
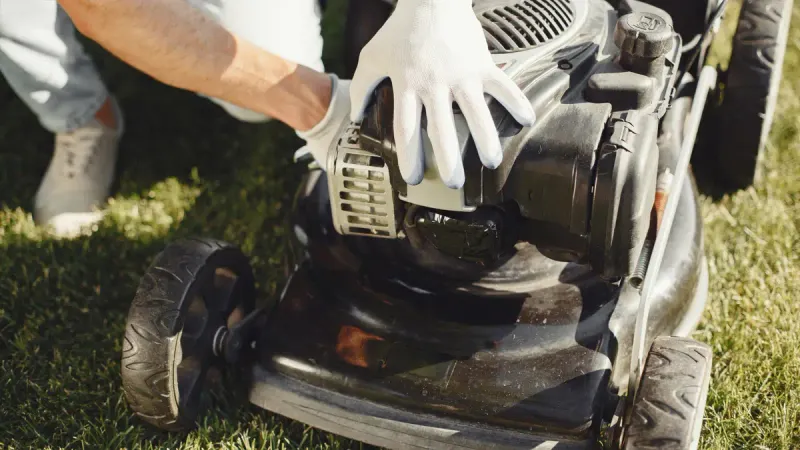
Before you touch a blade, get the mower to a state where it cannot start. Begin with your owner’s manual, since each model has its own steps for tipping, supporting, and servicing the mower.
For a gas mower, disconnect the spark-plug lead. For a battery mower, remove the battery.
Never reach under the deck or handle the blade while the mower could still start.
Consumer Reports’ blade replacement guide stresses these precautions, along with wearing protective gloves. Even a dull blade has edges that can cut your hands.
Next, secure the blade so it cannot spin or shift while you work. Your manual will show the right way to hold it and which direction to tip the mower so fuel and oil stay where they belong.
University of Minnesota Extension’s mower safety page also stresses following the manufacturer’s instructions and disconnecting the power source.
If any step feels unclear, pause. Taking the mower to a repair shop is a perfectly good choice, and it is better than guessing with a spinning blade.
Sharpen, replace, or get help?
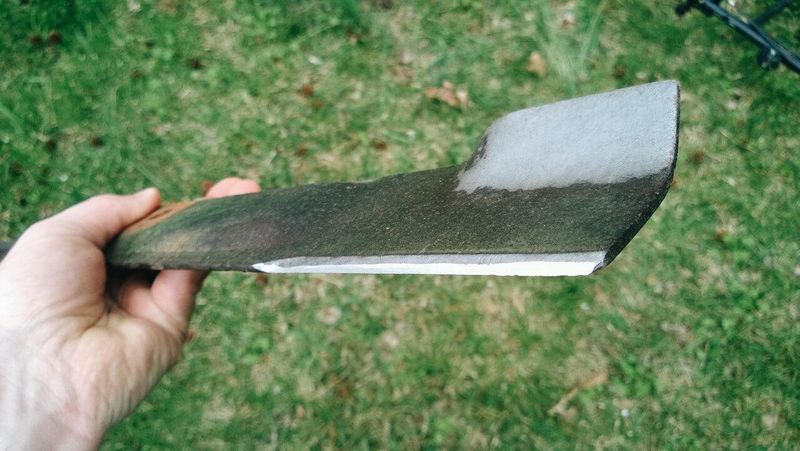
Once the mower is safe, look closely at the blade. A dull but sound blade is a candidate for sharpening, and that may improve a ragged cut.
Sharpening will not fix drought, disease, or lawn damage that already happened.
Some blades should not be sharpened at all. Replace a blade that is badly damaged, rusty, or deformed.
Consumer Reports’ replacement guide walks through the process and reminds you to match the new blade to your mower.
No single DIY method suits every mower. Your manual and mower type matter, and the tools you need depend on the blade and the machine.
Reel mowers are a good example, since University of Minnesota Extension notes they need specialized sharpening equipment.
If you do not have the tools, confidence, or time, take the removed blade or the whole mower to a repair shop. That is a normal and sensible option, and cost and turnaround vary by shop.
After the blade is back on, mow a small test strip and check the tips. Maryland Extension recommends sharpening or replacing the blade for this kind of damage.
A cleaner edge on the cut leaves is the sign it helped.
Let the cut—not the calendar—guide upkeep
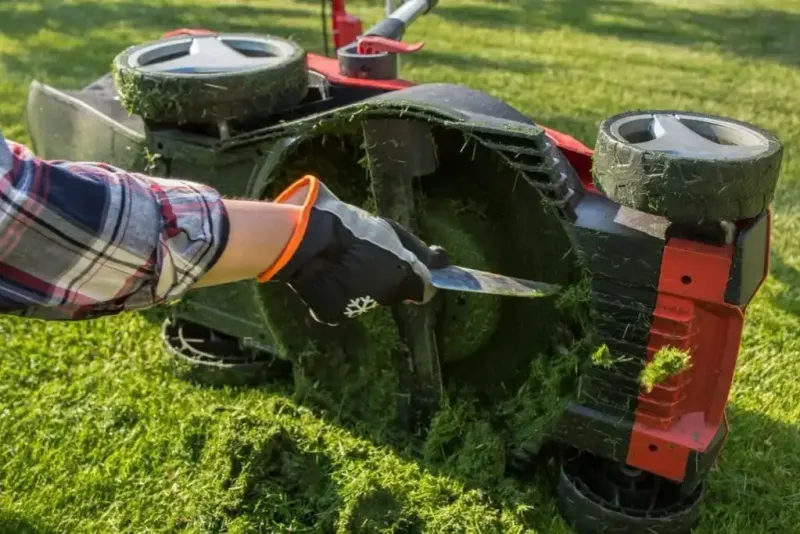
You will see sharpening schedules everywhere, and they do not agree. That is fine, because they are rules of thumb and not deadlines.
Maryland Extension suggests inspecting or sharpening after about 10 cumulative hours of mowing, and says twice a year may be enough in general. Oregon State Extension reports that many manufacturers recommend every 20 to 25 hours.
Your own mowing may differ. Sandy soil, sticks, rocks, and bumping curbs can nick a blade faster, while a small, smooth lawn may be gentler.
Your manual comes first, and the look of the cut tells you the rest.
Make it a habit to glance at grass tips a day or two after mowing. Clean, flat ends mean the blade is doing its job.
Frayed, pale ends are your cue for a blade check.
Broad browning, patches, or yellowing call for a wider look at water, soil, pests, and disease.
A lawn tells you what it needs if you look at the tips.