
Gardeners Who Dig Up Fat Garlic Bulbs Every Summer Plant Their Cloves This Way – 15 Tips To Use This Fall
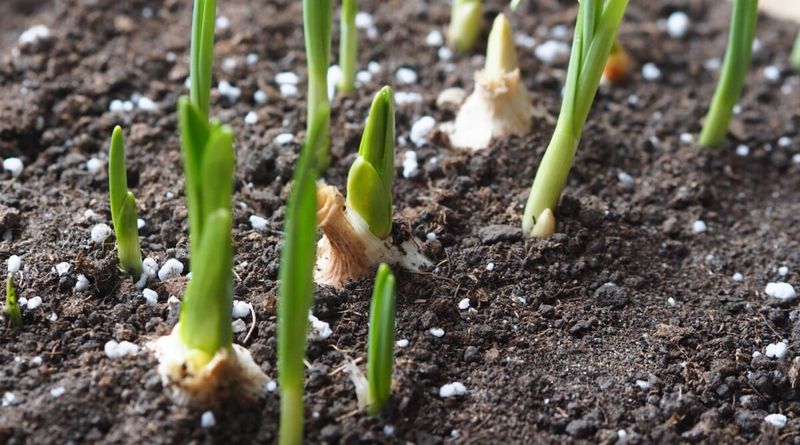
Pulling up a garlic bulb the size of your fist next July starts with what you do in the dirt this fall. Garlic is one of the few crops you plant before winter and forget about for months, so small mistakes now can mean skinny bulbs later.
The good news is that big-bulb growers follow a handful of simple habits that anyone can copy. Here are 15 of them, from picking cloves to knowing when to stop watering.
1. Start With Real Seed Garlic
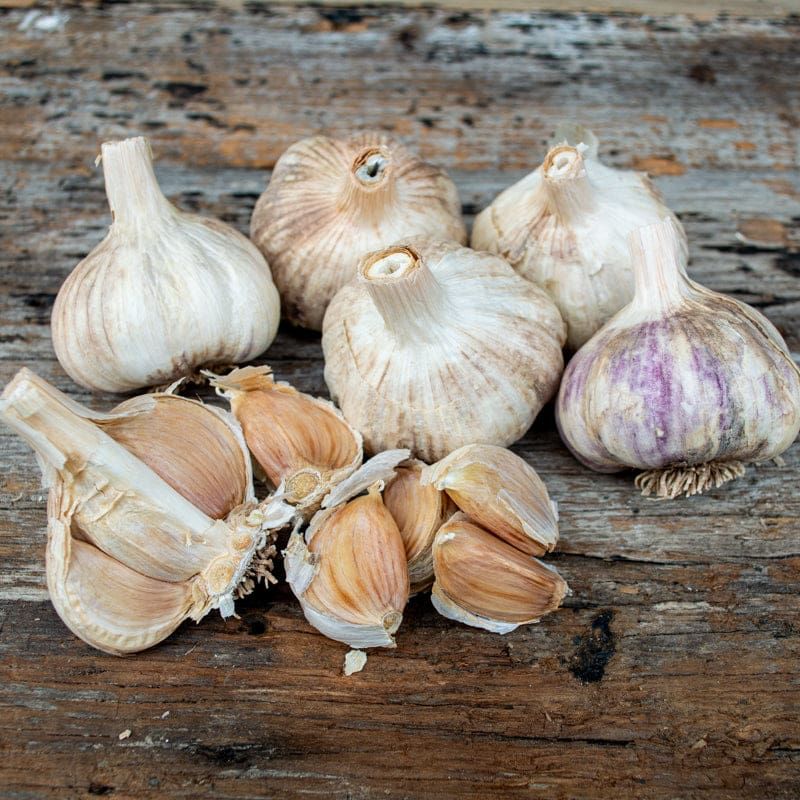
Grocery store garlic looks like a bargain, but it often comes from far away and may be treated to slow sprouting. That means it can sit in your soil and sulk instead of rooting.
Seed garlic from a reputable supplier or a local farmer is grown for planting, checked for disease, and suited to real US growing conditions. Bigger bulbs in usually means bigger bulbs out.
Order early, too. Popular varieties often sell out by late summer, and the best stock goes first.
2. Match Hardneck or Softneck to Your Winters
Picture a gardener in Minnesota and another in Georgia planting the same garlic. One of them is probably going to be disappointed.
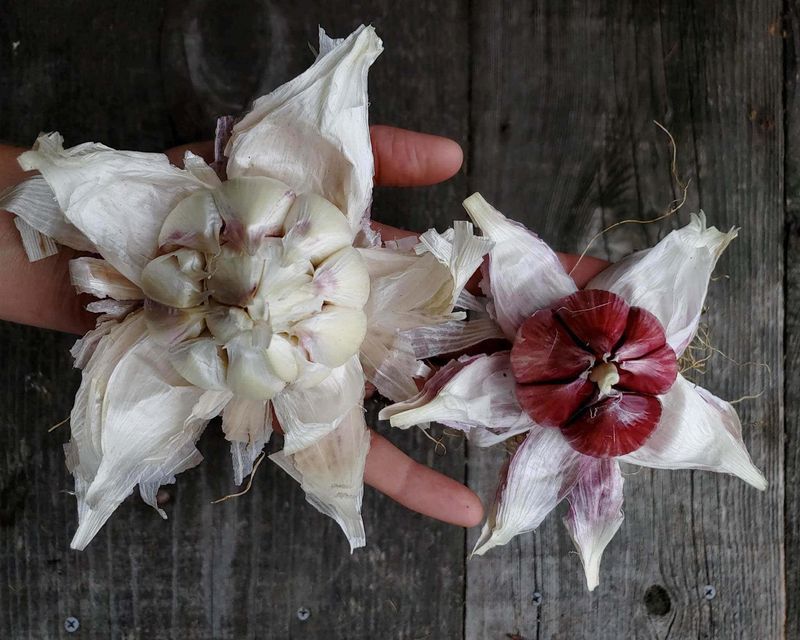
Hardneck types like ‘Music’ and ‘German White Stiffneck’ love cold and generally do best in USDA Zones 4 to 8. They often need around six weeks below 45°F to form proper bulbs, and they reward you with flavorful scapes in early summer.
Softneck types such as ‘Silver White’ and ‘Inchelium Red’ handle mild winters better. They also store longer and bend nicely into braids, which is a fun bonus if you like hanging garlic in the kitchen.
Not sure which fits? Ask your local extension office what neighbors grow successfully.
3. Plant Four to Six Weeks Before a Hard Freeze
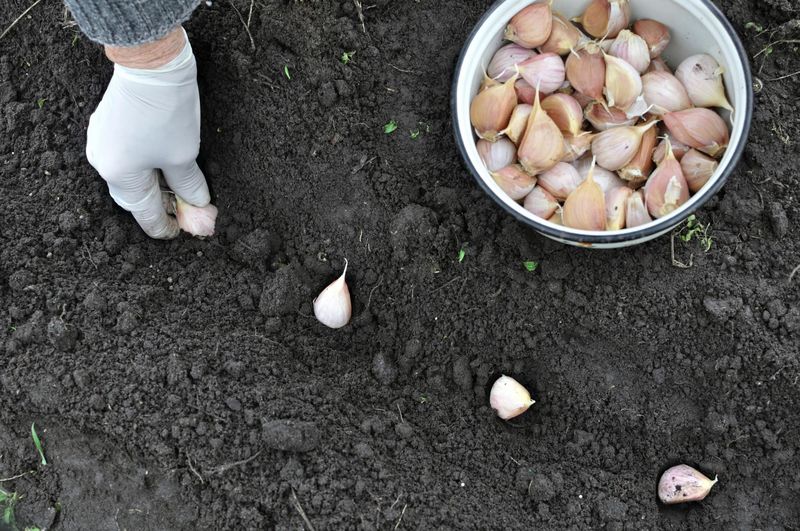
Timing is the sneaky secret behind fat bulbs. Cloves need a few weeks to grow roots before the ground freezes, but not so long that they push up lots of tender green leaves.
Aim for four to six weeks ahead of your first expected hard freeze, when soil sits around 50 to 60°F. For many northern gardens that lands in late September or October, while southern growers may plant in November or even December.
A cheap soil thermometer takes the guessing out of it.
4. Give Garlic the Sunniest Spot You Have
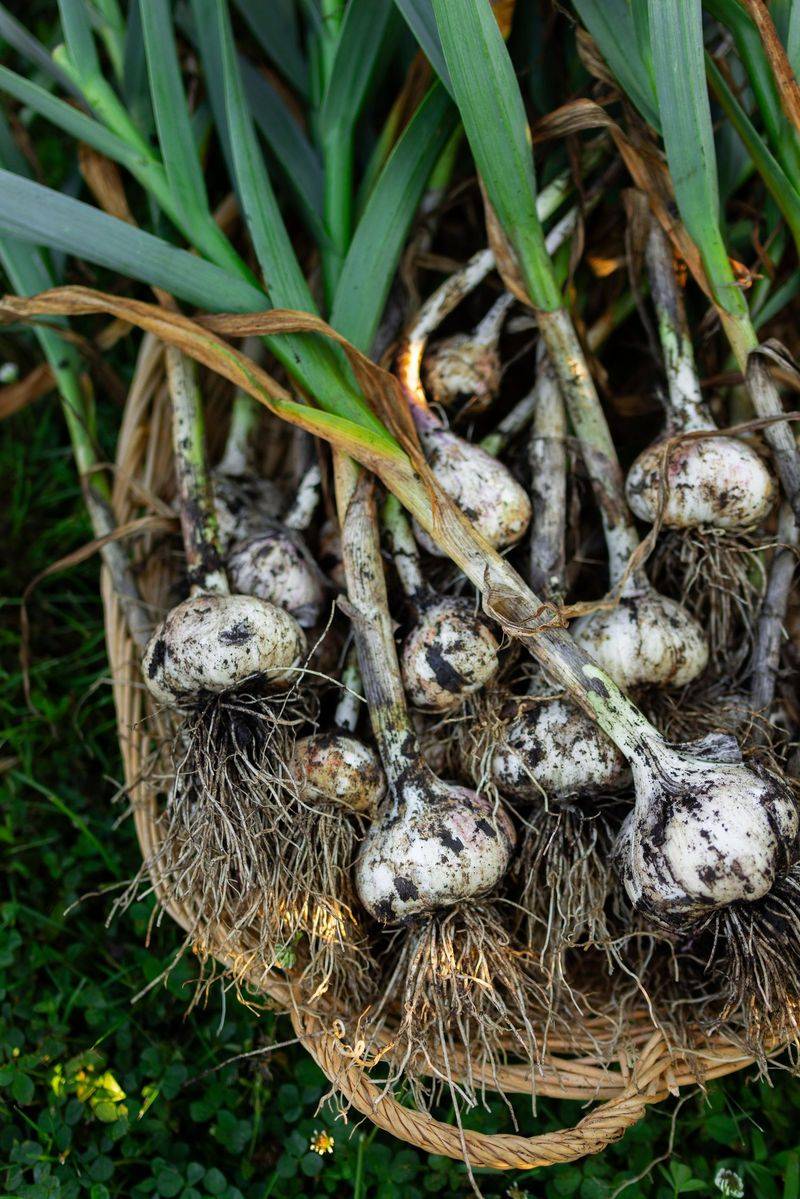
Garlic is a sun worshipper. Those green leaves are little solar panels, and every leaf helps feed the bulb hiding underground.
Pick a spot that gets full sun most of the day, ideally six hours or more. Watch out for places that get shaded once nearby trees leaf out in spring, since that is exactly when bulbs start sizing up.
5. Build Loose, Well-Drained Soil
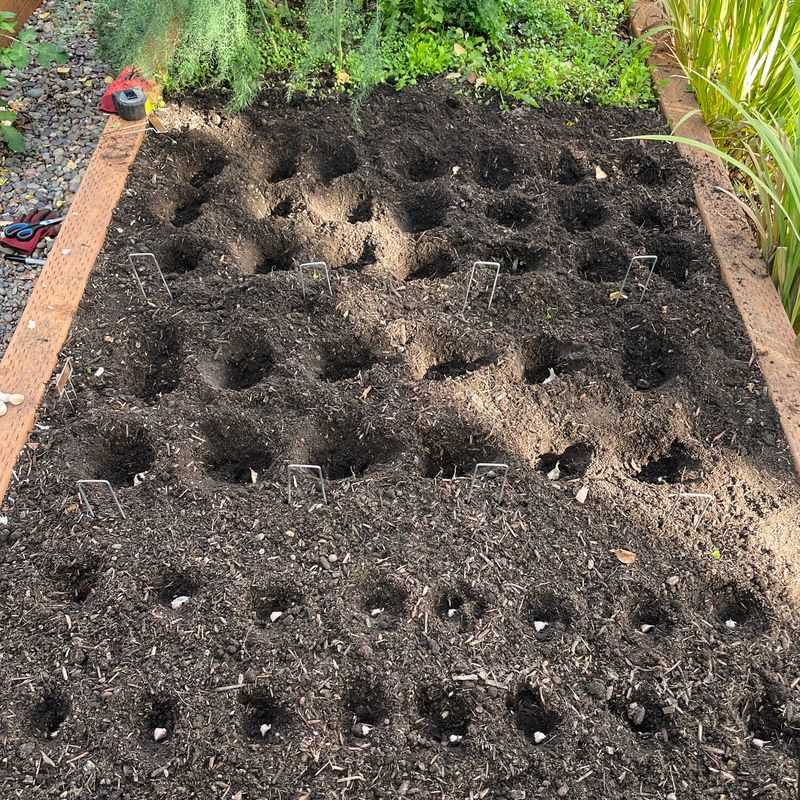
Soggy soil is garlic’s worst enemy. Cloves sitting in cold, wet clay all winter can rot before spring ever arrives.
Loosen the bed and mix in plenty of compost or well-aged manure. The goal is crumbly soil that drains fast but still holds some moisture, with a pH between about 6.0 and 7.0.
If your yard tends to puddle, a raised bed is a simple fix. Loose soil also gives bulbs room to swell instead of getting squeezed.
6. Rotate Away From Last Year’s Onions
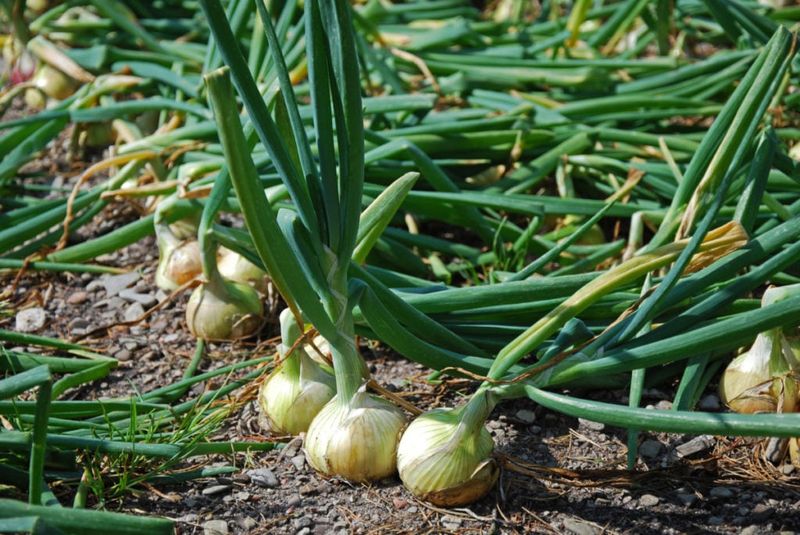
Garlic has some close cousins, and they share more than flavor. Onions, shallots, leeks, and chives can leave behind soil-borne diseases that happily attack your next allium crop.
Try to keep garlic out of any bed that grew alliums in the past two to three years. A quick sketch of where things grew each season makes this easy to track.
Rotation may also help keep the soil from getting worn out of the nutrients garlic craves.
7. Crack Bulbs Apart Right Before Planting
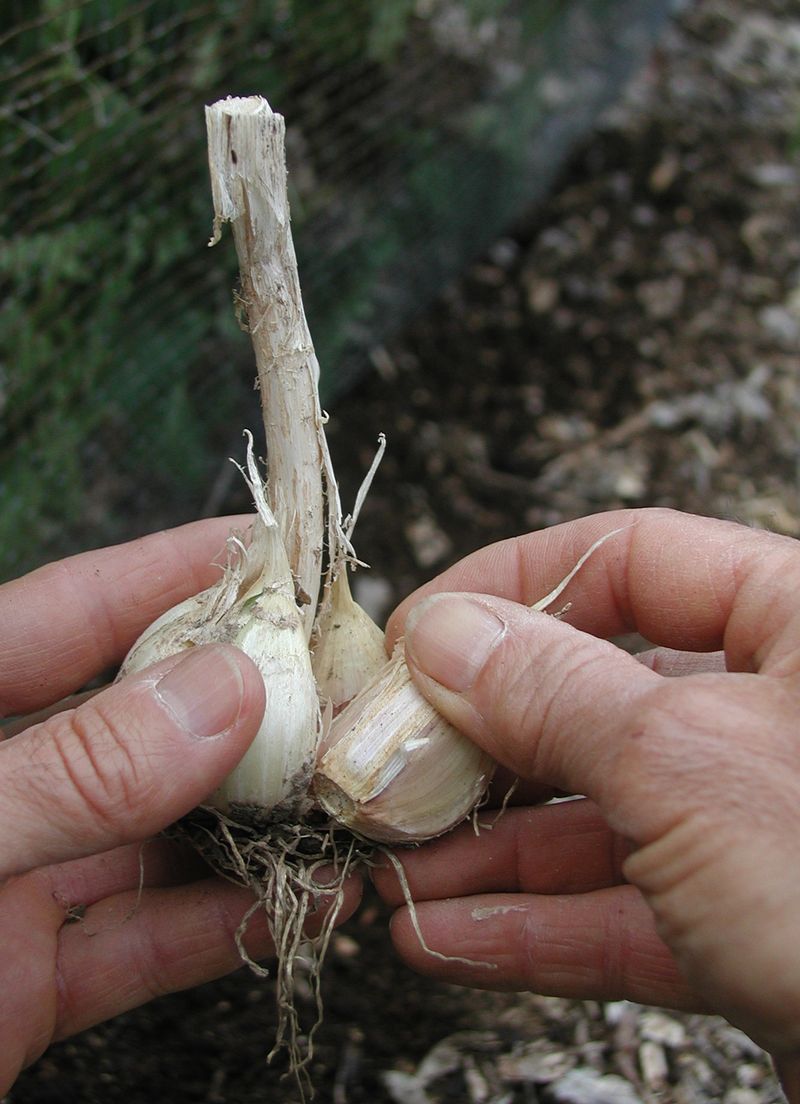
Popping cloves apart a week early feels efficient. Unfortunately, it lets the tiny root plate at the bottom of each clove dry out.
Wait until a day or two before planting, or better yet the same day. Fresh cloves tend to root faster, which means a sturdier start before the cold hits.
Twist the bulb gently so you don’t tear the bottoms.
8. Save the Biggest Cloves for the Ground
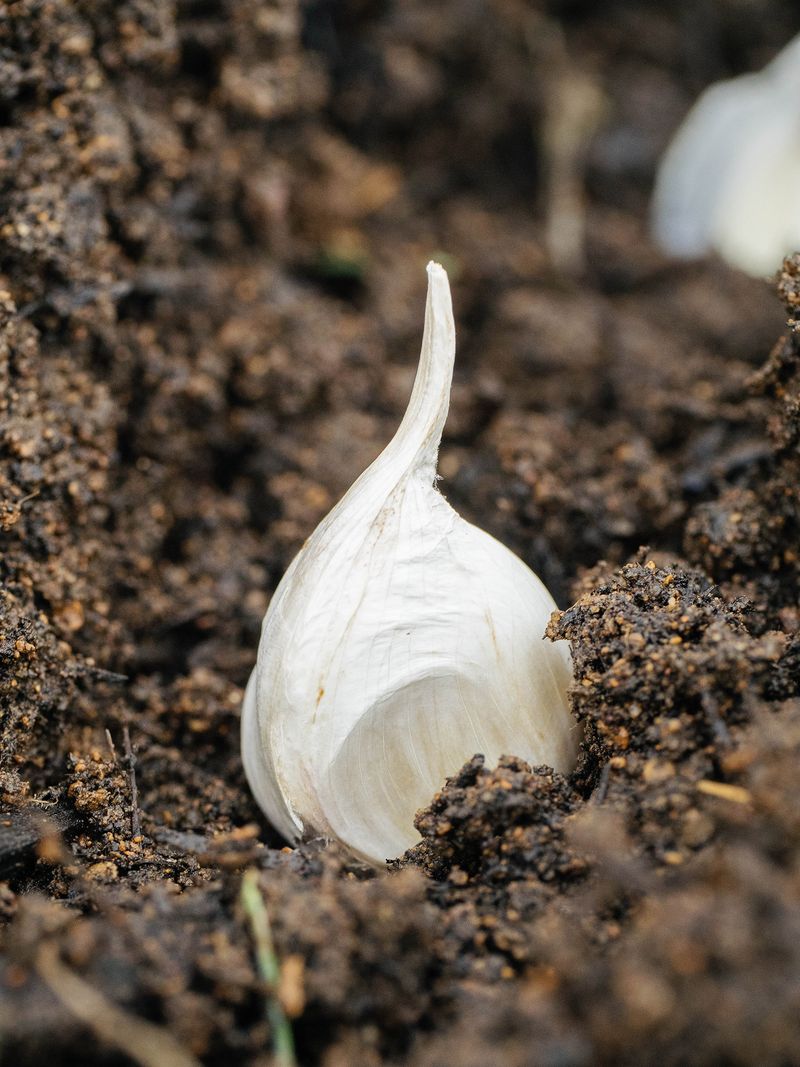
Here is a rule big-bulb growers swear by: plant the giants, cook the runts.
Large, healthy cloves carry more stored energy, and they usually grow into larger bulbs. Those tiny inner cloves can go straight into tonight’s pasta sauce.
Toss anything soft, moldy, or shriveled. One bad clove isn’t worth a whole season of space.
9. Leave the Papery Skin On
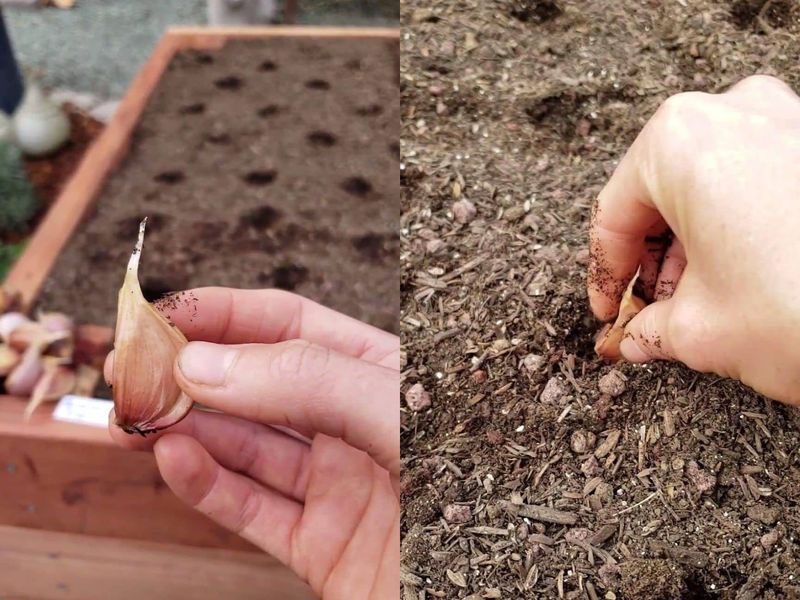
Peeling garlic is a kitchen habit, and it has no place in the garden. That thin papery wrapper works like a raincoat for each clove.
It shields the clove from moisture swings and some soil critters while roots get going. Just separate and plant, skin and all.
10. Point the Tips Toward the Sky
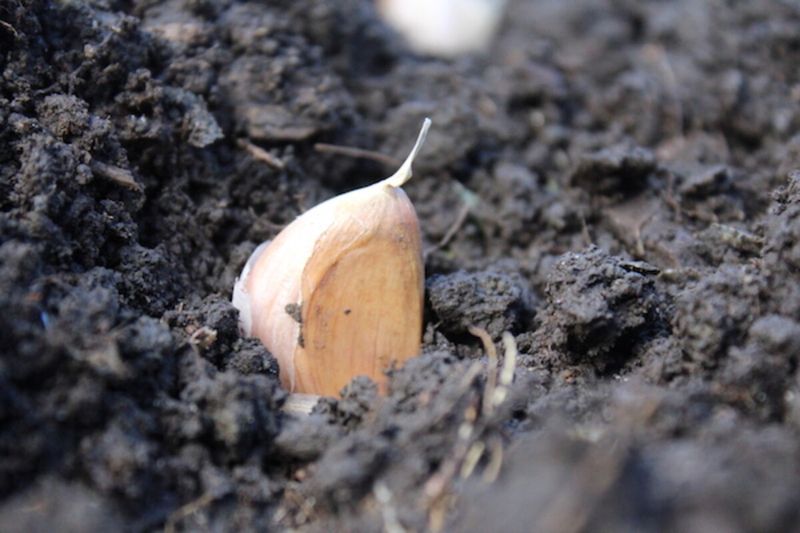
It sounds almost too obvious, yet upside-down cloves happen all the time, especially when you’re rushing before dark.
The pointy end is where the shoot grows, so it goes up. The flat, slightly rough end is the root plate, so it goes down.
A clove planted sideways or upside down will usually still try to grow, but it wastes energy turning around. That can mean crooked necks and lopsided bulbs come summer.
11. Bury Them Two to Four Inches Deep
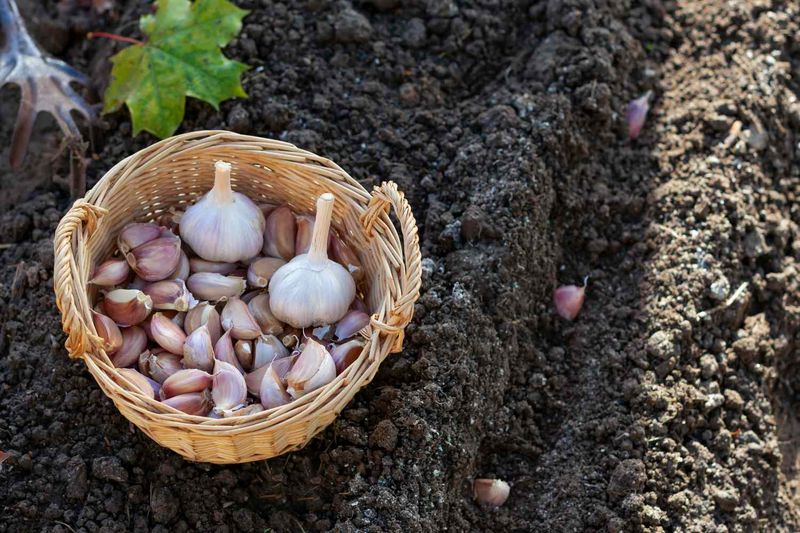
Depth matters more than most folks think. In most gardens, two to four inches of soil over the clove is the sweet spot.
Cold-winter gardeners can go a little deeper, up to five or six inches. Extra soil insulates the clove and may help prevent frost heaving, when freezing and thawing pushes cloves right out of the ground.
If you ever spot garlic lying on top of the bed in February, that’s the culprit. Just tuck it back in.
12. Space Cloves Six Inches Apart
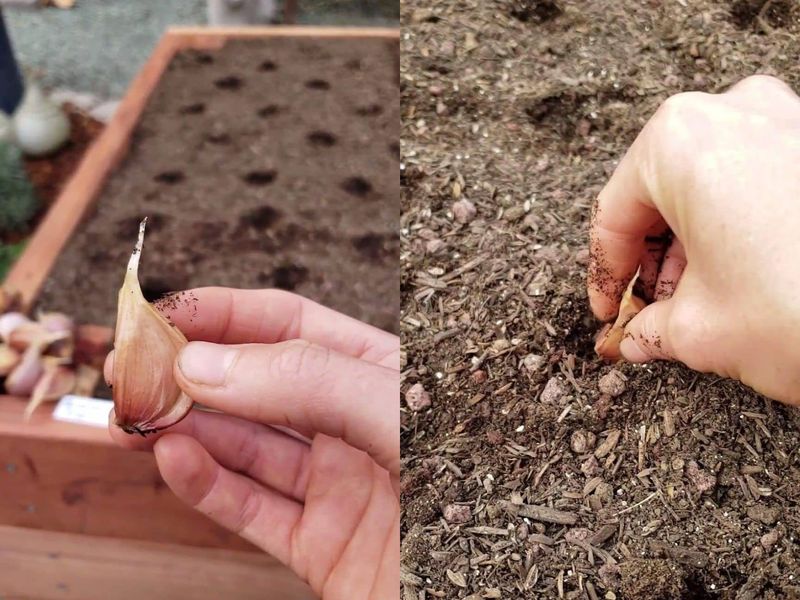
Crowding is the quiet thief of bulb size. Garlic planted shoulder to shoulder ends up fighting over water, food, and root room.
Give each clove four to six inches within the row, and leave about 10 to 18 inches between rows. Many growers chasing the fattest heads stick with a full six inches.
You’ll plant fewer cloves, but you’ll likely pull up bulbs you’re proud to show off.
13. Tuck the Bed Under Thick Mulch
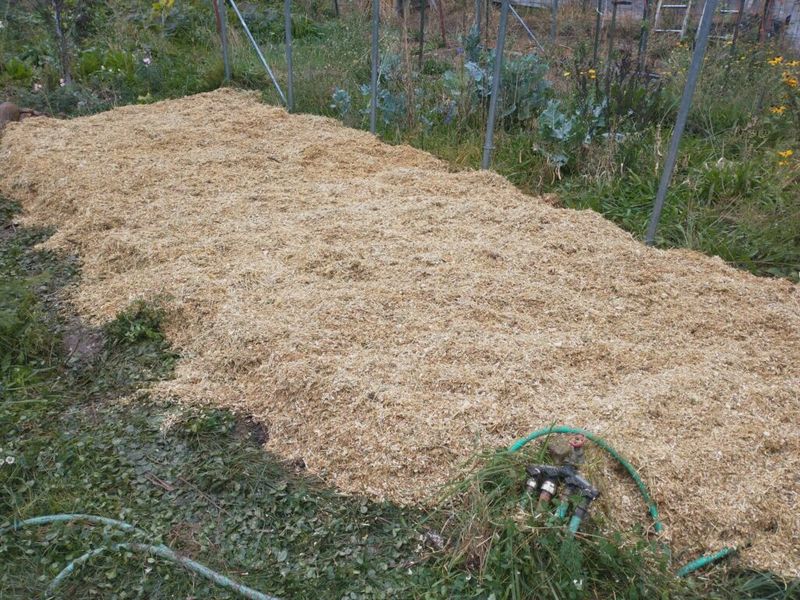
Think of mulch as a cozy winter blanket for your garlic. Once cloves are planted, spread two to four inches of straw or shredded leaves over the bed.
That layer helps keep soil temperatures steady, holds in moisture, and cuts way down on spring weeding. Garlic hates competing with weeds, so this one step pays off twice.
Skip hay if you can, since it often carries weed seeds. Plain straw is a safer pick.
14. Feed in Fall and Again in Early Spring
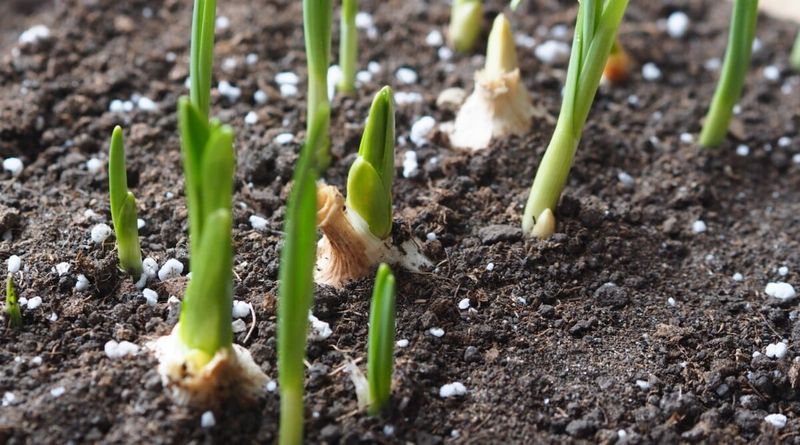
Garlic is hungry, plain and simple. Strong leaves in spring build strong bulbs in summer, and those leaves need nitrogen.
Work compost or a balanced fertilizer into the bed at planting. Then side-dress again in early spring when green shoots start growing fast.
Stop feeding by late spring, once bulbs begin to swell. Late nitrogen tends to push leaves instead of bulb size.
15. Water Steadily in Spring, Then Ease Off
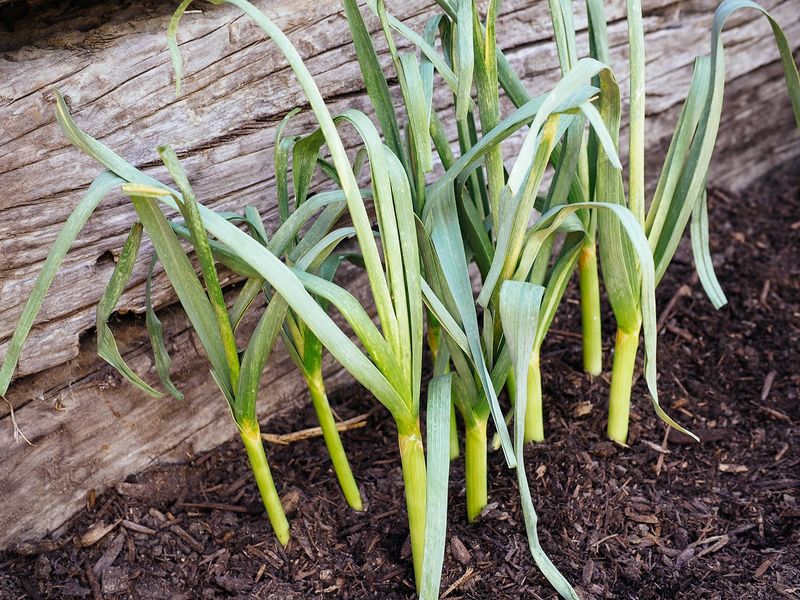
Winter usually takes care of itself, so don’t fuss with the hose until spring. That’s when garlic gets thirsty and bulbs start forming.
Aim for about an inch of water each week, from rain or watering combined. Uneven moisture during this stretch can mean smaller heads.
About two to three weeks before harvest, when lower leaves begin browning, back off watering. Drier soil helps bulbs firm up and store longer, and that’s how you end up with fat, tight heads ready to cure by midsummer.