
How And When To Feed Your Clematis For The Biggest, Most Colorful Blooms It’s Ever Given You
Clematis can cover a fence or trellis in stunning color, but getting the most out of your vine takes more than just watering and hoping. Many gardeners wonder if a single fertilizer trick can unlock a better display, and the honest answer is that feeding helps most when it matches your specific plant and soil. Knowing your clematis’s flowering group, checking soil health, and timing applications correctly gives you the best shot at reliable, colorful blooms year after year.
Replace the bloom guarantee with a better feeding question
Gardening advice about clematis often comes packaged with a bold promise: feed your vine at exactly the right moment and watch it explode into color. That framing sells fertilizer, but it skips a more useful question. Rather than asking when to feed for the biggest blooms ever, a more productive starting point is whether your particular clematis, growing in your particular soil and conditions, actually needs fertilizer at all right now.
Fertilizer can genuinely support growth when nutrients are limiting performance. However, North Dakota State University Extension’s review of bloom-booster fertilizers makes clear that no nutrient ratio or application timing is universally proven to produce the largest or most colorful flowers. Flower display depends on genetics, light, water, plant maturity, and health, not on fertilizer alone. Treating feeding as a guaranteed transformation sets up frustration when the vine underperforms for unrelated reasons.
Four variables shape whether and when feeding makes sense for your plant: the clematis’s flowering and pruning group, the fertility and pH of your soil, whether the vine grows in a container or in the ground, and the overall growing conditions it experiences. Oregon State University Extension identifies light, drainage, root health, and correct pruning as equally central to reliable flowering, noting that fertilizer cannot substitute for those basics.
The Royal Horticultural Society goes further, stating that established clematis growing in fertile ground may not require regular fertilizer at all when annual mulching and good cultural practices are maintained. Swapping the bloom guarantee for those four honest variables gives you a much more useful framework before you ever open a bag of fertilizer.
Start with the clematis’s flowering group
Before choosing a feeding date, you need to know which flowering group your clematis belongs to. The group tells you when the plant blooms, which stems carry the flowers, and therefore when fertilizer can actually do something useful. Applying nutrients at the wrong growth stage is not just wasteful; it can push the plant in the wrong direction entirely.
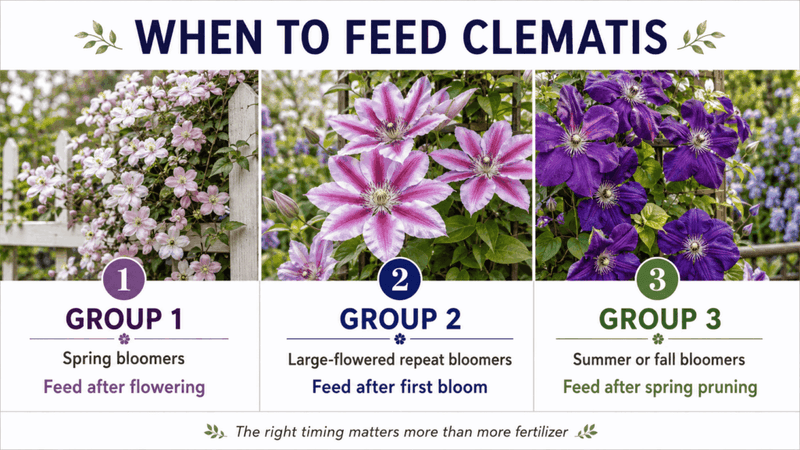
Group 1 clematis flower mainly on wood that grew the previous season, typically producing their display in early spring. Because the flower buds for this flush form on last year’s stems, fertilizing immediately before the bloom opens is unlikely to change that season’s flower count. The plant has already done the work. RHS growing guidance reinforces this, noting that Group 1 types need minimal pruning and that their flowering biology is tied closely to previous-season growth.
Group 2 includes the large-flowered hybrids many gardeners picture when they think of clematis. These vines bloom on old wood in late spring or early summer and often produce a second, lighter flush on new growth later in the season. That two-flush pattern means timing matters more with Group 2 than with either of the other groups, because applications need to be matched to each growth stage rather than assigned a single calendar date.
Group 3 clematis flower on growth produced in the current season, generally from summer into fall. University of Illinois Extension recommends feeding Group 3 vines after their late-winter or early-spring pruning, as new shoots begin to develop. Because all the flowering wood is fresh each year, feeding at that early active-growth stage has a logical connection to the season’s display in a way that it simply does not for a Group 1 vine about to open buds on last year’s stems.
If you are not sure which group your plant belongs to, check the label from when you purchased it, look up the cultivar name online, or note when and how heavily it blooms. Getting the group right is the single most important step before any feeding decision.
When should each group be fed?
Timing fertilizer to the plant’s growth stage makes the application far more likely to be useful. For established, summer-flowering clematis, a modest, label-rate application as active growth begins in spring, before the main bloom period, is the most practical general approach when feeding is warranted. The plant is building stems and foliage at that point, and available nutrients can support that work. This is not a universal guarantee of larger flowers; it is simply a sensible window when the vine can use additional nutrition.
University of Illinois Extension advises against fertilizing any clematis while it is in bud or actively blooming, and Clemson Cooperative Extension echoes that caution. Calendar-based schedules from different regions can sometimes overlap with flowering, depending on your local climate and the specific cultivar, so treating the bloom period as a pause in feeding is the safest default unless a product label or a local extension recommendation specifically says otherwise.
For Group 1, the most logical feeding window opens after flowering finishes. The plant has completed its main display and is now generating the new growth that may carry next year’s buds. Feeding at this stage supports that vegetative push. Frame it as an opportunity to sustain the vine’s energy rather than a proven formula for multiplying next spring’s flower count, because the connection between a post-bloom feeding and the following year’s display involves many other variables.
Group 2 benefits from a spring feeding before the first flush of bloom, when active growth is underway. A later application may support the new growth responsible for the second flush, but apply it after the first bloom period has wound down rather than while flowers are still open. The RHS growing guide points out that Group 2 vines need careful pruning management, and feeding decisions should align with that same careful attention to growth stage.
Group 3 vines get pruned hard in late winter or early spring, leaving little or no old wood. Feed them after that pruning, as new shoots begin to push out. University of Illinois Extension specifically places Group 3 feeding at this post-pruning, new-growth stage. Regional extension programs differ in how many times per season they recommend feeding, with some suggesting two or three applications spread across spring, summer, and fall.
Those differences reflect local climate, soil type, and formulation, so a local extension office or soil test result is a better guide to frequency than any single national calendar.
Choose the fertilizer by ratio, release rate, and need
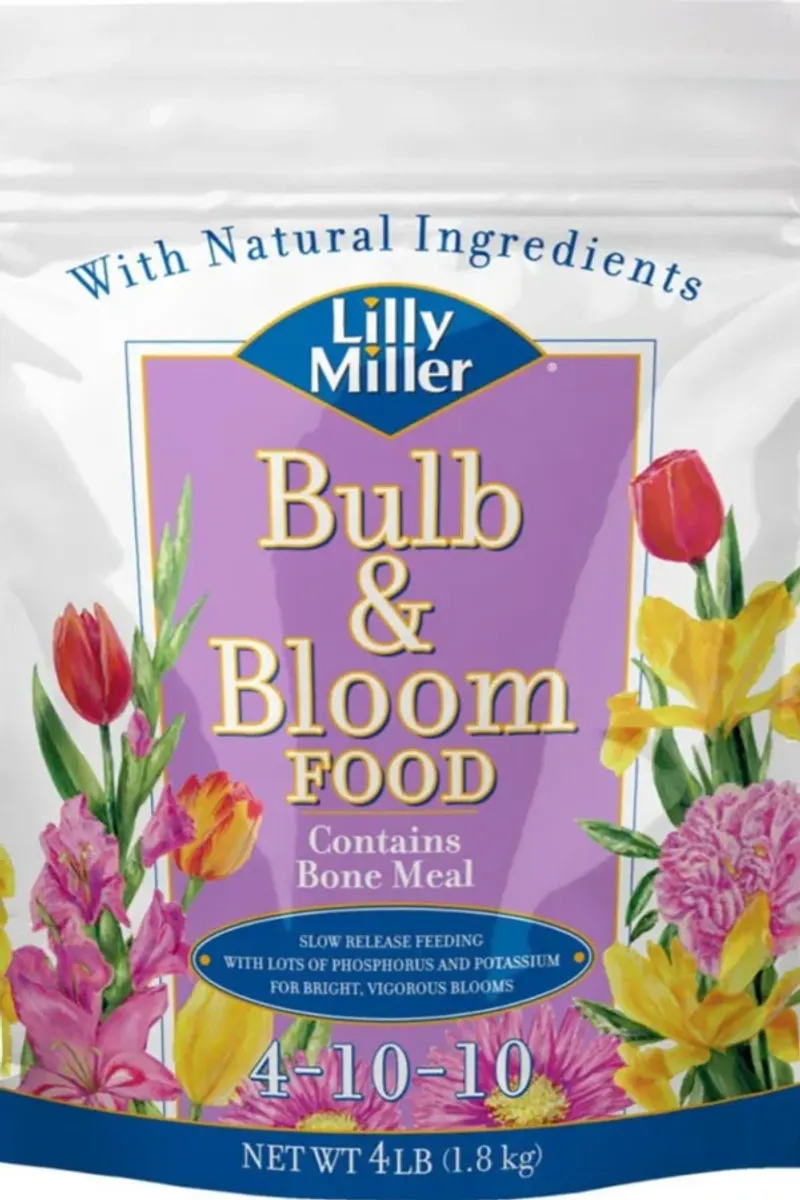
Fertilizer labels carry two distinct pieces of information that gardeners often blur together: the nutrient ratio, shown as the N-P-K numbers, and the release rate, which describes how quickly those nutrients become available in the soil. A slow-release product is not automatically low in nitrogen, and a balanced fertilizer is not automatically slow-release. Keeping those two characteristics separate helps you pick a product that fits your plant and situation rather than defaulting to whatever the garden center positions as a flowering formula.
North Carolina State Extension recommends a low-nitrogen, slow-release fertilizer applied every four to six weeks during the growing season as one well-supported approach. That recommendation combines both characteristics intentionally: a lower nitrogen level reduces the risk of pushing excessive leafy growth at the expense of flowers, while slow release lowers the risk of root injury from a concentrated dose. The University of Vermont similarly recommends low-nitrogen, slow-release products for clematis.
UMass Extension takes a different approach, recommending a general-purpose balanced fertilizer applied in April, June, and August for Massachusetts conditions. That is a perfectly reasonable regional recommendation, but it applies to a specific climate and soil context. A balanced fertilizer with equal or near-equal N-P-K numbers is not the same as a low-nitrogen product, and treating these two options as interchangeable can lead to choosing one when the other would serve your soil better.
Oregon State University Extension lists rose or tomato fertilizers in roughly the 5-10-5 or 5-10-10 range, along with compost or chicken manure, as suitable options for established clematis. Those products carry more phosphorus relative to nitrogen, and some gardeners assume that means more phosphorus automatically means more flowers. North Dakota State University Extension’s analysis of bloom-booster fertilizers directly challenges that assumption, concluding that high phosphorus does not reliably increase flower production in general garden use and should not be applied routinely without a soil-test indication of deficiency.
Excess fertilizer of any type carries real risks. University of Minnesota Extension warns that over-application can damage plant roots, promote weak, succulent growth that is more susceptible to disease, reduce flowering, and contribute to nutrient runoff into waterways. Follow the product label rate, resist the temptation to apply extra for a bigger result, and choose a product based on your soil’s actual needs rather than on marketing language about blooms.
Test the soil before adding routine fertilizer
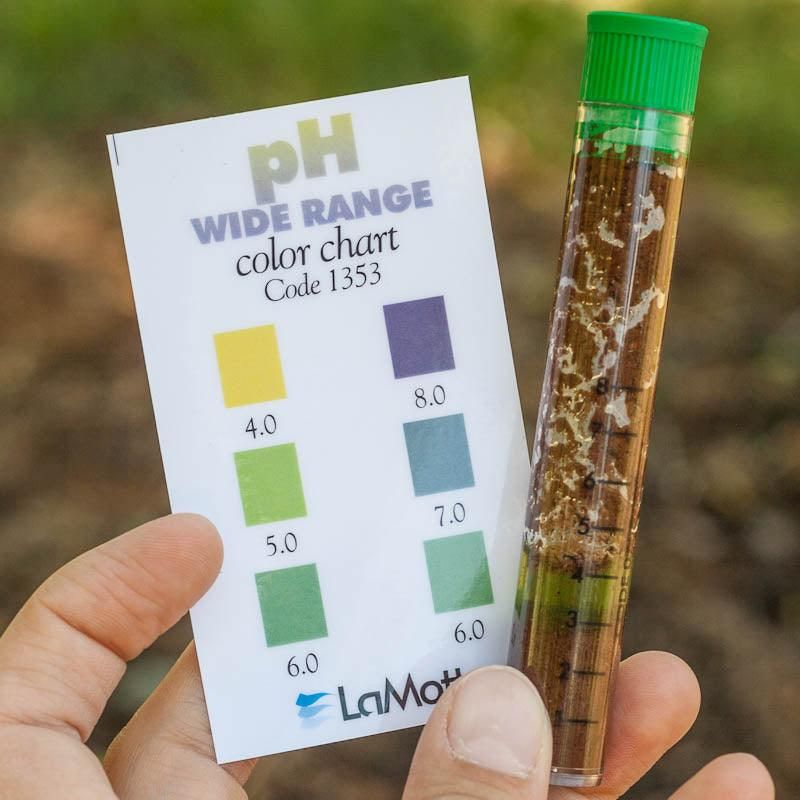
Reaching for a fertilizer bag without knowing your soil’s current fertility level is a bit like adding salt to a dish you have not tasted yet. You might improve it, or you might ruin it. A soil test removes that guesswork by telling you what nutrients are already present, what is missing, and whether your soil pH is in the range where clematis roots can actually absorb what you apply.
Penn State Extension’s soil management guidance identifies testing as the foundational step for determining fertilizer requirements for ornamentals. Without that baseline, routine applications can push certain nutrients well beyond what the plant needs, creating imbalances that may suppress flowering rather than encourage it. Most US state cooperative extension services offer affordable soil testing through their labs, and the results typically include specific amendment recommendations for your region.
The RHS specifically notes that established clematis in fertile soil, maintained with an annual mulch of well-rotted organic matter, may not need any regular supplemental fertilizer. If your garden bed already receives compost, aged manure, or similar organic amendments each year, the soil may already be supplying adequate nutrition. Adding a commercial fertilizer on top of that without testing is not a bonus; it is an unnecessary risk of overfertilization.
There is also a meaningful difference between correcting a documented nutrient problem and applying fertilizer in the hope of forcing a bigger or brighter display. If a soil test reveals low phosphorus or a pH problem that is locking out nutrients, addressing that specific issue is likely to help. Applying extra fertilizer to a plant that is already well-nourished, but performing poorly because of insufficient light or incorrect pruning, will not fix the real problem. Test first, then feed only what the results support.
Containers require a different feeding routine
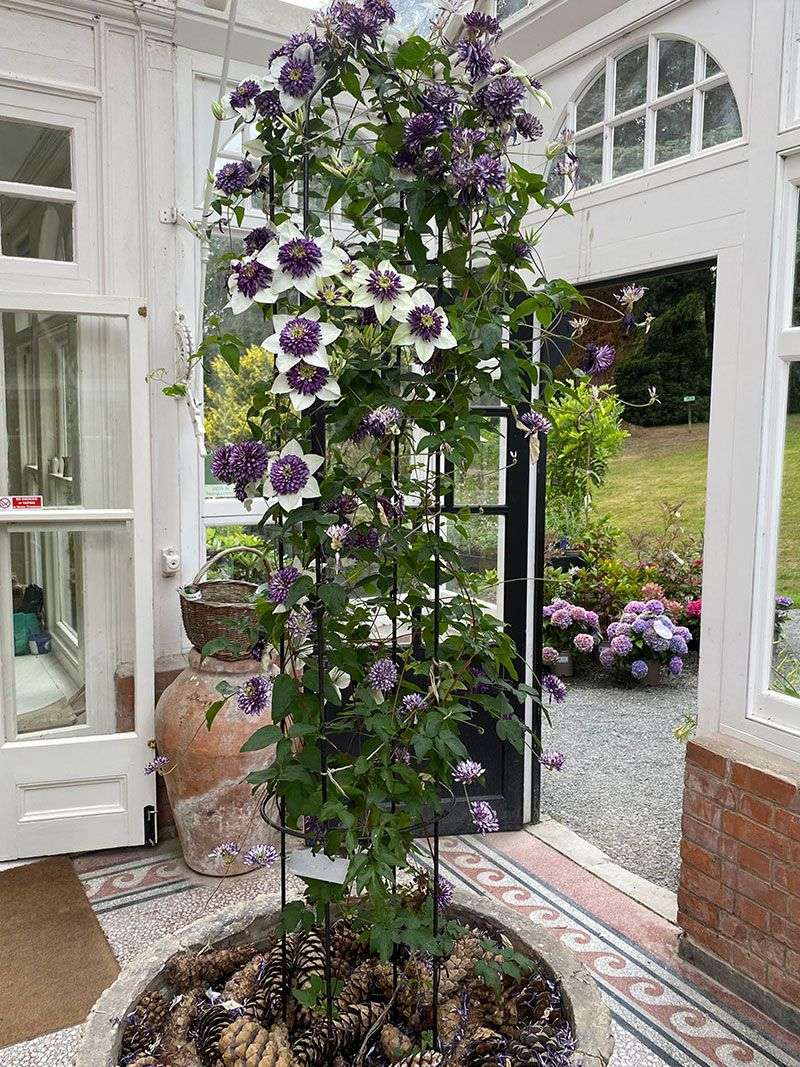
A clematis growing in a container lives in a fundamentally different nutritional environment than one planted in a garden bed. The root system is confined to whatever volume of potting mix the container holds, and every watering event flushes some dissolved nutrients out through the drainage holes. Over time, even a well-formulated potting mix becomes depleted in ways that garden soil, which connects to a much larger reservoir of minerals and organic matter, generally does not.
The RHS recommends feeding container-grown clematis through spring and summer using an organic-based, general-purpose liquid fertilizer applied at the label rate. Liquid feeding suits containers well because it delivers nutrients directly to the root zone in a form the plant can use quickly, and the frequency can be adjusted as growth slows in late summer. That regular, label-directed schedule is appropriate for container culture in a way that it simply is not for an established in-ground vine growing in fertile, well-amended soil.
New plantings in containers, or vines that have just been moved into a larger pot, need a gentler approach. Oregon State University Extension cautions against overfertilizing new plants and emphasizes that newly established vines need time to develop a healthy root system before they are ready to put energy into a full flowering display. Watering consistently and avoiding heavy feeding during the first season gives the roots a chance to settle in. Judging a new clematis’s performance before it has had a full growing season to establish is a common source of disappointment that no amount of fertilizer can shortcut.
Apply fertilizer without injuring the vine
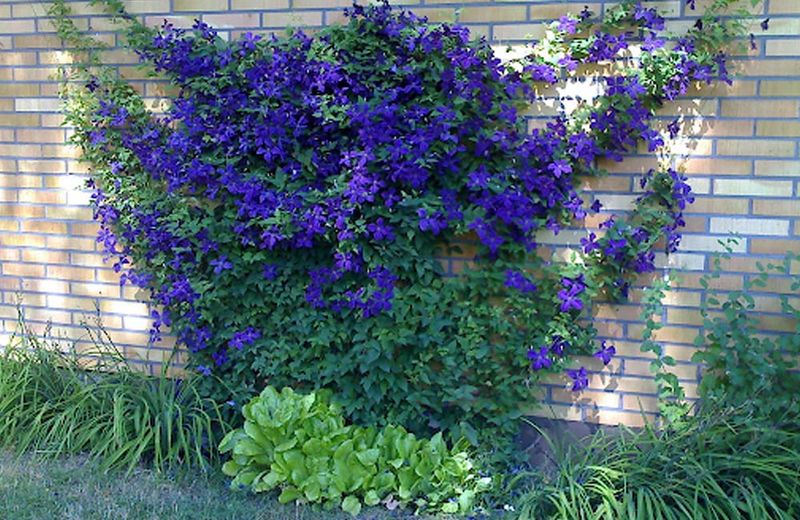
Getting the timing and product right only pays off if the application itself is done safely. A few straightforward practices protect the plant’s roots and stems while making sure the nutrients actually reach where they can be used.
Feed only when the plant is actively growing. Applying fertilizer to a vine that is dormant, stressed, or just coming out of winter dormancy before new growth is visible does not help the plant and can sit in the soil in ways that may cause problems. If the soil around your clematis is bone-dry at application time, water it thoroughly first before using any soluble fertilizer. Applying concentrated liquid nutrients to dry roots increases the risk of chemical burn, which can set the plant back rather than push it forward.
Keep granular fertilizer and any aged manure away from the crown and stems. Clemson Cooperative Extension advises careful placement around clematis, because the crown is a vulnerable point on the plant. Scatter granules in a ring around the drip line rather than piling them against the base, and water them in after application if the product label requires it. Most granular fertilizers need moisture to begin breaking down and moving into the root zone.
Slow-release granular products can simplify the feeding schedule because a single application feeds the plant over an extended period, reducing the chance of accidentally over-applying with repeated treatments. However, University of Minnesota Extension reminds gardeners that even slow-release products should be used at the label rate, not doubled up in the hope of accelerating results. Finally, maintaining a layer of mulch or growing low companion plants around the base of the clematis keeps the root zone cooler and more evenly moist, which supports healthy root function. Just keep the mulch pulled back from the stems themselves to avoid creating conditions that encourage crown rot.
Check growing conditions before blaming nutrition
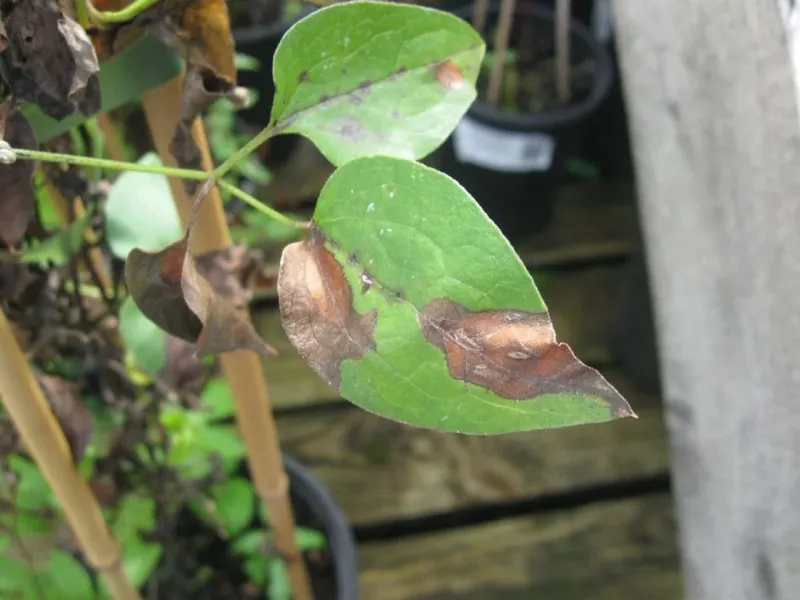
When a clematis produces a disappointing display, the instinct is often to reach for fertilizer. Before doing that, walk around the plant and look at the conditions it is actually living in, because nutrition is rarely the first place the problem originates.
Light is one of the most common hidden culprits. Most clematis varieties need roughly six hours of direct sunlight to flower reliably. A vine that was planted in a bright spot a few years ago may now be shaded by a tree that has filled in or a fence that blocks the afternoon sun. No amount of feeding compensates for that lost light, because the plant simply does not have the energy input to produce flowers at full capacity.
Oregon State University Extension lists adequate light as one of the central requirements for long-lasting color, alongside consistent moisture and well-drained soil.
Drought stress during bud formation can cause flowers to drop before they open or produce smaller blooms regardless of fertility. Poor drainage creates root problems that mimic nutrient deficiency symptoms, including yellowing leaves and weak growth. Root competition from nearby trees or aggressive shrubs can rob the clematis of both moisture and nutrients even in otherwise fertile soil. Broken or crushed stems from wind, wildlife, or accidental damage interrupt the flow of water and nutrients to the growth above the injury.
Disease and pests also belong on the diagnostic checklist. Clemson Cooperative Extension notes that excess nitrogen can produce soft, succulent growth more susceptible to fungal infection, and that clematis wilt, root-feeding pests, and poor drainage are all possible causes of sudden decline. Flower color and size also reflect cultivar genetics, temperature during bud development, and overall plant maturity. A young vine in only its second season in the ground is simply not going to perform like an established five-year-old plant, no matter how carefully it is fed.
The RHS growing guide emphasizes diagnosing the actual limiting factor before intervening, a habit that saves time, money, and the plant itself.
Match the feeding move to your vine
Putting this all together comes down to four practical steps you can work through before opening any fertilizer bag. First, identify your clematis’s flowering group. Second, check whether the vine is growing in a container or in fertile, well-amended garden soil, because those two situations call for meaningfully different feeding approaches. Third, consider getting a soil test so you know whether nutrients are actually limiting, rather than assuming they are.
Fourth, feed at the growth stage that matches your group: after pruning for Group 3, after flowering for Group 1, and in spring before the first flush for Group 2, always following the product label rate.
Spring feeding is a practical starting point for an established, summer-flowering clematis when the plant is actively growing and conditions suggest nutrients may help. It is not a guaranteed bloom-maximizing formula, and it will not override poor light, drought, drainage problems, or incorrect pruning. RHS guidance, University of Illinois Extension, and Oregon State University Extension all point to light, moisture, cool roots, correct pruning, drainage, cultivar selection, and plant health as equal partners in producing a strong display. A well-fed clematis growing in the wrong conditions will still struggle; a healthy clematis with good light, consistent moisture, and correct pruning will often reward you handsomely even with modest nutrition.