
How And When To Feed Your Clematis For The Biggest, Most Colorful Flowers You’ve Ever Seen
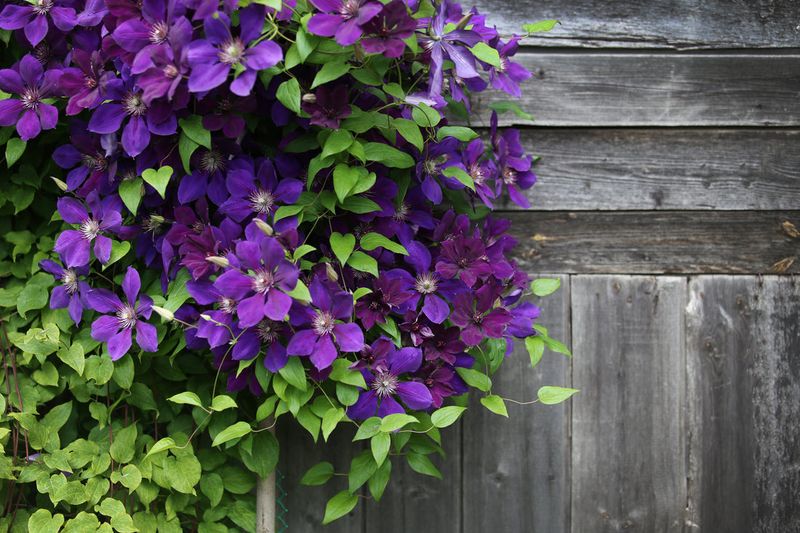
Your clematis is climbing, but the flowers are sparse, small, or just not what you hoped for, and it’s easy to wonder if you’re not feeding it right. The good news is that a thoughtful approach to fertilizer, combined with a few key growing conditions, can help your vine reach its full natural potential.
Before you reach for a product, though, it pays to understand what feeding can and cannot do for your plant.
Fertilizer supports flowering but cannot guarantee it
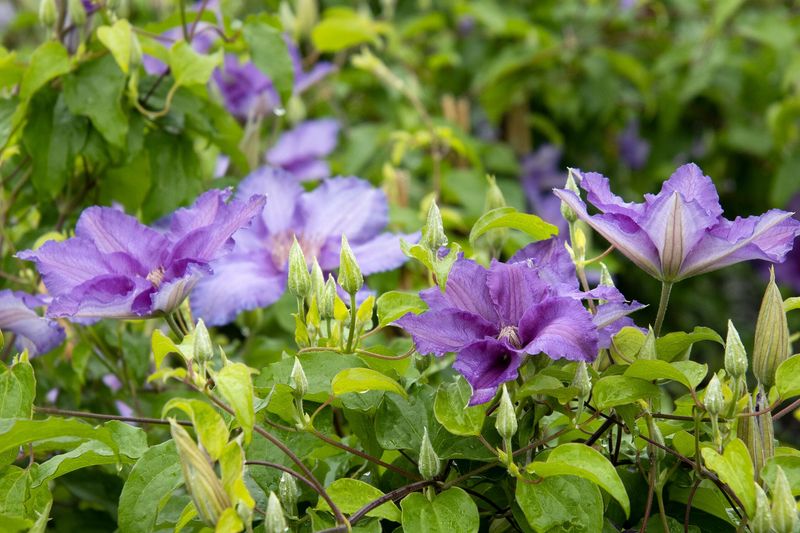
Many gardeners assume that a struggling clematis just needs more fertilizer, but feeding is only one piece of a much larger puzzle. Fertilizer can genuinely help when nutrients are limiting a plant’s growth, yet it cannot override the traits built into a cultivar’s genetics, fix a shady location, correct drainage problems, or make up for a disease that is quietly attacking the roots.
The goal of feeding is to help your clematis reach its natural flowering potential, not to manufacture a result the plant’s own biology does not support.
Iowa State University Extension lists low light, excessive nitrogen, improper pruning, winter damage, disease, and immaturity as documented causes of poor flowering, placing nutrient shortage well down the list of likely culprits. That means a vine producing few blooms might be reacting to last winter’s cold damage or to a pruning cut made at the wrong time of year, not to an empty soil.
Buying a bag of fertilizer before checking those factors wastes money and may actually make flowering worse, especially if high nitrogen pushes the plant into lush leaf growth at the expense of buds.
UC IPM’s clematis guidance underscores that the plant performs best when its leafy top receives substantial sun while its roots stay cool and moist, conditions that no fertilizer can replicate. Flower color and size are also strongly tied to cultivar genetics, heat levels, and water consistency.
A feeding program built on realistic expectations, starting with a site check rather than a shopping trip, puts you in a far better position to see genuinely improved results from your vine.
Check the growing conditions before you feed
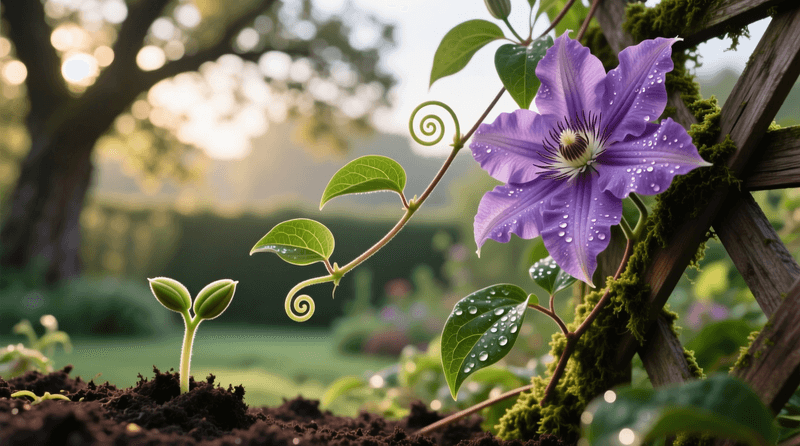
When a clematis produces disappointing blooms, the fastest path forward is a quick site assessment, not a trip to the garden center. Start with sunlight: most large-flowered varieties need roughly six hours of direct sun each day to flower well, and a vine tucked under a tree canopy or against a north-facing wall is fighting an uphill battle that no fertilizer can fix.
UC IPM notes that clematis thrives with sun on its leafy growth and cool, shaded conditions at the root zone, so both ends of the plant matter.
Next, check moisture and drainage. Roots sitting in waterlogged soil can show yellowing leaves and wilted stems that look exactly like a nutrient deficiency, leading gardeners to fertilize a plant that actually needs better drainage.
Consistent watering matters too: Clemson Cooperative Extension recommends at least one inch of water per week during dry periods, either from rainfall or irrigation. Skipping that baseline and then adding fertilizer is a bit like filling a car’s gas tank while ignoring a flat tire.
Plant age is another factor worth examining before assuming a feeding problem. Iowa State Extension explains that some newly planted clematis vines take up to three years to establish a root system strong enough to support reliable flowering.
A young plant that blooms sparsely in its first or second season may simply be doing exactly what a young plant does. Also note any signs of visible disease, crown damage, or stress before concluding that nutrients are the limiting factor.
A trellis or support structure is genuinely useful for guiding the vine and keeping it organized, but orderly climbing does not by itself determine how many flowers appear or how vivid their color turns out to be.
Use soil testing alongside the growing situation
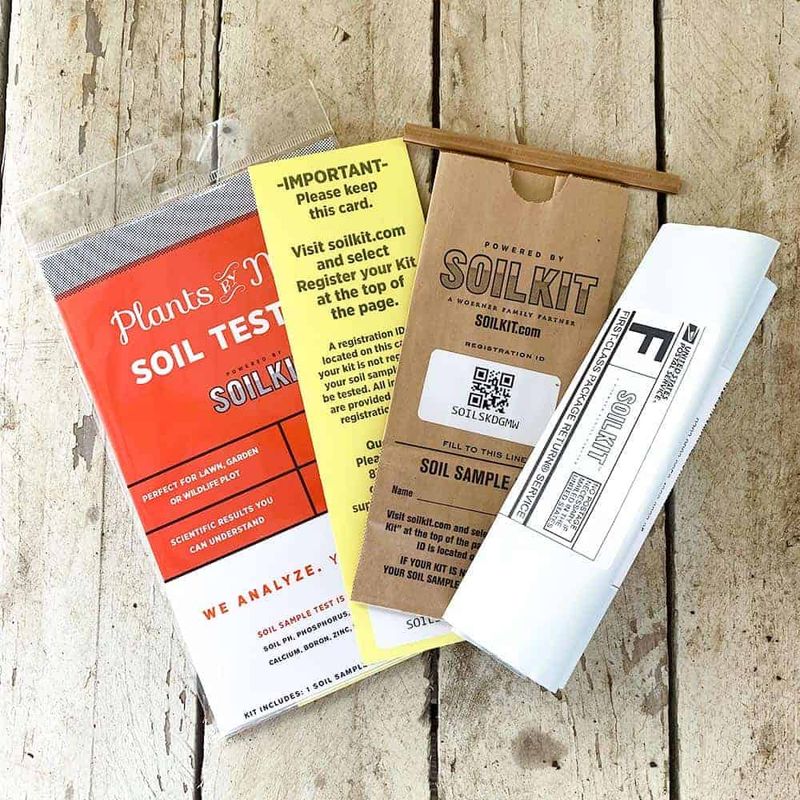
Persistent poor growth that survives a thorough site check is a reasonable signal to look at the soil itself. A soil test is the most reliable way to find out whether a specific nutrient is actually low, and it tells you which nutrients are already plentiful so you can avoid adding more of what is not needed.
University of Minnesota Extension points out that applying nutrients already present in adequate amounts can harm plants and send excess phosphorus and nitrogen into nearby waterways, a real concern when runoff carries overapplied fertilizer off your property.
Phosphorus deserves particular attention here. Many gardeners reach for a high-phosphorus “bloom booster” when flowers disappoint, but adding phosphorus to soil that already has enough of it does not reliably improve flowering and can create environmental problems.
The EPA’s phosphorus indicators identify excess phosphorus in water as a driver of algae blooms and oxygen depletion that harms aquatic life. A soil test removes the guesswork so you only add what is genuinely missing.
The soil test result is important, but it is not the only thing to weigh. A container-grown clematis with a restricted root volume, a recently planted vine still getting established, or a plant growing in noticeably depleted soil may benefit from supplemental feeding even when a broad soil test looks reasonable.
Yellow leaves, wilting, or sparse blooms can come from drought, waterlogging, root disease, heat stress, or salt buildup just as easily as from a nutrient gap. The RHS growing guide notes that established clematis in fertile garden soil often do not need regular fertilizer at all, which is a useful reminder that feeding is a targeted tool, not a universal routine.
Established clematis may need organic matter more than regular fertilizer
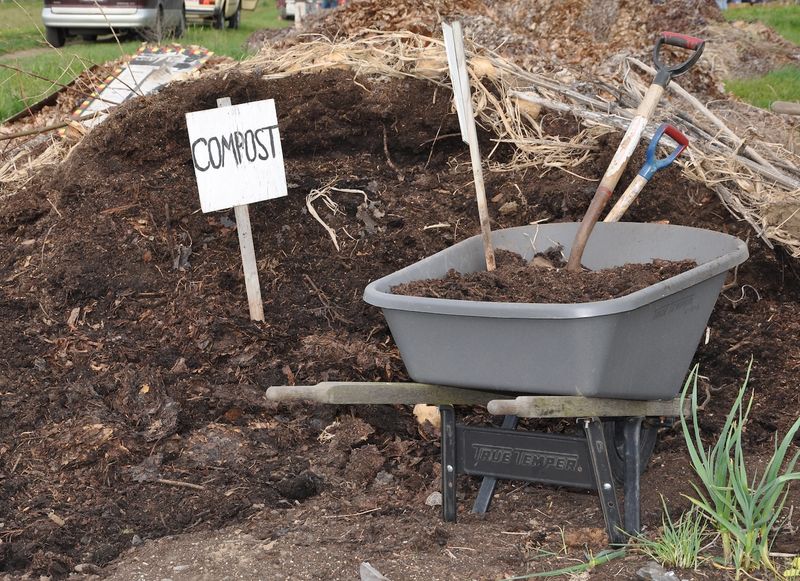
For a clematis that has been in the ground for several years and is growing in reasonably fertile soil, the most practical spring step is often a layer of organic matter rather than a bag of fertilizer. The RHS recommends applying a 2- to 3-inch layer of compost, leaf mold, or well-rotted manure around the plant each spring, keeping it clear of the stems to avoid rot.
This approach feeds the soil biology gradually, helps retain moisture, moderates root temperature, and reduces the risk of overfeeding, all without committing to a fertilizer schedule that the plant may not need.
Regional timing recommendations do vary, and no single national calendar fits every garden. UMass Extension describes a three-application schedule spread across the growing season, while Clemson Cooperative Extension emphasizes using a soil test first and advises against fertilizing while the plant is actively flowering.
The RHS, meanwhile, takes the most conservative stance, noting that fertile in-ground plants generally do not need regular supplemental feeding. These differences reflect real variation in soils, climates, and growing conditions across the United States, so your local extension service and your own soil results are better guides than any fixed date on a calendar.
The key practical point is that more fertilizer is not automatically better. Adding nutrients a plant does not need can shift its energy toward producing leaves and stems rather than flowers, and it can alter the soil chemistry in ways that make it harder for roots to absorb what they actually require.
Starting with organic matter each spring gives you a low-risk baseline that supports soil health broadly, and you can layer in supplemental fertilizer later if a soil test or clearly deficient growth justifies it.
Choose a restrained fertilizer only when it is warranted
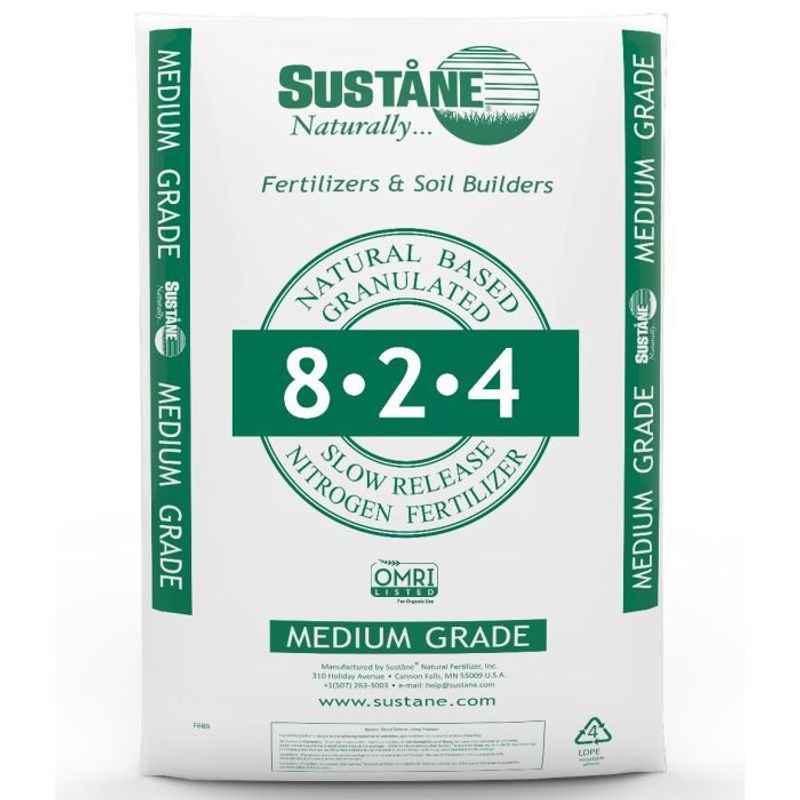
Once a soil test or a clear growing-situation rationale confirms that supplemental fertilizer is genuinely needed, product choice matters. Iowa State Extension recommends an all-purpose garden fertilizer with relatively modest numbers rather than a concentrated or high-analysis product.
The reasoning is straightforward: excessive nitrogen pushes the plant to produce abundant foliage and vigorous new stems, often at the direct expense of flower buds. A vine that looks lush and green but refuses to bloom is a classic sign of nitrogen overload, not nitrogen shortage.
North Carolina State Extension recommends a low-nitrogen, slow-release fertilizer applied every four to six weeks during the growing season when supplemental feeding is appropriate for the situation. Slow-release formulations deliver nutrients gradually, which reduces the risk of a sudden surge that pushes growth in the wrong direction and lowers the chance of salt buildup around the roots.
Whatever product you choose, follow the label rate precisely: doubling the dose does not double the benefit and can cause real root damage.
High-phosphorus “bloom booster” fertilizers are widely marketed to flowering plants, but they are not a universal shortcut for clematis. University of Minnesota Extension advises matching fertilizer to soil-test results and skipping phosphorus-containing products when soil phosphorus is already adequate.
Adding phosphorus to a well-supplied soil does not reliably improve flower quantity or color, and the excess can run off into streams and lakes. A balanced, complete fertilizer applied at label rate, timed to active growth rather than to a fixed date, is a more defensible choice than chasing a bloom-booster promise.
Container clematis needs different timing and restraint
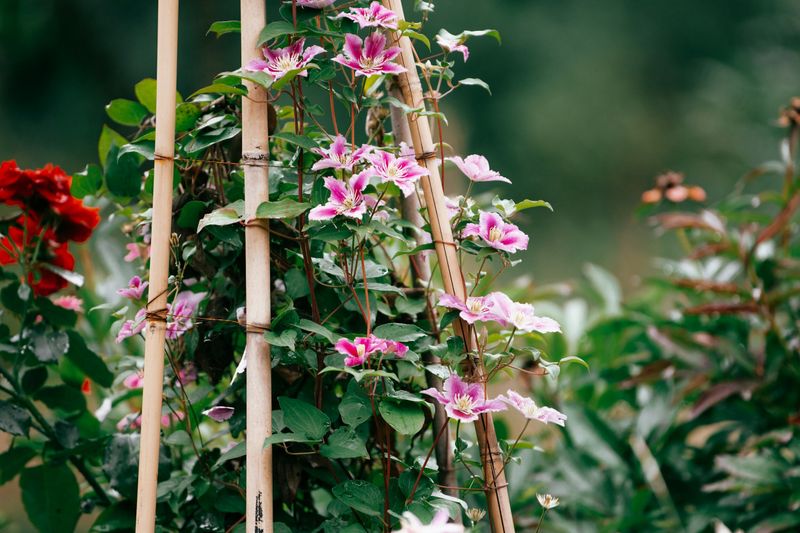
Growing clematis in a pot changes the feeding calculation considerably. A container limits the root zone to a fixed volume of soil, and repeated watering flushes nutrients out of that small space far faster than they would leach from a garden bed.
The RHS notes that container-grown clematis can benefit from supplemental feeding during the growing season for exactly this reason, while established plants in fertile garden soil typically do not need regular fertilizer at all. The distinction matters: what is appropriate for a pot is not automatically appropriate for the ground.
That said, container feeding still requires restraint and careful timing. Clemson Cooperative Extension specifically advises against fertilizing clematis while it is actively flowering, a qualification that applies whether the plant is in a pot or in the ground.
Feeding mid-bloom is not a universally endorsed practice, so check where your plant is in its flowering cycle before applying anything. Timing also varies by product type, region, and the plant’s growth stage, so follow the specific label directions for whatever fertilizer you choose rather than defaulting to a continuous spring-through-summer schedule.
Salt accumulation is a particular hazard in containers. Fertilizer salts build up in the confined soil volume with each application, and high salt levels make it harder for roots to absorb water even when the pot feels moist.
Utah State University Extension explains that excess soluble salts can cause wilting and leaf scorch that mimics drought stress. Adding more fertilizer to a wilted container plant can worsen the problem significantly.
During periods of extreme heat, Oregon State Extension advises holding off on fertilization until temperatures moderate, since stressed roots are far more vulnerable to salt injury than healthy ones.
Pruning, light, and moisture set the bloom potential
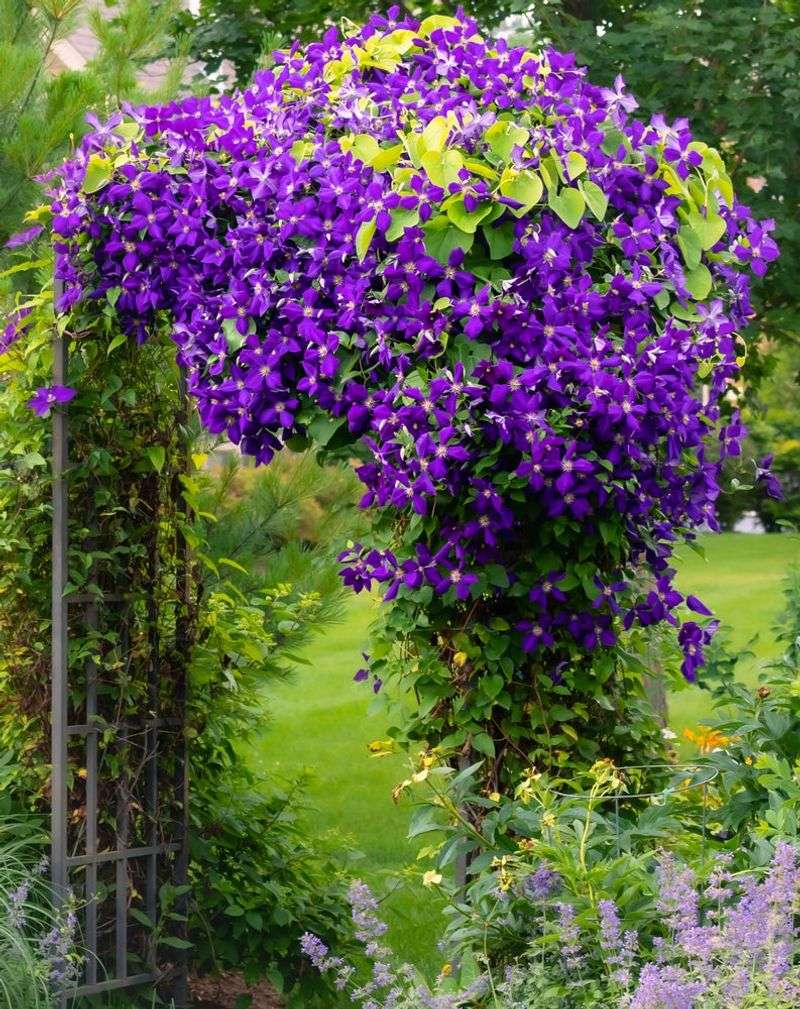
Feeding a clematis that has been pruned at the wrong time of year is a bit like watering a plant with no roots: the inputs go in but the expected output never comes. Clematis varieties fall into distinct flowering groups based on whether they bloom on old wood from last season, new wood from the current season, or both.
Clemson Cooperative Extension and University of Illinois Extension both organize clematis care around these pruning groups, and for good reason: cutting back a variety that flowers on old wood in early spring removes the very buds that would have opened later that season. Identifying your cultivar’s group before you pick up the pruners is one of the highest-impact steps you can take for better flowering.
Sunlight is the other non-negotiable. Most large-flowered clematis varieties need around six hours of direct sun daily, and a vine in a shady spot will produce fewer, smaller blooms regardless of what you feed it.
UC IPM describes the classic clematis preference as sun for the foliage and cool, shaded conditions for the roots, a combination that mulch can help achieve by moderating soil temperature and retaining moisture at the same time.
Consistent water rounds out the core trio. Iowa State Extension recommends at least one inch of water per week during dry stretches, and keeping the root zone cool and moist supports both plant health and flowering.
Good drainage prevents the waterlogged conditions that can mimic nutrient deficiency and invite root disease. A sturdy trellis or other support structure helps the vine climb in an orderly way and keeps the stems from tangling, which makes it easier to manage the plant overall, but the support itself does not directly determine how many flowers appear or how deeply colored they are.
That job belongs to light, water, roots, health, and correctly timed pruning.
Follow a needs-based clematis feeding plan
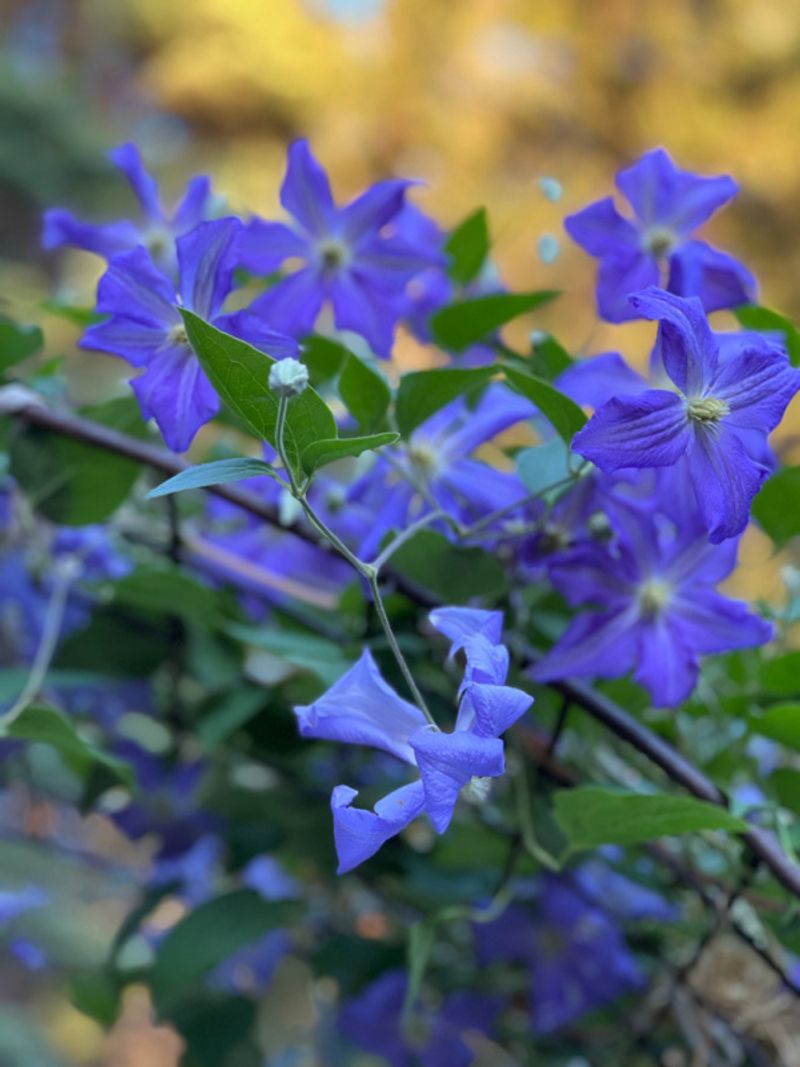
A practical feeding plan for clematis starts not with a fertilizer product but with a short checklist. First, identify your cultivar or flowering group so you know when and how to prune correctly.
Then assess the site: adequate direct sunlight, consistent moisture, good drainage, cool roots, visible plant health, and the age of the vine. Iowa State Extension notes that some newly planted clematis take up to three years to establish well enough to flower reliably, so patience is part of the plan for young vines.
If the site looks sound and growth is still underwhelming, improve the soil surface first. A 2- to 3-inch layer of compost, leaf mold, or well-rotted manure applied each spring, kept away from the stems, supports soil health without the risks that come with synthetic fertilizer.
The RHS recommends this organic-matter approach as the baseline for established in-ground plants, many of which will not need anything more. When problems persist despite good conditions, obtain a soil test.
University of Minnesota Extension identifies soil testing as the most reliable way to confirm whether nutrients are actually deficient before spending money on a product that may not help.
Apply a label-directed, low-nitrogen or balanced fertilizer only when the soil test or your growing situation, such as a container with restricted root volume, clearly warrants it. Follow the label rate, time applications to active growth rather than to a fixed calendar date, and pause during flowering and extreme heat.
The aim is a healthy plant expressing its own natural flowering capacity, and a vine that reaches that potential is a genuinely satisfying result.