
How To Save Purple Coneflower Seed Before Goldfinches Eat It
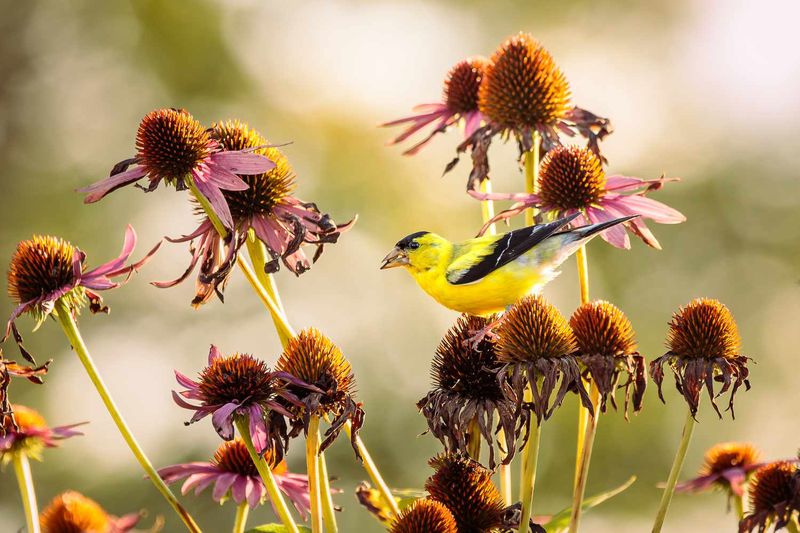
Purple coneflowers put on a second show in fall, when the petals drop and the seedheads turn into a bird buffet. If you want to start new plants without buying them, this is the moment to pay attention.
Seed saving takes a few simple tools and a little timing. You can also leave some heads for the birds and still come out ahead.
Goldfinches can take seed quickly
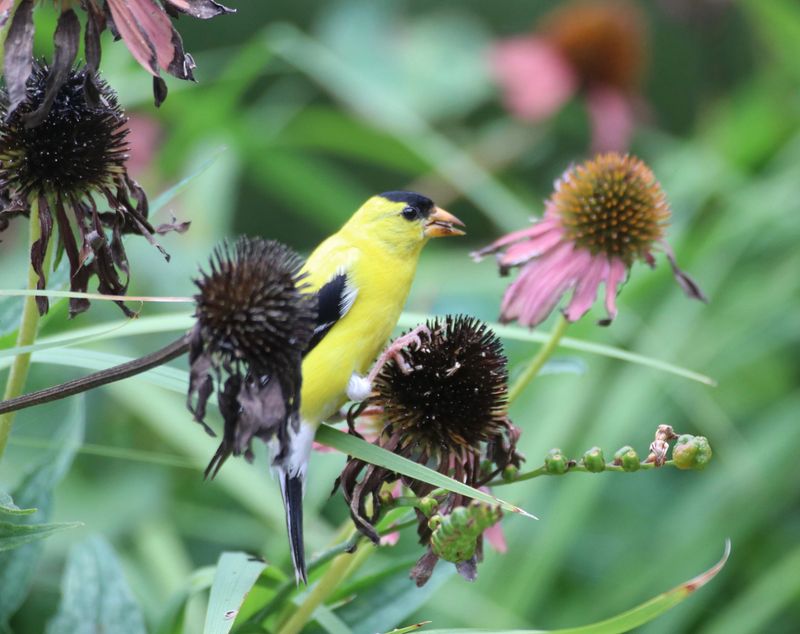
Walk out to your purple coneflowers in late summer and you may spot a flash of yellow. Goldfinches love the seed, and a USDA plant guide notes that they can clear out a crop in just a few days.
That does not mean every garden loses every seed. Timing and bird traffic vary from yard to yard, and some years the heads hang around for weeks.
Still, a quick check as fall approaches is a smart habit.
The plan here is simple. Start looking at your seedheads once the petals have dropped and the cones begin to dry.
Harvest some mature heads before too much seed disappears, and you will have your own supply for planting.
You do not need to guard the whole patch or win a race against the birds. Taking a handful of the best heads is plenty, and the rest can feed the finches.
The next sections walk through how to tell which heads are ready and what to do with them.
Let the seedhead—not the calendar—set harvest time
Your neighbor across the state may harvest weeks before or after you, so a fixed date will not help much. Rutgers Cooperative Extension lists purple coneflower seed as ripening in late summer to early fall.
Within that wide window, the plant itself tells you when to act.
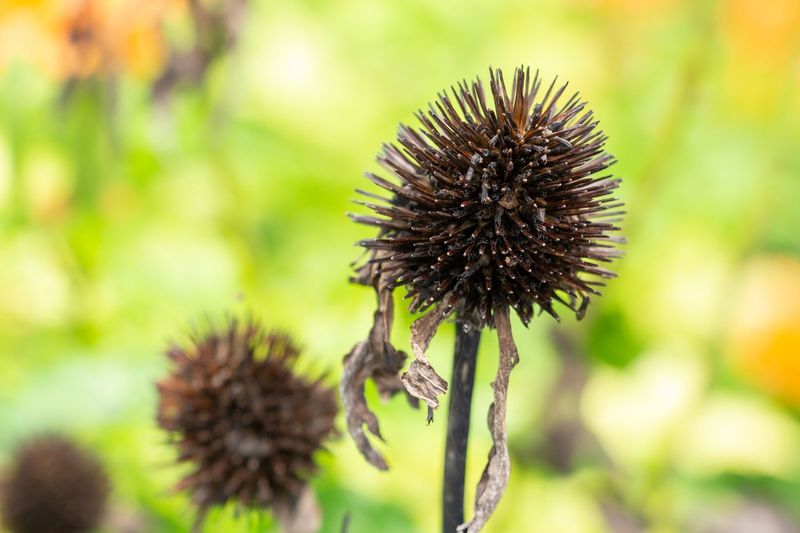
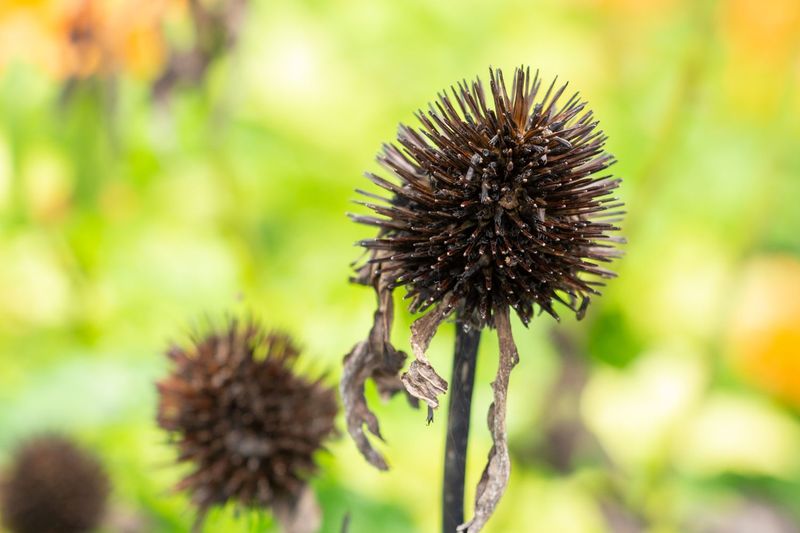
Look for a head that is completely dry, brown, and a bit shriveled. Illinois Extension describes these as general signs of seed maturity, along with a stem or head base that has turned brown.
Heads on the same plant rarely ripen at the same moment. A sunny, early bloom may be ready while a late one is still green and firm.
Make it a quick walk every few days instead of one big job. Check each head on its own, and pick only the ones that look and feel dry.
Anything still green can wait, and you can look again later in the week.
Snip mature heads and finish drying them
Grab a pair of pruners, some gloves, and a paper bag or shallow tray. The cones are spiky, and Rutgers recommends wearing gloves while you comb seed from the dried heads.
Snip each mature head off with a few inches of stem so it is easy to handle.
Not every head will be perfectly ready. The USDA guide says slightly green heads can be dried in the sun.
Set them in a warm, bright spot where birds and rain cannot reach them.
Give the heads a few days, then check them again. They should feel dry and brittle, with no soft or damp spots.
When they are ready, rub or comb the cone gently over a bowl or tray. Seeds come loose along with bits of chaff, which is the dry, papery debris.
Illinois Extension also stresses thorough drying.
Blow lightly or pick out the larger bits by hand. Do not worry about a perfectly clean batch.
Just make sure the seed is fully dry before it goes into storage, since damp seed can spoil.
Store thoroughly dry seed in cool, dark conditions
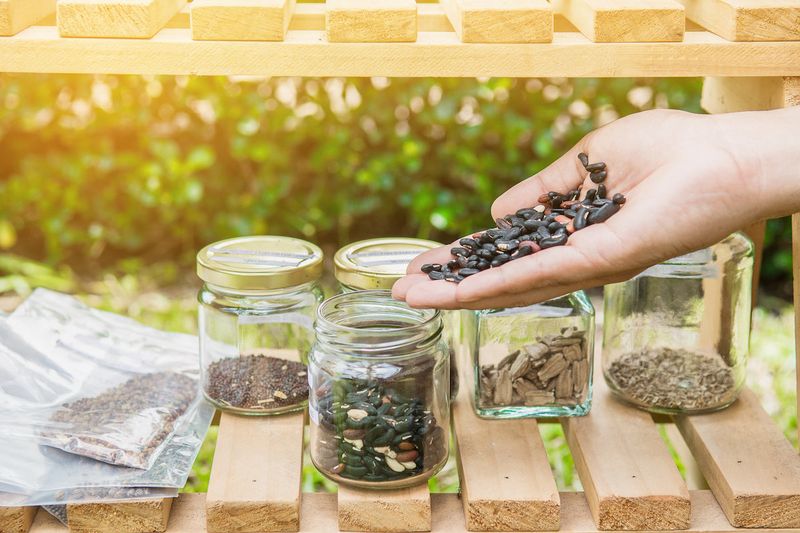
Once your seed is bone dry, give it a label. Write the plant name and the year, and add a note about which plants it came from.
In spring you will be glad you did.
The goal is a cool, dry, dark spot, like a cupboard, closet shelf, or basement drawer. Heat, light, and humidity are what shorten the life of stored seed.
Sources disagree a little on containers. The USDA guide suggests plastic bags, while Illinois Extension points to a labeled envelope or a sealed glass jar.
You can choose what you already have on hand. What they agree on matters more: dry the seed thoroughly and keep it cool, dry, dark, and labeled.
If you see any moisture inside a bag or jar, take the seed out and dry it again. A quick check a week after packing is an easy way to catch a problem early.
Choose a healthy plant before saving its seed
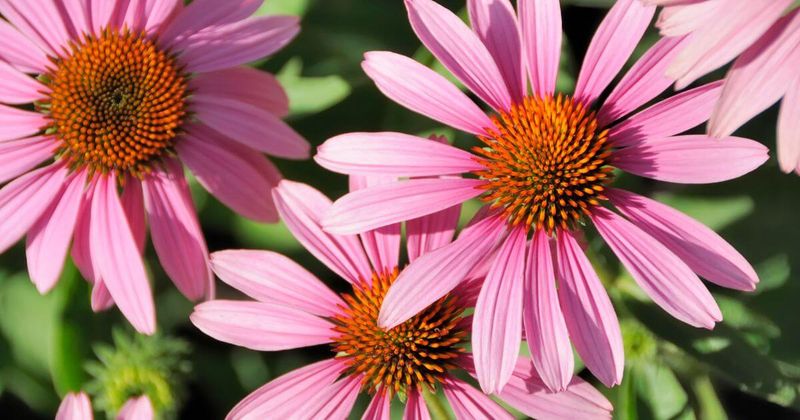
Seed is only as good as the plant it comes from. Illinois Extension recommends saving seed from disease-free parent plants, so pick your sturdiest, best-looking coneflowers.
Check for signs of aster yellows, a disease that can leave flower parts distorted or green. Clemson Extension advises removing and destroying an infected plant.
Do not save its seed.
Next, think about what you actually grow. Purple coneflower is Echinacea purpurea, but your garden may also hold other Echinacea species, hybrids, or named cultivars.
Iowa State Extension notes that many marketed coneflowers are hybrids or crosses.
Nearby varieties can also cross-pollinate, which is covered by Illinois Extension. Bees may carry pollen from one coneflower to another, so the seeds can carry mixed traits.
Cultivars also differ. Clemson notes that some come fairly reliably from seed, while others do better by division or cuttings if you want consistent color.
Check your plant tag if you still have it.
Cold treatment can help, but it is not required
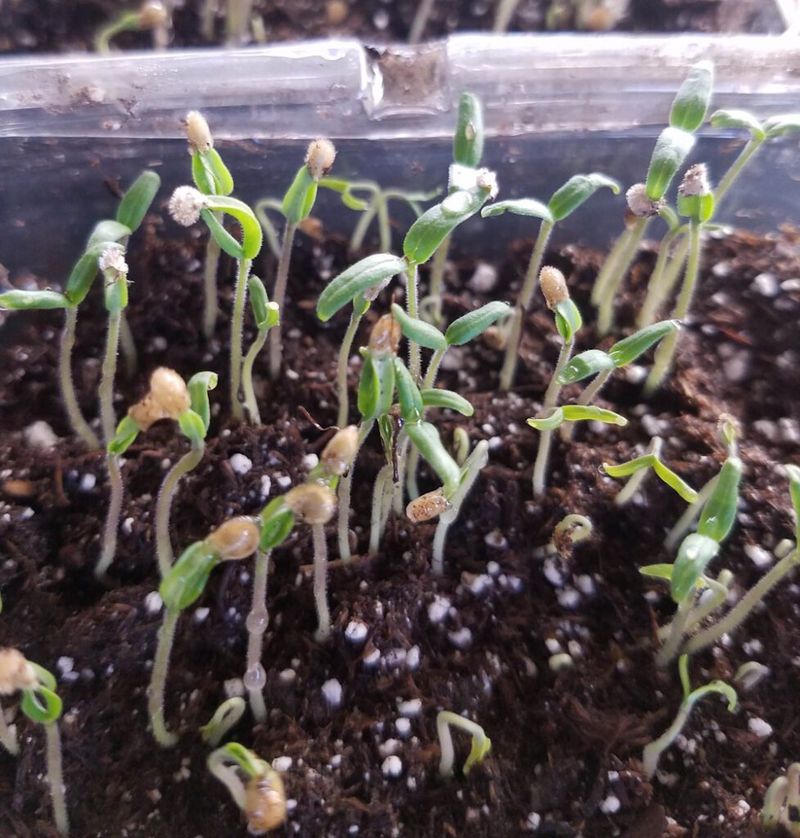
Ask three growers how to sow coneflower seed and you may hear three answers. The sources really do differ, and that is okay.
Your seed has more than one path to sprouting.
USDA reports that spring-sown Echinacea purpurea seed can germinate without cold stratification. That means you can plant saved seed in spring without any chilling step.
Rutgers recommends 90 days of moist cold stratification. A peer-reviewed study found that cold, moist treatment under light improved germination percentage and rate in the Echinacea seed lots it tested.
So chilling may help, but it is not a must. If you like the extra step, you can mix seed with damp sand and keep it in the fridge.
A simpler route is sowing outdoors in fall. Winter weather supplies natural seasonal conditions without any fridge work.
Germination is still never guaranteed, so scatter more seed than the number of plants you hope for.
Saved seed can start plants, but not promise next-year blooms
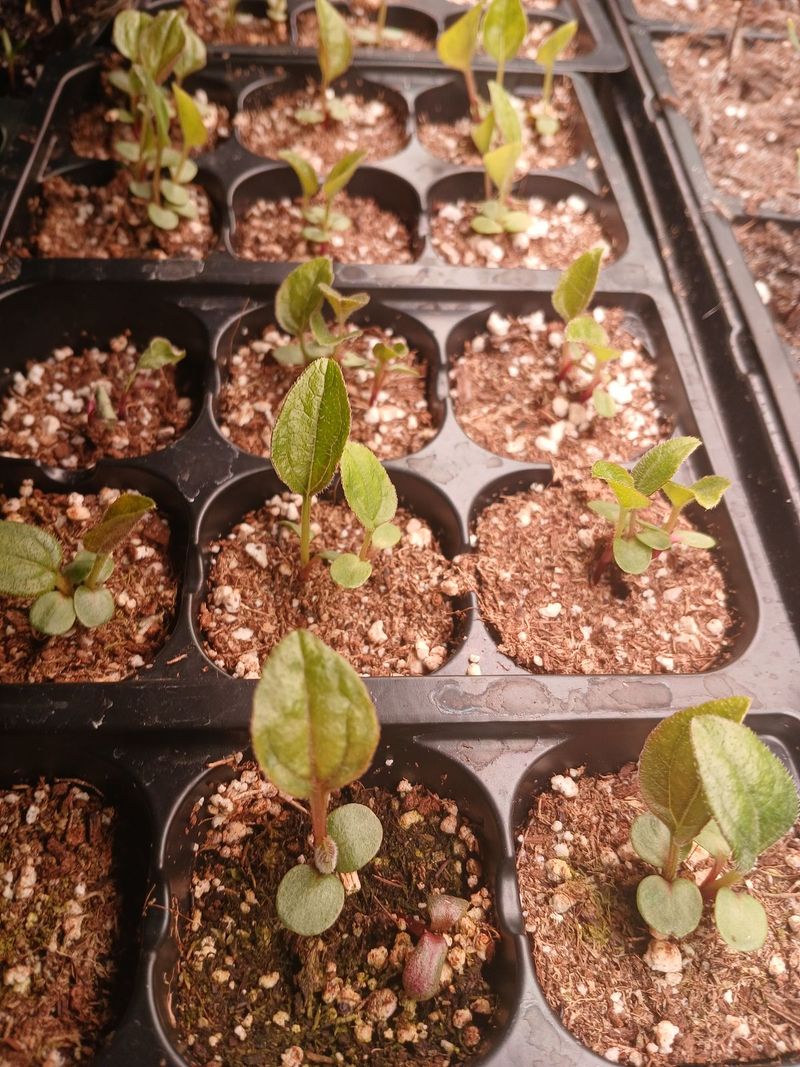
Saved seed gives you a chance at new coneflowers, not a sure thing. Sprouting and survival depend on soil, moisture, and weather.
Some seeds simply will not make it.
Patience matters too. Clemson Extension says seed-grown Echinacea can take two or more years to become a sizable plant.
Think of your seedlings as a slow investment.
The babies may not look like the parent, especially if the parent is a named ornamental. Illinois Extension notes that nearby varieties can cross-pollinate and produce seedlings with different traits.
Iowa State Extension also points out that many marketed coneflowers are hybrids or crosses, so results can vary.
That said, not every seedling will differ from its parent. Some cultivars come more reliably from seed than others.
Treat surprises as part of the fun, and label your seedlings so you can watch how each one turns out.
Save some seed and leave some for the birds
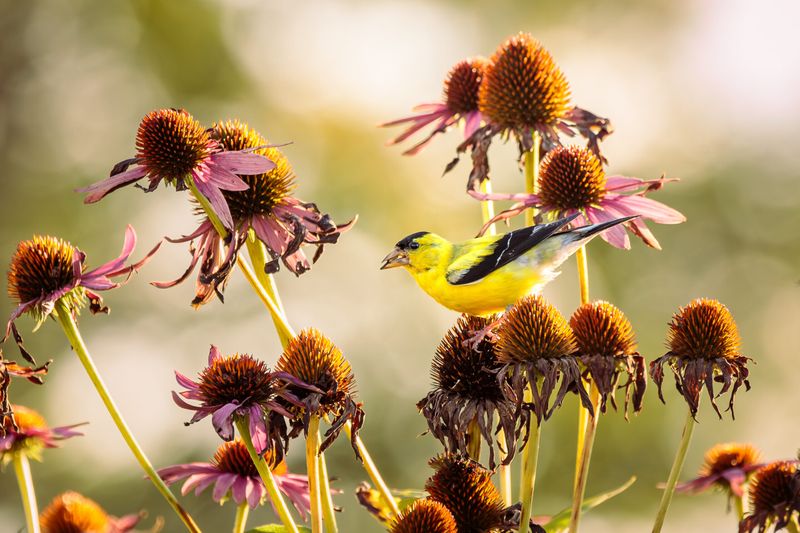
Here is the easy compromise: take a few of your best mature heads for planting and let the rest stand. North Carolina State Extension notes that birds eat the seed, and Iowa State Extension says goldfinches are among them.
You do not need to strip every plant. Check your heads every few days as they dry, and clip a handful when they are ready.
A garden with a little seed saved and a little left out for the finches is a good garden.