
If You Rake Every Leaf Off Your Beds This Fall, Here Are 13 Spots Where They Should Stay
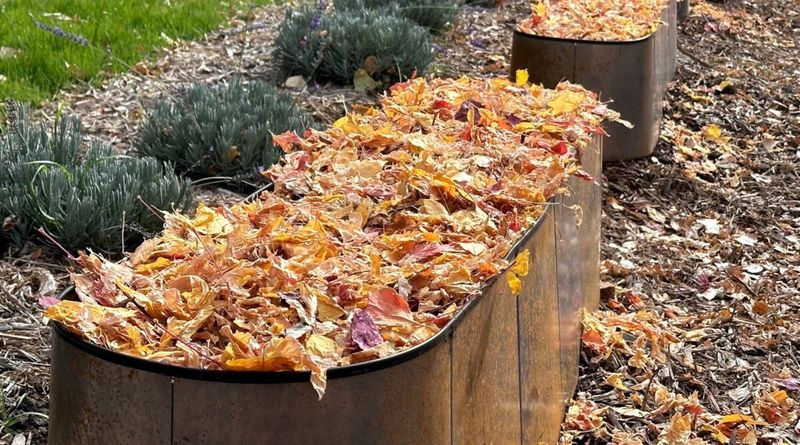
Every fall, lots of gardeners rake their beds bare and bag up every single leaf. It feels tidy, but it can leave your hydrangeas, clematis, and perennials cold and hungry all winter.
Those leaves are free mulch, free compost, and free shelter for helpful critters. Here are 13 spots where your leaves can do real good instead of ending up at the curb.
1. Perennial Beds
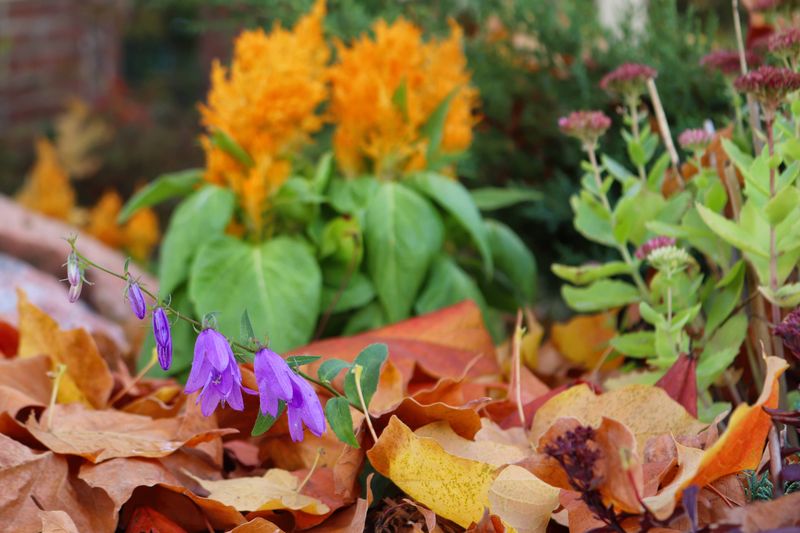
Picture your coneflowers and hostas tucked under a fluffy blanket before the first hard freeze. That is exactly what a loose leaf layer does for a perennial bed.
It softens temperature swings so roots stay steadier all winter.
Aim for about 2 to 4 inches of leaves. Keep the layer airy and pull it back an inch or so from each plant crown, since soggy leaves packed against crowns can lead to rot.
A bonus you might not expect: a 3-inch layer can shelter overwintering insects in the soil, including beneficial ones. In spring, just rake the leaves back slightly as new shoots show up, and let the rest break down into the soil.
2. Around Hydrangeas
If your hydrangea skipped blooming last summer, winter damage may be the culprit. Many bigleaf hydrangeas set their flower buds on old wood, so a brutal winter can wipe out next year’s blooms before they start.
Leaves can help protect those buds and roots. After the ground freezes, pile a chunky 6 to 8 inch layer of leaves around the base of the shrub.
That insulation can reduce root damage from repeated freeze and thaw cycles.
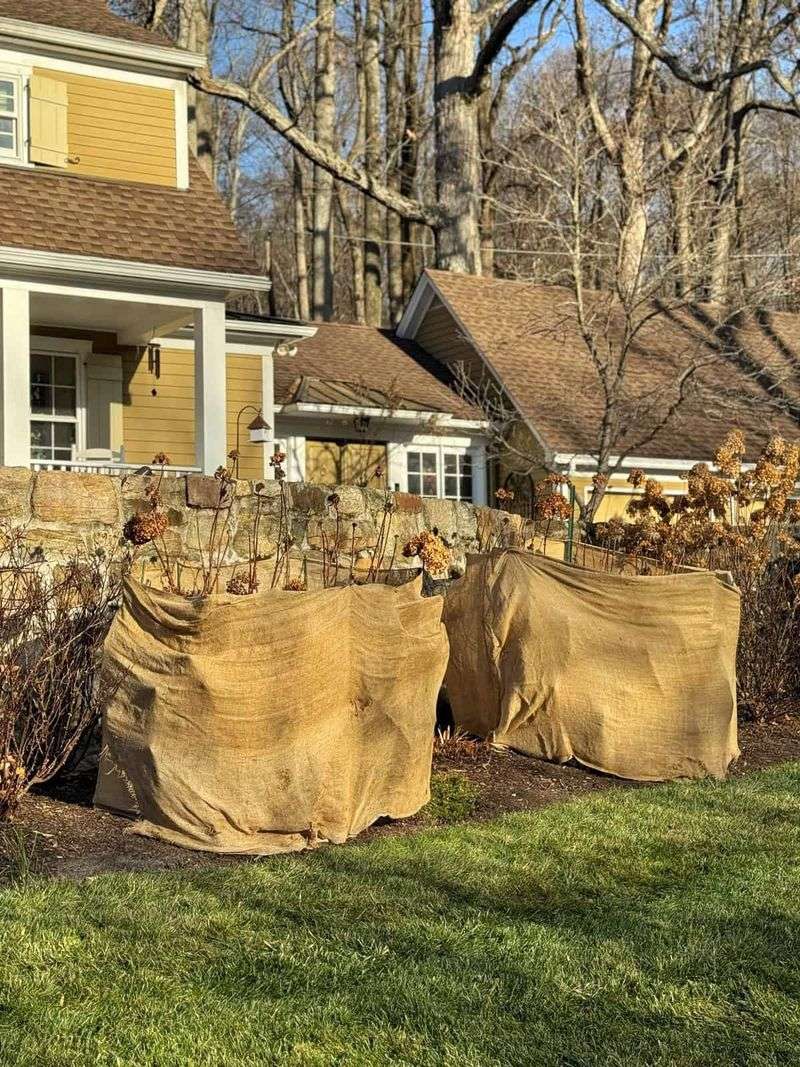
Gardeners in colder zones often go one step further. Circle the shrub with chicken wire or a simple wire cage, then fill it loosely with dry leaves.
Unwrap it in spring once hard frosts are behind you, and you may be rewarded with a lot more color.
3. Around Clematis
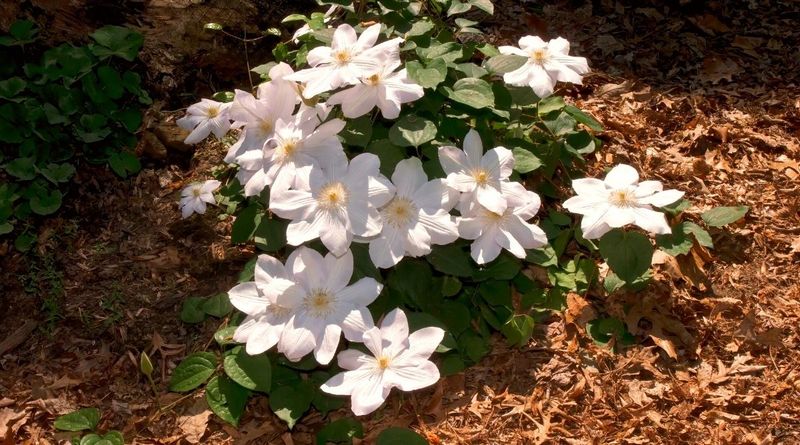
Clematis gardeners love to repeat an old saying: heads in the sun, feet in the shade. Winter is when those feet need the most help.
Once the ground freezes, spread leaves or leaf mold 4 to 6 inches deep in about a 2-foot circle around the base. Cover the crown too, because clematis roots and lower stems are the parts you most want alive in spring.
The mulch also holds moisture, which matters during dry, windy winters. If your clematis grows in a pot, mulch up to 5 inches deep after the soil freezes, or wrap the container in burlap for extra insulation.
4. Around Perennial Geraniums
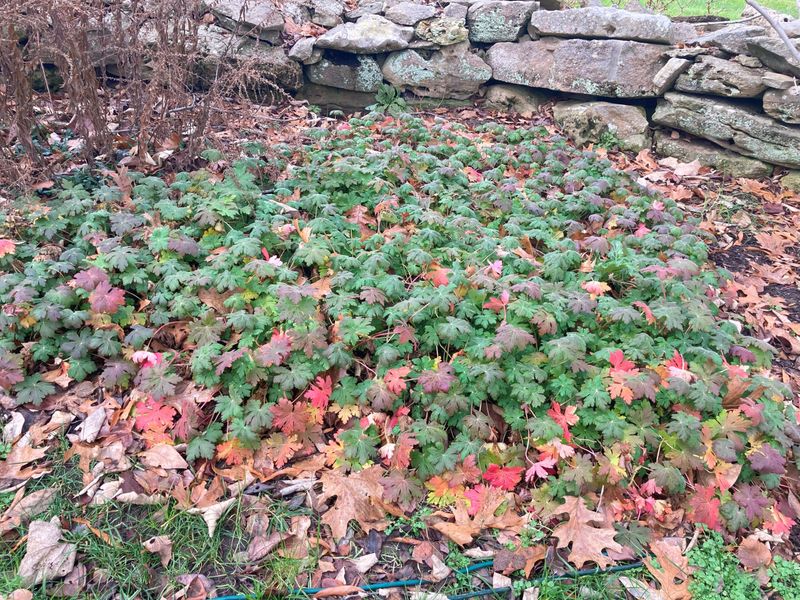
Here is a mix-up that trips up plenty of gardeners. The geraniums in hanging baskets are usually pelargoniums, which are tender and need to come indoors in cold areas.
Hardy perennial geraniums, often called cranesbills, are a different story.
Cranesbills stay in the ground year after year, and they appreciate a thick layer of dry leaves, leaf mold, or pine needles around their base in fall. That cover can buffer their roots from warm spells followed by sudden freezes.
Keep the leaves loose and away from the center of the clump. Your pelargoniums, on the other hand, belong in a sunny window or a cool basement, not under a leaf pile.
5. Vegetable Garden Rows
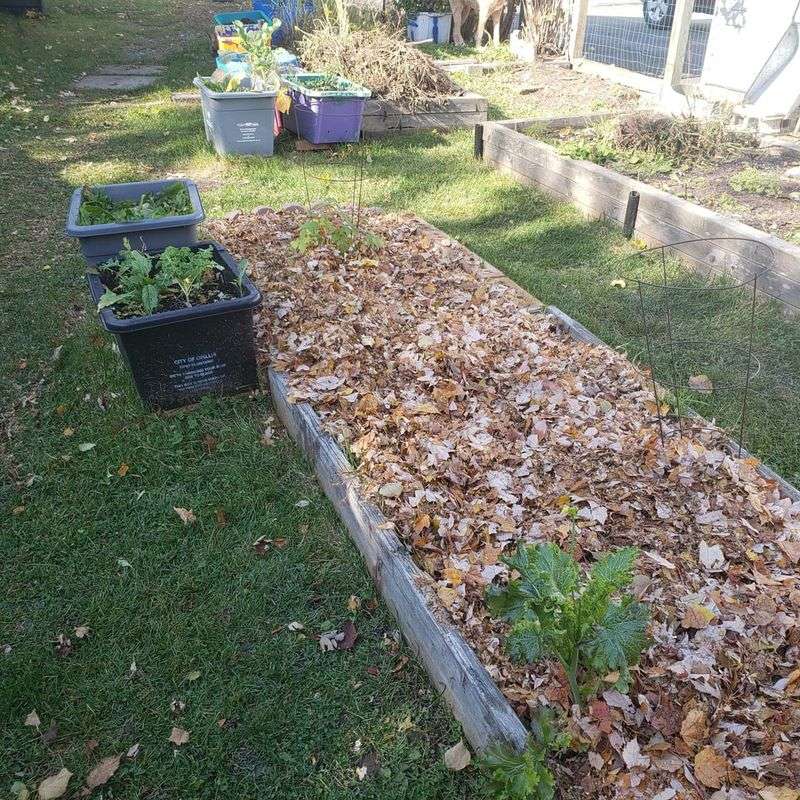
Want carrots in December? A leaf layer can make that possible in many parts of the country.
Leaves slow down soil freezing, which helps extend the harvest of late crops like cabbage, spinach, carrots, and beets. Tuck them around the plants and pull back a corner whenever you want to dig dinner.
Beds that are already cleared can get a heavier dose. Spread 6 to 8 inches of shredded leaves and work them in, or let them sit over winter.
By spring, you will have looser soil loaded with organic matter, which your tomatoes will thank you for.
6. Under Trees and Shrubs
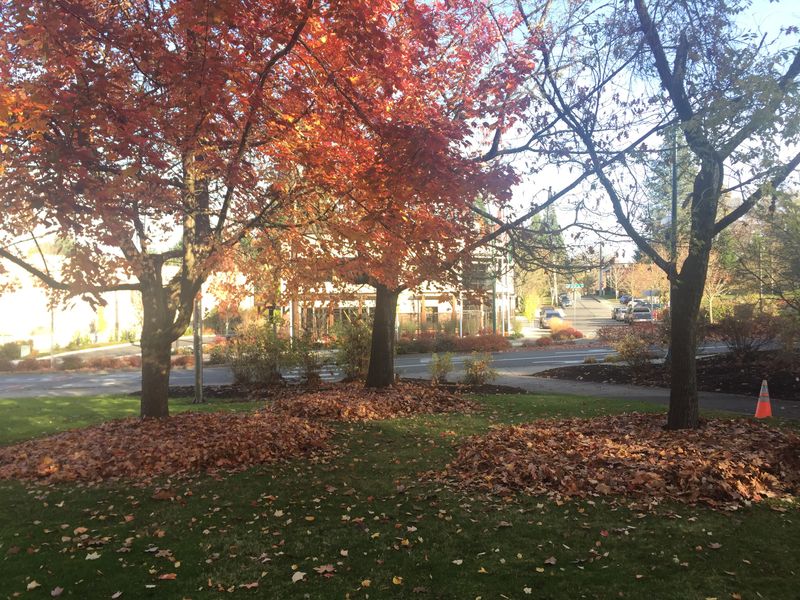
Forests never rake, and their trees seem to do just fine. Copying that habit is one of the easiest favors you can do for your shrubs.
Spread 3 to 6 inches of shredded leaves under trees and shrubs, keeping the layer about 4 inches from trunks and stems. That gap matters, because piling mulch against bark, sometimes called volcano mulching, traps moisture and invites rot.
Young and newly planted specimens gain the most. Their roots are shallow and easily stressed by cold snaps in winter and baking heat next summer, and a leaf ring helps with both.
7. The Compost Pile
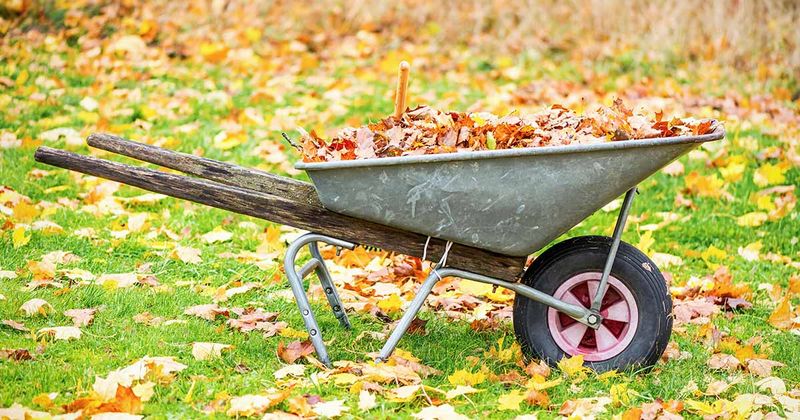
Compost needs browns and greens, and fall hands you a year’s worth of browns for free.
Leaves are rich in carbon. Mix them with nitrogen-rich greens like grass clippings, coffee grounds, and veggie scraps, and your pile heats up and breaks down faster.
Shredding helps a lot. Run the leaves over with a mower first, then stash an extra bag or two beside the bin so you have browns ready to toss in all next summer.
8. A Leaf Mold Bin
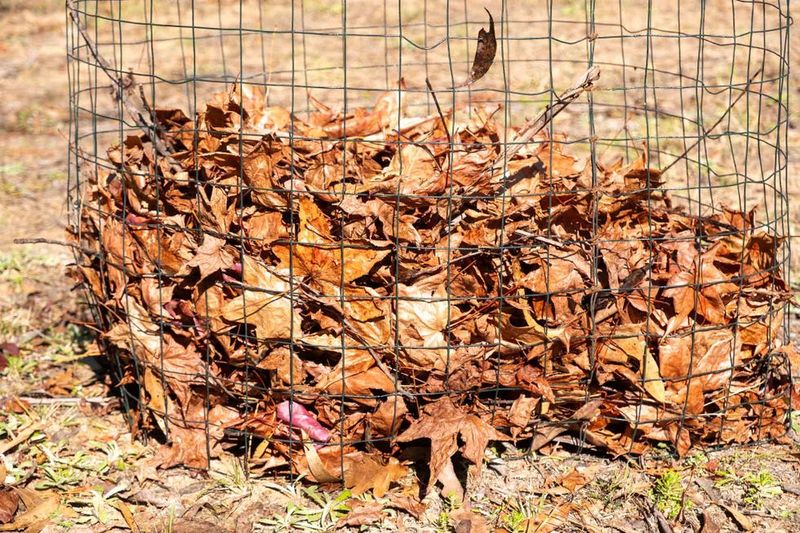
Gardeners sometimes call leaf mold black gold, and it earns the nickname with almost zero work. It is just leaves left alone to rot slowly.
Build a basic wire circle, fill it with damp leaves, and walk away. In one to two years, you get dark, crumbly material that improves drainage in clay, helps sandy soil hold water, and invites earthworms and helpful microbes.
One caution: skip black walnut leaves if you grow plants sensitive to juglone, a chemical they release. Fully composted walnut leaves are generally considered safe, but fresh ones can cause trouble for tomatoes and others.
9. Containers and Raised Beds
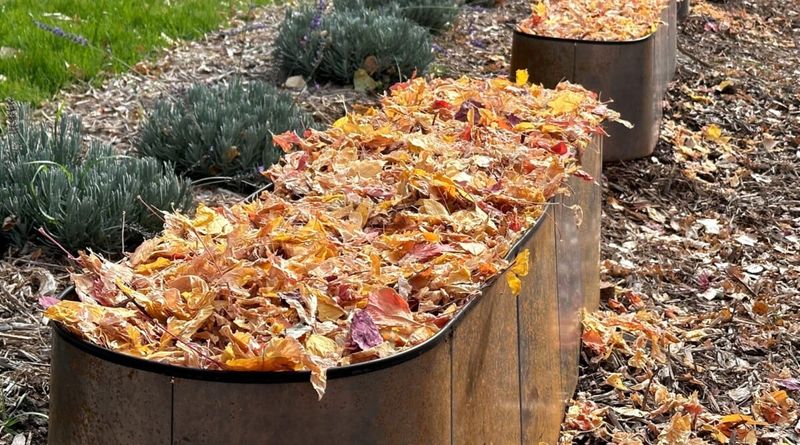
Big pots gulp potting mix, and that gets pricey fast. Leaves offer a clever shortcut.
Toss a layer of whole leaves in the bottom of extra-large containers as filler. You will need less potting mix, and the leaves slowly release nutrients as they break down.
On top, leaf mold works as a mulch that cuts evaporation, so your petunias and herbs dry out less often next summer. Raised beds benefit in the same way, since they drain quickly and heat up fast.
10. Tilled Into Bare Soil
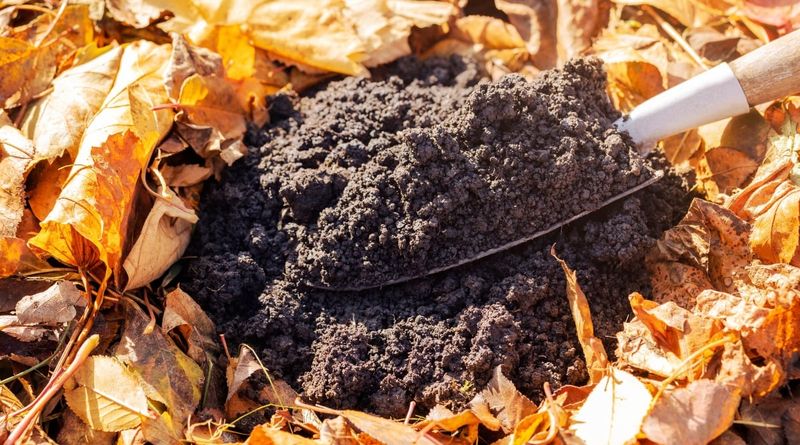
Stubborn clay that cracks in summer and turns to glue in spring? Fall is your chance to change that.
Work shredded leaves directly into empty beds. Over winter, they decompose and open up tight clay for better airflow, while helping sandy soil hang on to water and nutrients.
Shred first so they break down in time for planting. Whole leaves can mat together and take much longer to disappear.
11. Over Spring Bulb Plantings
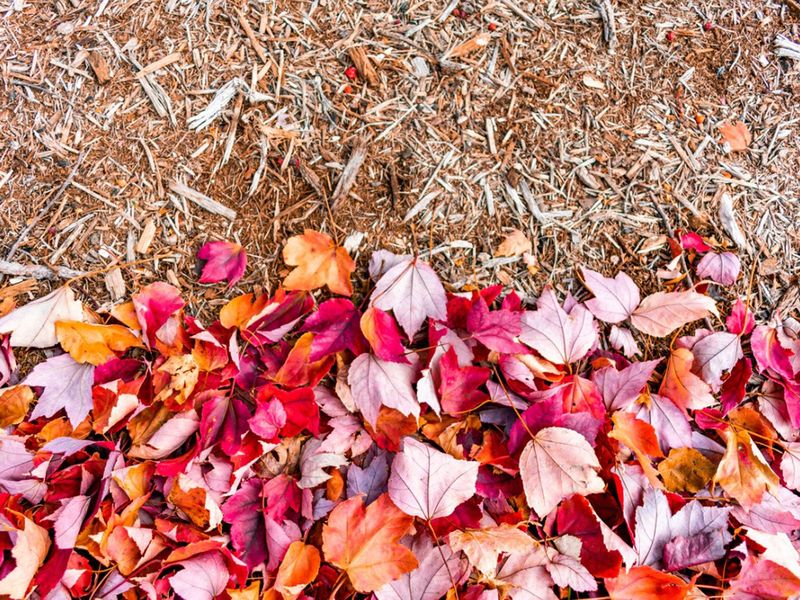
Just finished planting tulips and daffodils? Don’t leave that soil bare.
A layer of leaves over the bed acts as protective mulch through winter. It helps hold moisture and evens out soil temperatures around the bulbs.
Worried the shoots will get stuck? Spring bulbs are tough and usually push right through, and the leaves also make it a little harder for squirrels to spot freshly dug soil.
12. Quiet Corners for Wildlife
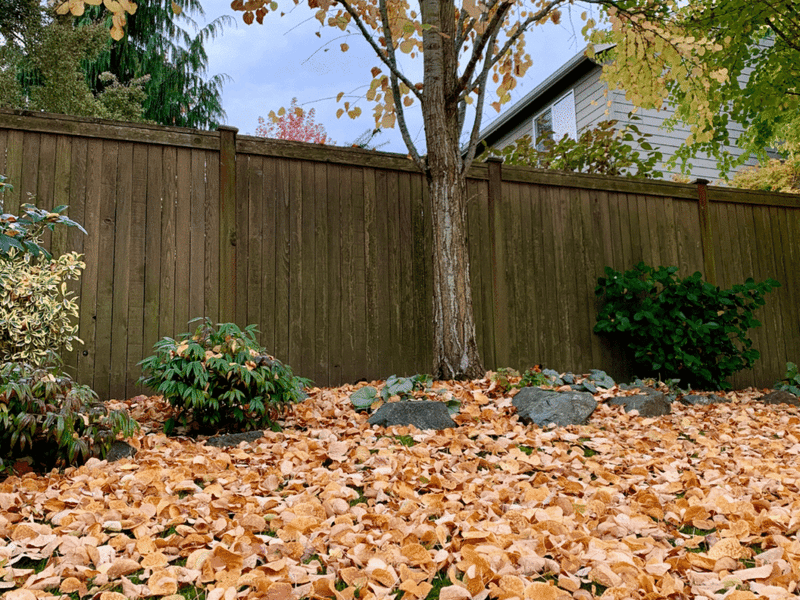
That messy pile behind the shed may be a whole apartment building. Butterfly and moth caterpillars, native bees, salamanders, wood frogs, box turtles, earthworms, and millipedes may all spend winter in leaf litter.
Leave a few piles in out-of-the-way spots where they won’t bother anyone. Next spring, those same critters help feed the birds nesting in your yard, and some pollinators will visit your flowers.
Fun fact: the fuzzy woolly bear caterpillar can freeze solid in leaf litter and thaw out in spring to carry on. Not bad for a pile you didn’t have to bag.
13. Shredded on the Lawn
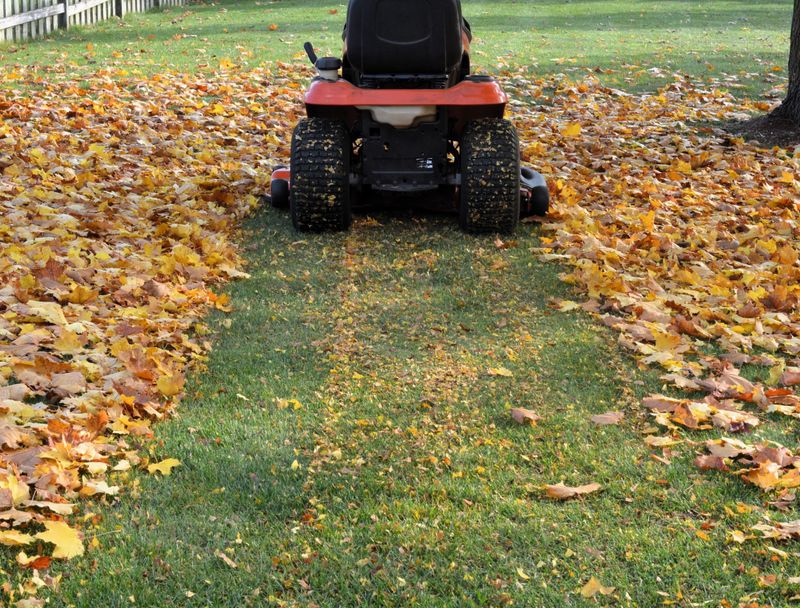
Grass and leaves have a complicated relationship. A thick mat of whole leaves can smother turf and invite disease, so that layer really does need to go.
Chopped leaves are another matter. Run a mulching mower over a light scattering, and the tiny pieces settle between grass blades, break down quickly, and return nutrients to the soil.
Here is a good rule of thumb: if you can still see grass after mowing, you are fine. Anything heavier, rake up and send to your beds, compost, or leaf mold bin.
Once the ground freezes, give mulch its final top-up, and your garden is set for spring.