
If You Want A Whole Hedge Of Lavender For Free, Here’s How One Snipped Cutting Roots Into A New Plant
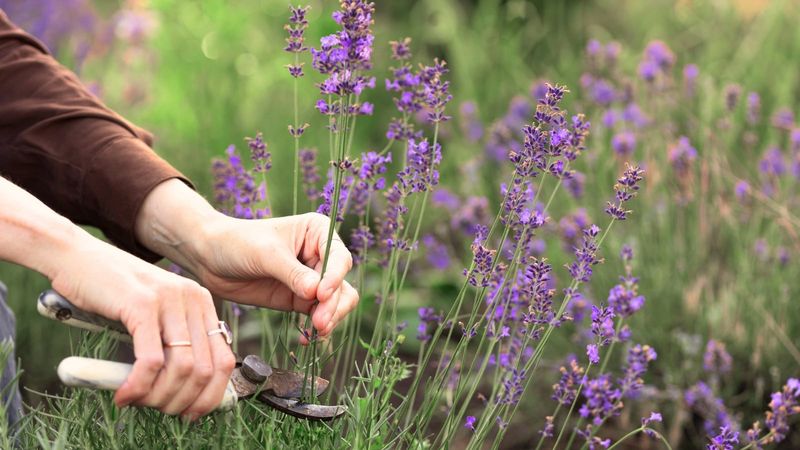
Growing a lavender hedge from cuttings you already have is one of the most satisfying tricks in backyard gardening. Instead of buying a dozen plants, you can take several stems from one healthy lavender you already own and root them into new plants for almost nothing.
The plant material costs you nothing, though you will need a few basic supplies, and not every cutting is guaranteed to root. Start enough stems, give them the right conditions, and in a few years you could have a full fragrant row to show for it.
Start the hedge with several cuttings, not one magical stem
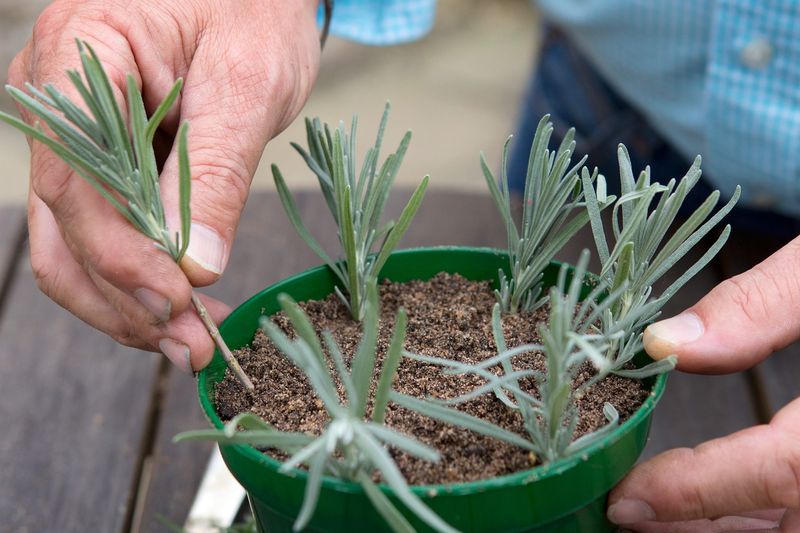
Filling a garden bed with lavender without buying every single plant is a genuinely achievable goal, but the math works only when you start with several cuttings at once, not a single stem. One cutting, if it roots successfully, gives you one new plant.
A hedge or a tidy row requires many plants growing side by side, and since not every cutting will root, starting more than you think you need is simply good planning.
The frugal appeal is real: the plant material itself costs nothing when you already have a healthy mother plant in the yard. What you do spend a little on are the containers, a sterile rooting medium, labels, and possibly rooting hormone.
Those costs are modest compared with buying nursery transplants, but calling the whole project “free” sets up a disappointment. Think of it as deeply inexpensive rather than zero-cost.
Cuttings are clones of the mother plant, which is one of their biggest advantages. NC State’s lavender production guide explains that seed-grown lavender can vary considerably in habit, flower color, and fragrance, especially among named cultivars, while vegetative cuttings reliably carry the mother plant’s characteristics into each new plant.
Even with that reliability, success rates vary by lavender type, cutting maturity, season, and care. Research published in the Journal of Environmental Horticulture found that rooting performance among lavandin cultivars was cultivar-specific, meaning results you see with one variety may not predict what happens with another.
Plan for some attrition, celebrate every cutting that roots, and remember that Utah State University Extension notes that lavender can take about three years to reach full size. The hedge is coming, just not this season.
Choose healthy growth at the right seasonal stage
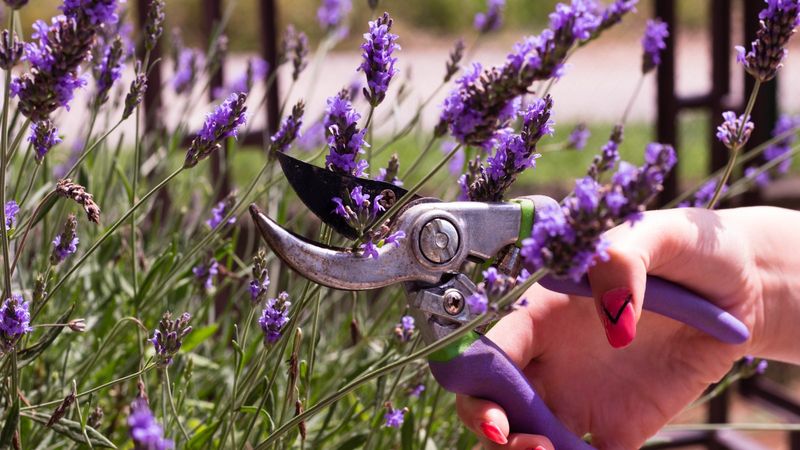
The mother plant you choose matters as much as anything else you do during propagation. A vigorous, fully healthy plant gives cuttings the stored energy and clean tissue they need to root.
Penn State Extension’s propagation guidance recommends avoiding stressed, heat-damaged, insect-infested, or diseased source plants, because problems in the mother plant can travel right into the cutting.
Once you have the right plant, timing shapes everything. Softwood cuttings taken in early spring, when new growth is tender and actively elongating, root readily because the tissue is young and flexible.
Semihardwood cuttings taken from late summer into early autumn have slightly firmer stems that can handle handling a bit better. UC Agriculture and Natural Resources identifies both windows as productive, and the right choice for your garden depends on your local climate and frost calendar rather than a single national rule.
In colder regions, late-summer cuttings may not have enough time to root and harden before the first hard freeze arrives. For gardeners in USDA zones 5 or 6, spring propagation often makes more sense because the rooted plants have a full warm season to establish before winter.
Warmer regions may find late summer ideal. Match your timing to your last and first frost dates, not just the calendar month.
Shoot selection is where many gardeners go wrong. Iowa State University Extension specifically notes that lavender does not readily push new growth from old, bare wood, which means thick woody stems near the base are poor cutting candidates.
Instead, look for young green or semihardened side shoots without flower buds. NC State’s lavender guide adds that any developing buds on tip cuttings should be removed so the cutting directs its energy toward roots rather than blooms.
Avoid anything that looks stressed, discolored, or already in flower.
Prepare each stem for rooting
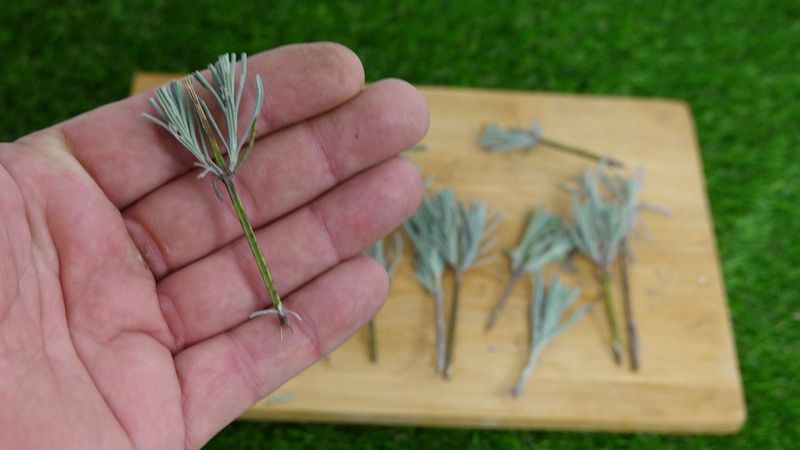
Cutting preparation is a short sequence of steps, and doing each one carefully improves your odds considerably. Start by selecting a shoot that is roughly 3 to 4 inches long.
Utah State University Extension recommends cutting just below a leaf node, which is the slight swelling where a leaf meets the stem, then removing the leaves from the lower half of the cutting while leaving several healthy leaves at the top.
Those remaining top leaves are not decorative. They continue photosynthesizing and feeding the cutting during the weeks before roots form.
Stripping too many leaves reduces that energy supply, while leaving leaves on the buried portion invites rot where the stem meets the moist medium. The balance is a clean, bare lower stem and a modest green crown at the top.
For semihardwood material taken in late summer, a heel cutting is a well-established alternative. UC Agriculture and Natural Resources describes pulling or cutting a side shoot away from the main stem so that a small sliver of older wood stays attached at the base.
That heel contains tissue that can be especially responsive to rooting, and it gives the cutting a slightly sturdier base to anchor in the medium.
If the shoot has any developing flower buds, pinch or snip them off before inserting the cutting. NC State’s lavender production guide explains that removing buds redirects the plant’s limited resources away from reproduction and toward root development.
The exact length of your cutting can vary a little depending on how long your plant’s new growth is, so treat 3 to 4 inches as a target rather than a rigid rule. Use a clean, sharp blade each time to avoid crushing the stem or introducing pathogens.
Build a moist but breathable rooting setup
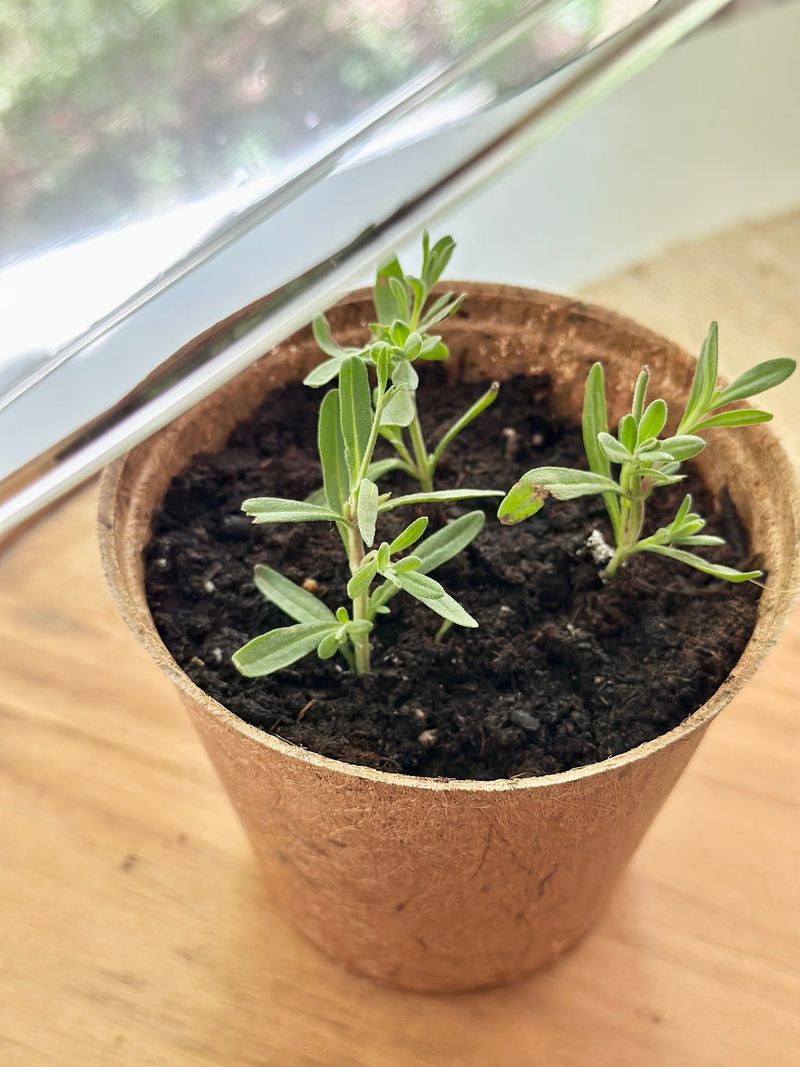
What you root your cuttings in matters almost as much as the cuttings themselves. Dense garden soil holds too much water and compacts around delicate new roots, making it a poor choice for lavender propagation.
A sterile, free-draining soilless medium is the right call. Coarse sand, perlite, vermiculite, or a blend of two of these materials all drain quickly and hold just enough moisture to keep the cutting hydrated without drowning it.
UC Agriculture and Natural Resources recommends a well-aerated, free-draining medium and emphasizes keeping it moist rather than saturated throughout the rooting period. Lavender is particularly sensitive to excess moisture at the stem base, and a soggy medium is one of the fastest ways to lose a cutting to rot before roots ever form.
Light and humidity both need to be managed as a pair. Place your cuttings somewhere with bright but indirect or partially shaded light.
Direct midday sun can stress unrooted stems that have no way to replace the water they lose through their leaves. A north-facing window, a spot under a shade cloth, or a few feet back from a south-facing window all work well.
Increased humidity slows the moisture loss from the cutting’s leaves while roots are still forming, but sealing cuttings in a completely airtight environment creates its own problems. Penn State Extension warns that excessive, unventilated humidity encourages fungal disease.
A loose plastic bag draped over the pot, a clear plastic dome with a few small holes, or regular light misting gives you the humidity benefit without the disease risk. Lift the cover for a few minutes each day to let fresh air circulate.
Utah State University Extension also notes that the medium should stay moist but never waterlogged, so check it every couple of days and water lightly when the surface begins to dry out rather than on a fixed schedule.
Give the cuttings time to root without overhandling them
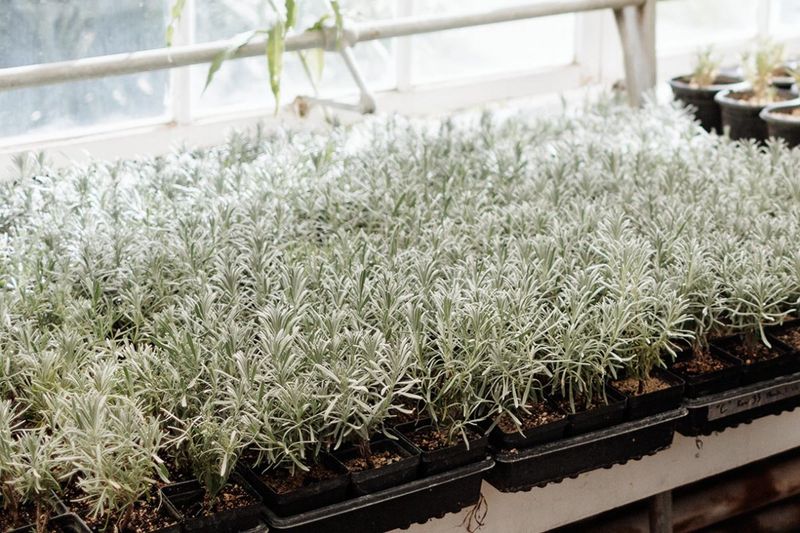
Patience is the skill most propagators underuse. Once your cuttings are in their medium and under the right conditions, the best thing you can do is mostly leave them alone.
Pulling them out repeatedly to check for roots disturbs any fragile root tips that have started to form and can set the process back by days or more.
Utah State University Extension estimates that rooting takes approximately 30 to 40 days under warm, moist conditions, while UC Agriculture and Natural Resources gives a broader window of about 4 to 6 weeks. Treat either figure as a rough estimate rather than a deadline.
Cooler temperatures, lower light, or a less-than-ideal cultivar can all push the timeline later, and that is not necessarily a sign that the cutting has failed.
A gentle tug test is the most reliable low-disturbance check. After three to four weeks, lightly grasp the base of the stem and apply a small amount of upward pressure.
A cutting that has formed roots will resist the pull; one without roots will slide out easily. If it slides, reinsert it carefully and wait another week or two before checking again.
Rooting hormone is worth mentioning here because gardeners often wonder whether it is necessary. The honest answer is that it depends.
The Journal of Environmental Horticulture study on lavandin found cultivar-specific responses to auxin treatments, meaning hormone helped some varieties and made little difference in others. A separate study in Horticulturae noted that excessive auxin concentrations can actually reduce rooting success or damage tissue.
A light application of a standard powder or gel formulation at the labeled rate is a reasonable option, especially for cultivars that seem slow to root, but skipping it entirely will not doom your cuttings. Meanwhile, research on English lavender moisture conditions confirms that moderately moist, not saturated, conditions during rooting consistently outperform wet ones, so keeping the medium right is more reliably important than any additive.
Harden rooted plants before planting them out
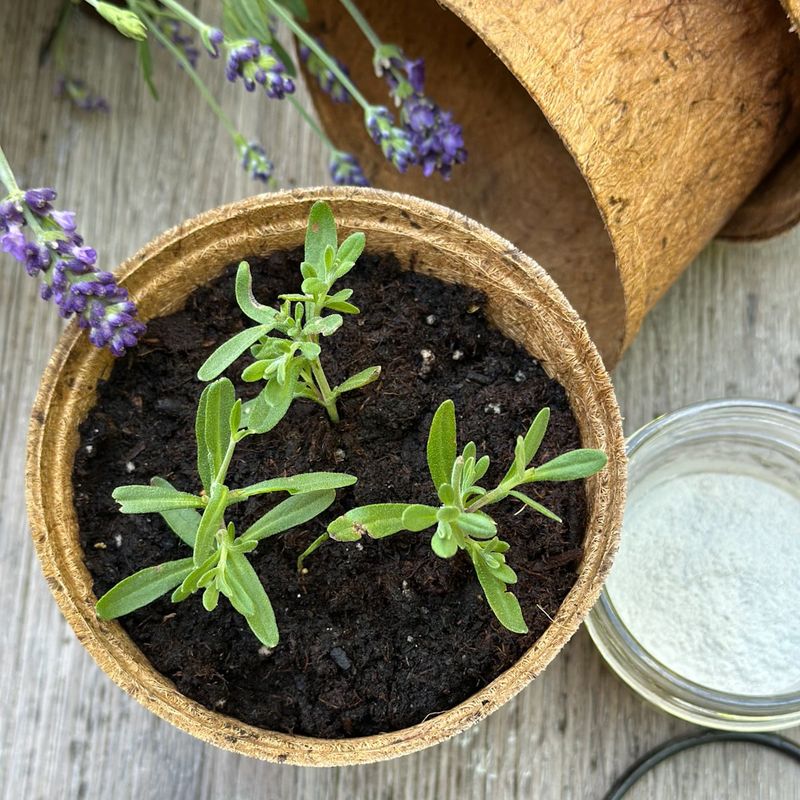
A cutting that passes the tug test has roots, but it is not yet a garden plant. The transition from the sheltered propagation environment to outdoor conditions needs to happen gradually, or the young plant can wilt, scorch, or stall.
Hardening off is the process of slowly introducing the rooted cutting to outdoor temperature swings, wind, and direct sun over a period of one to two weeks.
Start by setting the pots outside in a sheltered, partially shaded spot for a few hours each day, then bring them back in. Gradually extend the outdoor time and increase sun exposure over seven to ten days until the plants are spending full days outside without wilting.
UC Agriculture and Natural Resources recommends transplanting only after a substantial root system has developed and the plant has had time to adjust to outdoor conditions.
When the plants are ready for the ground, drainage is the single most important factor in the planting site. Iowa State University Extension notes that lavender in saturated soil is vulnerable to root and crown disease, while well-drained soil lets the plant thrive even through dry spells.
Raised beds, slopes, or beds amended with coarse grit all improve drainage in heavy soils.
Timing the transplant so that young plants have several weeks of mild weather ahead of them matters especially in colder climates. Utah State University Extension points out that lavender can take roughly three years to reach full size, so what you are planting out is the beginning of a multi-season process, not a finished hedge.
In regions with hard winters, gardeners who propagated in late summer may need to overwinter their rooted cuttings in a cold frame, unheated garage, or cool bright indoor space before the plants are strong enough for permanent outdoor planting.
Let drainage, lavender type, and patience determine the payoff
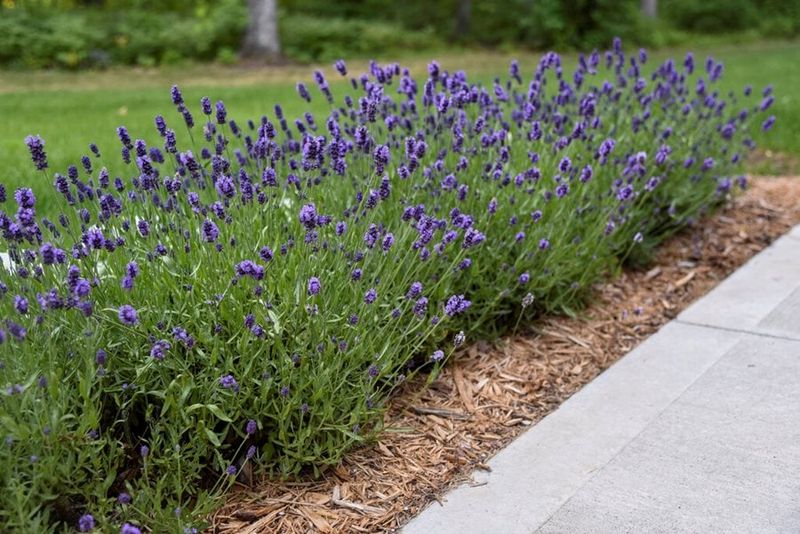
Connecting the propagation work to the eventual hedge payoff requires one honest expectation: the plants you rooted this season are the foundation, not the finished product. Start more cuttings than you think you need, because attrition is normal and extra plants give you choices when some do not make it through their first winter.
Iowa State University Extension is clear that lavender handles drought far better than it handles wet soil, so every plant in your eventual hedge will perform better in a bed that never stays waterlogged. Amend heavy clay before planting and resist the urge to water on a schedule once plants are established.
Let the soil guide you.
Lavender type shapes the long-term picture more than any single care decision. English lavender is generally more cold-hardy than Spanish or French types, while lavandin hybrids vary considerably by cultivar in both rooting performance and mature size.
Match your chosen variety to your region’s winters, not just to the look you want. Utah State University Extension also reminds gardeners to check plant labels before selling any rooted cuttings, since patented cultivars may restrict asexual propagation and sale under plant patent law.
Measure early success by healthy green growth and firm stems at soil level, not by hedge height. A lavender plant that survives its first winter and pushes new growth in spring is already a win.
The fragrant row you pictured when you took those first cuttings is a few growing seasons away, and that makes it worth every bit of the wait.