
If You Want More Clematis For Free, Here Are 8 Softwood Cutting Steps That Actually Root
Clematis vines can cost a small fortune at the garden center, but you can make brand-new plants from the ones you already grow for free. The secret is taking softwood cuttings in late spring, when your vine is pushing out fresh green growth.
If you have ever worried that cuttings just shrivel and die on you, these eight steps will change that. Follow them in order and you will have baby clematis rooting in about a month.
1. Gather Your Tools and Materials
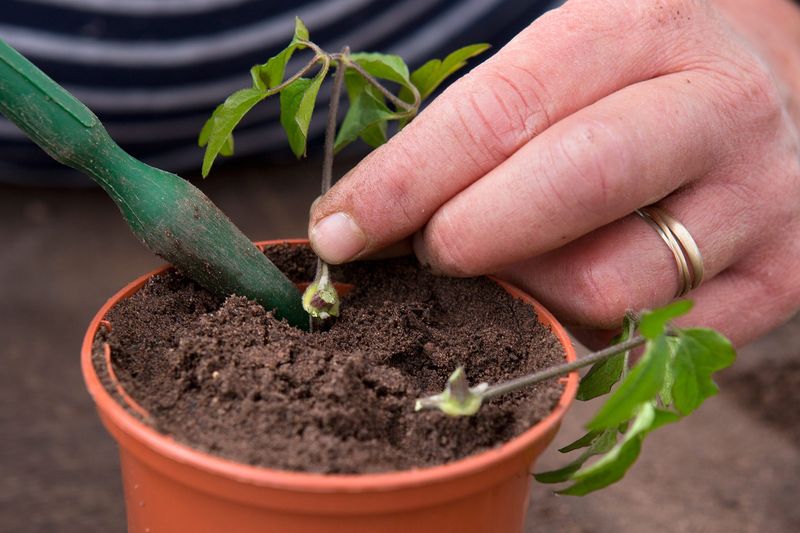
Nothing sinks a batch of cuttings faster than dirty tools and soggy soil, so set yourself up before you snip a single stem. You will want clean, sharp pruning shears or a craft knife, a pot of fresh rooting hormone powder, a handful of small pots, and a light rooting medium.
For that medium, a mix of perlite and peat moss works beautifully, but two parts horticultural grit to one part vermiculite does the job too. A cuttings compost with extra grit or coarse sand gives roots the airy space they crave.
Give your pots a quick wash first. Leftover gunk from last season can carry fungus that rots tender cuttings before they ever grow roots.
2. Select Healthy Softwood Stems
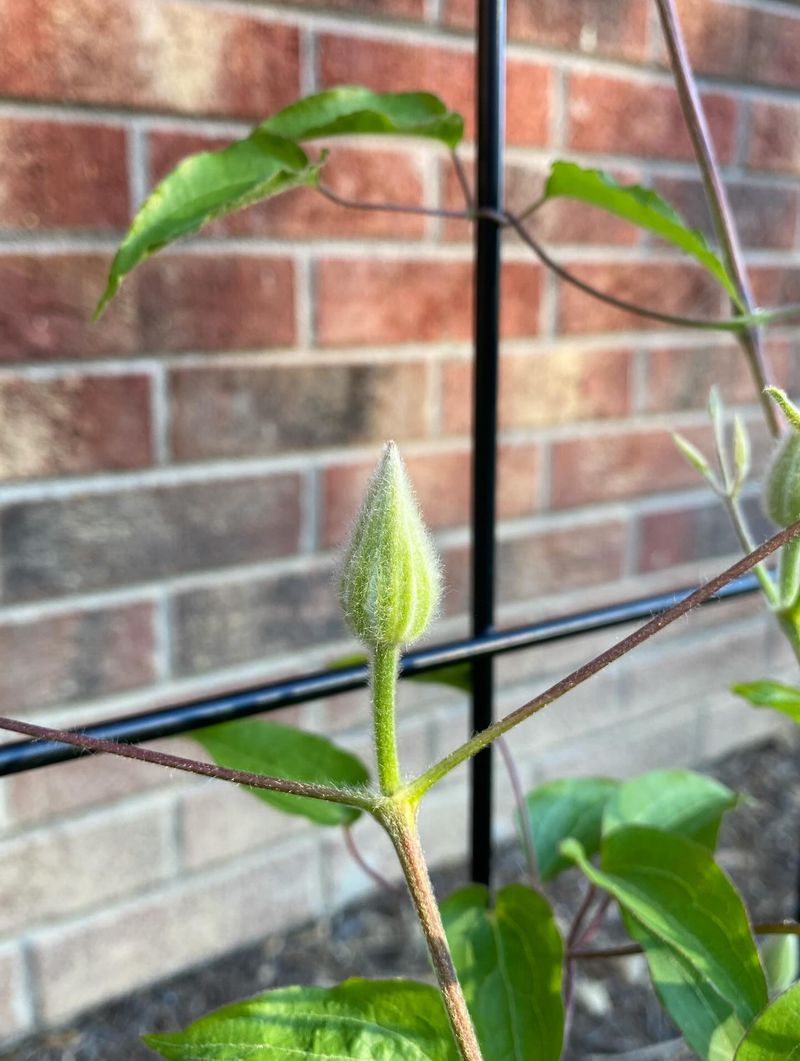
Picking the right stem is where most people quietly go wrong. You are hunting for healthy, non-flowering shoots made of fresh green growth from the current season, not the tough woody stuff near the base.
The sweet spot lives in the middle sections of a strongly growing vine. Skip the very tips, which are usually too floppy and soft to hold up, and skip the lower stems that have already turned stiff and brown.
Some gardeners have better luck waiting a touch longer for semi-hardwood stems, which bend but do not snap. If your first round flops, that slightly firmer wood is worth a try.
3. Take Your Cuttings
Morning is your friend here. Cutting in the cool early hours, when stems are plump with water, keeps your pieces from wilting before you can plant them.
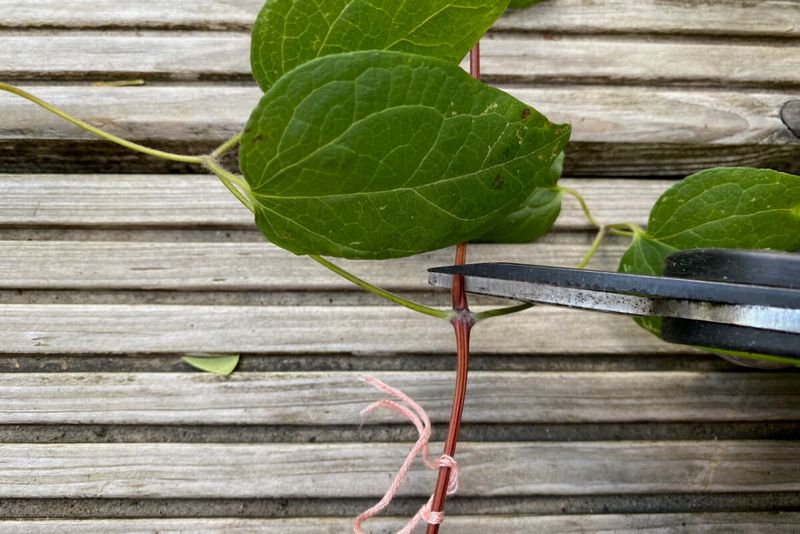
Snip sections about 4 to 6 inches long, roughly the length of a dollar bill. Make your bottom cut just below a leaf node, though clematis is a bit unusual and also roots well from an internodal cut, meaning a couple of centimeters below the node rather than right at it.
For the top, cut just above a leaf node. Keep your blade sharp so you get a clean slice instead of a crushed, ragged end that invites rot.
4. Prepare the Cuttings
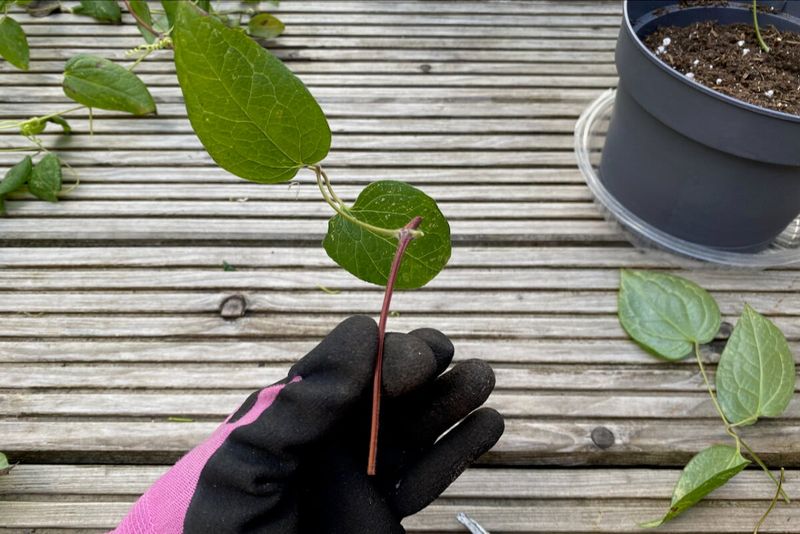
A leafy cutting looks lush, but all those leaves are actually working against you by losing precious moisture. Strip off the lower leaves and leave just the top pair in place.
Those two remaining leaves keep a little photosynthesis going without draining the cutting dry. If they are large and floppy, snip them in half to cut the water loss even further.
Think of it as putting your cutting on a diet so it can pour all its energy into making roots instead of babysitting a full head of foliage.
5. Apply Rooting Hormone
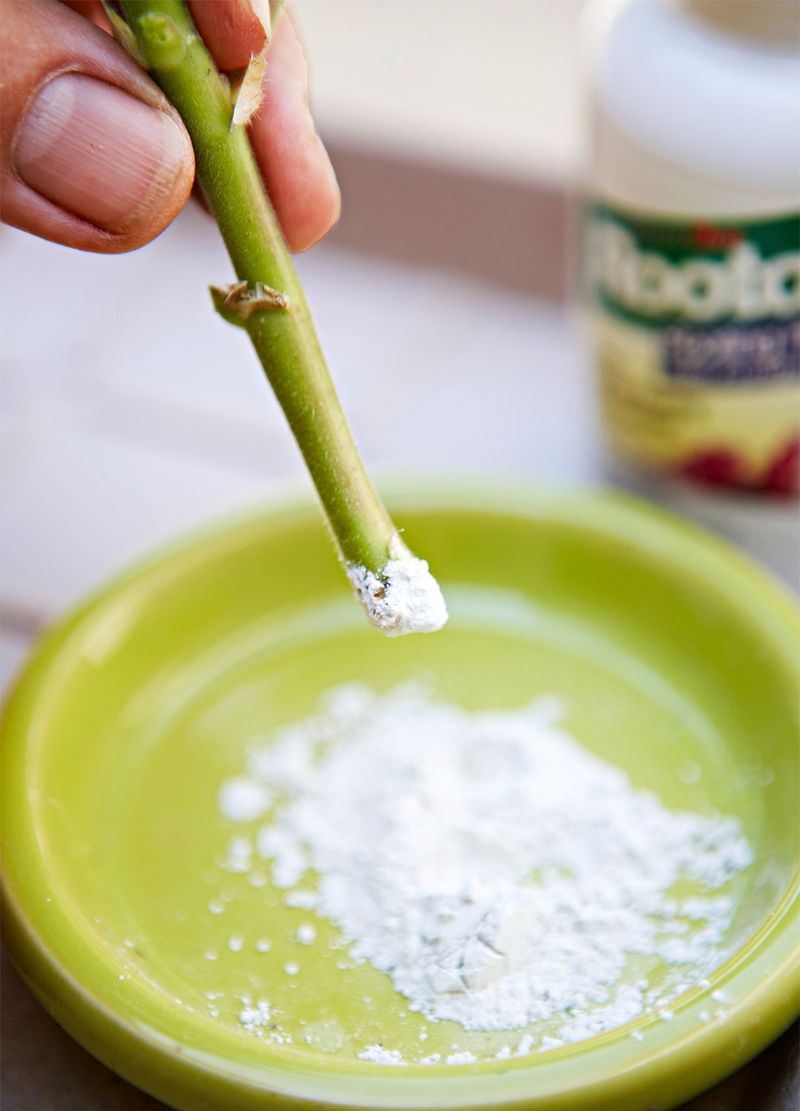
Rooting hormone is the little nudge that turns a bare stem into a root factory. Dip the bottom inch of each cutting into plain water first, then twirl it in the rooting powder so a light coating sticks.
You only need about an inch of powder coverage at the base. More is not better, and a caked-on clump can actually hold too much moisture against the stem.
One quiet tip that matters more than people think: use fresh powder. Rooting hormone loses its punch over time, so an ancient tin from the back of the shed may leave you wondering why nothing took.
6. Plant the Cuttings
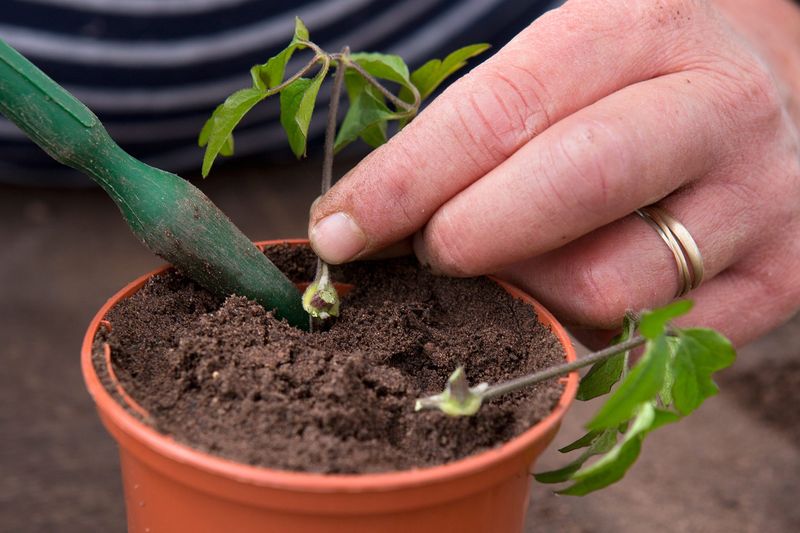
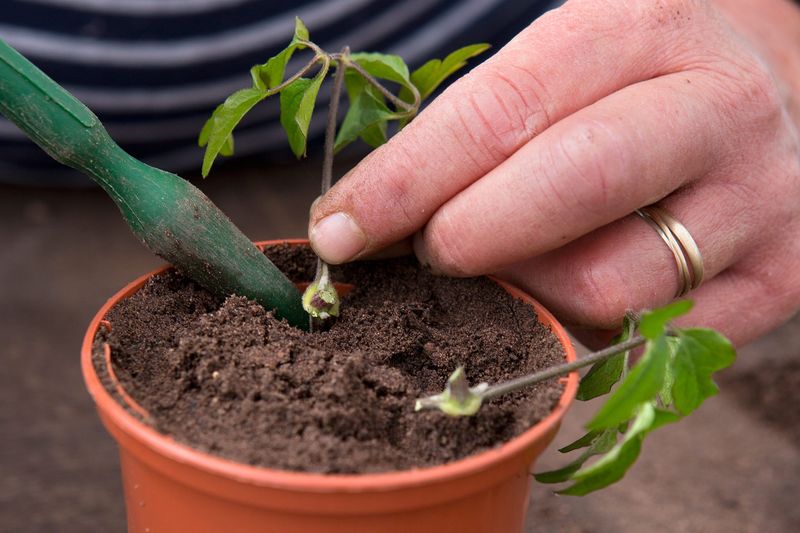
Jamming a cutting straight into the soil scrapes off all that hormone you just applied, so make a hole first. A pencil or a dibber pokes a perfect slot in your pre-moistened medium.
Slide each cutting into its hole, leaving roughly an inch poking above the surface. If you are using a grit layer on top, aim to set the leaf joint right at grit level, which helps ward off rot.
Gently tap the pot on your bench to settle the mix and knock out air pockets. A soft watering, with a splash of fungicide if you like, finishes the job and helps keep rot at bay.
7. Create a Humid Environment
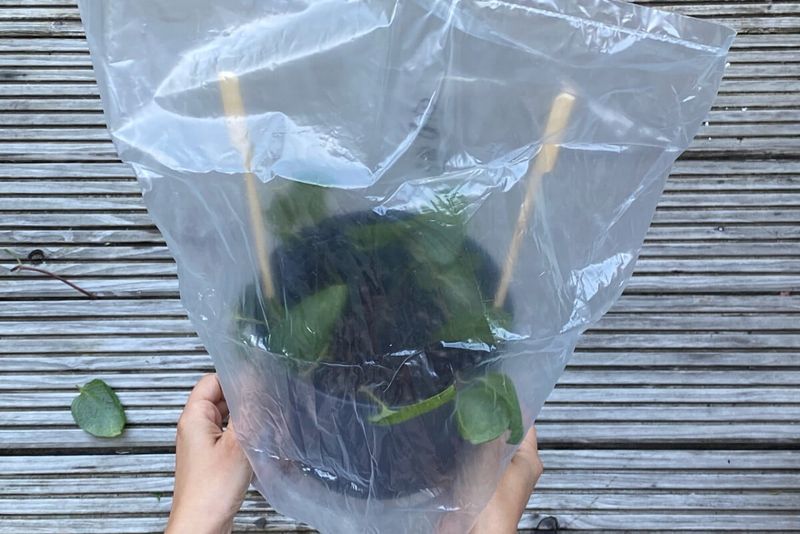
Without roots, your cuttings drink through their leaves, so a damp, cozy bubble keeps them from drying out. Slip a clear plastic bag over the pot or tuck everything into a propagator to lock in warmth and moisture.
Set them somewhere bright but out of direct sun. Harsh rays through plastic act like a magnifying glass and can scorch tender leaves in an afternoon.
A bit of gentle bottom heat, around 68 degrees Fahrenheit, speeds rooting along nicely. It is not required, though, so do not stress if you cannot supply it.
8. Monitor and Pot Up
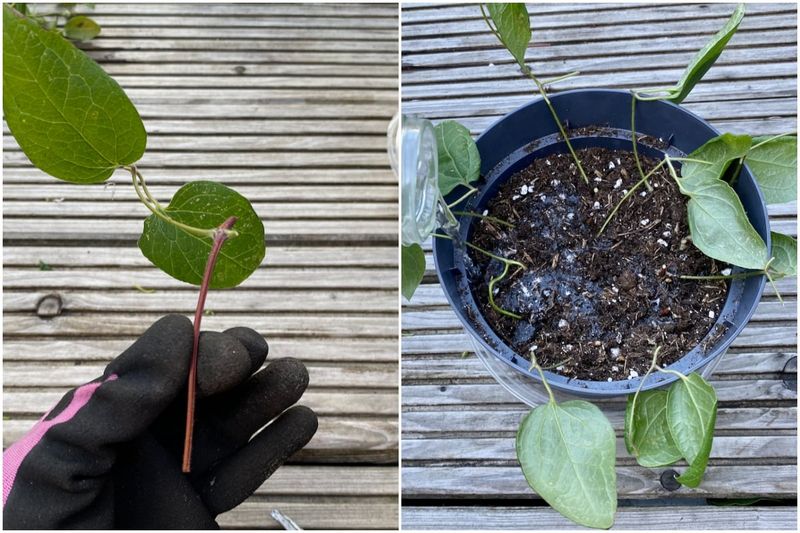
Patience pays off in this final stretch. Keep the medium moist but never soggy, since a waterlogged mix drowns the very roots you are trying to grow.
Roots usually show up in about 4 to 6 weeks. To check without yanking the plant apart, give a leaf a gentle tug; if you feel resistance, roots have taken hold underneath.
Once your cutting is anchored, move it into its own individual pot and let it bulk up for roughly a year. After that growing-on period, your free clematis is ready to head outdoors and climb.