
If Your African Violets Bloom Sparse And Sulk In Their Pot, Here Are 11 Repotting Steps That Bring The Blossoms Back
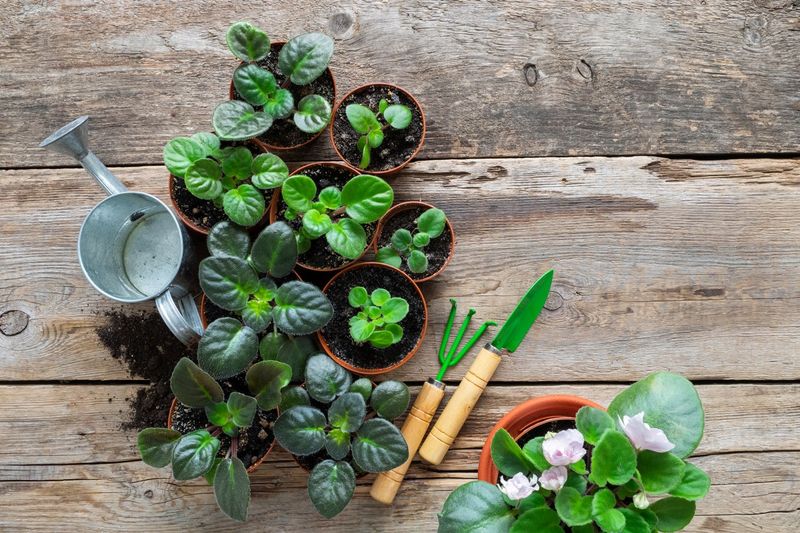
Your African violet used to be covered in cheerful blooms, but lately it just sits there looking tired and flowerless. Most of the time the trouble is hiding underground, where cramped roots and worn-out soil are quietly starving your plant.
Repotting is the easy fix that most people are scared to try, and it works wonders. Follow these 11 simple steps and watch your violet perk up and bloom again.
1. Water Your Plant in Advance
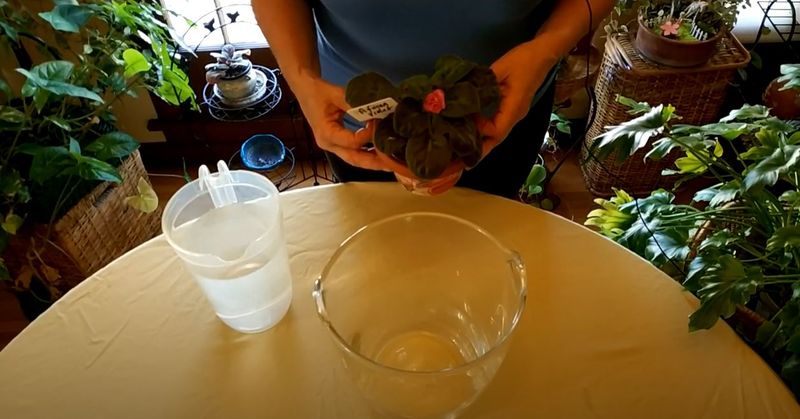
A day or two before you plan to repot, give your African violet a good drink of room-temperature water. A well-hydrated plant handles the move much better than a dry, stressed one.
Moist roots also slide out of the old pot far more easily, so you are less likely to tear anything. Think of it like loosening a stuck jar lid before you twist.
Skip this step and you risk cracking the root ball and sending your violet into a sulk that lasts for weeks.
2. Gather and Sanitize Your Tools
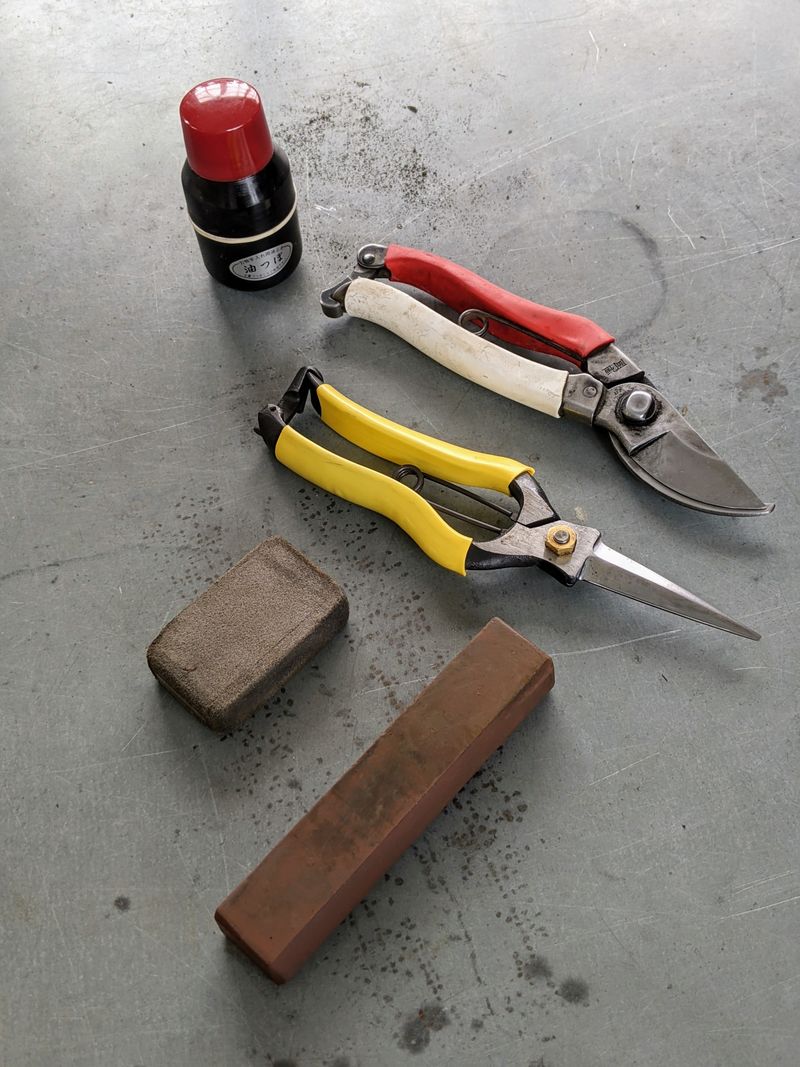
Before your hands get dirty, round up everything you will need in one spot: small scissors, a trowel or spoon, a clean pot, and fresh soil. Chasing supplies mid-repot with muddy fingers is nobody’s idea of fun.
Wipe down every tool and the pot with rubbing alcohol or a diluted bleach solution. African violets are surprisingly delicate, and dirty blades can pass along fungus or pests you cannot even see.
A little sanitizing now can prevent heartbreak later. Clean tools are the cheapest insurance you will ever buy for your plant.
3. Choose the Right Pot Size
Here is the surprise that trips up most violet lovers: bigger is not better. African violets actually bloom best when they feel a little snug, so pick a pot about one-third the diameter of the leaf spread.
If your plant’s leaves span nine inches, a three-inch pot is just right. When you do need to size up, go up only one inch at a time.
Reach for a shallow, wide container rather than a tall, deep one, since violet roots stay near the surface. A pot that is too roomy pushes the plant to grow roots instead of the flowers you actually want.
4. Prepare a Suitable Potting Mix
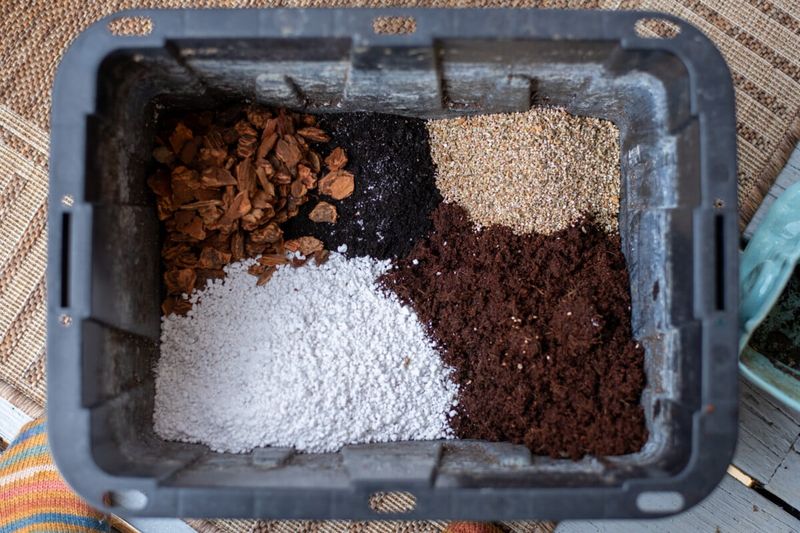
Ordinary garden soil is far too heavy for these plants, packing down and smothering their fine roots. Grab a bag of mix made for African violets, or blend your own using peat moss or coco coir, perlite, and vermiculite.
That fluffy combo lets air reach the roots while still holding just enough moisture. Violets also like things a touch acidic, around a pH of 5.8 to 6.5, which most violet mixes already deliver.
Dampen the mix before you use it so it is lightly moist, not soggy. Dry mix tends to pull water away from tender roots and can stir up dust.
5. Remove Outer Leaves and Spent Blooms
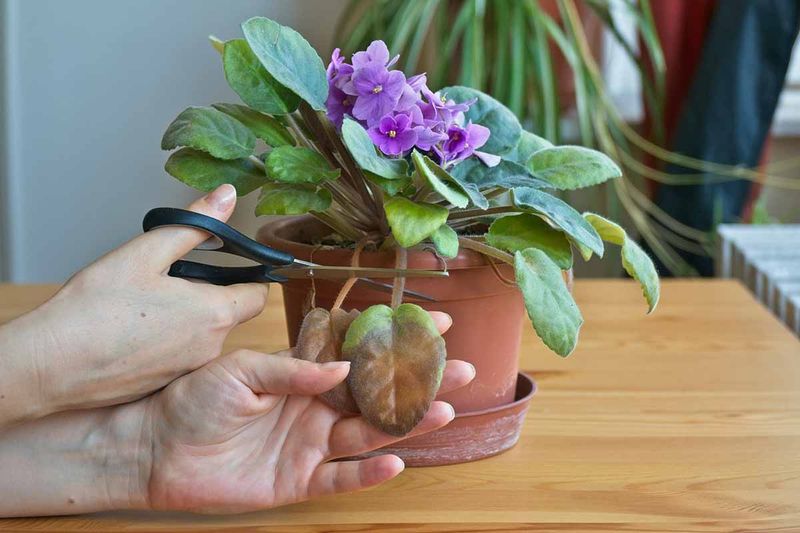
Faded flowers and tired old leaves are quietly draining energy your plant could be spending on fresh growth. Gently pinch off any spent blooms along with up to half of the oldest, outermost leaves.
It may feel wrong to remove healthy-looking foliage, but trust the process. Trimming back tells your violet to pour its resources into recovery and new blossoms instead of maintaining leaves it no longer needs.
You will be rewarded with a tidier plant and a stronger flush of flowers down the road.
6. Address a Leggy Neck (If Present)
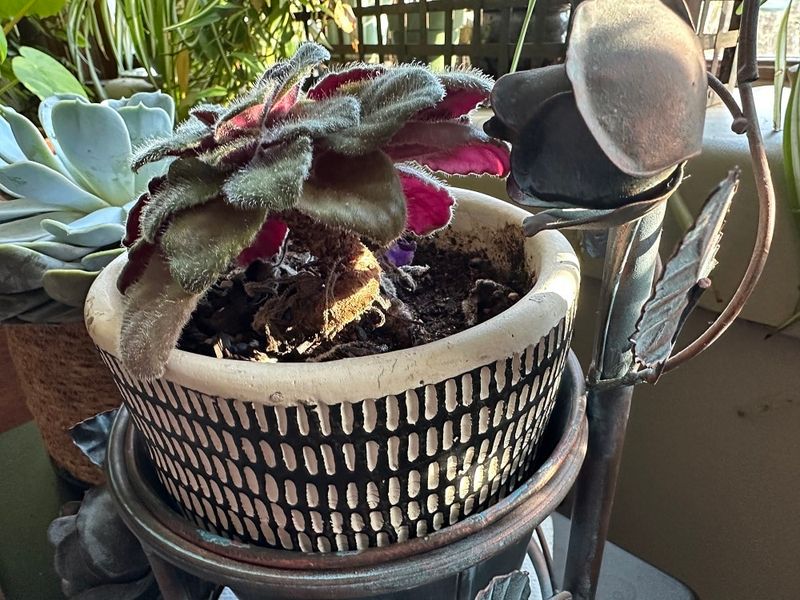
Over time, many violets develop a bald, woody stem between the soil and the lowest leaves, often called a “neck.” It looks awkward and it keeps your plant from sitting pretty.
Lift the violet out and gently scrape the corky brown layer off the neck with a clean knife until you reach greener tissue. Then trim an equal amount off the bottom of the root ball so the whole plant can be reset lower.
Once replanted, that bare neck disappears below the soil line and can even sprout fresh roots. It is a small bit of plant surgery that makes an old violet look years younger.
7. Extract the Plant from its Old Pot
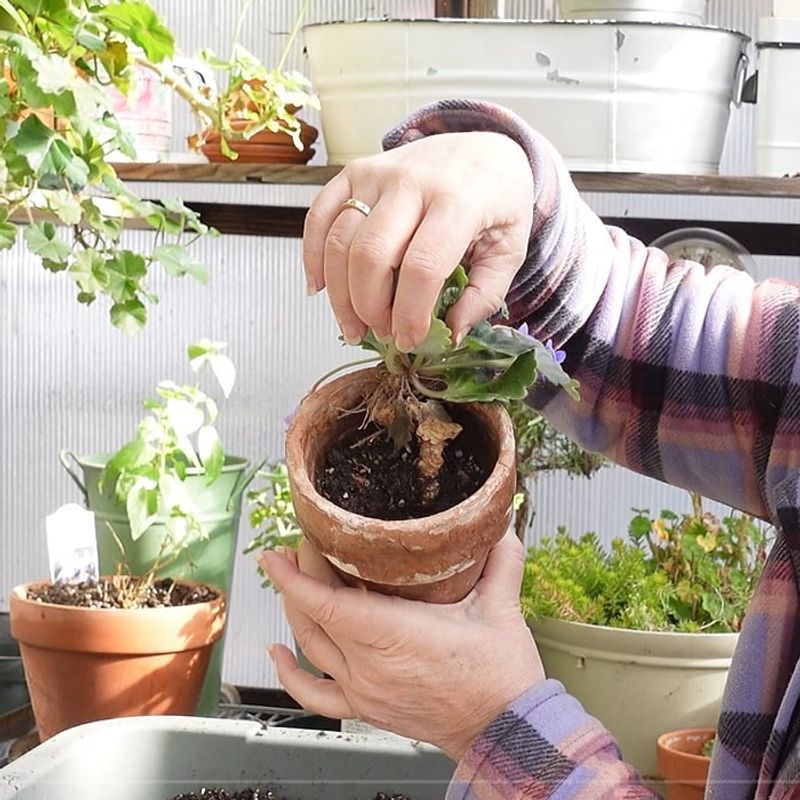
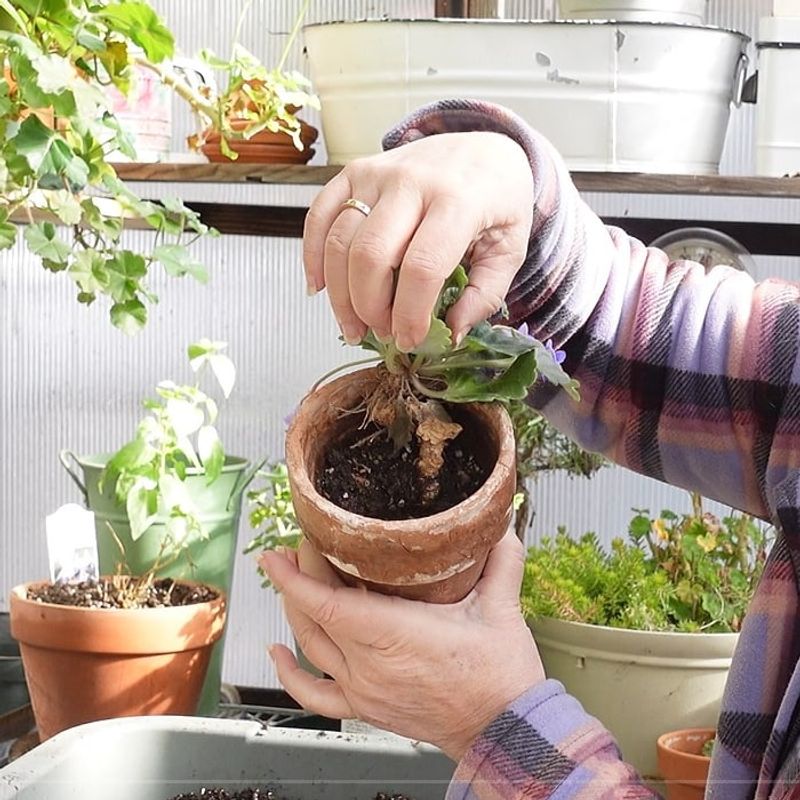
Now comes the moment of truth. Cradle the base of the plant with one hand and tip the pot sideways, easing the root ball out rather than yanking on the leaves.
If it stubbornly stays put, give the sides of a plastic pot a gentle squeeze, or slide a dull knife around the inside edge to break the grip. Patience here protects those delicate roots from snapping.
The whole clump should slide free in one piece, ready for its fresh new home.
8. Prepare the New Pot
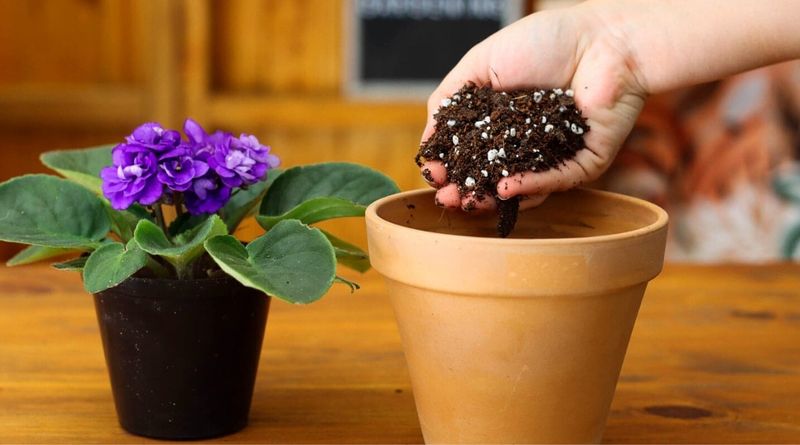
Set the stage before the star arrives. Spoon a thin layer of your pre-moistened mix into the bottom of the clean pot so the plant will sit at the right height.
Got big drainage holes? Lay a small piece of mesh or a coffee filter over them first.
That little trick keeps soil from washing straight out the bottom every time you water.
A well-prepped pot means the actual repotting goes quickly and smoothly, with no scrambling to add more soil underneath at the last second.
9. Position the African Violet
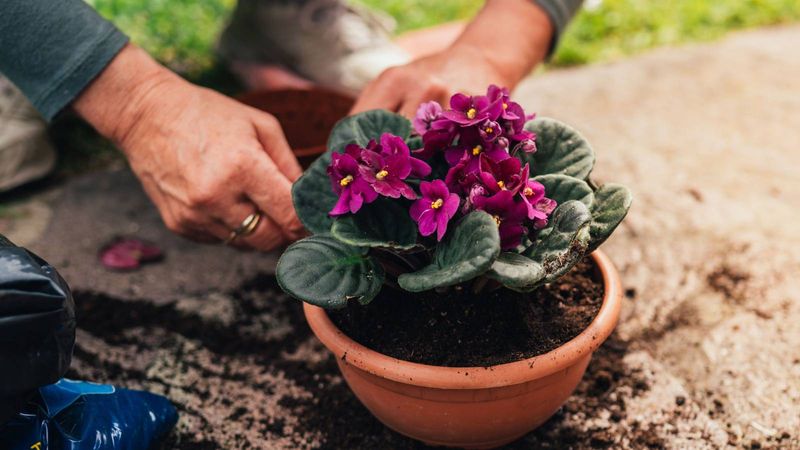
Placement is everything for a happy violet. Center the plant in its new pot and check that the lowest ring of leaves rests level with, or just barely below, the rim.
Get the crown too deep and water can pool where the leaves meet the stem, which invites crown rot, one of the fastest ways to lose a violet. Sitting the plant at the correct level keeps that vulnerable center dry and healthy.
Take a second to eyeball it from the side before you start filling in soil.
10. Fill with Fresh Soil
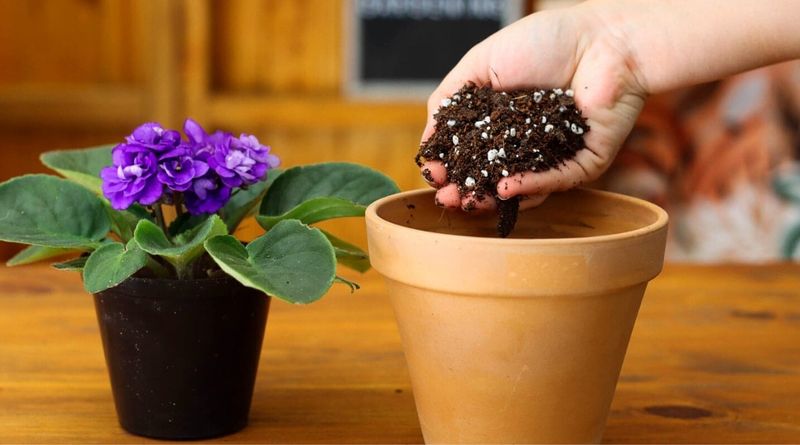
With your violet perched at the right height, spoon fresh mix around the root ball to hold it steady. Firm it lightly with your fingertips, just enough to keep the plant from wobbling.
Resist the urge to pack it down hard. Violets crave loose, airy soil around their roots, and compressed dirt cuts off the oxygen they depend on.
Aim for snug but fluffy, the same way you would tuck someone in without squishing them.
11. Water Gently
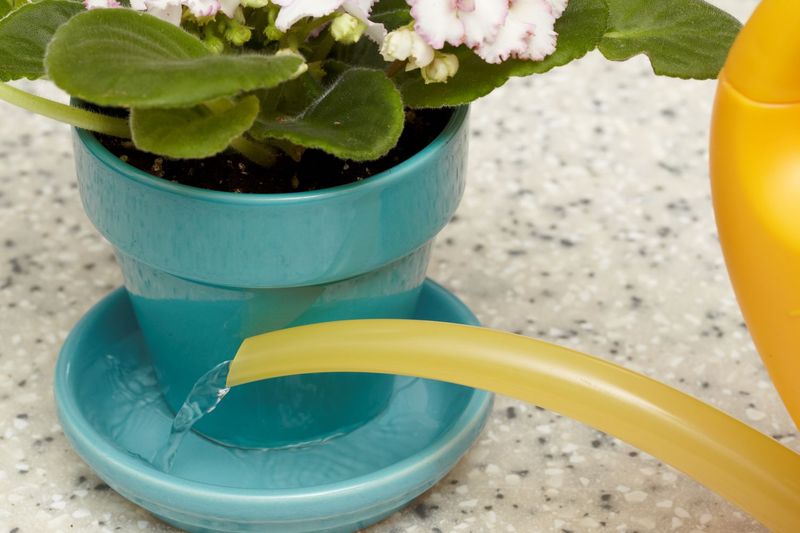
The finish line at last. Give your newly potted violet a slow, gentle drink of room-temperature water to settle the soil around the roots and close up any air pockets.
Cold water can shock these tropical plants, so let it warm up first. If your pot has drainage holes, tuck a saucer underneath to catch the runoff and let the plant sip up any extra.
Set it somewhere with bright, indirect light and be patient. Repotted in spring or early summer, your violet should shake off its sulk and reward you with a fresh crop of blossoms.