
If Your Bare Lawn Spots Never Fill Back In, Here’s The Real Cause To Fix First
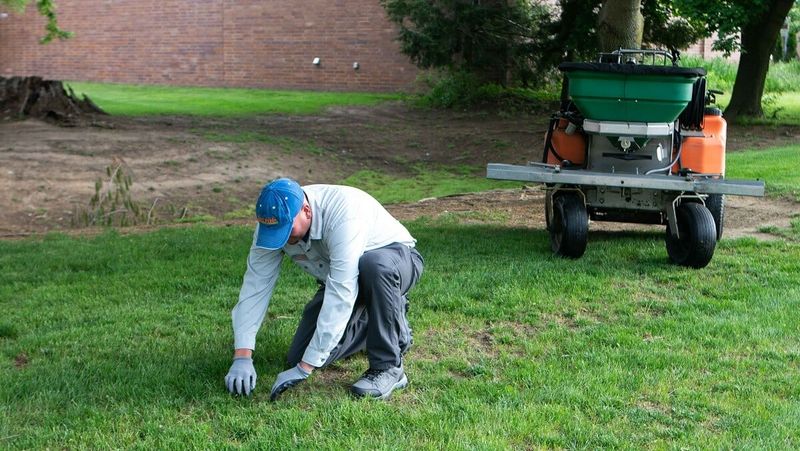
A bare patch in an otherwise green lawn can feel like a mystery, especially when you’ve already tossed seed on it twice and nothing grew. The frustrating truth is that more seed rarely solves the problem on its own.
Before you reach for another bag, it helps to understand why the spot went bare in the first place and what’s actually stopping new grass from taking hold.
Diagnose the patch before scattering more seed
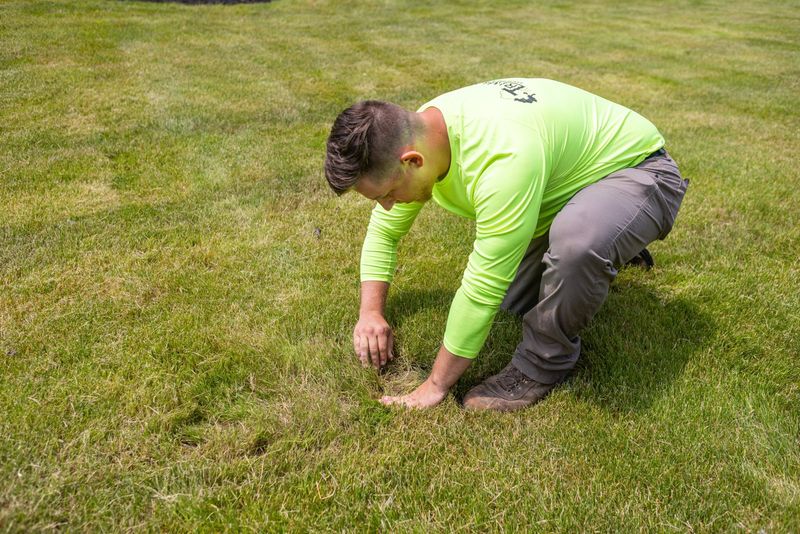
A bare patch is a symptom, not just a gap where seed needs to go. Tossing more seed on top of the same spot without understanding why the grass disappeared often leads to the same result: nothing grows, or a thin flush of seedlings appears and then dies back within a few weeks.
The patch is telling you something worth hearing.
Start by getting close and looking at the soil itself. Press a finger or a screwdriver into the ground.
If it barely penetrates, compaction is likely. Compacted soil is commonly linked to foot traffic, pets, vehicles, or mowing on wet ground, all of which squeeze out the air pockets roots depend on and restrict drainage.
Check whether the area stays soggy after rain, which can suffocate grass roots even in otherwise healthy soil.
Look at what surrounds the patch. Heavy shade from a tree or structure, a nearby downspout that floods the area, a dog’s favorite path, or a spot where kids consistently cut across the yard are all site conditions that killed the original grass and will keep killing new seedlings unless something changes.
Dead, matted grass sitting on top of the soil is a separate clue: it can physically block seed from reaching the ground.
Also check for signs of insects or disease. Irregular patches with discolored or greasy-looking grass at the edges sometimes point to grubs, fungal disease, or other problems that seed alone won’t correct.
University of Maryland’s lawn diagnosis guidance walks through several of these patterns. A patch that keeps coming back after repeated reseeding is almost always telling you the site itself is the problem, and Penn State extension notes that renovation should begin only after the primary cause of decline is corrected.
Identify the cause first, then decide whether a hand repair makes sense.
Seed-to-soil contact often determines whether reseeding works
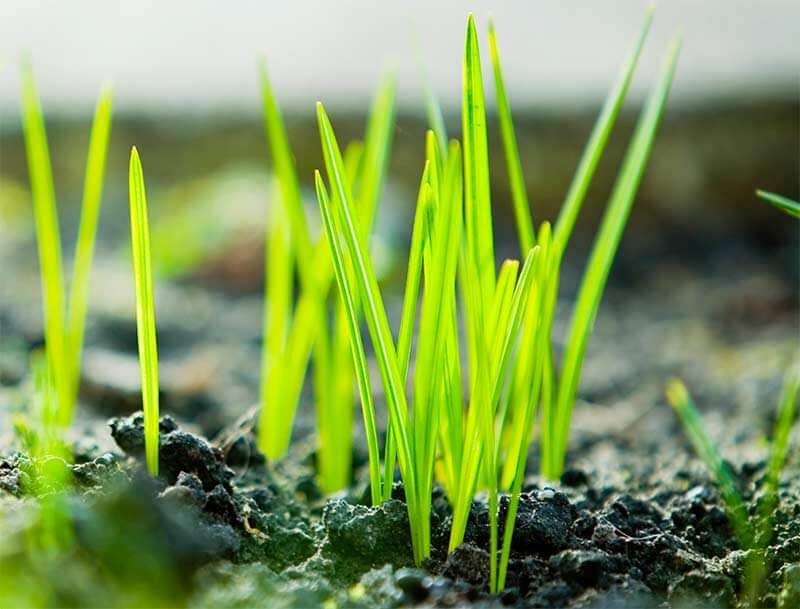
Even when the site can support grass, many reseeding attempts fail for a reason that has nothing to do with seed quality or watering habits. Grass seed needs three things to germinate: contact with suitable soil, consistent moisture at that contact point, and room to send roots down.
When seed lands on a layer of dead grass, loose debris, or a hard-packed surface, it can’t get any of those three things reliably.
A dead mat of old grass acts like a hammock. Seed sits on top of it, exposed to sun and wind, drying out before it can sprout.
Seed scattered over hard soil faces a similar barrier: even if it technically touches the ground, it can’t push roots into a surface that has no give. Penn State’s lawn establishment guidance identifies good seed-to-soil contact as essential for germination, and University of New Hampshire extension explains that removing debris and exposing the soil surface directly addresses this establishment barrier.
Clearing the mat and loosening the top layer of soil gives seed a place to settle, hold moisture, and root. That’s the practical value of the prep step: it removes the physical obstacle between seed and soil.
What this fix cannot do is equally important to understand. Better seed-to-soil contact addresses a germination problem, not the reason the grass died.
If the original cause was severe compaction, poor drainage, deep shade, persistent foot traffic, or a grass type that simply doesn’t suit the location, University of Maryland’s overseeding guidance makes clear that surface preparation alone won’t keep the patch green. Solving the contact problem is a necessary step for a small repair, but it works only when the site itself can support turf.
Use fall timing only for suitable cool-season grass
Timing a patch repair correctly matters almost as much as the repair itself. For cool-season grasses, late summer to early fall is generally the most favorable window.
Soil that has been warming all summer still holds enough heat to support germination, while dropping air temperatures and shorter days reduce the heat stress and weed competition that make summer seeding unreliable.
University of Maryland lists roughly mid-August to mid-October as the target range for cool-season turf seeding in their region, and University of Missouri extension similarly points to late summer and early fall for best results with cool-season species. These windows are regional approximations, not hard nationwide deadlines.
A homeowner in northern New England or Minnesota may need to seed several weeks earlier than someone in Virginia or Missouri to allow enough growing time before the ground freezes.
Seeding too late in the season is a real risk. Seedlings that germinate but don’t have time to develop a root system before cold weather arrives are vulnerable to heaving and winterkill.
If fall timing has already passed in your area, waiting until the following late summer is usually a better choice than rushing a late planting.
Cool-season grasses include Kentucky bluegrass, tall fescue, fine fescues, and perennial ryegrass. These are the common lawn types across the northern and transitional zones of the US.
Warm-season grasses are a different matter entirely. Bermudagrass, zoysiagrass, centipedegrass, and St. Augustine grass are established during late spring or early summer when soil temperatures are consistently warm.
Patching a warm-season lawn in fall with cool-season seed creates a mismatched, patchy result. University of Maryland’s lawn maintenance guidance and UNH’s lawn renovation video both reinforce identifying your grass type before choosing a repair season.
When in doubt about your grass type, take a sample to your local cooperative extension office for identification.
Use a hand rake to prepare a small patch for reseeding
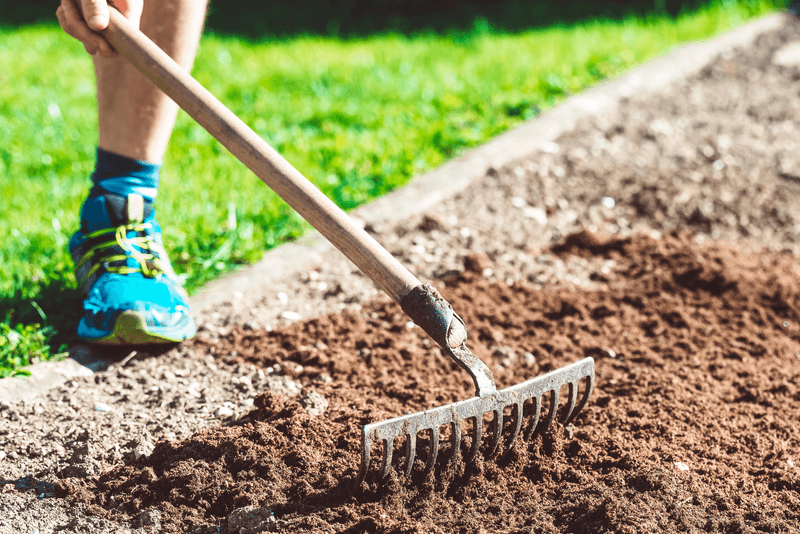
For a small bare spot in a cool-season lawn, a basic hand rake and a bag of the right seed are genuinely enough to make a good repair attempt. The goal of this process is a workable seedbed where seed can make reliable contact with moist, loose soil.
No rental equipment is needed for a patch you can cover with a welcome mat.
Work through the repair in this order. First, mow the surrounding grass at its normal height and clear away any debris such as leaves or clippings.
Second, rake out all dead grass, loose thatch, and matted material from the bare spot until you can see exposed soil. Third, scratch or loosen the upper soil surface.
University of Maryland’s overseeding guidance recommends loosening at least the top inch for a bare-spot repair, while some extension sources focus on the top quarter-inch for lighter overseeding work. For a completely bare patch, aim for at least an inch of loose, workable soil.
Fourth, choose seed that matches your existing lawn’s grass type, not whatever bag is on sale. Using an incompatible species creates a patchy, two-toned look at best and may not establish at all.
University of Maryland’s lawn repair guidance and UNH extension both stress matching seed to the existing lawn and site conditions. Apply seed according to the rate printed on the product label for bare-spot or new seeding, which is typically higher than the overseeding rate.
Fifth, lightly rake the seed so a thin layer of soil covers most of it. Seed buried too deep won’t emerge, but seed left fully exposed on the surface dries out quickly.
Sixth, firm the patch by tamping it gently with the back of the rake or by walking over it carefully with flat-soled shoes. University of Illinois extension notes that pressing seed into contact with the soil is one of the most commonly skipped steps in a home repair.
This method suits a small, reasonably level patch. Surface preparation does not treat deep compaction or any recurring site condition that caused the original loss.
Keep the seedbed moist and check product restrictions
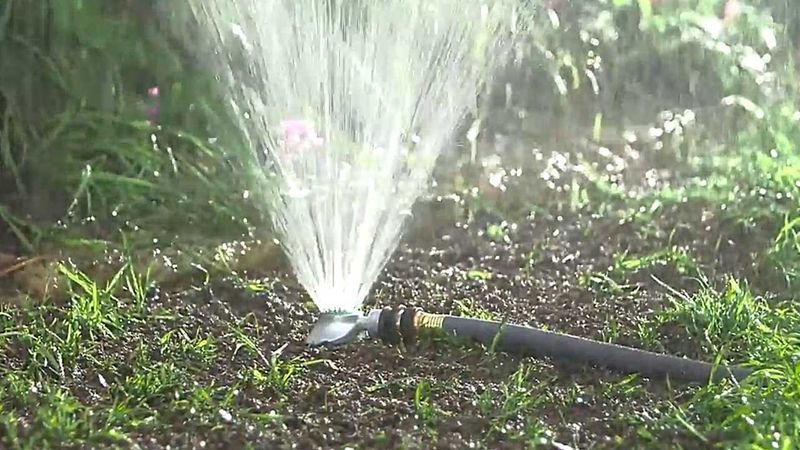
Getting seed into good contact with the soil is only half the job. Germination requires the seedbed to stay consistently moist from the day you seed until new grass is well established.
That means checking the surface daily, sometimes more than once on hot or windy days, and watering lightly enough to wet the top inch or two without washing seed away or creating standing water.
This is different from how you water established turf. University of Missouri’s seeding guidance and the UNH lawn renovation video both distinguish surface moisture management for new seed from the deep, infrequent watering that suits mature grass roots.
During germination, letting the seedbed dry out even once can kill emerging seedlings before they anchor. Once seedlings reach about an inch tall, you can gradually shift toward less frequent but slightly deeper watering.
A thin layer of clean mulch can help hold moisture and keep seed in place on a small patch, but it is optional if you’re watering carefully and the patch is level. If you use mulch, keep it thin enough that light still reaches the soil surface.
UNH extension notes that ordinary straw may carry weed seed, so clean or weed-free mulch is a safer choice if you decide to use any at all.
Before seeding, check whether you’ve recently applied any herbicide or weed-control product to the area. Pre-emergent herbicides work by preventing seed germination, and many will stop your grass seed from sprouting just as effectively as they stop weeds.
Not every weed-control or fertilizer product contains a pre-emergent, so the key step is to identify the active ingredient on the label and follow that specific product’s reseeding restrictions. University of Minnesota extension advises checking the label for waiting periods before seeding, and an EPA-registered pesticide label is the controlling document for any specific product’s restrictions.
When in doubt, wait the full period listed or contact the manufacturer.
Treat recurring failure as a site diagnosis
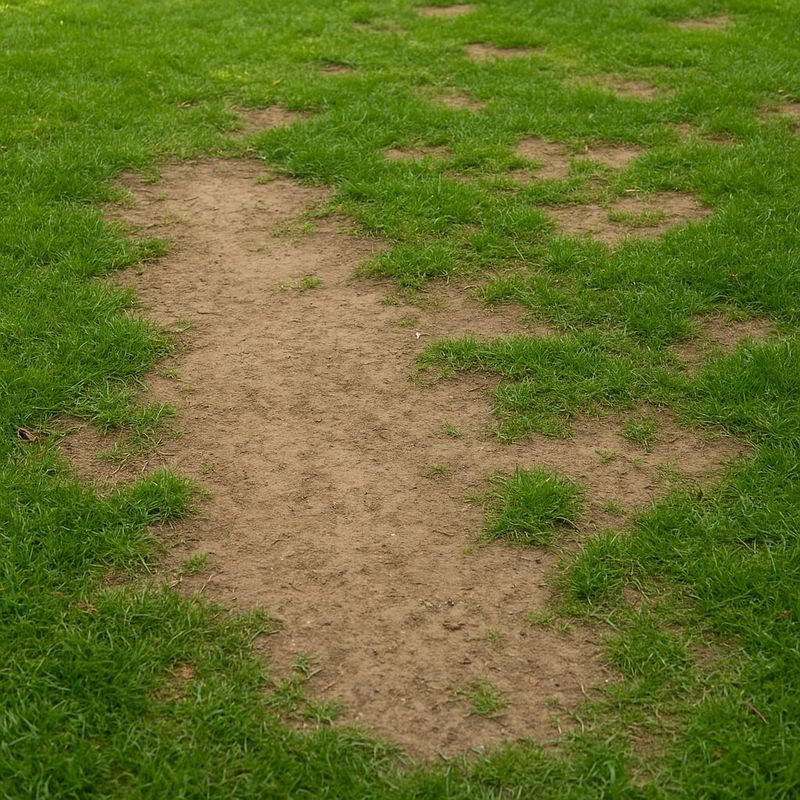
When a patch keeps failing after multiple repair attempts, the seed isn’t the problem. Something about the site itself is rejecting grass, and adding more seed to an unchanged location just repeats the cycle.
Recurring bare spots call for a different kind of attention.
Compaction is one of the most common culprits. University of Maryland’s lawn problem guide links compaction to restricted air space, poor drainage, and shallow rooting, all of which prevent turf from establishing or surviving even when germination initially succeeds.
Surface raking improves seed contact in a small, mildly compacted patch, but Penn State’s turfgrass management resources make clear that severe or deep compaction may require core aeration, soil amendment, or changes to how the area is used. Raking the surface is not a treatment for compaction; it’s a seedbed step.
Shade is another persistent cause. Grass needs adequate sunlight to photosynthesize and stay dense.
A patch under a tree canopy that has grown fuller over the years may have supported turf a decade ago but can no longer do so now. Persistent wetness or poor drainage creates a related problem: waterlogged soil suffocates roots and creates conditions where fungal disease thrives.
Pet traffic deserves a specific mention. Dog urine causes chemical burn in a pattern that looks different from compaction or disease, and Colorado State University extension’s dog urine damage guidance notes that repair recommendations vary depending on whether the lawn is Kentucky bluegrass, tall fescue, zoysiagrass, or bermudagrass.
Reseeding a urine-damaged spot without changing the dog’s behavior or diluting the area with water after each use will produce the same bare patch again within weeks.
Heavy thatch, drought stress, insect infestation, and fungal disease round out the list of recurring site conditions identified by University of Maryland. Each requires its own corrective action before reseeding has a realistic chance of success.
Identify what the patch is actually experiencing, then decide what needs to change at the site level before you put down another seed.
Escalate widespread damage to renovation or another ground cover
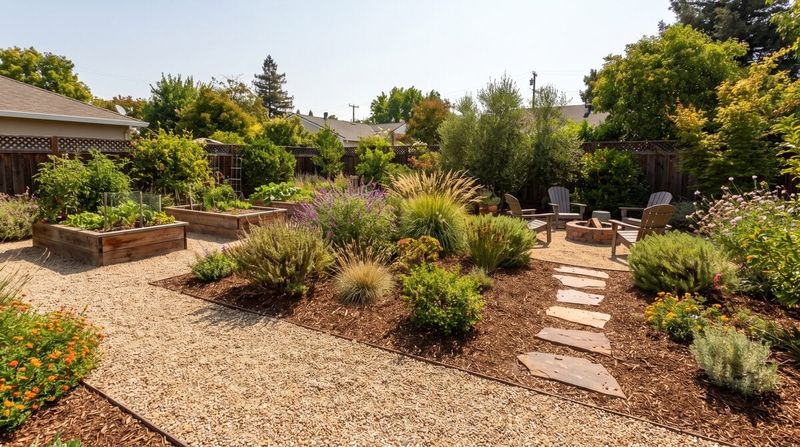
Hand repair works well for a small, isolated bare spot when the rest of the lawn is healthy and the site can support grass. When the damage is widespread, the calculation changes.
A lawn where bare soil or weeds cover a large portion of the yard is not a candidate for repeated spot seeding; it’s a candidate for renovation or a fundamentally different approach.
Penn State extension is direct on this point: renovation should begin only after the primary cause of turf decline is identified and corrected. Seeding over the same failing conditions, whether that’s compaction, poor drainage, persistent shade, or the wrong grass type, produces the same outcome at a larger scale.
University of Maryland’s lawn improvement guidance similarly distinguishes between a small patch repair and a broader renovation that may involve killing existing vegetation, aerating, amending soil, and reseeding the entire area with a compatible grass species.
Some locations are genuinely unsuitable for turf grass and will remain so regardless of how often they’re reseeded. A low spot that collects standing water after every rain, a side yard where a fence and a large tree combine to block nearly all sunlight, or a path that gets daily foot traffic from a family with kids and a dog are locations where grass has limited long-term prospects.
University of Maryland recommends considering lawn alternatives in areas where poor drainage, compaction, or shade cannot be corrected. Ground covers, mulched beds, stepping stones, or native plantings adapted to shade or wet conditions are not admissions of defeat; they’re practical choices that stop a recurring repair cycle.
Deciding to escalate is about matching the solution to the actual scale and nature of the problem, rather than repeating a small-patch approach on a large-area challenge.
Prepare the soil before you reseed
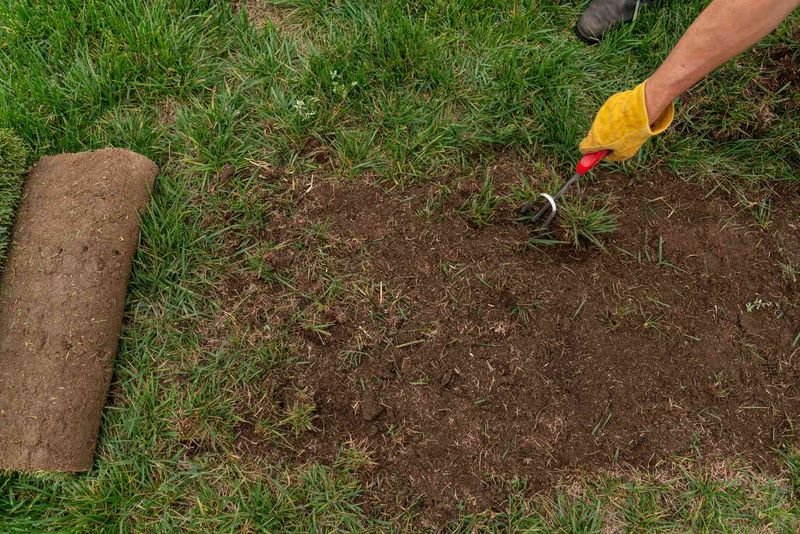
A reliable repair for a small bare patch in a cool-season lawn follows a clear sequence: find out why the grass died, confirm that the site can actually support turf, identify your grass type, and choose a compatible seed before doing anything else. Skipping the diagnosis step and going straight to seeding is what turns a one-time repair into a repeated frustration.
Once you know the site is workable and the timing is right, the physical prep is straightforward. Remove the dead mat, loosen the top inch of soil with a hand rake, apply seed at the label rate for bare-spot seeding, cover it lightly with raked soil, firm the patch, and keep the surface consistently moist until the seedlings are established.
Penn State’s lawn establishment guidance and University of Maryland’s overseeding resources both support this approach as the foundation for successful germination in a small patch.
This method suits a small, level spot where the grass type is known, the season is right, and the site condition is correctable. When a patch keeps returning despite proper repairs, or when shade, drainage, compaction, or traffic cannot be meaningfully changed, the ground is giving you useful information: sometimes the best lawn repair is choosing a different plant for that spot entirely.