
If Your Fall Beets Grow Lush Tops But Almost No Root Below, One Feeding Habit Is Worth Checking
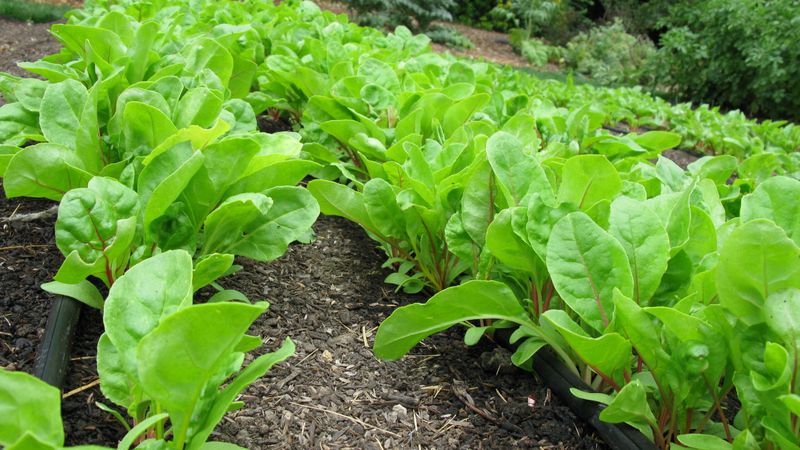
Growing fall beets and ending up with a pot full of beautiful greens but barely a marble-sized root underneath is one of the more frustrating garden surprises. Many gardeners immediately blame too much fertilizer, but the real story is usually more complicated than that. Excess nitrogen is absolutely worth investigating, yet crowding, uneven watering, soil problems, and even simple impatience can produce the same disappointing result. Working through a short checklist will tell you far more than any single feeding change could.
Lush leaves point to a problem—but not necessarily nitrogen
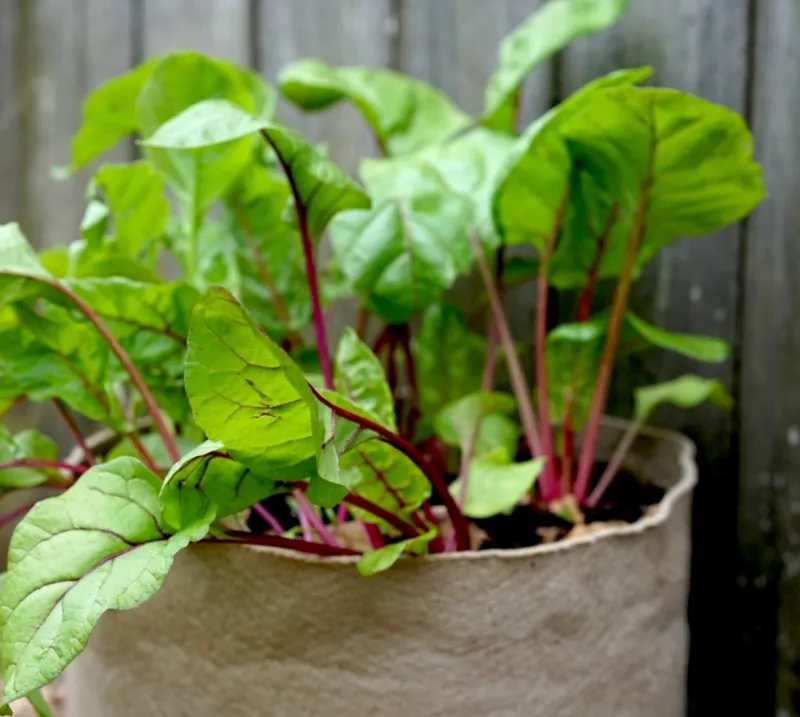
Vigorous beet foliage with almost nothing growing below the soil line is a real and frustrating problem, but the cause is rarely as simple as “too much fertilizer.” Utah State University Extension does warn that overapplying nitrogen can shift a beet plant’s energy toward leaves at the expense of root sizing, so excess feeding is a fair first suspect. The problem is that several other conditions produce the exact same symptom.
Illinois Extension identifies inadequate thinning as a frequent cause of beets failing to develop their roots, which means a crowded row can look lush and healthy above ground while every plant underneath is competing for the same small pocket of soil. Heat, irregular moisture, compacted or rocky soil, weeds, root injury, and premature harvest can all produce a beet that looks thriving from the top and hollow from the bottom.
Research on table beets adds another layer of nuance: studies on nitrogen application and beet yield show that moderate nitrogen can actually increase both leaf and root production, so lush foliage is not proof of excess. The leaves are not stealing energy from the root in some zero-sum competition; rather, something is preventing the root from doing its share of the work.
The more useful question to ask is not “did I over-fertilize?” but rather “what is preventing this particular beet root from enlarging?” That reframe opens up the full checklist: feeding history, plant spacing, soil structure, moisture consistency, temperature, and crop age. Each of those factors deserves a look before you change anything in the garden bed.
How repeated feeding can favor tops over roots
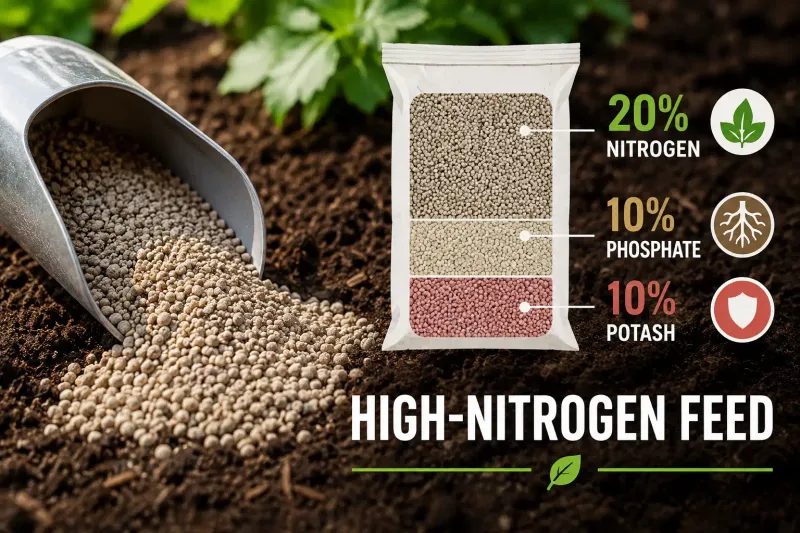
Every bag, bottle, or box of fertilizer carries three numbers on the label, and the first one represents nitrogen. A product labeled 10-5-5 delivers twice as much nitrogen as phosphorus or potassium, and one labeled 20-0-0 is nearly pure nitrogen. If you have been reaching for a high-nitrogen product every few weeks, or layering multiple nitrogen-rich inputs on top of each other, that accumulated supply is worth pausing.
The inputs that can quietly stack nitrogen in a garden bed include fish emulsion, blood meal, fresh manure, finished compost, and soil that already received nitrogen from a previous legume cover crop. Oregon State University Extension guidance on choosing garden fertilizers makes clear that fertilizer decisions should account for what the soil already contains, not just what the plant looks like from the outside. Adding a high-nitrogen product to already fertile soil can push total nitrogen well past what beet roots need to develop normally.
The key word in that sentence is “excessive.” Nitrogen itself is not the enemy. Utah State University Extension notes that proper nitrogen supports healthy beet growth, and cutting it out entirely can cause its own problems, including stunted plants and pale, unproductive leaves. The practical step is to stop applications that are not needed, not to declare a fertilizer ban for the rest of the season.
If you have applied a high-nitrogen product within the past few weeks and your beets are already dark green with thick, vigorous tops, that is a reasonable flag to stop and wait. Hold off on any further feeding until you can assess spacing, water, soil, and crop age, because those factors will tell you whether the feeding history is actually the issue or just one item on a longer list to check.
Check spacing before changing the fertilizer
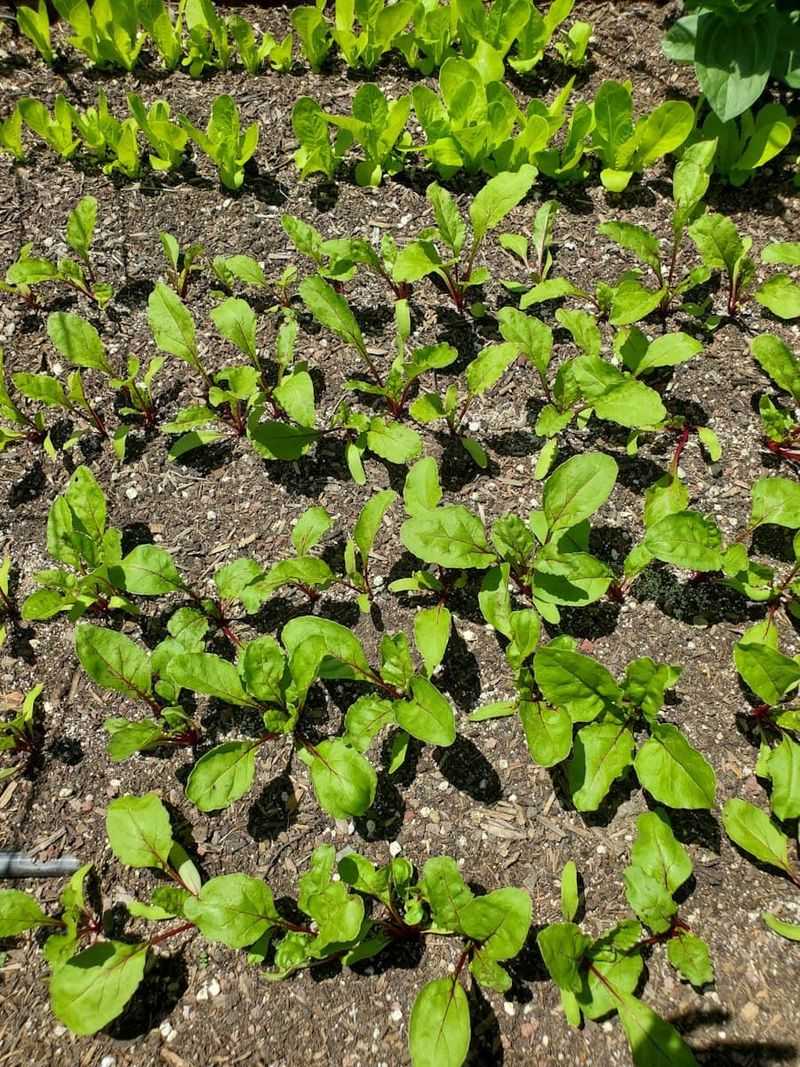
Before adjusting any nutrient program, walk out to the bed and count how many beet plants are growing within each four-inch stretch of row. Illinois Extension calls overcrowding the most frequent cause of beets failing to develop their roots, which means spacing deserves the first physical check after reviewing feeding history. If plants are jammed together, no amount of fertilizer adjustment will give each root the space it needs to enlarge.
The reason crowding sneaks up on gardeners is straightforward: beet “seeds” are actually small, dried fruit clusters that often contain two to four seeds each. A row that looks reasonably spaced right after germination can become severely crowded within two to three weeks as every cluster sends up multiple seedlings. What started as one seed per inch can quickly turn into three or four plants competing in the same narrow root zone.
Thinning beets to roughly three to four inches apart gives each plant enough soil volume to form a normal root. That spacing recommendation comes from Utah State University Extension’s planting and spacing guidance for root crops, and it applies whether you are growing in the ground, a raised bed, or a container. Closer spacing produces competition that no fertilizer program can overcome, because the problem is physical, not chemical.
Thinning feels wasteful, but the seedlings you pull are edible beet greens, and the plants left behind will respond quickly. If your beets are already six to eight weeks old and still crowded, thinning now will not produce a full-sized root before frost, but it can still improve the roots that remain. Think of spacing as the structural foundation that all other inputs, including fertilizer, depend on to work correctly.
Inspect soil, water, and weather conditions
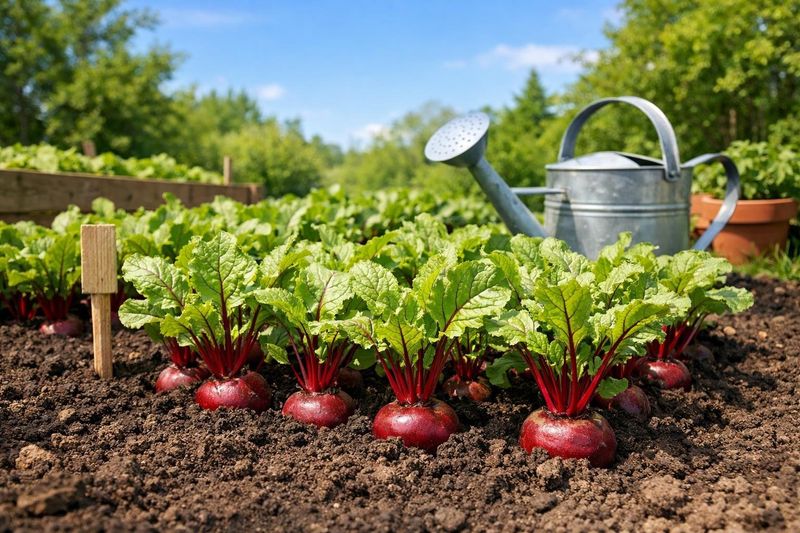
Soil structure can block root development just as effectively as any nutrient imbalance. Compacted ground, large stones, clods, or hardpan layers all create physical barriers that force a developing beet root to grow sideways, fork, or simply stop enlarging. Utah State University Extension’s soil and fertility guidance recommends loose, well-drained soil free of obstructions for normal root development, and that recommendation applies before you plant, not as a fix after the roots have already stalled.
Moisture consistency matters just as much as soil texture. Beets have relatively shallow active roots in garden conditions, which means raised beds and containers can dry out faster than in-ground plots. Utah State’s growing guide for beets notes that water stress and moisture fluctuations can slow growth, produce woody roots, or contribute to cracking. The goal is even moisture throughout the growing period, not alternating periods of drought and heavy watering.
Weeds compete directly for the same water, nutrients, and root-zone space that your beet roots need. A plant fighting weed pressure at the root level can push energy into maintaining its canopy while the root sits nearly still underneath. Removing weeds promptly and keeping the area around each plant clear gives the root zone the resources it needs without adding a single nutrient.
Illinois Extension’s guidance on root vegetables describes beets as cool-season crops whose root quality can decline under high temperatures, and hot weather combined with water stress can push roots toward a woody, unpalatable texture. High heat alone can reduce quality, but the combination of heat and drought is especially damaging. If your fall beets went in while daytime temperatures were still consistently above 80 degrees Fahrenheit, the early weeks of their growth may have been more stressful than the foliage currently lets on.
Confirm that the crop is actually late
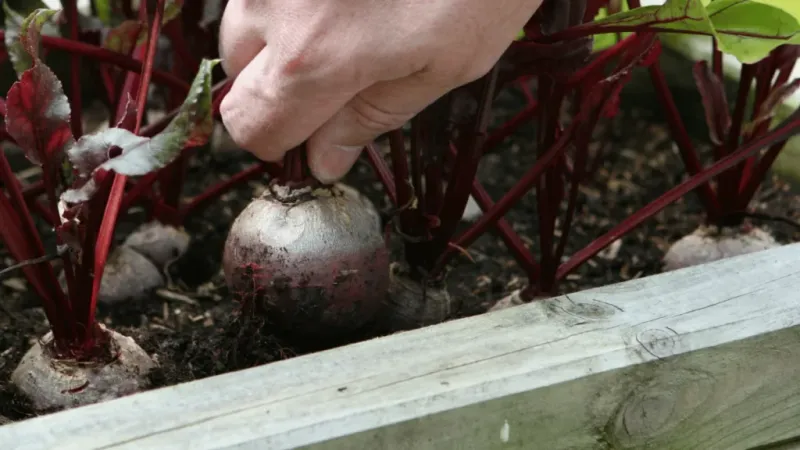
One of the quieter reasons for finding small beet roots is simply pulling them too early. Many gardeners see a bed full of healthy, dark green tops and assume the root underneath must have stalled, when in fact the plant is right on schedule and just needs another week or two. Checking the planting date against the variety’s days-to-maturity is the fastest way to rule this out before suspecting a nutrient or spacing problem.
Most common table-beet varieties mature in roughly 50 to 60 days from seeding, while some continue enlarging toward 60 to 80 days depending on the variety and growing conditions. Utah State University Extension’s beet growing guide notes that beets can be harvested at baby size intentionally, so a two-inch root is not automatically a failure. If your seed packet says 58 days and you are looking at the bed on day 45, the root may simply be unfinished.
Fall timing adds another layer to this calculation. University of Minnesota Extension’s guide to planting vegetables for fall harvest emphasizes the importance of allowing enough time to maturity before hard frost arrives, which means planting date relative to your first frost date matters as much as the calendar day you check the bed. A fall beet planted too late will run out of warm growing days before the root finishes sizing, regardless of how well the foliage looks.
Cool fall conditions generally suit beet root development well, and a light frost can even improve flavor in some varieties. The practical step here is simple: write down when you seeded, look up your variety’s days-to-maturity on the seed packet, and do the math before concluding that something has gone wrong. Patience is a legitimate diagnostic tool.
Use a soil test before reaching for a rescue nutrient
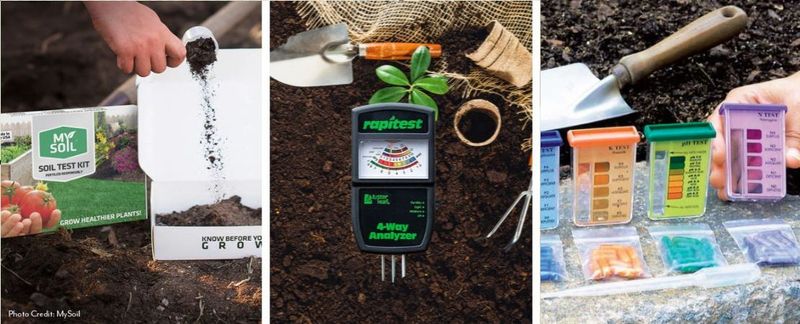
After checking spacing, moisture, soil structure, and crop age, the next step is a soil test before applying any additional nutrients. Guessing at phosphorus, potassium, or boron based on how the foliage looks is how gardeners create new problems while trying to solve the original one. Utah State University Extension’s nutrient management guidance is direct on this point: fertilizer applications are most reliable when they are tied to soil-test results and label-based rates, not visual diagnosis alone.
Phosphorus is often marketed as the “root nutrient,” but applying it to soil that already has adequate or high phosphorus levels is unlikely to push small beet roots into sudden growth. Excess phosphorus can accumulate in soil over time and contribute to water-quality problems in nearby waterways. The cases where a phosphorus application actually helps are those where soil testing confirms low levels or where cold conditions are genuinely limiting its availability to plant roots.
Potassium supports root-crop growth and is worth confirming through a soil test, but adding potassium to a bed that already has adequate levels will not compensate for crowding, heat, or insufficient growing time. The same principle applies across the board: nutrients help when they are missing, not as a general booster.
Boron deficiency is a real issue in some beet-growing soils, particularly sandy, low-organic-matter, or alkaline soils. Symptoms can include black internal spots, dry-rot-like areas inside the root, or distorted new leaves at the growing point. Oregon State Extension’s nutrient management guide for vegetable crops is clear that boron has a very narrow margin between deficiency and toxicity, making routine borax applications risky without confirmed deficiency and proper rate guidance. On the topic of fresh manure: Oregon State Extension notes that raw manure applied to crops whose edible portions contact soil should observe a 120-day interval before harvest under organic standards, because fresh manure carries pathogen, salt, and weed-seed risks beyond its nitrogen contribution.
Follow an evidence-based recovery sequence
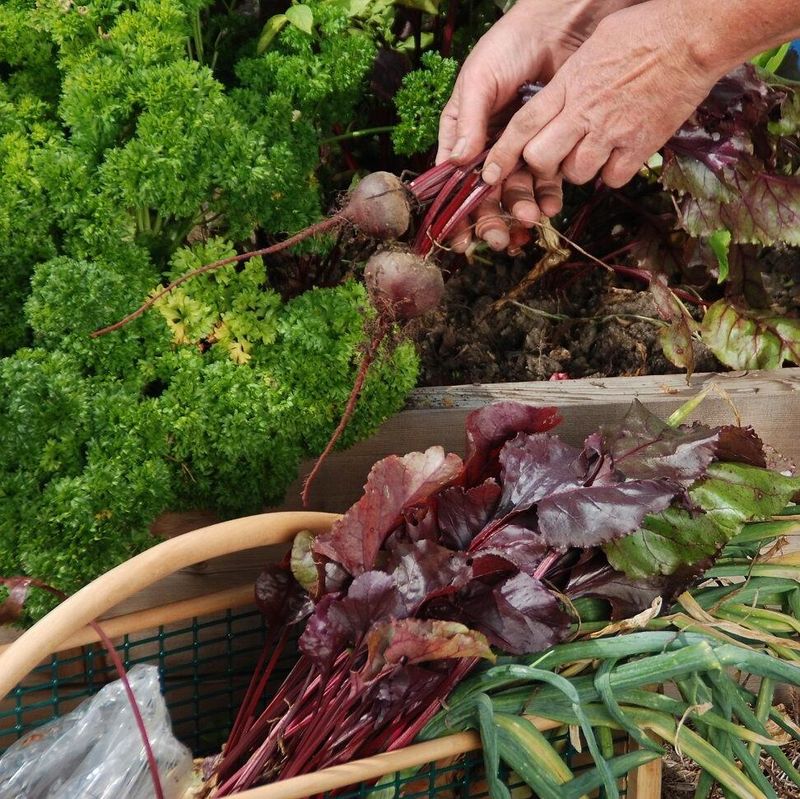
Once you have worked through the diagnostic questions above, you have enough information to act. The sequence below is conditional by design, because the right fix depends on what you actually found, not on a generic remedy for small beet roots.
Start by pausing any nitrogen applications you were planning. If you have recently added fish emulsion, blood meal, or a high-nitrogen granular fertilizer to a bed that already received compost or manure this season, stop and let the soil work with what it has. Utah State University Extension recommends reducing nitrogen where prior organic inputs have already supplied it, rather than adding more by default.
Next, count the plants. If any four-inch stretch of row holds more than one beet, thin it now. Illinois Extension’s beet guidance makes clear that crowding is the most frequent physical reason for underdeveloped roots, and thinning is the only correction that works. After thinning, check soil moisture and aim for consistent, even watering rather than deep soaks followed by dry spells.
Utah State’s beet growing guide connects moisture fluctuations to woody texture and cracking, both of which can appear in fall crops that experienced heat early in their growth.
Do not flood or flush the bed trying to wash out excess nitrogen. Heavy irrigation can leach nitrate into groundwater and stress shallow roots without reliably correcting the nutrient balance. The evidence-supported path, noted in Utah State’s nutrient management guidance and Oregon State Extension’s fertilizer guide, is to stop unnecessary inputs, maintain even moisture, thin crowded plants, and arrange a soil test before applying anything else. Do not add phosphorus, potassium, or borax as guesswork treatments.
Apply them only if a soil test or confirmed symptoms support the application.
Treat lush tops as a diagnostic clue, not a verdict
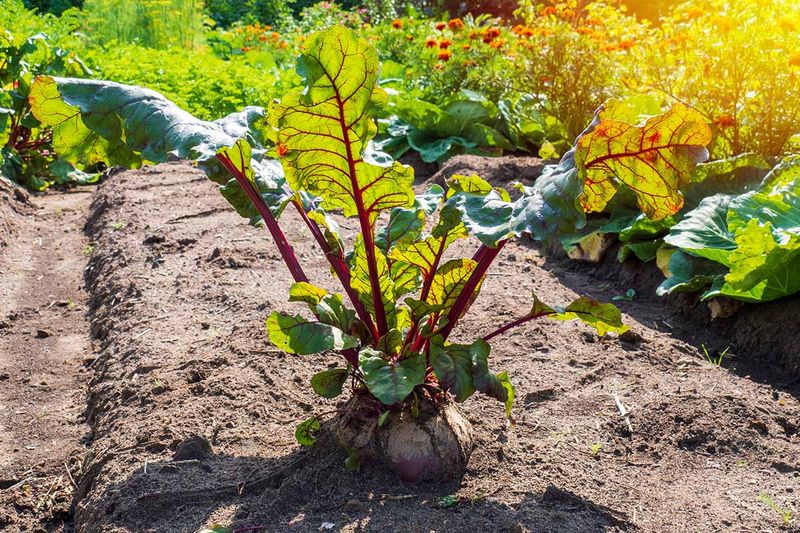
Healthy beet foliage is not the enemy. Leaves drive photosynthesis, and photosynthesis is what feeds root growth. The problem is not that the tops are thriving; the problem is that something in the growing environment is preventing the root from keeping pace.
When you see lush tops and small roots, let that combination prompt an inspection rather than an immediate intervention. Check your feeding history and look at the first number on your fertilizer label. Count the plants per foot of row. Press a finger into the soil to test moisture.
Look for stones or compaction in the root zone. Check when you seeded against the variety’s days-to-maturity. Illinois Extension and Utah State University Extension both point to spacing and soil conditions as primary physical causes, with nitrogen excess as one factor among several worth evaluating.
Balanced conditions, not maximum inputs, are what allow a beet root to enlarge reliably. The gardener who pauses, checks the actual cause, and makes one targeted correction will almost always get a better result than the one who reaches for a rescue product. A beet plant with good leaves and room to grow has everything it needs to finish the job.