
If Your Fall Spinach Grows Slow And Pale While The Leaves Curl Under, Cold Soil Is Stalling It Below The Surface
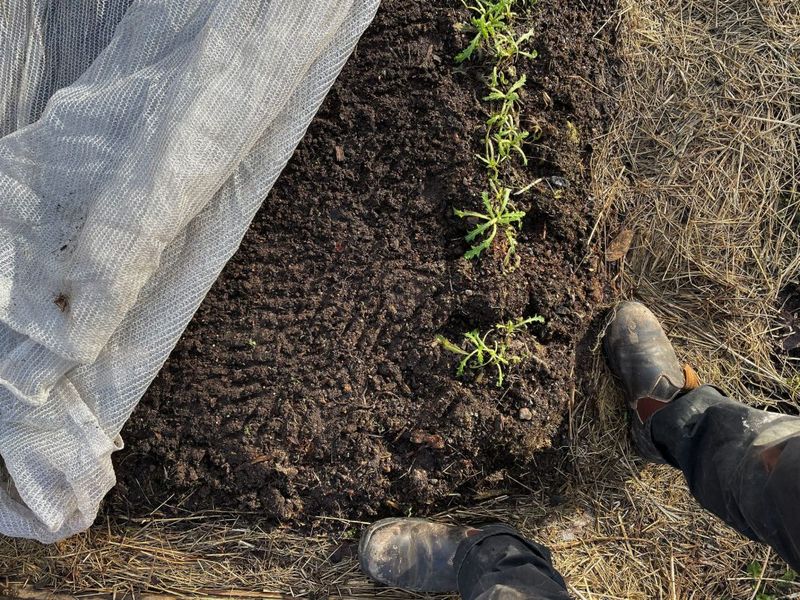
Fall spinach can be surprisingly stubborn, and most gardeners blame the seed or the fertilizer before they ever look below the surface. Soil temperature has a bigger say over whether spinach sprouts quickly or just sits there than almost anything else you can control above ground. A planting that went in during lingering late-summer heat and then hit a fast-cooling spell may be struggling underground in ways you cannot see from the leaf shape alone. Understanding what is happening at seed depth gives you a real fix instead of a guess.
Start with the seedbed, not the leaf shape
Pale leaves and downward-curling edges on fall spinach are easy to read as a feeding problem or a bad seed lot, but the more useful first question is what happened underground before those leaves ever appeared. Soil temperature can delay or weaken spinach germination, especially when a planting begins in soil that is still holding late-summer warmth and then faces a fast autumn cool-down. That sequence is a plausible reason for slow, uneven establishment, and it is worth investigating before you reach for a fertilizer bag or pull the plants.
The key word there is “plausible.” A warm-to-cold sowing sequence can explain why seedlings emerge late or look thin, but it does not automatically explain why leaves are pale or curling. Those symptoms have their own list of causes, including nutrient shortfalls, pH problems, disease, insects, and viruses. University of Minnesota Extension’s spinach diagnostic guide lists downy mildew, root rot, leafminer damage, and viruses among the conditions that produce discolored or distorted foliage, none of which have anything to do with sowing timing.
So the starting point is the seedbed, not the leaf. Ask yourself when you sowed, what the weather had been doing in the days before and after, and whether emergence was slow or uneven from the beginning. If the answer to any of those questions points toward a temperature mismatch, you have a useful lead. If emergence was actually fine but the leaves turned pale or curly afterward, the trail goes somewhere else entirely.
Working through those questions in order keeps you from treating the wrong problem. USU Extension’s spinach guide notes that spinach is highly sensitive to growing conditions at every stage, which means a correct diagnosis early saves a lot of wasted effort later. Start underground, then work your way up to the leaf surface once you know what the seed zone was doing.
Why spinach may wait below the surface
Spinach is a cool-season crop, and its seeds respond directly to the temperature surrounding them in the soil. When that temperature is too high, germination slows or stalls entirely. When it drops low, germination can still happen, but the timeline stretches out in ways that create real problems for fall gardeners who are working against a frost deadline.
USU Extension places the practical germination target around 55-65 degrees F, with seeds capable of sprouting at lower temperatures but taking considerably longer to do so. UMass Extension reports germination across a range from roughly 32 to 60 degrees F, with poor results above 70 degrees F, while the New England Vegetable Management Guide notes that different cultivars and seed conditions can shift those numbers. No single cutoff applies to every situation, so treat the ranges as useful guideposts rather than hard rules.
The practical delay numbers make the timing problem concrete. NC State Extension’s season-extension resources include an emergence table showing spinach taking roughly 23 days to break the surface at 41 degrees F, about 12 days at 50 degrees F, and around 7 days at 60 degrees F. That is a difference of more than two weeks between a cool seedbed and a cold one, and those extra days matter for a crop racing toward its first hard frost.
The slower the emergence, the longer seeds and young sprouts sit in contact with soil fungi and pathogens. NC State specifically notes that slowly emerging seedlings face greater exposure to damping-off and other soil-borne threats, which helps explain why a late-emerging stand can look thin and weak even after it finally appears. A fall planting that began in warm soil and then met a rapid cool-down may have experienced both problems: delayed emergence during the warm phase and then sluggish early growth once temperatures dropped. That sequence is a reasonable investigative lead, though it still does not tell you why any particular leaf is pale or curled.
Measure the temperature where the seed sits
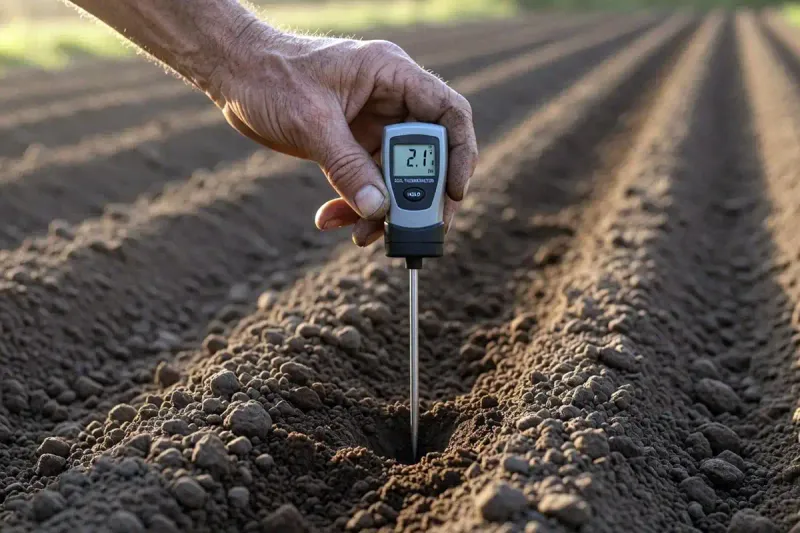
Air temperature and the feel of the soil surface are not reliable guides to what is happening at seed depth. A sunny afternoon can warm the top inch of a bed while the zone two to four inches down stays much cooler, and the reverse is also true: a warm spell after sowing can raise soil temperature faster than you expect at the depth where your seeds are sitting. The only way to know what your seeds are actually experiencing is to measure it directly.
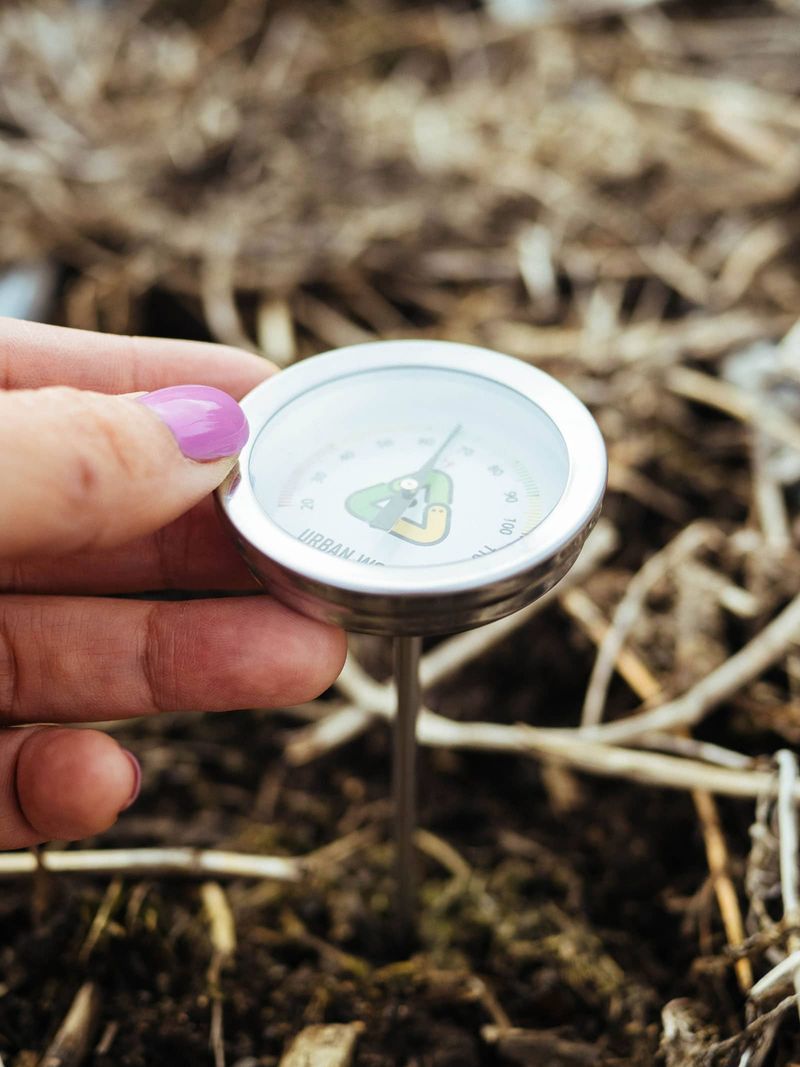
Use a soil thermometer rather than a meat probe or a finger test. Push it to approximately the depth where your seeds were placed, which for spinach is typically a shallow zone. OSU Extension’s germination temperature guide recommends checking at two inches for seven consecutive days to get a reliable picture, while another OSU Extension resource for vegetable gardening educators suggests three to four inches and several days of consistent readings. Neither depth is mandatory for every garden setup; the point is to get readings near the seed zone over multiple days rather than relying on a single measurement taken at an inconvenient moment.
OSU Extension’s early-season vegetable guide reinforces that consistent, repeated readings across several days give you a much clearer picture than a one-time check. Take readings at the same time each day, ideally in the morning before the sun has had a chance to warm the upper soil layer, and record them so you can spot a trend.
Once you have a few days of data, compare them to the practical range. Around 55-65 degrees F is a commonly cited target from USU Extension, though other sources report workable germination across a wider band. If your readings are consistently below 45 degrees F, expect very slow emergence and higher pathogen risk. If they are still above 75-80 degrees F, that is also a problem worth addressing before you sow again.
Keep in mind that soil temperature is only one variable: seed age, soil drainage, moisture levels, salinity, and cultivar all interact with temperature to determine how quickly and reliably your spinach will emerge.
Match fall sowing to frost and maturity
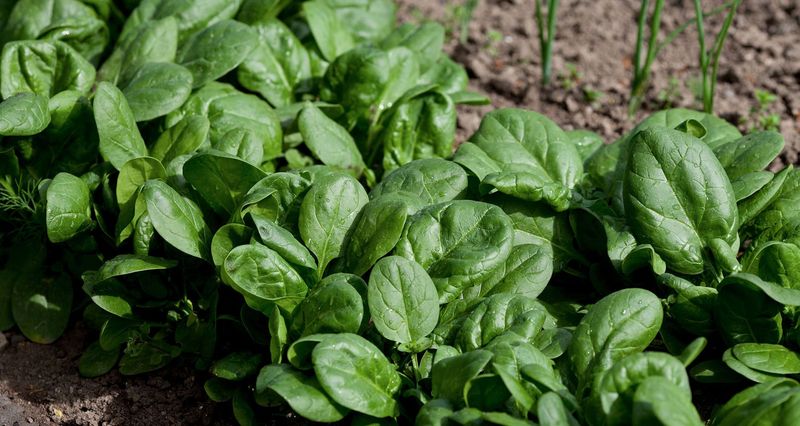
A soil temperature reading only tells you what conditions are like right now. Turning that reading into a useful planting decision also requires knowing when your average first frost arrives and how many days your chosen spinach variety needs to reach harvest size. Those two numbers, combined with your current soil temperature, give you the actual window you are working with.
University of Minnesota Extension recommends sowing fall spinach roughly two months before the average first frost date for your area. That is a starting point, not a guarantee, because first-frost dates vary by latitude, elevation, and local microclimates. A gardener in the upper Midwest is working with a completely different calendar than one in the mid-Atlantic or the Pacific Northwest, and even gardeners in the same county can see first-frost dates shift by a week or more depending on whether their garden sits in a low spot or on a slope.
USU Extension suggests selecting early-maturing cultivars for fall and planning for roughly 50-75 days before anticipated maturity, with maturity falling about one to two weeks after the expected first frost for overwintering crops. Read your seed packet carefully, because a variety labeled “baby leaf ready in 25 days” and one labeled “full-size in 50 days” call for very different sowing windows even in the same garden.
Also consider your goal. A gardener aiming for a fall harvest before hard freezes sets arrives needs the crop fully sized before temperatures drop into the low 20s. Someone planning to overwinter spinach under row cover for early spring harvest can sow later and let small plants go dormant. Waiting for the seedbed to cool to a workable range is smart, but waiting so long that the soil approaches freezing before sowing means trading a heat problem for a cold one.
The goal is a seedbed that is cool enough for timely germination and still has enough warmth remaining for the seedlings to establish a real root system before winter sets in.
Build a steady, well-drained seedbed
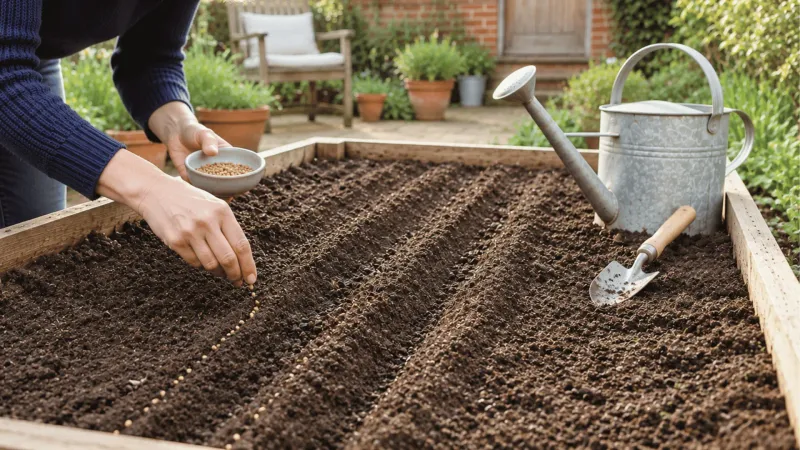
Getting the sowing conditions right matters as much as getting the timing right. A bed that drains poorly, crusts over after watering, or swings between wet and dry gives spinach seeds a difficult environment even when the temperature is perfectly suited for germination. Taking a few minutes to prepare the seedbed properly before sowing can prevent many of the problems that look like temperature failures later on.
Sow spinach seeds at a shallow depth, typically around one-quarter to one-half inch, depending on your soil type and the guidance on your seed packet. Lighter, sandier soils can handle the shallower end; heavier soils that tend to crust may benefit from pressing seeds to the slightly deeper end so they stay in contact with moist soil. UMN Extension recommends about one inch of water per week when rainfall is not providing it, applied evenly rather than in occasional heavy doses. Keeping the seedbed consistently moist, not waterlogged, is the target.
USU Extension specifically warns that moisture fluctuations slow leaf development and reduce quality, which means the pattern of watering matters as much as the total amount. A bed that dries out between waterings and then gets soaked is harder on spinach than one that stays evenly damp throughout the germination and early-growth period.
Drainage is the other half of that equation. A bed that holds standing water after rain creates anaerobic conditions that stress roots and invite damping-off fungi even when the temperature is fine. The New England Vegetable Management Guide notes that spinach seed is short-lived and susceptible to damping-off, and recommends fresh seed and well-drained, uniformly prepared beds. Compacted soil also slows root penetration and makes it harder for seedlings to establish quickly.
Loosening the top few inches of the bed before sowing, without creating large air pockets, gives young roots an easier path downward. Skip the plastic mulch for fall spinach; it can trap heat in the seedbed and push temperatures back into a range that slows or prevents germination right when you need the soil to be cooling.
Protect emerged plants without overheating them
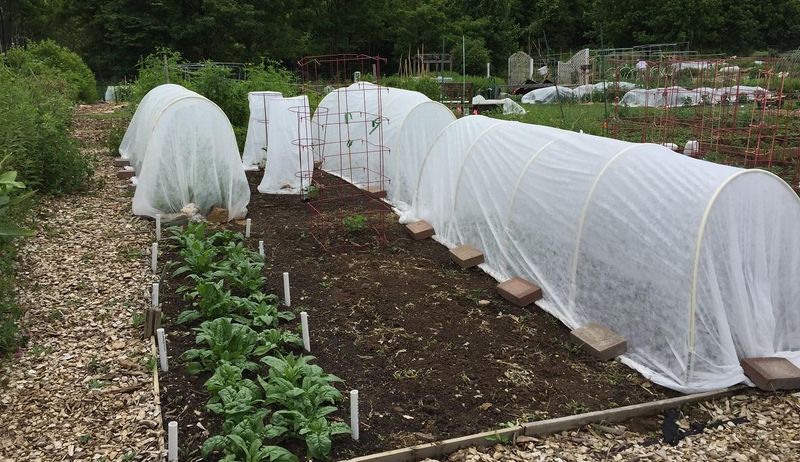
A floating row cover is one of the most useful tools a fall gardener has, but it works best when you understand exactly what it does and does not do. Once your spinach has germinated and the seedlings are up and growing, a lightweight row cover can protect them from frost, wind, and temperature swings that would otherwise slow or damage young plants. For established spinach heading into cold nights, that protection is genuinely valuable.
What a row cover cannot do is fix a seedbed that was too warm or too cold at sowing. Draping fabric over a bed before germination does not reliably cool overheated soil, and it does not speed up a cold seedbed that is already below the useful germination range. UMN Extension notes that row covers should be managed carefully because leaving them in place during warm weather can create excessive heat that worsens spinach’s temperature problems. If you cover the bed on a cold night, check the forecast and lift or vent the cover when daytime temperatures climb back into the warm range.
There is also an important distinction between cold soil and cold air. USU Extension points out that established spinach can tolerate light frost even though cold soil slows or delays germination. A young plant with a developed root system handles a light freeze quite differently than a seed sitting in near-freezing soil trying to germinate. Seeing frost on the leaves of established spinach is not necessarily a crisis; seeing seedlings that have barely emerged facing a cold snap is a different situation that calls for cover.
Row covers also provide a secondary benefit in fall: they keep insects off young plants during a season when aphids and leafminers can still be active. That protection matters for diagnosis as well, since insect feeding can produce pale patches and distorted leaves that are easy to confuse with nutrient or temperature problems. Using a cover after emergence gives you both frost protection and a cleaner baseline for reading your plants.
Investigate pale and curled leaves separately
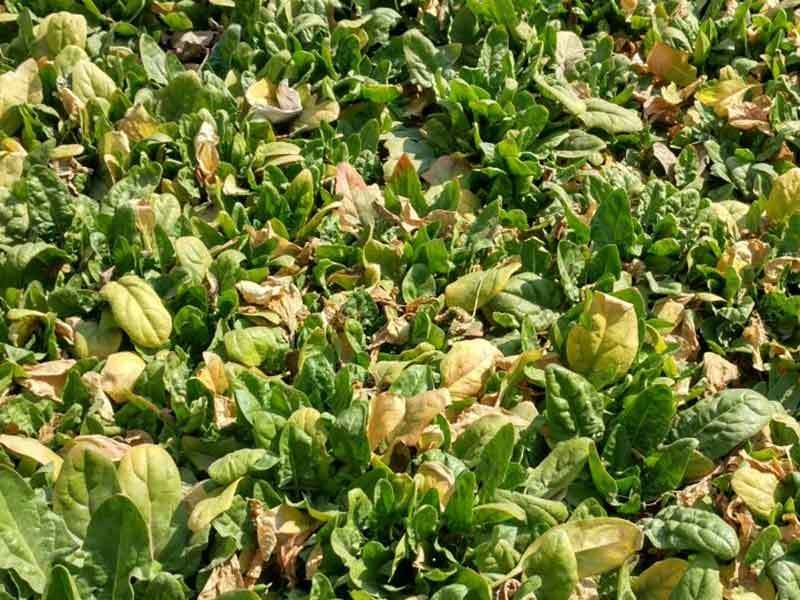
Once you have checked the seed zone and ruled out a timing problem, pale or curled leaves deserve their own investigation. Soil temperature can explain why spinach was slow to emerge or why the stand looks thin, but it does not by itself explain why leaves are turning yellow, whitening between the veins, or curling downward. Those symptoms have a longer list of possible causes, and working through them systematically is the only way to land on the right fix.
Start with a physical inspection before drawing any conclusions. Look at both sides of the leaves, not just the top surface. Check the soil moisture and probe a few inches down to see whether drainage is adequate. Pull a few seedlings gently and look at the roots: healthy roots are white or cream-colored and firm, while rotted roots are brown, soft, or missing entirely.
UMN Extension’s spinach diagnostic tool lists root rot, downy mildew, viruses, and leafminer damage among the causes of discolored or distorted spinach foliage, each of which shows up differently on the leaf and plant.
Downy mildew, for example, produces yellow patches on the upper leaf surface with a gray-purple fuzzy coating on the underside. Leafminer damage appears as pale, winding tunnels or blotchy patches where the larva has fed between leaf layers. Penn State Extension’s virus disease resources note that curled, misshapen, or mottled leaves can indicate a virus infection, and that curling can also result from heat, herbicide exposure, insect feeding, or mineral imbalances. None of those causes respond to a nitrogen top-dressing.
The New England Vegetable Management Guide specifically cautions against automatically adding nitrogen to pale spinach because magnesium deficiency, low pH, and downy mildew can all produce similar yellowing. USU Extension reinforces that fertilizer decisions should be based on soil-test results, not visual guessing. A soil pH that is too low, for instance, locks up nutrients regardless of how much fertilizer you add, and adding more nitrogen to a pale plant that is actually suffering from a pH problem can make conditions worse, not better. Get a soil test, inspect both leaf surfaces carefully, and match what you see to a specific cause before treating anything.
Use a temperature check as one part of the decision
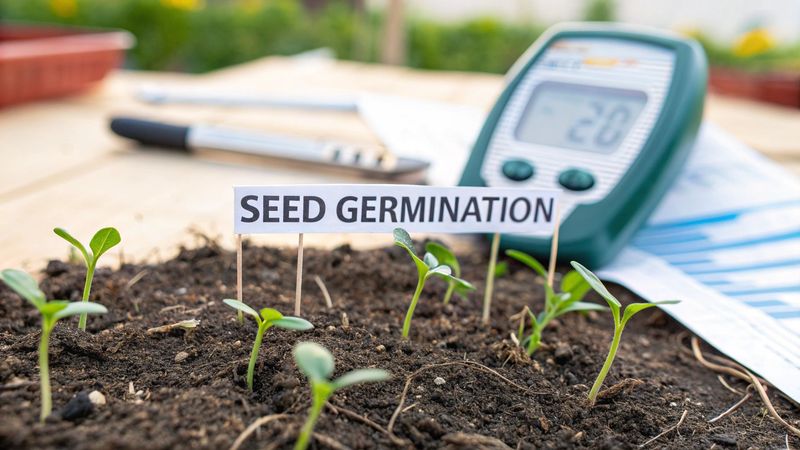
Pulling all of this together comes down to a short, ordered checklist you can run through before making any change to your fall spinach bed. Measure the soil temperature at seed depth using a thermometer, not your hand or a weather app, and take readings over several days to get a reliable average. Compare those readings to the practical germination range and to your local first-frost timeline and cultivar maturity period.
If the temperature looks workable, sow at the correct shallow depth in a bed that drains well and holds even moisture. Build in extra time for emergence if the soil is on the cool end of the range, and do not assume the seeds have failed just because nothing has appeared in a week. NC State Extension’s emergence timing data makes clear that cold soil can push emergence past three weeks, so patience is a legitimate strategy when conditions are otherwise correct.
Once plants are up, protect them from frost and temperature swings with a floating row cover, and manage it so it does not trap heat during warm spells. UMN Extension and USU Extension both treat consistent moisture and good drainage as non-negotiable for quality spinach, so keep watering steady even as fall temperatures drop.
If pale or curled leaves appear after emergence, treat that as a separate diagnostic question. Inspect the plant, check the soil, and look for disease or insect signs before adding any fertilizer. Soil temperature is a genuinely useful clue for understanding slow establishment, but the best fall spinach growers are the ones who know when to keep digging for a different answer.