
If Your Oxalis Looks Thin And Sparse In Its Pot, Here’s The Watering Rhythm That Fills It Back Out
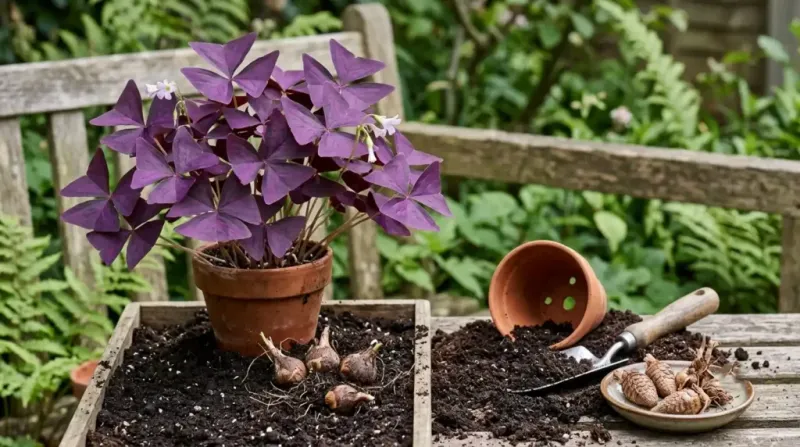
Staring at a pot of Oxalis with a handful of straggly stems is frustrating, especially when you suspect your watering habits are to blame. The good news is that a few practical adjustments to how and when you water can support healthier new growth going forward.
But watering is only part of the picture, and knowing what else is holding your plant back matters just as much as fixing your routine.
The right rhythm follows the pot, not the calendar
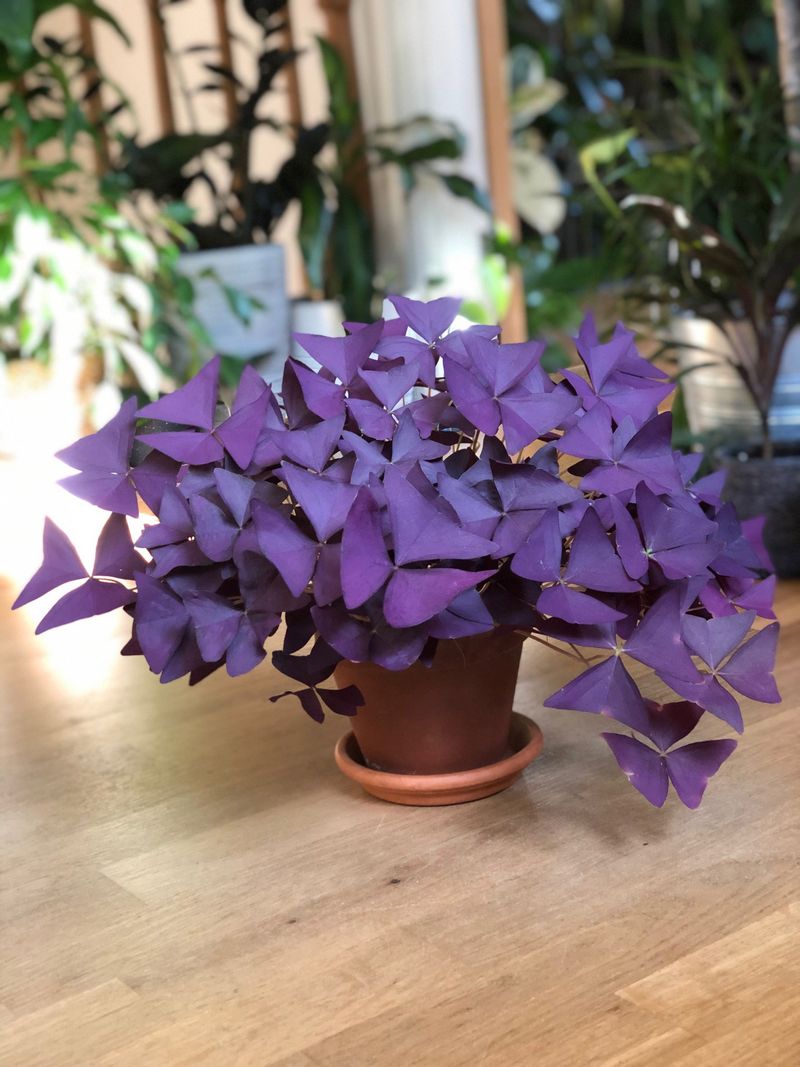
Forget the idea of watering your Oxalis on a fixed schedule. A rigid routine set to every few days or once a week ignores the reality that soil dries at completely different speeds depending on conditions in your home.
NC State Extension guidance on Oxalis triangularis consistently emphasizes that the plant prefers slightly moist but well-drained soil during active growth, with overwatering posing a genuine risk to root health.
The rhythm that actually works is observation-based. During active growth, press a finger lightly onto the surface of the potting mix every few days.
When the surface has dried slightly, go ahead and water. When it still feels noticeably damp or cool, hold off and check again tomorrow.
Why does a calendar fail here? Pot size plays a big role.
A small clay pot loses moisture faster than a large plastic one sitting in a dim corner. Terracotta breathes through its walls, while glazed ceramic holds water longer.
The mix itself matters too: a peat-heavy blend stays wet far longer than a chunky, perlite-rich one. Light level, room temperature, and season add more variables on top of that.
A warm, bright window in summer can dry a small pot in two or three days. The same pot on a cool windowsill in January might stay moist for a week or more.
Virginia Cooperative Extension guidance on watering container houseplants specifically recommends monitoring the growing medium rather than following a set schedule, precisely because drying rates shift with all of these factors.
The check itself takes seconds. Make it a regular habit rather than a mental calculation, and your watering frequency will naturally adjust to whatever your plant actually needs right now.
A thorough drink only works when the pot can drain
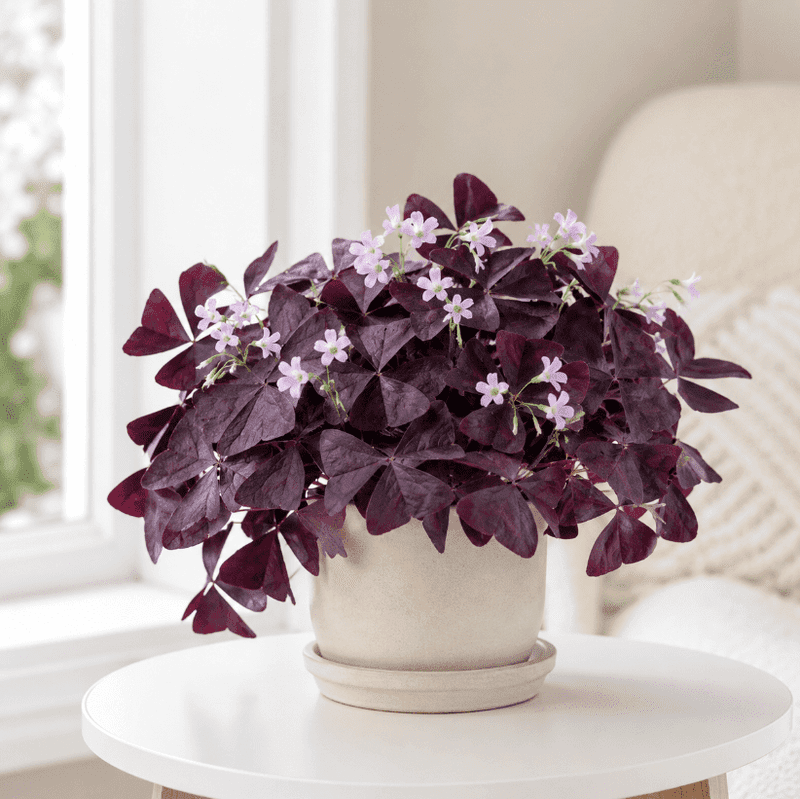
Checking the soil before you water is only half of the equation. How you water matters just as much as when you water.
The goal is to moisten the entire root zone, not just the top layer, so water needs to reach down through the mix and run freely out of the drainage hole at the bottom of the pot.
Once you see water draining from the hole, let it run for a moment, then stop. After about 15 to 30 minutes, empty any saucer or decorative cachepot sitting beneath the container.
Leaving the pot to stand in pooled water is one of the fastest ways to create the soggy, oxygen-poor root environment that leads to rot. Virginia Cooperative Extension’s container watering guidance is clear on this point: excess water should drain away rather than accumulate beneath the pot.
A drainage hole is not optional for Oxalis. Penn State Extension’s shamrock botany resource notes that Oxalis has relatively shallow roots and is sensitive to prolonged wetness, making a well-drained container and mix genuinely important rather than just a general tip.
If your plant is living in a decorative pot with no hole, consider slipping a draining nursery pot inside it and lifting it out to water.
Occasionally, potting mix can dry out so much that it pulls away from the pot’s edges and water runs straight down the gap without wetting the root zone at all. If that happens, setting the pot in a few inches of water for 20 to 30 minutes lets the mix absorb moisture from below.
Just remove it before the roots sit submerged for an extended period.
One approach that does not work: adding a layer of gravel or rocks to the bottom of a pot without a drainage hole. University of Nevada, Reno Extension’s guide to houseplant care myths explains that a gravel layer creates a saturated zone just above it rather than improving drainage.
The roots end up closer to standing water, not further from it. A real drainage hole, combined with a well-draining mix, is the only reliable solution, and Iowa State Extension’s houseplant care guidance reinforces that a decorative container should be used as a cachepot around a draining pot, not as a direct planter.
Why more water may leave the plant thinner
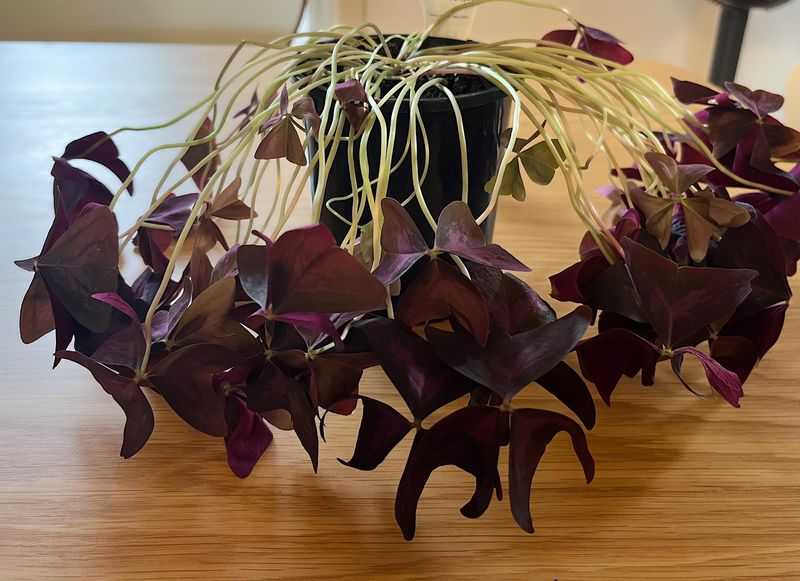
Reaching for the watering can when your Oxalis looks droopy or sparse feels like the natural response. The problem is that a plant struggling from too much water can look almost identical to one that hasn’t had enough.
Wilting, limp stems, and sparse foliage are symptoms of both conditions, which makes it easy to accidentally water a plant that is already suffering from excess moisture.
Iowa State Extension’s explanation of houseplant wilting makes the mechanism clear: when roots are damaged by prolonged wetness, they lose the ability to move water up into the plant. The result is wilting even though the soil is soaking wet.
Adding more water in that situation deepens the damage rather than reversing it.
Before watering a thin or drooping Oxalis, check the mix first. If the surface feels wet or cool and the pot feels heavy, the plant does not need more water.
Look for other clues too: yellowing leaves, stems that feel soft or mushy at the base, and a sour or earthy smell from the soil are all signs that the root zone has been too wet for too long. NC State Extension’s Oxalis shamrock plant profile lists yellowing leaves and mushy stems among the direct consequences of overwatering in this genus.
When the mix stays wet for days after watering even though the pot has a drainage hole, old or compacted potting mix may be the real culprit. Mix breaks down over time, losing its structure and holding water in a way fresh mix would not.
An Ask Extension response on reviving Oxalis triangularis points to compacted or degraded mix as a factor that impairs root health and keeps the root zone persistently saturated.
In that situation, the answer is not watering more or less frequently on a new schedule. The mix itself may need replacing.
Gently unpotting the plant and examining the roots can tell you a lot: firm, light-colored roots are healthy, while dark, soft, or foul-smelling roots signal rot. Trim any rotted portions cleanly, repot into fresh well-draining mix with a working drainage hole, and then follow the surface-check watering rhythm going forward.
Light determines whether new growth fills the gaps
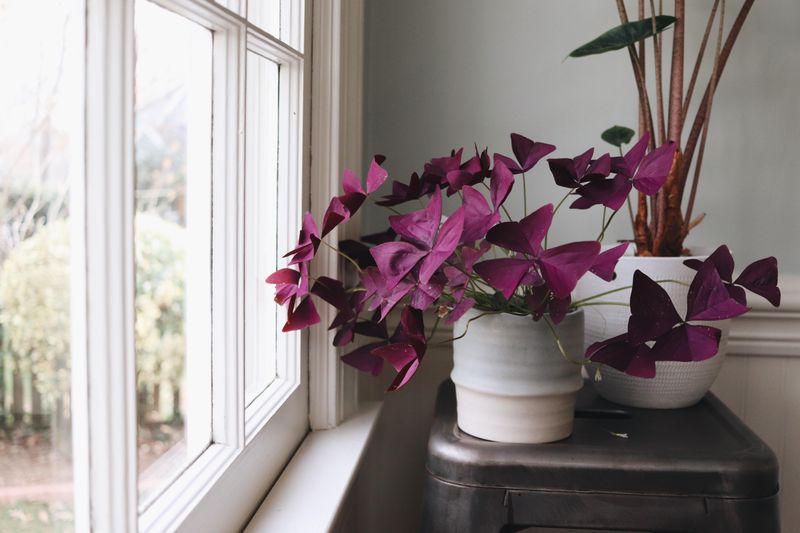
Long, weak stems with wide gaps between the leaves are one of the most recognizable signs of an Oxalis that isn’t getting enough light. This kind of stretched growth, often called etiolation, happens because the plant is reaching toward a light source it can’t quite reach.
Adjusting your watering rhythm will not fix it, because water has nothing to do with why those stems grew that way.
Iowa State Extension’s guide to diagnosing houseplant problems from environmental conditions identifies insufficient light as a common cause of spindly, widely spaced growth in houseplants. Moving the plant to a brighter spot or adding a dedicated grow light supports more compact new growth going forward.
A few practical notes on what “brighter” actually means for Oxalis. A spot near a south- or east-facing window that receives several hours of bright, indirect light tends to work well.
NC State Extension’s Oxalis triangularis profile notes that bright light is important for the plant’s performance, but also that it benefits from protection against conditions that would overheat or rapidly dry the pot. A hot south window with harsh afternoon sun baking through glass can stress the plant in a different direction, so bright without scorching is the target.
One thing to set realistic expectations about: the stems that already grew long and stretched will stay that way. Moving the plant to better light does not cause existing growth to tighten up or become more compact.
What you should watch for instead is the quality and density of new leaves and stems emerging after the move. Shorter internodes, sturdier stems, and leaves that open fully are the signals that conditions have improved.
If natural light is limited in your home, a simple clip-on or tabletop grow light set to run for 12 to 14 hours a day can make a meaningful difference. You do not need a specialized setup, just a consistent source of adequate brightness placed close enough to the plant to be useful.
Is the thinning normal dormancy?
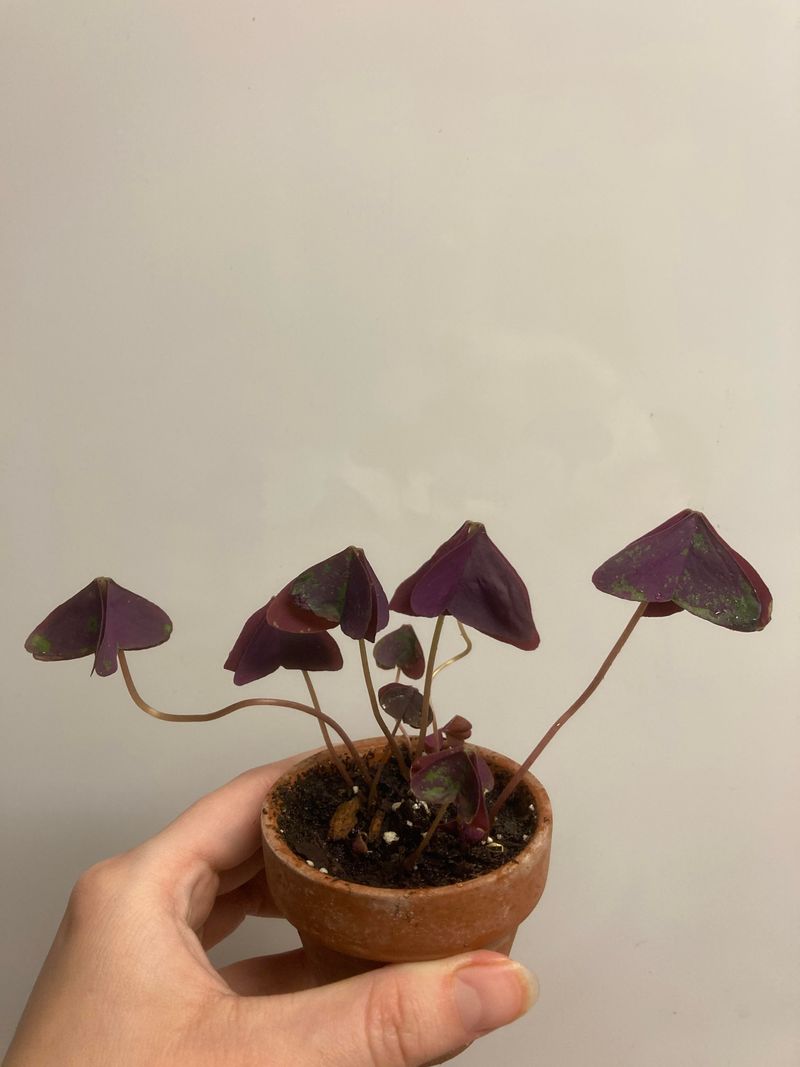
Sometimes a thinning, yellowing Oxalis is not a care problem at all. Many of the plants sold under the labels “Oxalis” or “shamrock” at retail enter a natural rest period, and when they do, the foliage dies back on its own regardless of how carefully you water.
Treating that dieback as a watering failure and increasing moisture is one of the more common ways a dormant plant gets pushed toward root rot.
Penn State Extension’s shamrock botany guide explains that commonly sold Oxalis types can enter dormancy in response to seasonal cues including heat, shorter days, and changes in soil moisture. The timing and duration vary considerably depending on the species or cultivar, so the pattern you see in one plant may look quite different from what a neighbor experiences with a different variety purchased at the same store.
The signs of dormancy overlap with the signs of stress, which is what makes it confusing. Yellowing leaves, stems flopping over, and a general thinning of the canopy can all signal either overwatering or the beginning of a normal rest phase.
The key distinction is context: if this is happening in late summer or early fall, if the plant had been growing well before the change, and if the potting mix is not waterlogged, dormancy is a reasonable explanation to consider.
Once you suspect dormancy, the right response is to scale back watering rather than maintain or increase it. Iowa State Extension’s guide to growing shamrocks indoors recommends gradually reducing watering as foliage dies and stopping regular watering once the leaves have fully died back.
Keep the dormant plant in a relatively cool, dim location and let the mix stay dry. Do not throw the pot away assuming the plant is dead.
New shoots emerging from the soil are your signal to resume care. When you see fresh growth beginning to push up, move the plant back to a bright location, resume light watering, and follow the surface-check rhythm as growth picks up.
NC State Extension’s Oxalis shamrock profile notes that this cycle of dormancy and re-emergence is a normal part of the plant’s biology, not evidence that something went wrong.
Fullness comes from healthy new shoots, not tighter old stems
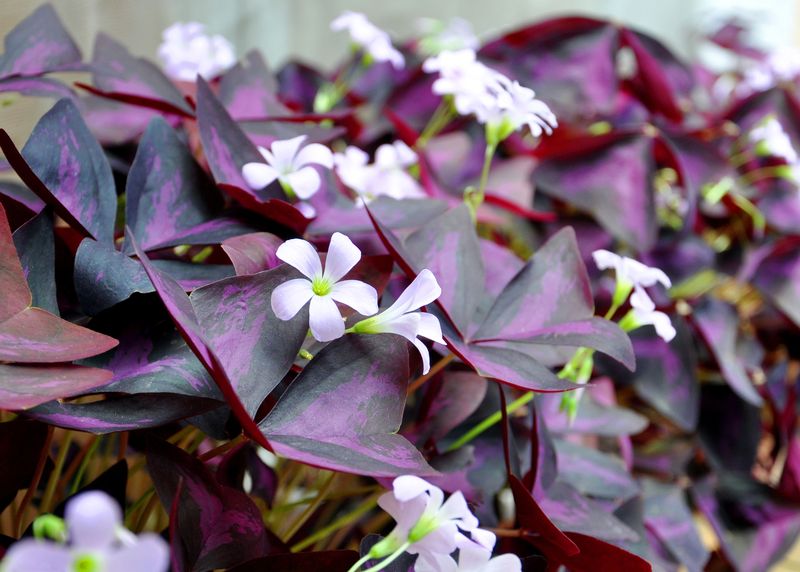
A realistic picture of recovery matters here, because watering and light corrections set better conditions but cannot instantly transform an existing pot. The visual fullness that makes a healthy Oxalis look lush comes from multiple shoots growing densely together, and those shoots emerge from tubers or rhizome-like structures underground.
Getting more of them requires either waiting for the plant’s natural growth cycle or physically dividing what’s already there.
NC State Extension’s Oxalis triangularis profile identifies division of the plant’s tubers as the established method for increasing the number of shoots in a container. Watering more frequently will not produce new tubers on a faster timeline.
If the pot simply started with too few growing points, improved moisture and light will support each individual shoot but won’t multiply them.
Before considering any structural changes, check whether the potting mix is the limiting factor. Mix that has been in place for two or more years often compacts and loses its drainage capacity, holding water in a way that keeps roots stressed even when watering frequency seems reasonable.
Ask Extension’s Oxalis troubleshooting response points to degraded mix as a reason a plant may stay sparse despite adequate watering. Refreshing the mix in the same container, or moving up just one pot size if the current one is clearly too small, can give roots room to function properly again.
Resist the temptation to move a sparse plant into a dramatically larger pot, thinking extra space will produce extra shoots. Penn State Extension notes that Oxalis can tolerate being somewhat pot-bound, and a pot with a large volume of unused mix tends to hold moisture longer than the roots can manage, raising the risk of rot rather than encouraging growth.
If repotting is genuinely needed, move up by one container size, use a draining pot, and choose a fresh, well-aerated mix.
Recovery, when it happens, shows up in new growth rather than in the old stems tightening or shortening. Patience and consistent conditions matter more than any single intervention, and a plant that pushes out compact new shoots after a few weeks of improved light and correct watering is genuinely on the right track.
Use the next watering check as your reset point
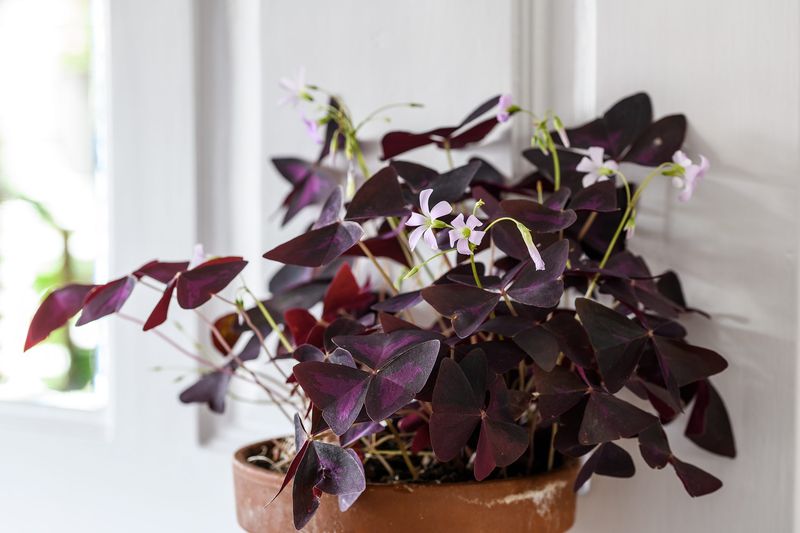
The reset starts with a single check, not a new schedule. Before anything else, determine whether the plant is actively growing or showing signs of dormancy.
If growth is active, press a finger onto the surface of the mix. Water thoroughly only if that surface has dried slightly, then let the water drain completely and empty the saucer.
Pair that with the brightest suitable spot you can offer, without direct heat stress, and you have addressed the two most controllable factors at once.
NC State Extension’s Oxalis care guidance and Iowa State Extension’s environmental diagnosis resource both point in the same direction: consistent moisture monitoring and adequate light are the foundation. If the plant appears to be resting, follow the dormancy protocol from Iowa State Extension and reduce watering until new growth appears.
Judge success by what comes next, not by what the existing stems do. Compact new growth emerging from a plant that previously looked sparse is a reliable sign the conditions have shifted in the right direction.
A plant that keeps growing is always easier to work with than one you’re trying to rescue after the fact.