
If Your Peace Lily Has Brown Tips, Here’s The Watering Fix That Turns The Leaves Green Again
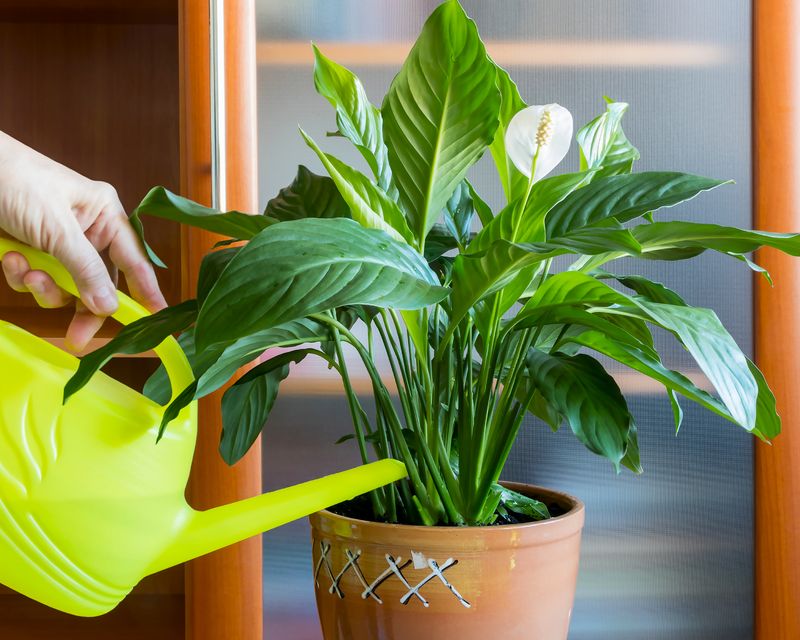
Finding brown tips on your peace lily can feel alarming, but it doesn’t mean the plant is beyond help. Brown tips are one of the most common concerns for peace lily owners, and they show up for a handful of different reasons.
The good news is that once you figure out what’s driving the damage, you can usually stop new browning from forming and give the plant a real chance at healthier growth.
Brown tips are a symptom, not a verdict
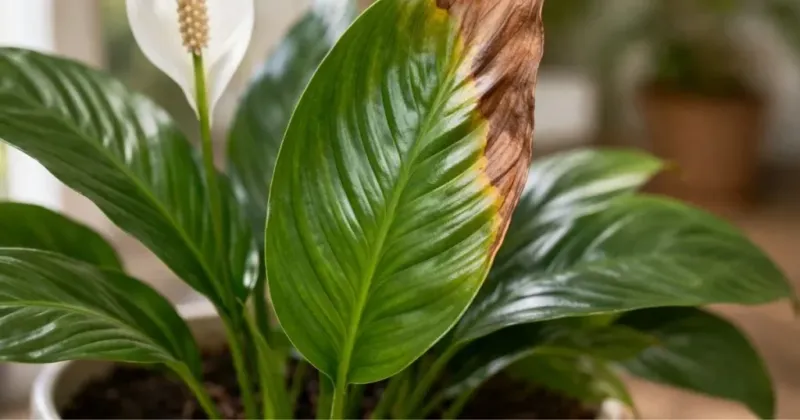
A peace lily with brown tips is not a lost cause. Those brown patches are the plant’s way of telling you something in its environment is off, and the first job is figuring out what.
Missouri Botanical Garden guidance identifies several possible causes: inconsistent or insufficient watering, waterlogged roots from poor drainage, low humidity, excess fertilizer or salt buildup, unsuitable water quality, direct sun exposure, and cold or draft injury. Treating the symptom as one universal mistake will likely send you in the wrong direction.
The appearance of the damage gives you a useful starting clue. Dry, crispy tips with a clean brown edge are more consistent with environmental or cultural stress, such as dry air, irregular watering, or salt accumulation.
RHS advice on houseplant leaf damage notes that brown or black wet-looking lesions, spreading patches, or rapid overall decline point toward a different kind of problem entirely, one that a simple schedule change won’t fix. If you notice that kind of damage, or if the plant is collapsing quickly across multiple leaves, Penn State Extension’s guide to indoor plant disease recommends investigating root, crown, or other disease problems before changing anything else.
Here’s the expectation worth setting right away: correcting care can prevent new brown tips from forming and support the emergence of healthier leaves over time. Brown tissue is dead and will not return to green, no matter what you adjust.
The realistic sign of recovery is new growth that comes in without damage, not the old leaves reversing course.
Check the soil before you water
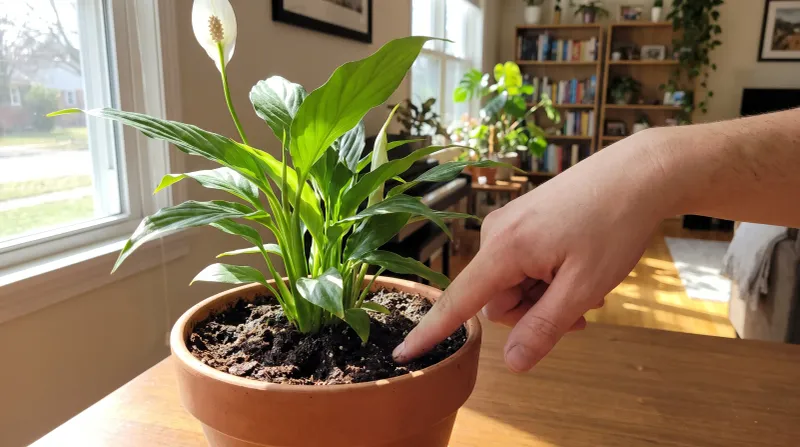
Calendar watering, meaning watering every Tuesday regardless of what the soil feels like, is one of the most common reasons houseplant care goes sideways. Ask Extension guidance on peace lily care recommends checking the upper one to two inches of potting mix before you water.
When that top layer feels dry to the touch, the plant is ready for a thorough watering. When it still feels damp, wait another day or two and check again.
The interval between waterings isn’t fixed. A peace lily in a small pot under bright light during summer may need water every few days.
The same plant in a larger pot, lower light, or cooler winter temperatures could go a week or more. Pot material matters too: terra cotta dries faster than glazed ceramic or plastic.
Missouri Botanical Garden’s indoor watering guide reinforces that timing varies with all of these factors, which is why a soil check beats any schedule.
One point that trips up a lot of plant owners: drooping leaves don’t always mean the soil is dry. A peace lily can droop when the soil is too wet and the roots are struggling just as easily as it droops when the soil is bone dry.
If you water every time the leaves look limp without checking the mix first, you risk making a wet-soil problem significantly worse. Press your finger into the top inch of soil before you act.
That single habit replaces a lot of guesswork and helps you respond to what the plant actually needs rather than what the calendar says.
Water thoroughly, then let the pot drain
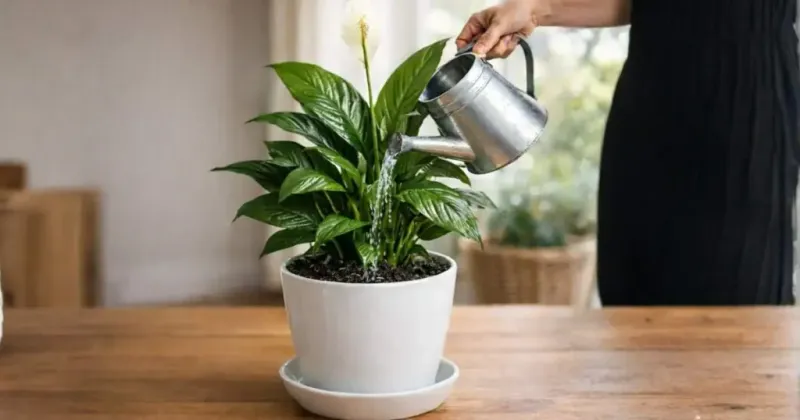
Once the soil check tells you it’s time to water, the method matters as much as the timing. Apply water slowly and evenly across the surface of the mix until you see it begin to run from the drainage holes at the bottom of the pot.
That flow-through tells you the entire root zone got wet, not just the top inch or two. After watering, let the pot sit for a few minutes, then empty any water that has collected in the saucer.
Roots sitting in pooled water have less access to oxygen, and that can lead to the kind of root damage that causes browning even when you’re watering regularly.
A common misconception is that one generous watering equals overwatering. Missouri Botanical Garden’s overwatering resource clarifies that the real problem is usually watering too frequently or leaving roots in persistently saturated, poorly drained soil, not giving one thorough drink that drains properly.
A pot without drainage holes makes this nearly impossible to manage well; water has nowhere to go, and the lower portion of the mix can stay wet for days or weeks.
Frequent small sips of water are another version of the same problem. Applying a little water every day keeps the top of the soil damp while the lower root zone stays either too wet or unevenly moist.
Extension guidance on peace lily care supports thorough, less frequent watering over shallow, frequent applications. Getting this routine right won’t undo existing brown tips, but it removes one of the most common reasons new ones keep appearing.
Wet soil means you should investigate the roots
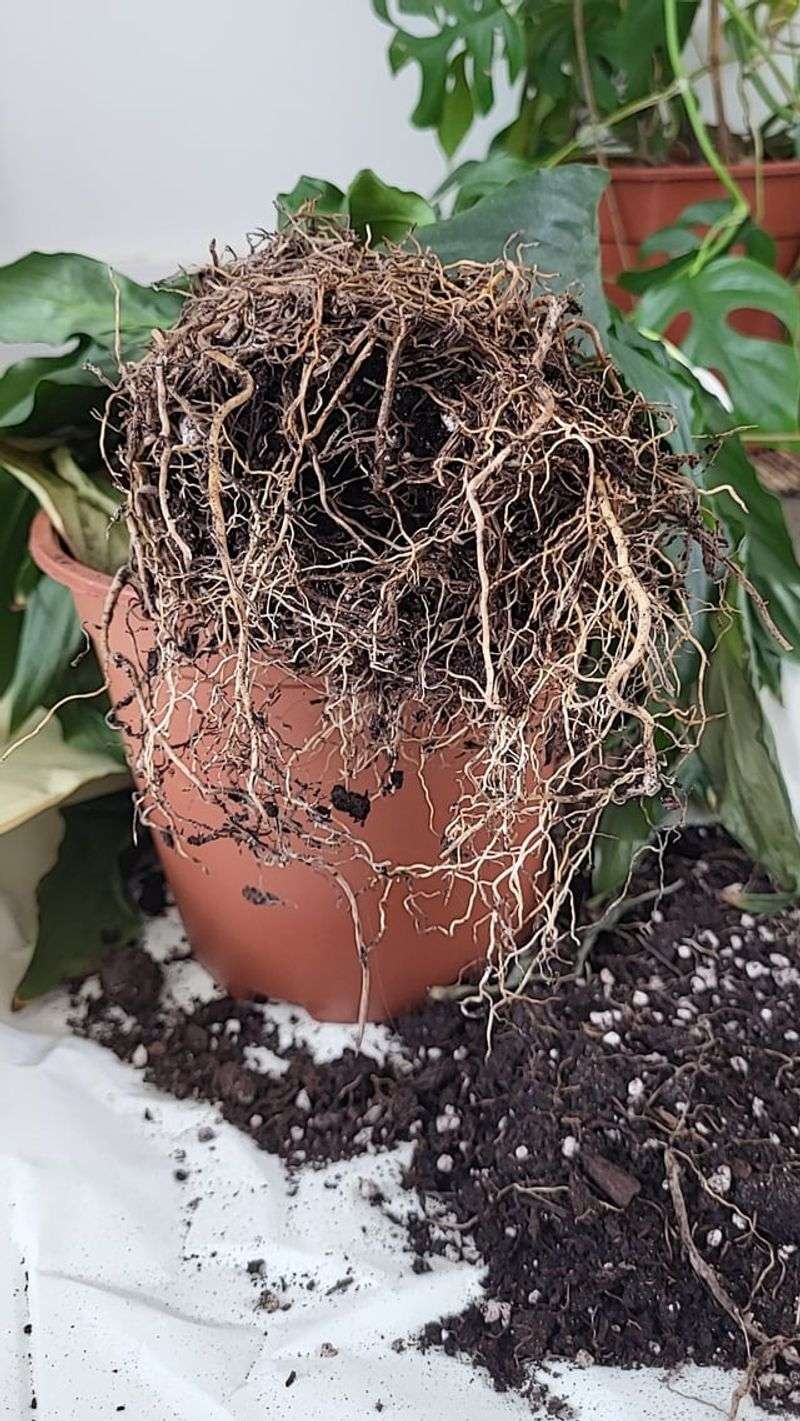
When a peace lily wilts, loses color, or keeps developing new brown tips even though the potting mix feels consistently wet, the problem probably isn’t a lack of water. Wet soil combined with declining vigor is a signal that something is wrong below the surface.
Adding more water in that situation makes things worse, not better. The first practical step is to check whether the pot is actually draining.
If the drainage holes are blocked or the saucer is full, fix that before anything else.
If drainage is fine but the plant continues to struggle, gently remove it from the pot and look at the roots. Healthy peace lily roots are firm, light-colored, and hold their shape.
Roots that are black, soft, mushy, or have a foul smell are showing signs of rot. Penn State Extension’s pest and disease guide for indoor plants identifies these symptoms, along with yellowing, declining vigor, and wilting in wet soil, as signs of root or crown rot that require more than a schedule adjustment.
Root rot is typically caused by prolonged oxygen deprivation in saturated soil. Missouri Botanical Garden’s overwatering guidance notes that excess soil moisture reduces oxygen around the roots, creating conditions where rot organisms can take hold.
If you find rotted roots, trim away the damaged portions with clean scissors, let the roots air briefly, and repot into fresh, well-draining mix. A plant with widespread root damage or foul-smelling, persistently wet soil needs this kind of hands-on intervention, not just a different watering schedule.
Check humidity, water quality, light, and fertilizer next
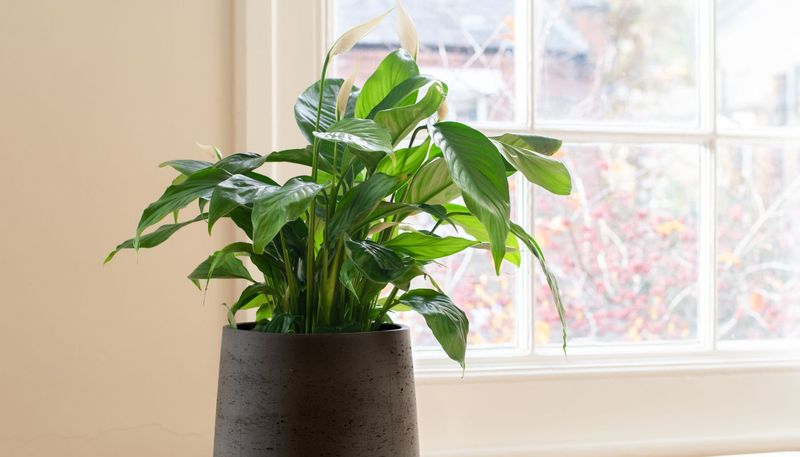
Correcting soil moisture and drainage solves a lot of browning problems, but not all of them. If the tips keep browning after you’ve sorted out the watering routine, dry indoor air is a reasonable next suspect.
RHS guidance on houseplant leaf damage identifies low humidity as a contributing cause of brown tips, particularly during winter when central heating pulls moisture from the air. A room humidifier placed nearby provides more reliable, sustained humidity than misting.
Penn State Extension’s humidity and houseplants resource explains that misting raises humidity only briefly and can spread disease if foliage stays wet, so it shouldn’t be counted on as a fix.
Water quality is worth investigating when you notice a white crust forming on the soil surface or around the pot rim. That residue points to salt or mineral buildup, which can burn leaf tips over time.
UF/IFAS Extension Nassau County’s peace lily tip-burn article identifies fluoride, soluble salts, and softened water as contributors to leaf-tip damage in sensitive foliage plants. Avoid water from a household softener, which adds sodium.
If browning continues despite sound watering habits, trying rainwater or distilled water is a reasonable experiment. One thing worth knowing: leaving tap water out overnight may allow some chlorine to dissipate, but Missouri Botanical Garden’s indoor watering guide is clear that this does not remove fluoride.
Light and temperature deserve a look too. Missouri Botanical Garden’s Spathiphyllum profile notes that peace lilies prefer bright, filtered or indirect light and can suffer leaf damage in direct sun.
Cold drafts from windows, air conditioning vents, or exterior doors can also injure tips and margins. Fertilizer is the last thing to add, not the first.
Peace lilies have relatively low fertility needs, and applying fertilizer before watering and root health are stable can burn leaf tips further.
Trim dead tips and look for healthier new growth
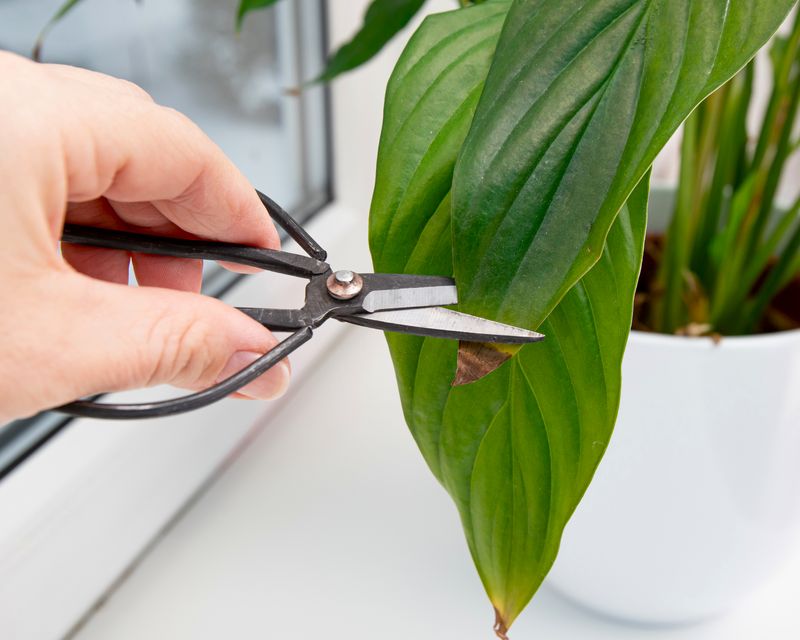
Once you’ve identified and started correcting the underlying cause, the brown tips that are already there won’t change color. That tissue is dead, and no amount of adjusted care will bring it back.
What you can do is remove it for appearance, and that’s a perfectly reasonable thing to do. Use clean, sharp scissors and cut just inside the brown area, following the natural shape of the leaf tip so the cut blends in.
Iowa State University Extension’s guide on brown leaf tips confirms that trimming improves the look of the plant but does not repair the underlying cause or restore the damaged leaf.
Wipe the scissors with rubbing alcohol between cuts if you’re working on multiple leaves, especially if disease is a possibility. Avoid cutting into living green tissue more than necessary, since that creates a new wound and a new potential entry point for pathogens.
A leaf with only a small brown tip can often stay on the plant and continue contributing to photosynthesis.
Recovery shows up in the new growth, not the old leaves. After you correct the care problem, watch for emerging leaves that come in without brown edges, and notice whether the overall plant looks more upright and vigorous over the following weeks.
Limited new browning, improved color in existing healthy leaves, and fresh growth that looks clean are all genuine signs the plant is responding. Expecting the old damaged tips to green up again will only make progress harder to see.
Use a simple reset—and keep the plant away from chewers
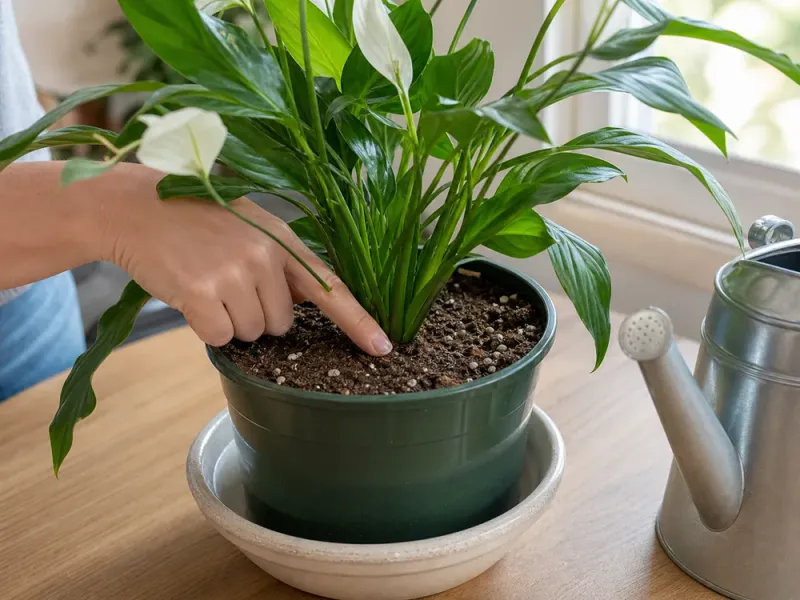
The reset for a peace lily with brown tips comes down to a short, repeatable routine. Check the top inch or two of the potting mix before you water.
When that layer has dried, water thoroughly until the excess runs from the drainage holes, then empty the saucer. If browning continues after you’ve got the watering routine down, work through the other possibilities: humidity, water quality, light, temperature, and fertilizer.
Extension guidance on peace lily care and Iowa State University Extension’s brown-tips FAQ both support this kind of systematic, soil-first approach over guessing at a calendar interval.
The goal throughout is healthier new growth, not green restoration of tissue that’s already dead. Keep that in mind and recovery becomes easier to recognize when it happens.
One more thing worth mentioning before you move on: Poison Control’s peace lily safety page notes that peace lilies contain insoluble calcium oxalate crystals that can cause oral irritation, drooling, vomiting, and difficulty swallowing if chewed by people or pets. Keep the plant out of reach of young children, cats, and dogs.
A plant that’s thriving is worth protecting, and so is everyone sharing the house with it.