
If Your Snake Plant Leaves Are Turning Yellow And Soft, Here’s The Watering Fix That Firms Them Back Up
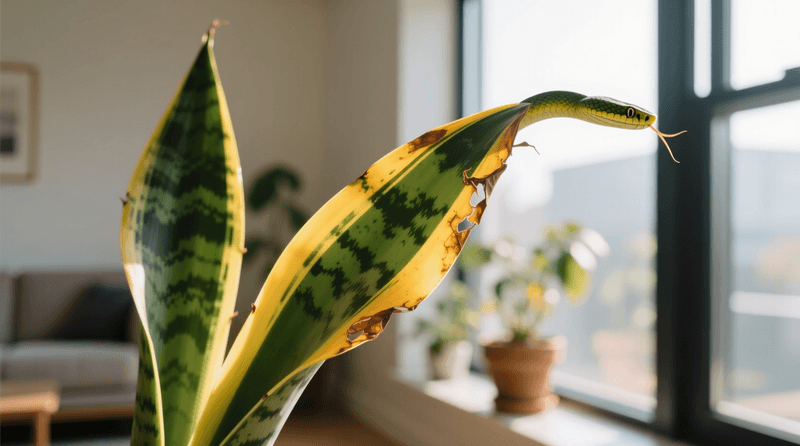
Snake plants have a reputation for being nearly impossible to kill, but yellow, soft leaves are a sign that something has gone wrong with their care. The most common culprit is too much moisture sitting in the pot for too long.
Catching the problem early and correcting how you water can protect the healthy tissue that remains and give your plant a real chance at putting out new, firm growth.
Soft yellow leaves signal more than a simple watering mistake
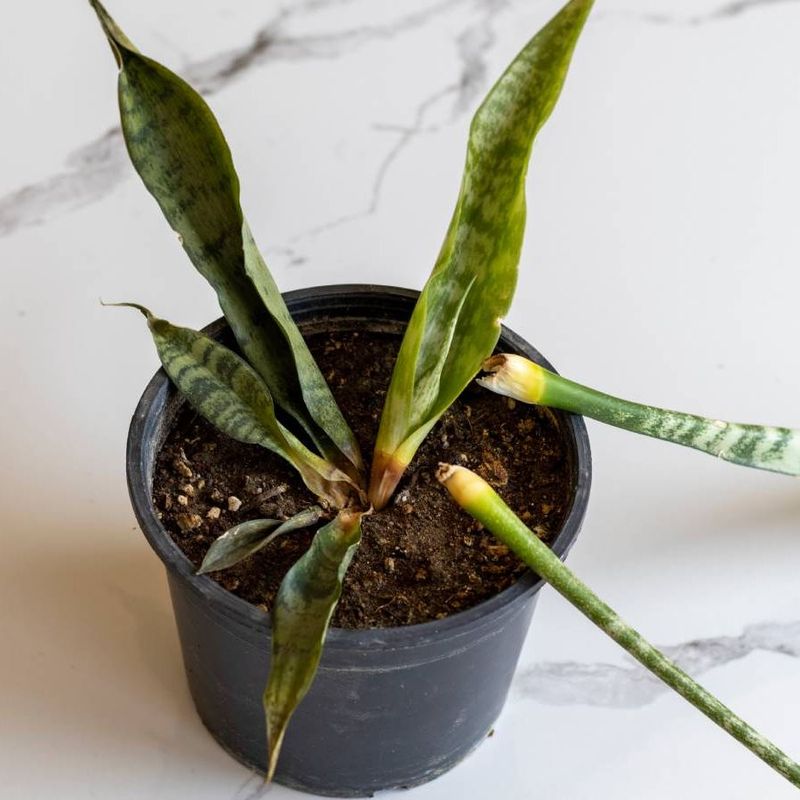
Yellowing leaves on a snake plant do not automatically point to one cause. Low light, cold drafts, natural aging, nutrient imbalances, pests, and poor drainage can all produce yellow foliage, so color alone is not enough to reach a firm conclusion.
What changes the picture significantly is softness, especially when it starts at the base of the leaf rather than the tip.
When leaves feel mushy or limp and the soil has been consistently wet, excess moisture or rot becomes a much more likely explanation. Penn State Extension’s plant health diagnostic guidance notes that overwatered plants commonly develop soft, yellowing foliage, while underwatered plants more often show dry, crispy, or wrinkled leaves with bone-dry soil.
That contrast is a useful starting point before you change anything about your routine.
Softness at the leaf base, a foul or sour smell near the soil, or a plant that seems to be loosening from the potting mix are all stronger warning signs than color alone. Taken together, they suggest that the root zone or the tissue connecting leaves to the crown may already be breaking down.
Before assuming the worst, though, consider two common sources of confusion. University of Wisconsin Extension points out that one older leaf turning yellow on an otherwise firm, healthy plant may simply reflect normal aging.
Cultivars like Laurentii also carry natural yellow or golden bands along their leaf edges as part of their variegation pattern, and that coloring should never be mistaken for disease or rot.
The practical first step is not to remove every yellow leaf or change your watering schedule immediately. Check the soil, press gently along the leaf bases, and look for odor or instability before deciding what the plant actually needs.
Why a water-storing plant can still suffer in wet soil
Snake plants, known botanically as Dracaena trifasciata and formerly classified as Sansevieria trifasciata, are built for drought. Their thick, upright leaves store water, which is exactly why they can go extended periods without a drink and still look healthy.
That drought tolerance is one of the main reasons they became so popular as low-maintenance houseplants.
That same biology, however, creates a specific vulnerability. When potting mix stays saturated for too long, the roots are deprived of oxygen.
Penn State Extension’s snake plant guide explains that snake plants store water in their leaves and prefer to dry out between waterings, noting that overwatering is one of the most common mistakes owners make. Saturated media essentially smothers the roots, leading to decay.
Here is where things get counterintuitive: a plant with rotting roots may actually wilt or develop soft foliage even while the pot is still wet. The roots can no longer pull water and nutrients up into the plant effectively, so the leaves begin to fail despite the surrounding moisture.
Illinois Extension reinforces this, noting that overwatering is the leading cause of snake plant decline.
Understanding this connection matters for the steps that follow. Simply adding more water when you see limp or soft leaves can accelerate the damage rather than reverse it.
The goal is to address the root environment first, and that means stopping additional moisture and assessing whether the roots are still functional before deciding whether a dry-down alone will be enough or whether the plant needs hands-on intervention.
Replace the watering schedule with a thorough dry-down
Calendar-based watering is one of the most reliable ways to overwater a snake plant. A schedule that worked in summer may leave the soil perpetually wet in winter when the plant is barely growing, and a routine built for a small terracotta pot can drown a plant moved into a large plastic one.
The correct trigger for watering is not the date on a calendar but the condition of the soil throughout the root zone.
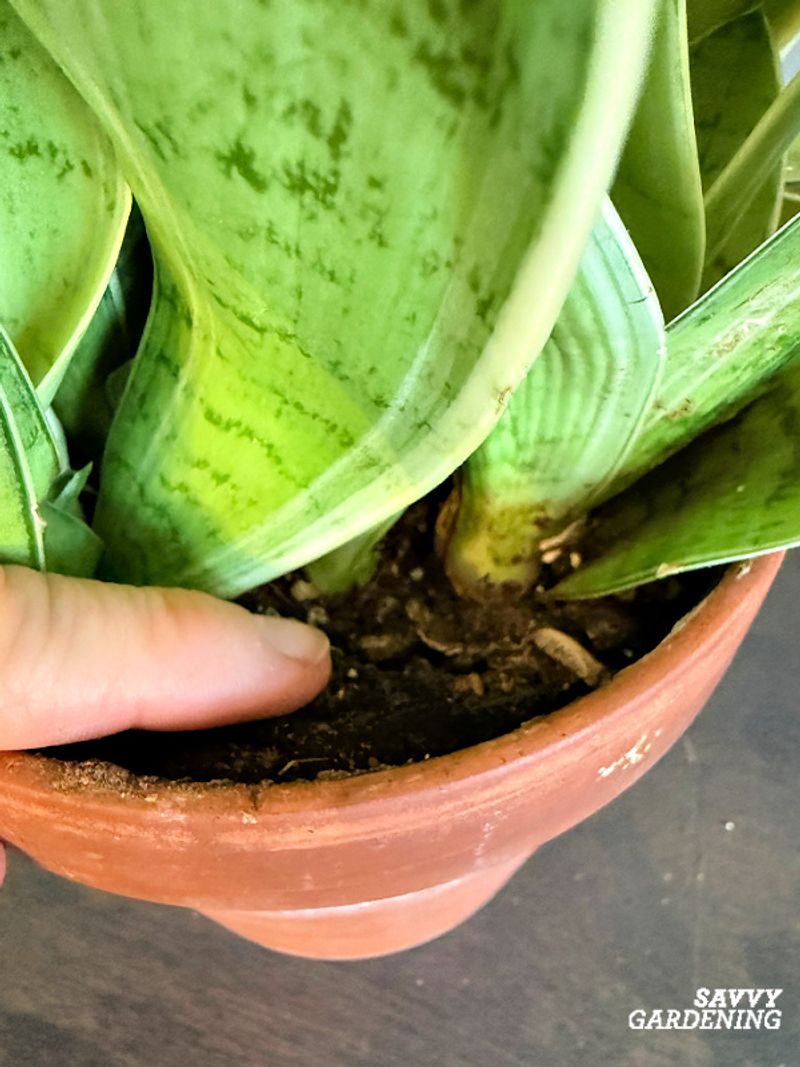
The immediate intervention when leaves are soft and yellow is straightforward: stop adding water while the mix remains damp. Push your finger at least two inches into the soil, or lift the pot to feel its weight.
Iowa State University Extension’s houseplant culture guide recommends checking soil moisture rather than following a fixed interval, because pot size, material, drainage, light level, temperature, season, and root mass all affect how quickly a mix dries.
For snake plants specifically, the more conservative approach is to allow the mix to dry thoroughly throughout the root zone before watering again, not just at the surface. Penn State Extension recommends cactus mix or a perlite-amended mix and says to water only when the soil is dry, a standard that is more demanding than the general “an inch or two down” benchmark often cited for houseplants broadly.
When the mix has finally dried and it is time to water again, do the job thoroughly. Pour slowly and evenly over the soil surface until water flows freely from the drainage holes, confirming that the entire root zone has been moistened.
North Carolina Extension’s Dracaena trifasciata profile supports this soak-and-dry approach, emphasizing that excess water must be able to escape and that the soil should dry between sessions.
Empty the saucer or decorative cachepot within an hour of watering. Runoff that sits under the pot keeps the bottom of the root zone wet and defeats the purpose of the dry-down entirely.
Fix the drainage before adding more water
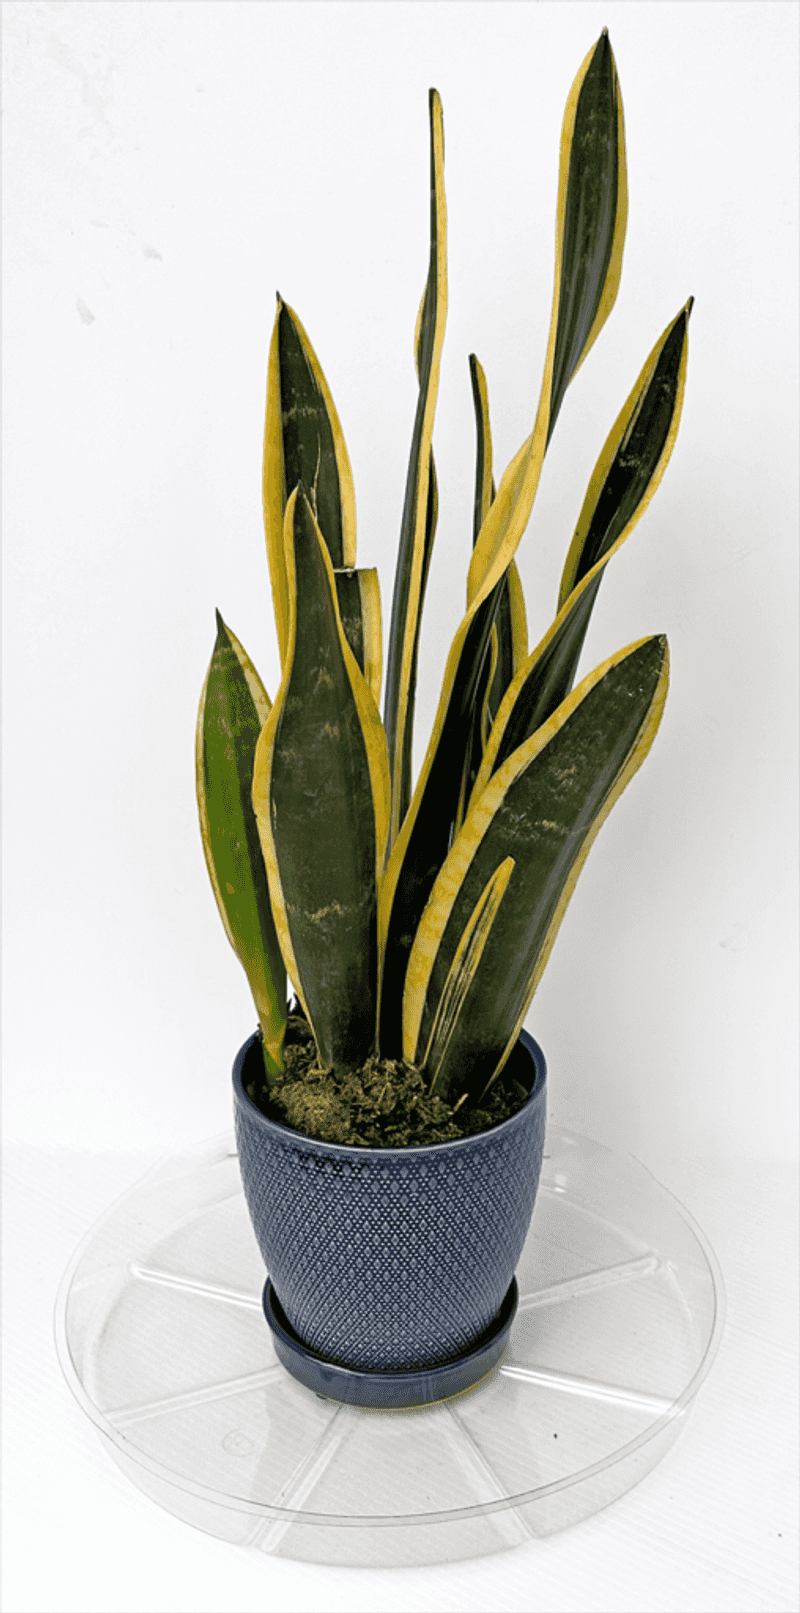
A corrected watering habit cannot do its job if the pot itself is trapping moisture. Before you water again, confirm that the inner pot has unobstructed drainage holes.
Roots, compacted soil, or a decorative pot liner can block holes that look open from the outside. Tip the pot gently and check that water moves freely through every opening.
Standing water in a saucer, plastic sleeve, or decorative cachepot is one of the most overlooked sources of chronic overwatering. The pot may drain perfectly, but if the runoff has nowhere to go, the bottom of the root ball sits in a pool.
North Carolina Extension’s snake plant entry specifically notes that water should not be allowed to stand in the saucer after watering. Empty it promptly, every time.
Two practices that are sometimes suggested as drainage workarounds are worth addressing directly: a pot with no drainage holes and a layer of gravel or rocks at the bottom of the container. Neither is a substitute for actual drainage.
Penn State Extension’s repotting guide consistently emphasizes containers with drainage holes and well-drained media as non-negotiable for healthy roots. A gravel layer does not move the water out of the pot; it simply shifts where the saturated zone sits, often raising it closer to the roots.
Well-drained potting media matters just as much as the container. A mix that holds moisture for weeks, such as a dense, peat-heavy general potting soil, will keep the root zone wet long after watering even with good holes.
A cactus or succulent mix, or a standard potting mix amended with extra perlite, dries more predictably and gives the roots the air they need between waterings.
Mushy roots or leaf bases require a rescue operation
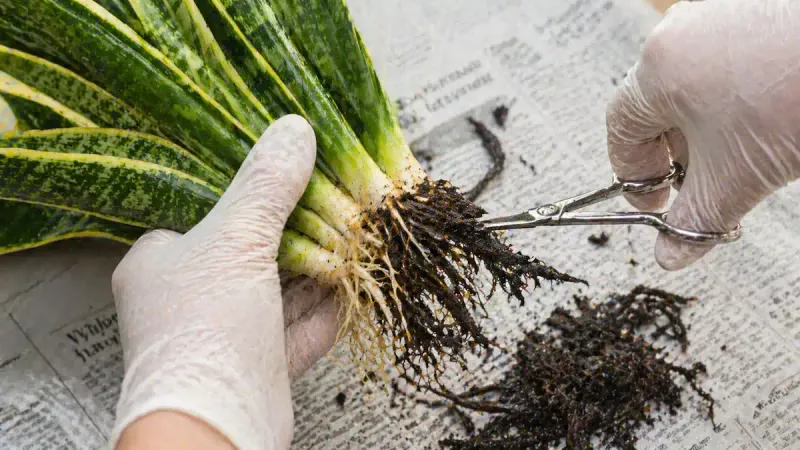
A dry-down is the right first move when symptoms are mild and the plant is still stable. When the leaf bases feel soft and pulpy, the plant wobbles in the pot, the soil carries a sour or rotten odor, or the yellow and softness continue spreading despite reduced watering, patience is no longer the primary tool.
Those signs point to active rot, and the plant needs to come out of the pot for inspection.
Unpotting is not complicated. Tip the pot on its side, support the base of the plant with one hand, and ease the root ball free.
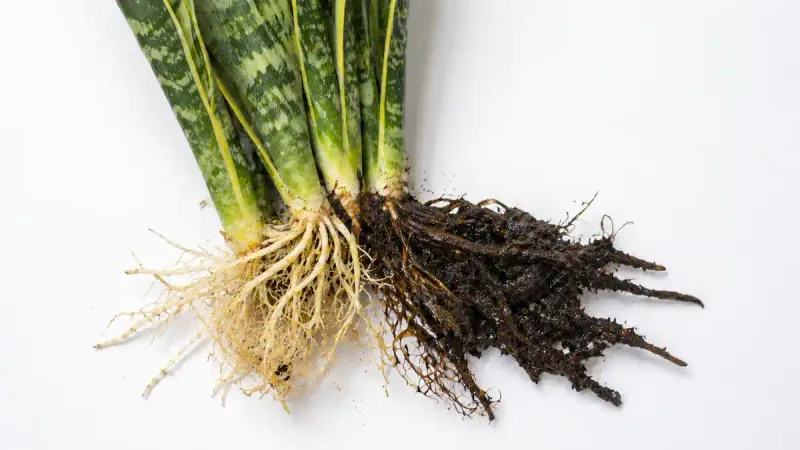
Shake or gently brush away the old potting mix so you can see the roots clearly. Healthy roots are generally firm and pale, ranging from white to light tan.
Rotted roots are dark brown or black, limp, and mushy, and they may fall apart when handled. Illinois Extension’s houseplant care guidance describes this visual distinction as a key diagnostic step.
Using a clean, sharp tool, remove all tissue that is soft, dark, or clearly decayed. Cut back to firm, healthy material, and if the rot extends into the leaf bases or the crown of the plant, remove those sections as well.
Ask Extension’s snake plant rot case file confirms that removing decayed material and repotting into fresh mix is the recommended path when rot is present.
Repot the remaining healthy tissue into fresh, well-drained commercial potting mix, not garden soil, which can compact and introduce pathogens. Choose a container only slightly larger than what the cleaned root ball actually needs.
Penn State Extension’s repotting guidance cautions against oversized pots because excess unused mix stays wet longer and raises rot risk again.
UC IPM’s houseplant problem guide is direct about severe cases: when rot has consumed most of the root system or the crown, the plant may not be recoverable. Keeping that possibility in mind helps you decide whether to invest effort in rescue or take cuttings from any remaining healthy tissue and start fresh.
Set realistic expectations for yellow and damaged leaves
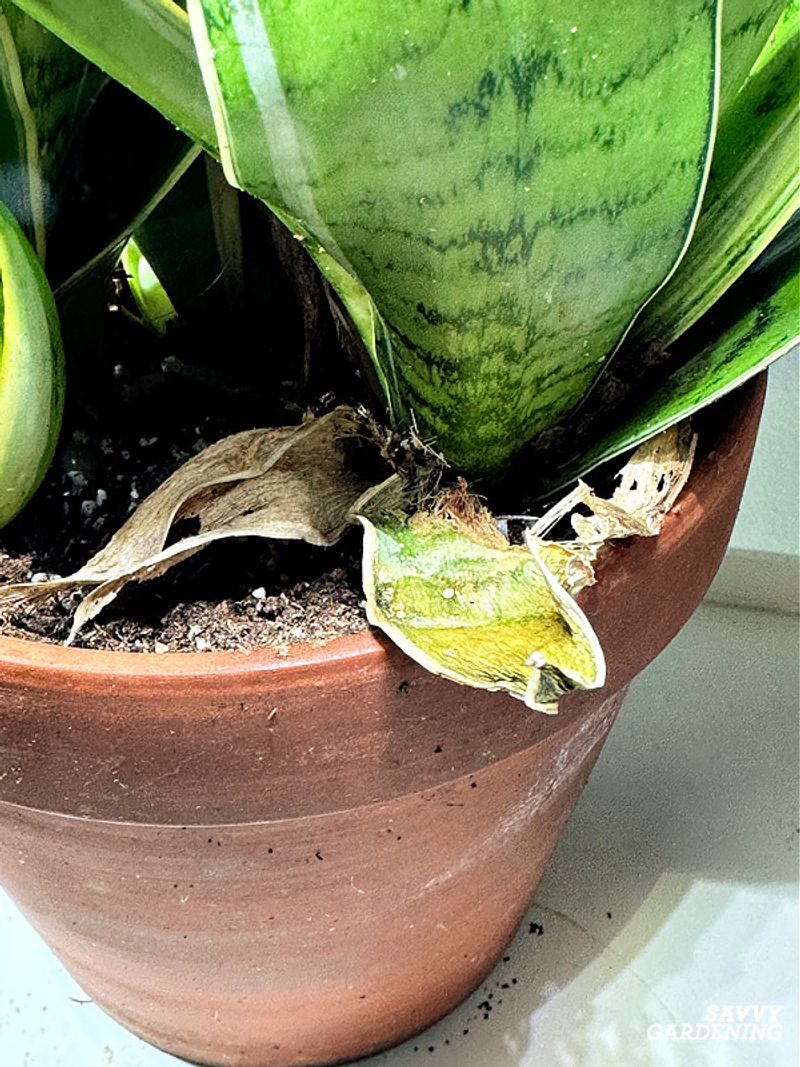
Correcting the moisture problem is genuinely important, but it will not reverse damage that has already happened inside the leaf tissue. Leaves that have rotted from the base, collapsed, or turned uniformly soft and translucent are not going to firm back up once the soil dries.
The cells that gave those leaves their structure have broken down, and no watering adjustment can rebuild them.
What a corrected care routine can do is stop the damage from spreading to tissue that is still healthy. A plant that stabilizes, stops losing leaves, and eventually pushes out new firm growth from the base has recovered in the ways that matter most, even if some of the original leaves never returned to their upright shape.
That is the realistic version of success for this situation.
When it comes to removing yellow leaves, the timing and reason matter. Penn State Extension notes that snake plants are long-lived and generally slow to produce new foliage, so removing healthy tissue unnecessarily sets the plant back.
Pull away leaves that are dead, clearly rotted, or collapsing, since those will not recover and may harbor disease. Leave leaves that are yellowing but still firm until you have confirmed the cause, because a single older leaf yellowing at the bottom of the plant may simply be aging out naturally.
Two situations in particular do not call for removal. University of Wisconsin Extension points out that widespread investigation is warranted only when yellowing is progressive, involves new growth, or is accompanied by other symptoms.
A yellow-edged variegated leaf on a Laurentii cultivar is showing its normal coloring, not signaling rot. Distinguishing between these situations keeps you from removing foliage that the plant still needs.
Adjust light and watering habits during recovery
Once the immediate moisture problem has been addressed, the plant’s environment becomes the next consideration. Bright indirect light is a practical recovery location because it supports photosynthesis without adding the stress of sudden intense sun exposure.
Moving a struggling plant directly into a south-facing window or outdoors into full sun can scorch leaves that are already weakened, adding foliar damage on top of root stress.
Penn State Extension confirms that snake plants tolerate low light but perform better in brighter conditions. The important nuance during recovery is that low light also slows the plant’s water use considerably.
A plant sitting in a dim corner will take much longer to dry out between waterings than the same plant in a bright room, which means the risk of staying wet too long is higher in lower-light positions. Factor that into how you assess soil moisture going forward.
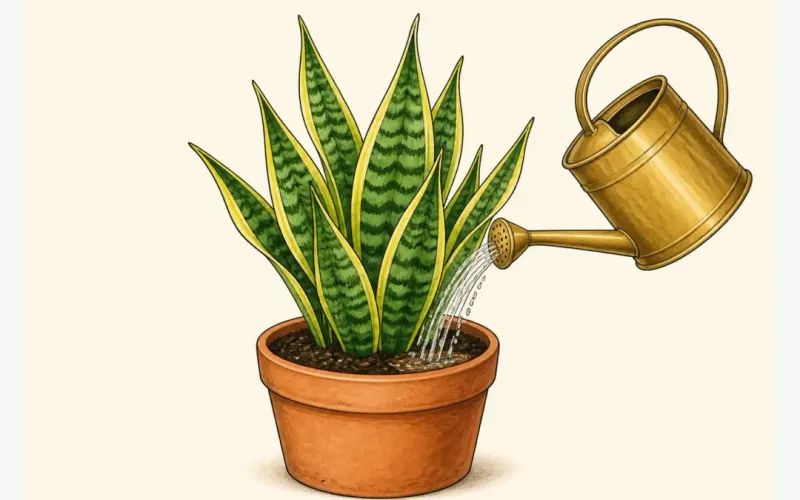
Where water lands during each watering session also matters more than most people realize. UF/IFAS Extension’s snake plant guide specifically advises against pouring water into the center of the rosette, where leaves meet the crown.
Moisture collecting in that central channel can promote foliar rot and disease, particularly when the plant is already stressed. Direct the water toward the soil surface around the base of the plant instead.
North Carolina Extension also reinforces keeping runoff from pooling around the base. Once you water, confirm that the saucer empties and that no decorative outer pot is holding water beneath the inner container.
These small habits, repeated consistently, are what prevent a second episode of the same problem.
Use the plant’s condition to choose your next step
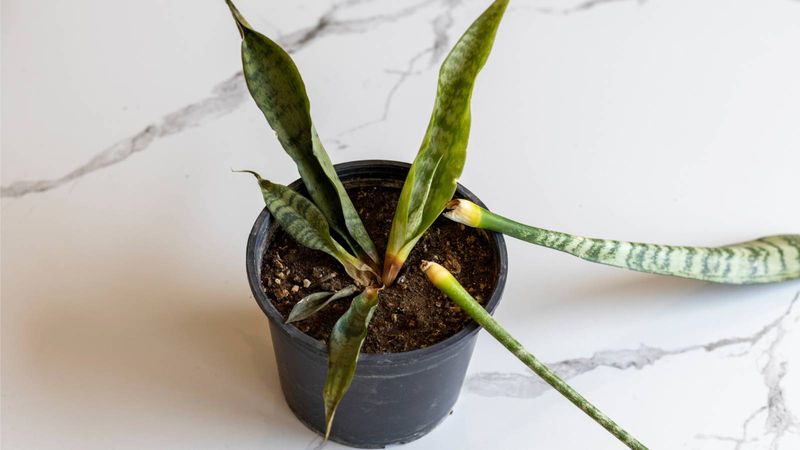
The path forward depends on what you find when you assess the plant right now. If the soil is still damp, stop watering, confirm the pot drains freely, and empty any standing water from the saucer or cachepot.
Then wait. Allow the mix to dry thoroughly throughout the root zone before adding any more moisture, and when you do water again, soak the soil completely and remove all runoff.
If the leaf bases feel soft, the plant is shifting in the pot, or the soil smells off, do not rely on patience alone. Unpot the plant, remove any dark and mushy roots or rotted leaf bases with a clean tool, and repot into fresh, well-drained mix in a container sized to fit the remaining root ball.
Penn State Extension’s repotting guidance and North Carolina Extension’s snake plant profile both support this hands-on approach when rot is suspected.
The goal throughout this process is not to restore every existing leaf to its original condition. Already damaged tissue generally will not recover.
The aim is to stop further decline, protect whatever healthy tissue remains, and give the plant the conditions it needs to produce firm new growth. A snake plant that stabilizes and starts growing again has been successfully rescued, even if it looks a little different than it did before.