
If Your Spider Plant Grows Brown Crispy Tips By Late Summer, Here’s The Easy Reset That Greens It Back Up
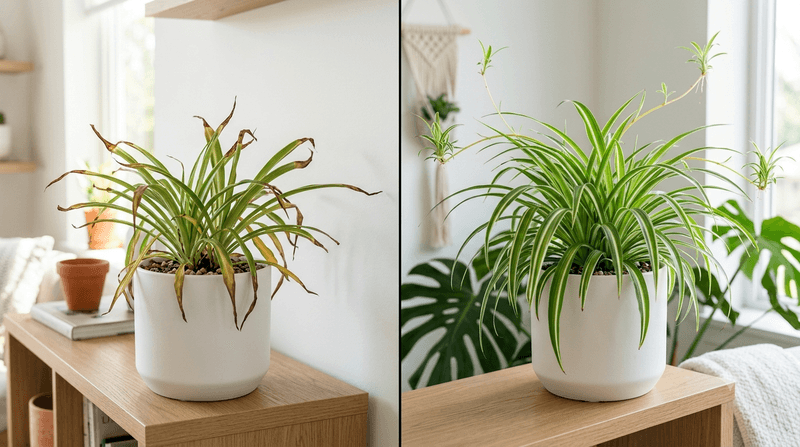
Spotting brown, crispy tips on your spider plant can feel alarming, especially when the leaves looked perfectly fine just weeks ago. The good news is that this is one of the most common complaints among indoor plant owners, and the cause is almost always something fixable in your own home.
Brown tips usually point to environmental or cultural stress, not a dying plant, and a handful of no-buy adjustments can stop the damage from spreading. Understanding what is actually triggering the problem is the key to protecting every new leaf that grows.
Brown tips usually signal stress—not proof your spider plant is dying
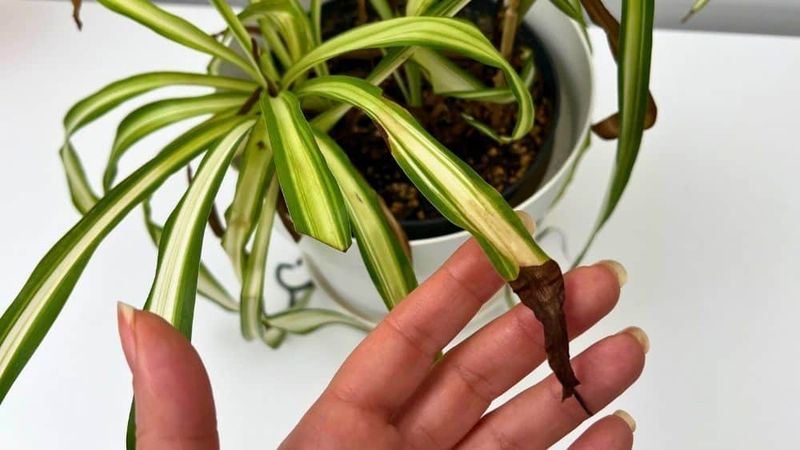
Crispy brown tips on a spider plant can stop you in your tracks, but they rarely mean the plant is past saving. Iowa State University Extension identifies several common causes of brown tips on spider plants, including low humidity, inconsistent watering, excess fertilizer salts, and chlorine or fluoride in the water supply.
Multiple stresses can show up at once, so treating one possible cause as the guaranteed answer often leads owners in the wrong direction.
The list of possibilities is broader than most people expect. Prolonged drying between waterings, hot or dry air from vents and air conditioning, stressful direct sun, cold drafts near windows or doors, pest activity, and root damage can all produce the same crispy symptom.
University of Georgia Cooperative Extension notes that excess soluble fertilizer salts can damage roots and produce tip burn, and that plants sitting in standing water are vulnerable to root problems too. The appearance of brown tips alone cannot tell you which of these is responsible.
Late summer tends to bring several of these stressors together at once. Windows that face west or south may deliver more intense afternoon heat than they did in spring.
Air conditioning running all day dries the indoor air and can create cold drafts near vents. Vacation schedules sometimes mean the plant went longer than usual without water, or was watered inconsistently for weeks.
Repeated summer fertilizing may have gradually built up soluble salts in the soil. None of these is a guaranteed universal explanation, but each is worth checking before deciding on a fix.
Ruling out serious root trouble matters before moving on. Illinois Extension notes that spider plants are generally adaptable, but soil that smells sour or roots that appear brown and mushy are warning signs that need a different response than the standard reset.
Use what you observe in the soil, the placement, and the roots as your diagnostic clues rather than assuming one universal cause.
Check the soil before you water or flush
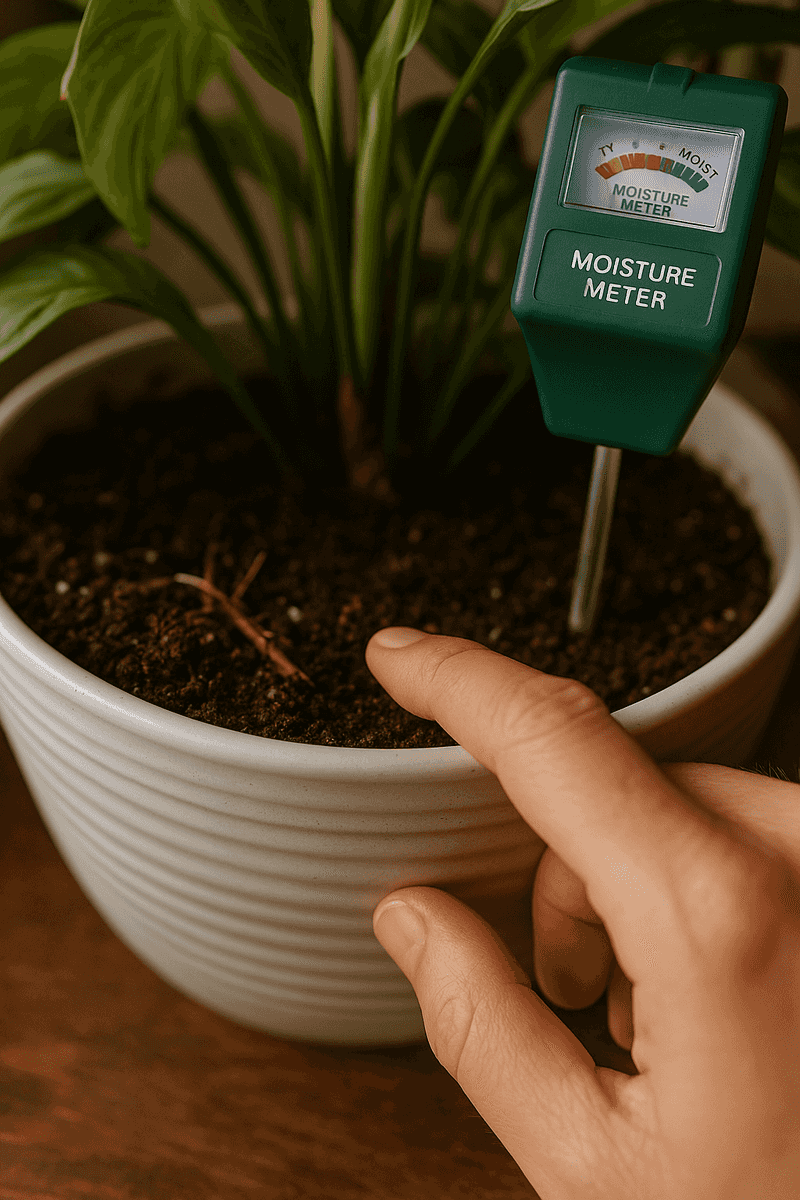
Before doing anything else to your spider plant, press a finger about an inch below the soil surface and pay attention to what you feel. University of Georgia Cooperative Extension recommends this simple test as the practical decision point for watering: if the soil still feels moist at that depth, hold off.
Skipping this step and watering on a fixed schedule is one of the most common ways spider plant roots get into trouble.
Three possible readings call for three different responses. Soil that feels partly dry at the one-inch mark means the plant is ready for a thorough drink.
Water it until some liquid flows out of the drainage hole, then pour out anything that collects in the saucer. Illinois Extension advises allowing spider plant soil to dry between waterings, so letting the top inch dry before the next watering is a reasonable rhythm to follow.
Soil that still feels moist means the plant does not need water yet, regardless of how many days have passed since the last watering. Plant size, pot size, light level, and room temperature all affect how quickly the soil dries, so a fixed calendar does not apply here.
Soil that feels wet, stays wet for an unusually long time, or carries a sour smell is a different situation entirely. Standing water in a saucer can contribute to oxygen-starved roots, and a pot without adequate drainage makes the problem worse.
Do not add more water and do not attempt a salt flush on a plant that is already sitting in wet soil. Assess the drainage situation first, and look at the roots if the problem seems persistent.
Getting the moisture reading right sets up every other step in the reset correctly.
Flush suspected fertilizer salts with a drainage-safe reset
A whitish crust on the soil surface or along the inside rim of a clay pot is one of the clearest clues that soluble fertilizer salts have built up over time. Heavy or repeated fertilizing during the growing season, combined with watering that only dampens the top of the soil rather than flushing it through, can leave those salts concentrated around the roots.
University of Georgia Cooperative Extension explains that excess soluble salts can damage roots and produce the kind of tip burn and leaf-margin browning that spider plant owners often notice.
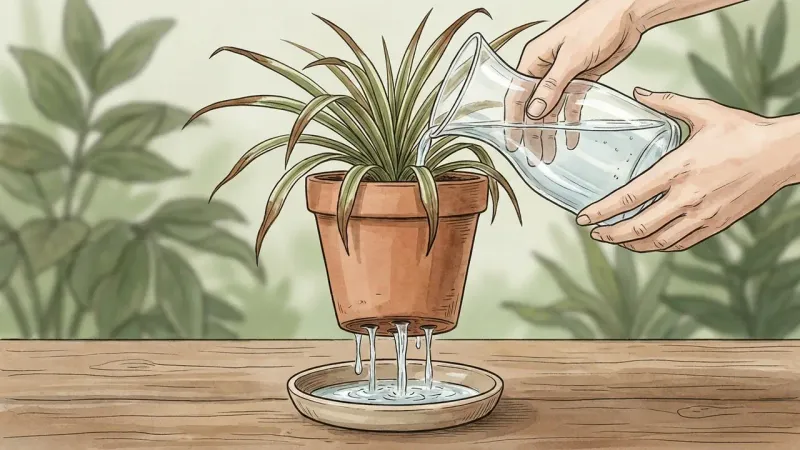
When the evidence supports salt buildup, a thorough flush is a reasonable first reset. Pour plain, unsoftened water slowly into the pot, enough to move through the entire soil column and exit the drainage hole freely.
Discard the runoff completely rather than letting the pot sit in it, then empty the saucer. One careful pass is generally enough; the goal is to carry accumulated salts out of the root zone, not to saturate the soil repeatedly.
Unsoftened tap water is the right choice here because water softeners typically replace calcium and magnesium with sodium, which can harm plants. That said, unsoftened tap water may still contain dissolved minerals or fluoride depending on your local supply, so this flush specifically targets fertilizer salts rather than every possible water-quality issue.
CDC guidance on community water fluoridation confirms that tap-water fluoride levels vary by location, so a flush alone will not solve a water-chemistry problem if one exists.
After flushing, pause fertilizer entirely until the plant shows healthy new growth. Iowa State Extension points to excess fertilizer salts as a recognized contributor to brown tips, so giving the plant a break from feeding during recovery is a practical precaution.
Never flush a plant whose soil is already staying wet, smells sour, or shows signs of root damage. Those conditions call for a root inspection, not more water moving through the pot.
Reduce heat, drafts, and stressful light
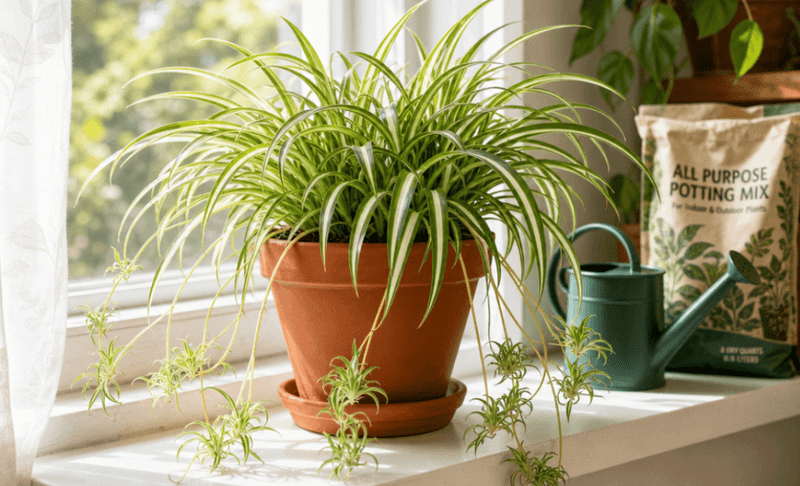
Once you have sorted out the soil situation, take a look at where the plant is actually sitting. Illinois Extension notes that spider plants prefer bright light but can tolerate medium light conditions, which makes them flexible in most rooms.
The problem is not brightness itself but the combination of intense direct sun, heat radiating through glass, and dry air moving across the leaves.
A south- or west-facing window in late summer can push afternoon temperatures near the glass much higher than the rest of the room. Moving the plant a few feet back, or adding a sheer curtain to filter the light, can reduce that heat exposure without sacrificing brightness.
Hot air from heating vents, cold blasts from air conditioning registers, and the direct airflow of a fan all pull moisture from leaves faster than the roots can replace it, which shows up as crispy edges and browning tips. Iowa State Extension identifies low humidity and dry air as recognized contributors to spider plant tip browning, and indoor air conditioning can replicate those dry conditions even in summer.
Grouping plants together or placing the pot on a tray filled with pebbles and a little water can raise the humidity immediately around the leaves without misting. University of Minnesota Extension recommends grouping plants or using pebble trays to address low indoor humidity, and these approaches work in summer just as well as in winter when air conditioning is running.
Misting is not an established fix for brown tips and is not recommended here as a reliable cure.
After relocating the plant, resume watering only after the top inch of soil has partly dried again. Moving the plant to a cooler, less stressful spot will also slow how quickly the soil dries, so the previous watering schedule may need to shift.
Let the soil tell you when the plant is ready, not the calendar.
Investigate water quality if fresh browning continues
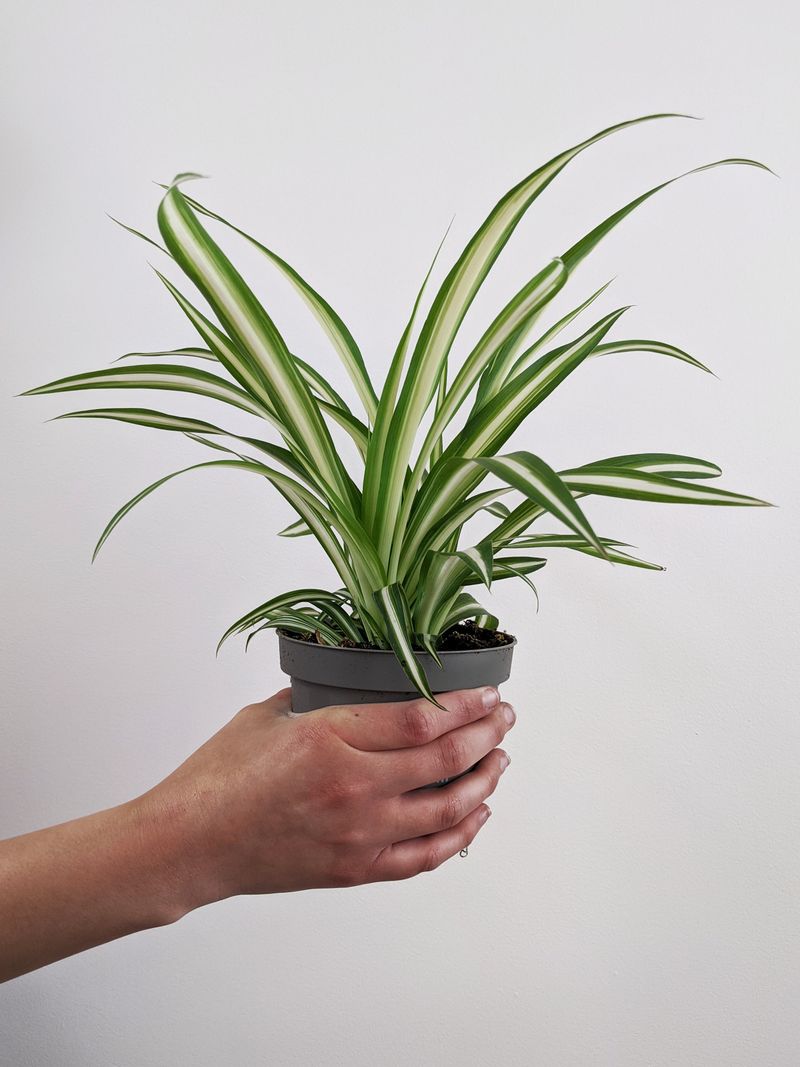
If you have adjusted the watering routine, flushed suspected salts, and improved the plant’s placement, but new tips are still turning brown, the water source itself is worth examining. Spider plants are relatively sensitive to fluoride, and University of Georgia Cooperative Extension specifically notes that plants with long, linear leaves, including spider plants, are more susceptible to fluorine-related injury.
Tap-water chemistry varies considerably from one city or county to the next, so what works fine for a neighbor may be affecting your plant differently.
The most reliable first step is to find out what is actually in your tap water. Customers served by a public water system can request a Consumer Confidence Report from their local provider, or look it up through the EPA’s Consumer Confidence Report resource, which gives annual water-quality data for public systems.
Private well owners need a laboratory test, since well water is not covered by public reporting.
Penn State University distinguishes between chlorine, which can dissipate when water stands uncovered, and fluoride, which does not leave the water by sitting overnight. Leaving tap water out before using it is sometimes suggested as a general tip, but it should not be treated as a dependable way to reduce fluoride exposure for sensitive plants.
If fluoride remains a strong suspect after checking the water report, switching to a clearly labeled distilled, deionized, or demineralized water source is more defensible than relying on vague advice to use bottled or filtered water. CDC guidance confirms that distilled, deionized, and demineralized water generally contains no or only trace fluoride unless it has been specifically added.
Some household filters reduce fluoride and minerals while others do not, so check the filter’s documented capabilities rather than assuming all filtered water is equivalent. Softened water is a separate concern entirely and should be avoided for plant watering because the sodium it introduces can damage roots.
Repot only when the roots show a real space problem
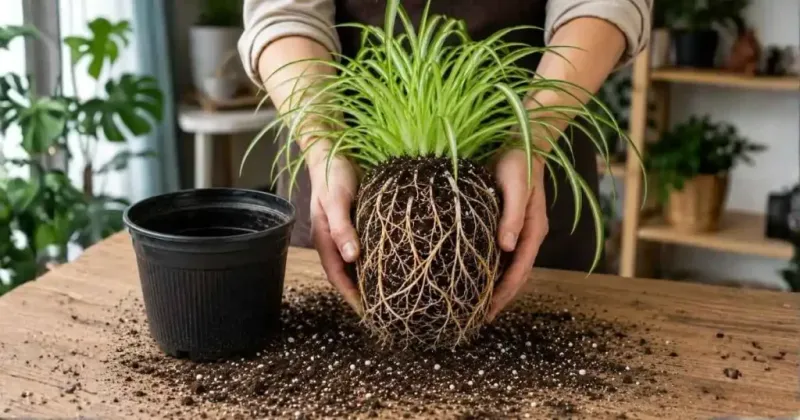
Repotting is easy to reach for when a plant looks stressed, but it is not part of the default reset for brown tips. University of Minnesota Extension recommends repotting when roots are tightly circling the pot, emerging from the drainage holes, or when the soil dries unusually fast.
Those are the signs that a plant has genuinely outgrown its container.
Spider plants produce baby plantlets when they are somewhat root-bound, which leads some owners to assume the parent plant needs more space. Illinois Extension points out that this is actually normal behavior for a pot-bound spider plant, not a distress signal.
Baby production alone is not a reason to repot.
Poor water absorption is another useful clue. If water runs straight through the pot and out the drainage hole without seeming to soak into the soil at all, the root mass may have displaced so much of the growing medium that the soil can no longer hold moisture properly.
That is a more actionable reason to consider a new container than the presence of babies or a general sense that the plant looks crowded.
When repotting is genuinely warranted, choose a pot only one size larger than the current container. University of Georgia Cooperative Extension notes that oversized pots can retain excess moisture around the roots, which creates its own set of problems.
If the soil smells sour or the roots you uncover are brown and mushy rather than firm and white, stop adding water and assess whether root damage is present before doing anything else. Damaged roots need a cautious approach, not a larger pot and a fresh watering.
Trim brown tissue, but measure recovery in new leaves
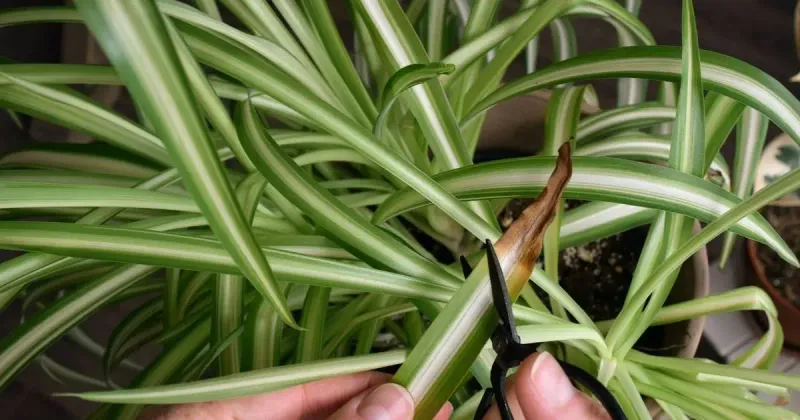
Reaching for scissors is usually the first impulse when brown tips appear, and trimming does have a real purpose: it makes the plant look tidier and removes dead tissue that serves no function. Use clean, sharp scissors and follow the natural tapered shape of each leaf rather than cutting straight across, which leaves a blunt edge that looks artificial.
Cut just into the green tissue at the point where the brown ends, removing only what is clearly dead.
What trimming cannot do is restore tissue that has already died. Iowa State Extension confirms that brown tips will not turn green again once the damage has occurred.
Pruning improves the appearance of the plant, but it does not correct whatever caused the browning in the first place, and it is not a substitute for addressing soil moisture, placement, water quality, or root health.
The most honest measure of recovery is what happens next. Watch for new leaves that emerge with clean, green tips rather than browning at the ends right away.
Fresh growth that stays green is a reliable sign that the care adjustments are working. Old leaves with brown tips will remain that way, and that is expected.
If new tips continue to crisp even after the reset steps have been applied, circle back to the earlier diagnostic questions: Is the soil moisture consistent? Has the plant moved away from heat and drafts?
Has the water source been evaluated? Are the roots in good shape?
Trimming is a finishing touch, not the fix itself, and continued browning means the underlying stress has not been fully resolved yet.
Follow the no-buy reset in the right order
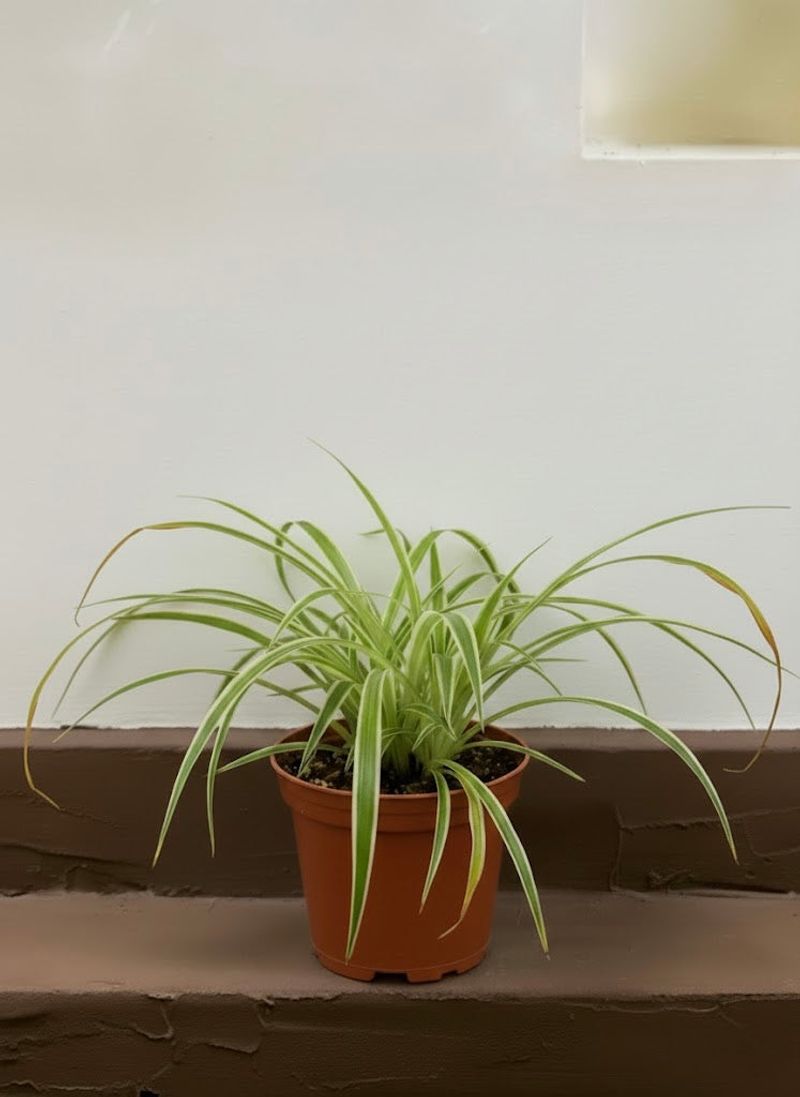
Putting the reset together in the right sequence makes each step more effective. Start by pressing a finger about an inch into the soil.
If it feels partly dry, water thoroughly until liquid drains freely from the bottom, then empty the saucer completely. University of Georgia Cooperative Extension recommends discarding drained water rather than leaving the pot sitting in it.
If you see a white crust on the soil or pot rim and have been fertilizing regularly, follow that initial watering with a flush using enough plain, unsoftened water to move through the soil and out the drainage hole. Discard the runoff, then pause fertilizer until the plant shows healthy new growth.
Iowa State Extension identifies excess fertilizer salts as a recognized contributor to tip browning, so giving the plant a break from feeding during recovery is a sensible precaution. Skip the flush entirely if the soil is already wet, smells sour, or shows signs of root trouble.
Move the plant to bright indirect light and away from hot windows, heating and cooling vents, and direct fan airflow. Trim dead brown tips with clean scissors, following the leaf’s natural shape.
Then monitor new growth over the coming weeks rather than looking at the old brown tips for signs of improvement. Illinois Extension notes that spider plants are adaptable, and most will respond well once the main stressors are removed.
If browning continues on new leaves, investigate the water source or check whether the roots have outgrown the pot. Corrected care protects the leaves still to come.
The old brown tips are a record of past stress, not a preview of what is ahead.