
If Your Zinnias Are Fading To Brown, Here Are 7 Steps To Save The Seeds For A Whole New Patch Next Year
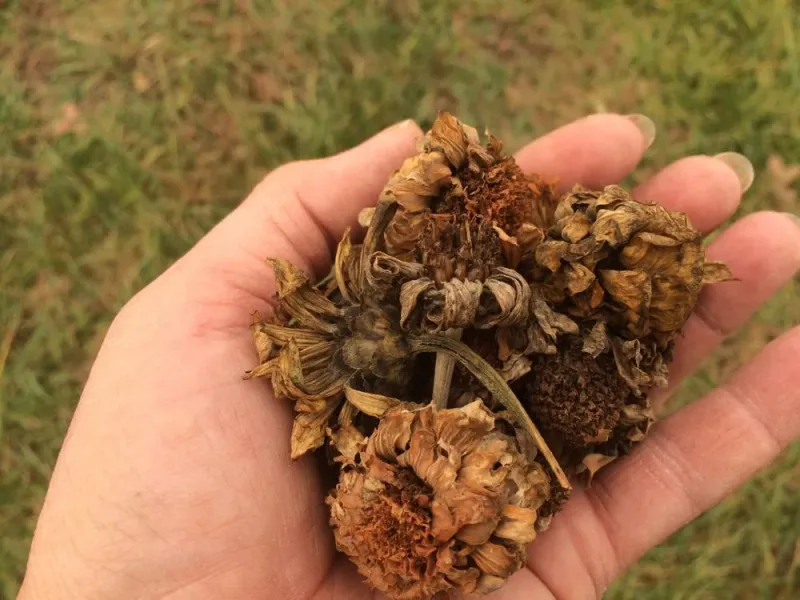
Those bright zinnias that lit up your garden all summer are starting to droop and turn brown, and that can feel like the sad end of the show. Good news though, those crispy brown flower heads are actually packed with free seeds for next year.
If you save them the right way, you can grow a whole new patch without spending a dime. Here are 7 simple steps to turn your fading zinnias into next season’s blooms.
1. Select Healthy Zinnia Blooms for Seed Saving
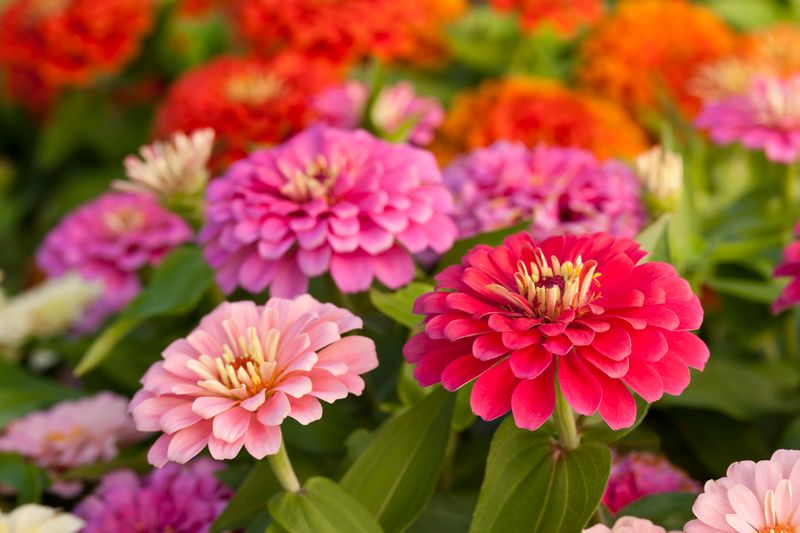
Before you snip anything, take a slow walk through your patch and play favorites. The strongest, most colorful, disease-free plants are the ones you want passing their traits to next year’s crop.
Reach for open-pollinated or heirloom zinnias if you want the babies to look just like the parent. Seeds from hybrid plants can surprise you with totally different flowers, which is fun but not always what you planned.
Skip any plant with spotted leaves, mildew, or sickly stems, since problems can travel through seeds. If you have a color you adore, tie a ribbon or slip a rubber band around that stem now so you remember it later.
2. Allow Flowers to Fully Mature and Dry on the Plant
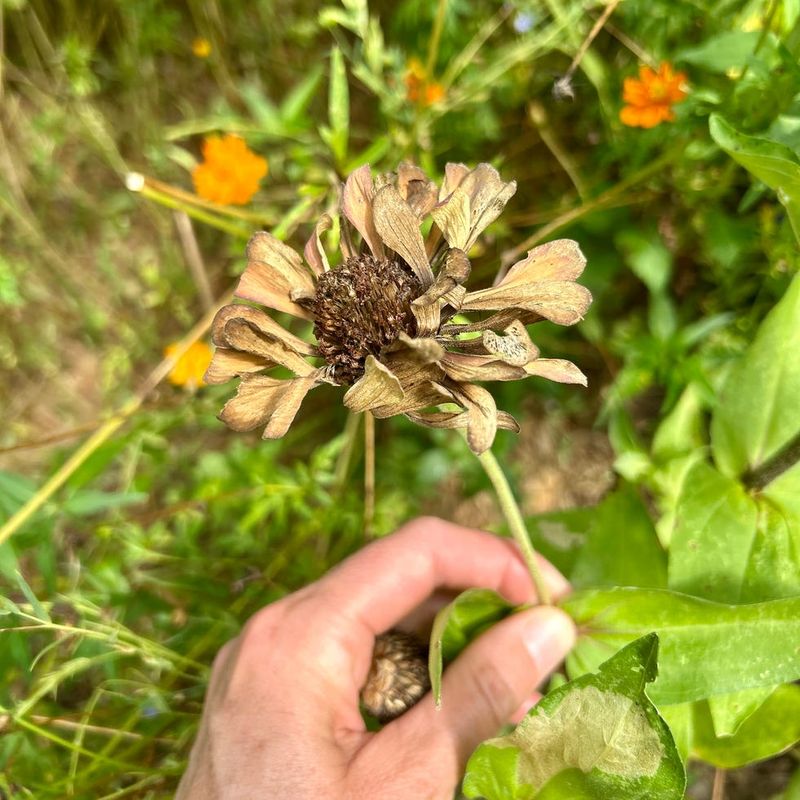
Here is where you fight the urge to tidy up. Deadheading keeps a plant blooming, but for seed saving you actually want the flowers to age and go to seed, so leave your chosen blooms alone.
A flower head is ready when it has gone completely brown, brittle, and papery, and the stem right below it has browned too. That crispy, kind of sad look is exactly the signal you are waiting for.
Most gardeners hit this stage in late summer or early fall. Try to harvest before the first hard frost, since a heavy freeze can damage the seeds you worked so hard to grow.
3. Harvest the Dried Zinnia Flower Heads
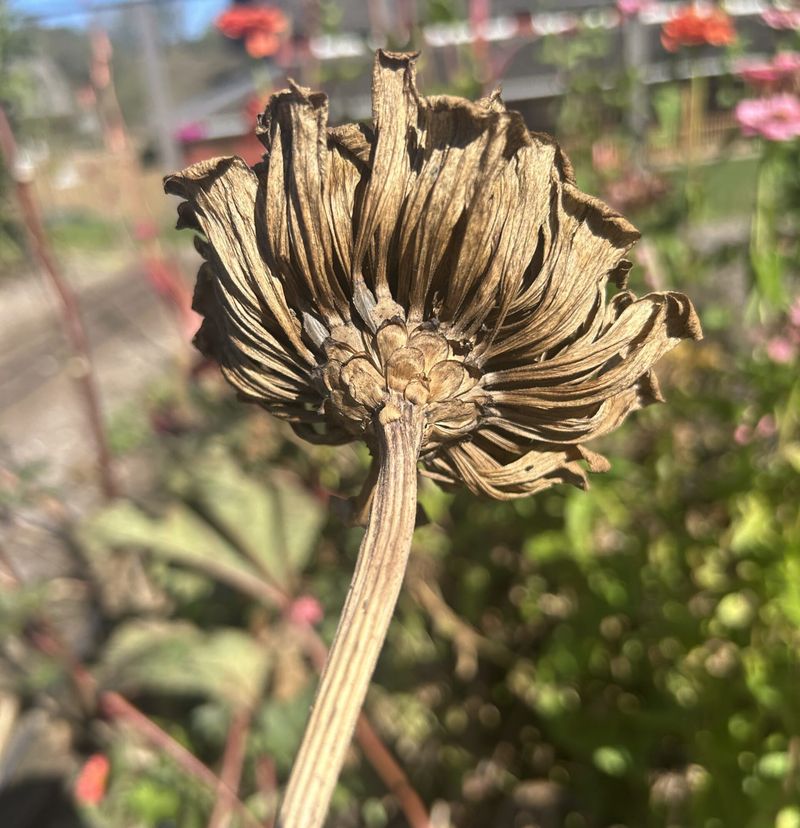
Pick a dry, sunny afternoon for this job, because damp flower heads can carry moisture that leads to mold later. A little patience with the weather pays off big.
Grab clean, sharp pruners and snip each dried head off just below its base. Sharp blades give you a clean cut and keep you from tugging and damaging the plant.
Do not panic if a few petals still hold a hint of color. As long as the main head is dry and the seeds inside are brown and mature, you are good to collect them.
4. Further Dry the Harvested Flower Heads
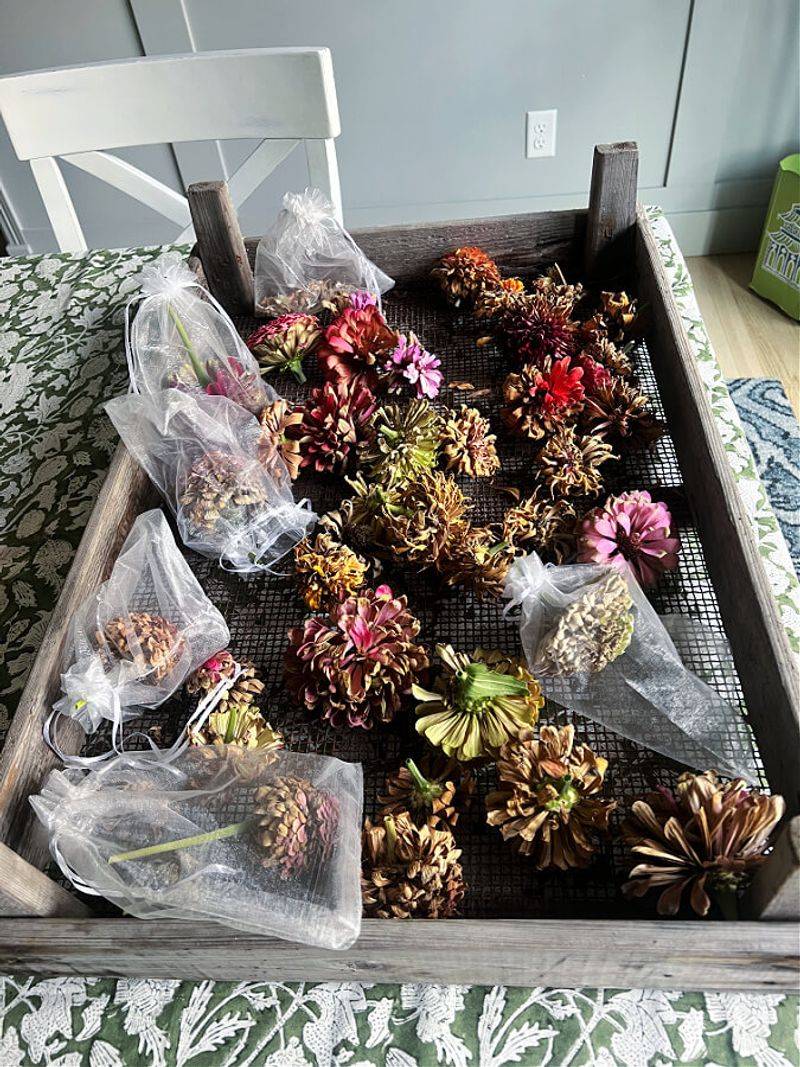
Even a head that feels dry outside can hold hidden moisture, so give it more drying time indoors. Think of this as an insurance step against fuzzy mold ruining your stash.
Spread the heads in a single layer on a screen, tray, or paper towels in a cool spot with good air movement, out of direct sun. Let them sit for one to four weeks until they crumble easily in your fingers.
Prefer a hands-off method? Drop the whole heads into a brown paper bag and let them keep drying for several weeks in a well-ventilated corner.
The bag catches any seeds that fall loose on their own.
5. Separate the Seeds from the Chaff
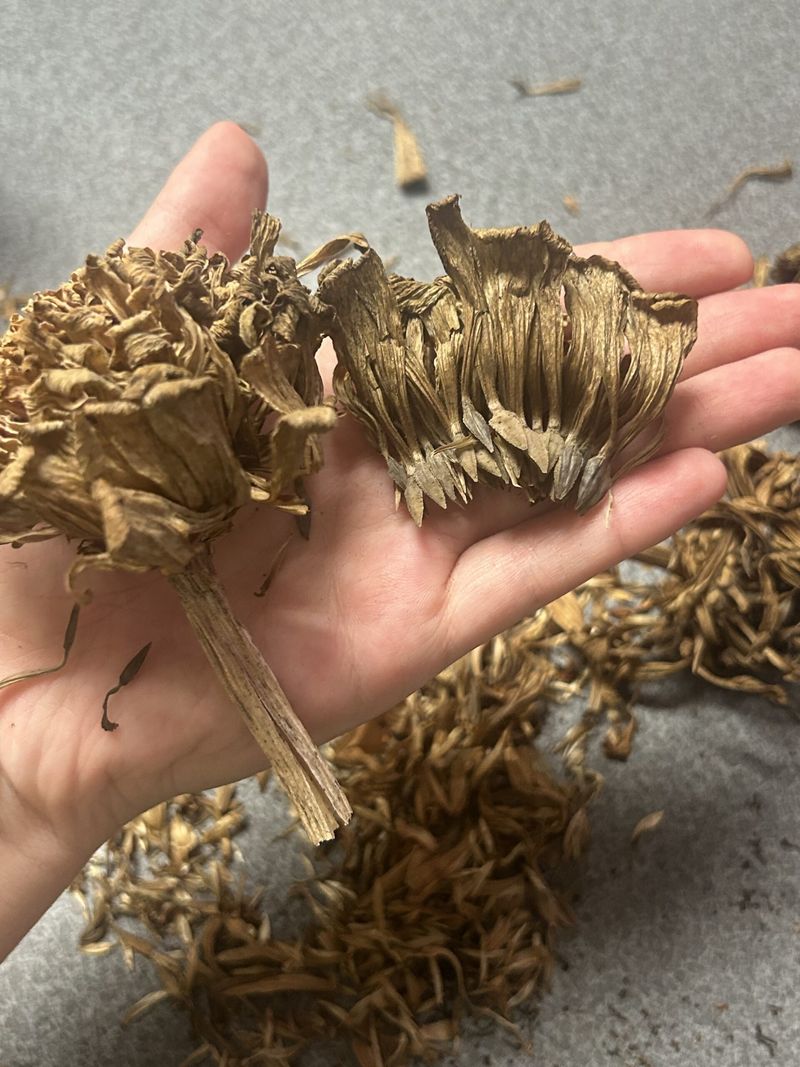
Now comes the oddly satisfying part. Once the heads are brittle, gently crumble and rub them apart over a tray or paper towel and watch the seeds tumble out.
Zinnia seeds are easy to spot once you know the look. They are flat, hard, and shaped like little arrowheads, usually dark brown or black, and tucked right at the base of each petal.
Toss anything that feels light, flimsy, pale, mushy, or moldy, since those are usually empty duds. You do not have to pick out every scrap of chaff either, because a bit of leftover plant bits can even work as mulch when you sow next spring.
6. Ensure Seeds are Completely Dry Before Storage
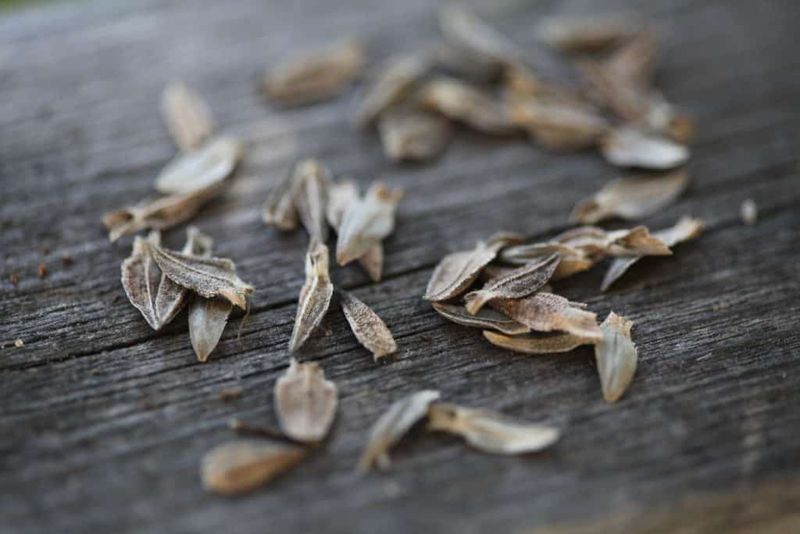
Almost there, but do not rush the seeds into a jar just yet. A quick final dry is the difference between a healthy seed packet and a moldy mess come spring.
Scatter your cleaned seeds in a thin layer and let them sit a few more days until they feel bone-dry. Handling them helps you catch any that still feel cool or soft.
Trapped moisture is the number one seed-saving mistake, and it quietly spoils seeds in storage. Give them this extra breathing room and they will thank you later.
7. Store Your Zinnia Seeds Properly
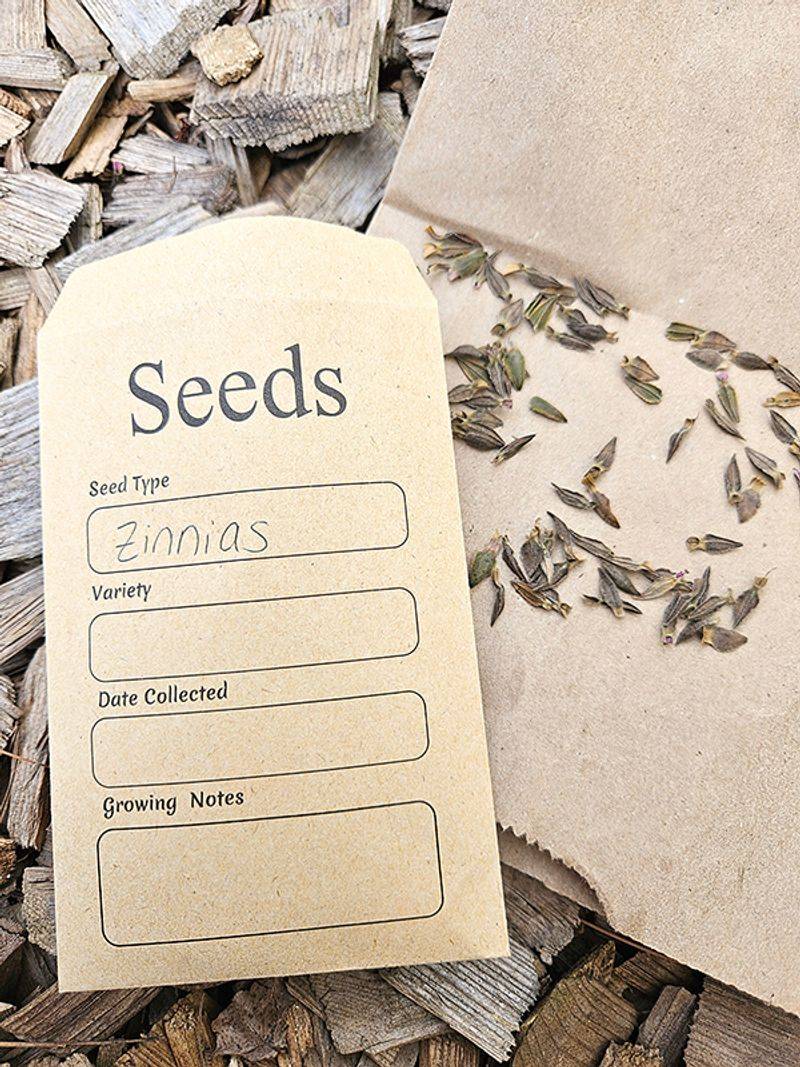
You did the hard work, so store your treasure right. A cool, dark, dry spot keeps zinnia seeds happy and ready to sprout when you need them.
Breathable homes like paper envelopes or brown paper bags are ideal because they let a little air move through. Glass jars work too, especially airtight ones, as long as the seeds are truly dry going in.
Always label the container with the variety and the date you harvested, because next spring everything looks alike. Stored well, your saved seeds stay viable for three to five years, which means one good autumn can fill your beds for seasons to come.