
North Carolina Homeowners Are Losing Whole Native Beds To A Fall-Planting Mistake Nobody Warns Them About
Planting natives in fall feels like the responsible thing to do, and for many North Carolina homeowners it genuinely is. But a quiet mistake made at planting time can slowly kill the very plants you worked hard to establish, and it has nothing to do with the season itself.
The culprit is incorrect planting depth, compounded by piling mulch or wet leaves over crowns, stems, or woody root flares. Catch it early, and most newly planted material can be saved.
Fall can help a North Carolina native bed when you plant with care

Autumn earns its reputation as a good planting season across much of North Carolina because cooling temperatures let roots grow into surrounding soil while the plant is not spending energy on new leaves or flowers. NC State Extension guidance on landscaping for wildlife with native plants supports fall as a favorable window for many native trees, shrubs, and hardy perennials, particularly in the Piedmont and Coastal Plain where summer heat can stress newly installed plants.
That head start on root growth is real, and it gives established plants a much better chance of surviving their first summer drought.
The risk that can undermine all of that benefit is not the calendar. Planting at the wrong depth, then adding a heavy layer of soil, mulch, or compacted wet leaves over the crown of an herbaceous plant or the root flare of a woody tree or shrub, can quietly impair or kill the plant over the following weeks and months.
When the same error repeats across an entire bed, the losses can be widespread. That pattern, not fall planting itself, is what sends homeowners back to the nursery in spring wondering what went wrong.
NC State Cooperative Extension fall planting guidance specifically identifies planting below the soil line as a mistake that can stunt or kill plants, and it warns about thick mulch placed over crowns. County Extension offices and professional horticulture resources have been flagging these risks for years.
The problem is not that nobody warns homeowners; the problem is that the warning is easy to overlook when you are focused on getting plants in the ground before the first frost.
Extra soil or mulch can impair roots, crowns, and trunks
When soil or mulch covers the crown of an herbaceous native, the growing point where stems emerge from roots sits in a consistently moist, low-oxygen environment it was never designed to tolerate. That condition encourages fungal pathogens and slows the gas exchange that roots depend on.
NC State Extension’s fall planting article warns that thick mulch over crowns can cause crown rot, a problem that may not become visible until the plant fails to emerge the following spring.
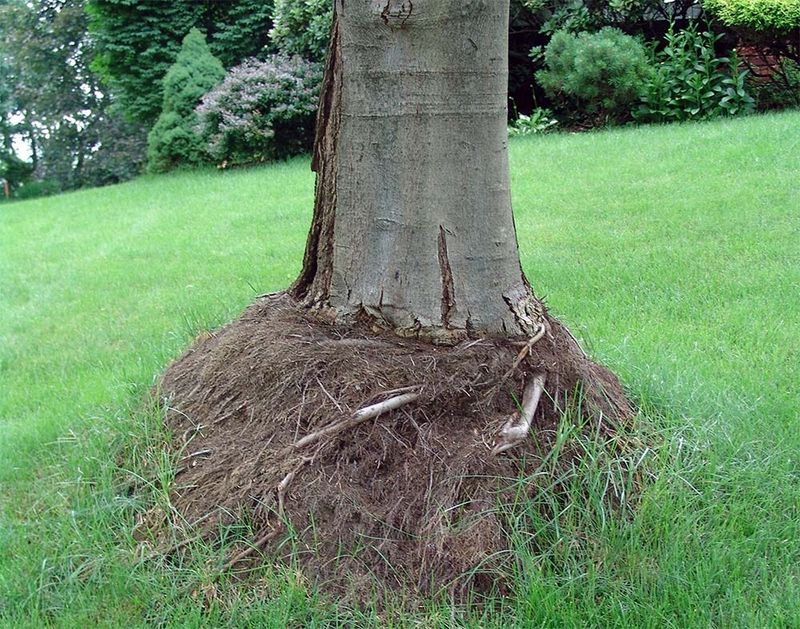
Woody plants face a different but related version of the same problem. Soil or mulch piled against the bark of a tree or shrub keeps that bark wet, limits oxygen around the root zone, and creates conditions favorable to decay organisms and pests.
Penn State Extension’s review of successful tree and shrub planting explains that burying the root flare restricts the oxygen supply to roots and can contribute to long-term decline or death, sometimes over several growing seasons rather than immediately.
Two different moisture problems can produce similar-looking symptoms, and it helps to keep them separate. Inadequate watering after planting leaves new roots in dry soil with no buffer against drought stress; the plant wilts, drops leaves, or simply stops growing.
Overwatering, poor drainage, or excessive wet mulch creates the opposite condition: soil stays saturated, oxygen is depleted, and root-rot pathogens find an easy foothold. Penn State Extension’s guidance on root rot in woody ornamentals notes that waterlogged soil is a primary driver of Phytophthora and other root-rot diseases.
Keep in mind that transplant shock, deer browsing, vole damage, compacted soil, and herbicide drift can produce symptoms that look nearly identical, so an accurate diagnosis matters before you start digging. NC State Extension’s Phytophthora guidance for herbaceous perennials recommends getting a confirmed diagnosis rather than assuming the cause.
Set the planting depth according to the plant you bought
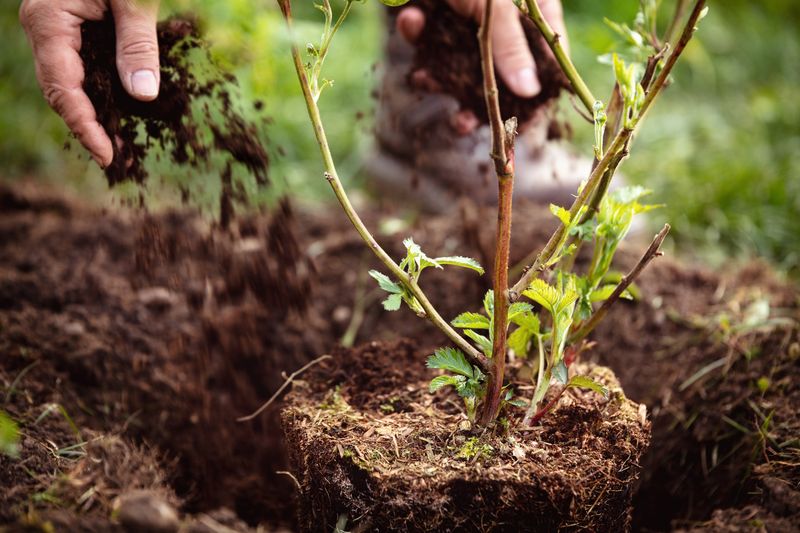
Woody trees and shrubs require a specific check before the planting hole is dug. The root flare, the point where the trunk visibly widens and transitions into the major lateral roots, should sit at or slightly above the finished soil grade.
Do not assume the top of the nursery root ball marks the right depth. Nurseries sometimes pot plants with extra soil covering the flare, so the actual flare may be an inch or two below what you see when you pull the plant from the container.
NC State Extension’s container-plant guidance is clear that burying the growing point can kill the crown, and the same principle scales up to the root flare of woody plants.
Finding the flare takes about thirty seconds. Set the root ball on the ground, brush away any loose nursery soil from the top, and look for where the trunk begins to widen.
That point should be level with or just above the surrounding grade once the plant is in the hole. NC State’s fall planting guidance adds that the planting hole should be no deeper than the root ball and at least two to three times as wide, so roots can spread laterally into loosened soil without the plant sinking as backfill settles.
Herbaceous perennials, grasses, sedges, and ferns follow a different rule. For container-grown plants, match the original container soil line when you set the plant in the ground, and keep the crown, where stems and roots meet, at or just above grade rather than buried.
Penn State Extension’s buried-tree assessment reinforces that even a few inches of excess soil over a root system can impair long-term health. Bulbs, plugs, bare-root plants, and wetland species do not follow a single universal depth rule, so check the nursery tag or your local Extension office for plant-specific instructions before you plant those categories.
Keep protective mulch and leaves off crowns and trunks
Mulch does real good in a native bed. A moderate layer moderates soil temperature, slows moisture loss, and suppresses weeds.
NC State Extension’s native plants handbook chapter recommends roughly two to three inches of mulch around native plants, with crowns and stems left uncovered. That moderate layer protects without creating the moisture trap that a thick pile can become.
The trunk of a woody native needs a buffer zone. NC State’s woody ornamentals chapter specifically advises keeping mulch about six inches back from the trunk, a rule that applies to native trees and shrubs just as it does to any landscape woody plant.
Piling mulch against bark, sometimes called a mulch volcano, keeps moisture against the tissue that needs to stay dry, reduces oxygen in the root zone, can block water from reaching roots during dry periods, and creates cover for voles that chew bark and girdle stems over winter.
Fallen leaves raise a similar question. A natural leaf layer across a bed is genuinely beneficial and supports the overwintering insects, native bees, and other wildlife that a stewardship garden is meant to protect.
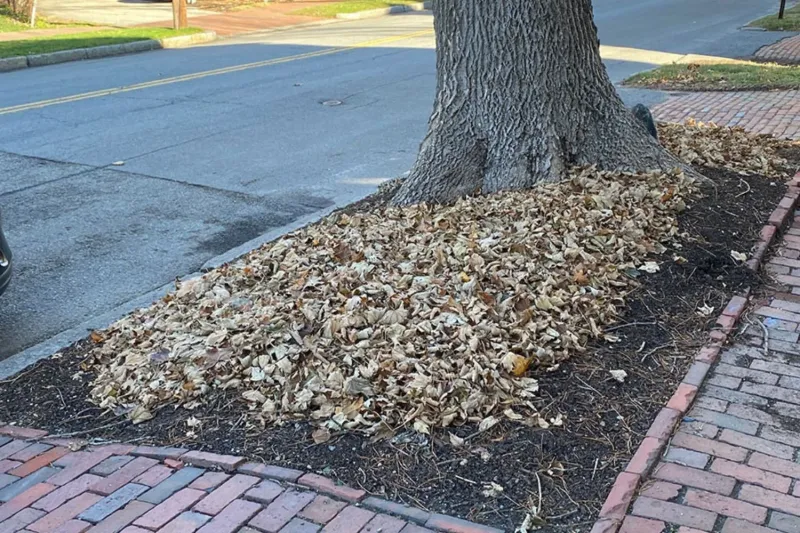
NC State Extension’s pollinator garden cleanup guidance encourages leaving much of that material through winter. The problem is not the leaves themselves but thick, wet, compacted piles that settle directly over crowns or hold standing moisture against stems and trunks.
NC State Extension’s “Leave the Leaves” guidance supports keeping leaf litter and standing stems for wildlife while still managing material that smothers plants. Redistribute or thin compacted piles, leave a moderate layer, and let the rest stay as habitat.
Inspect the bed before you attempt a correction
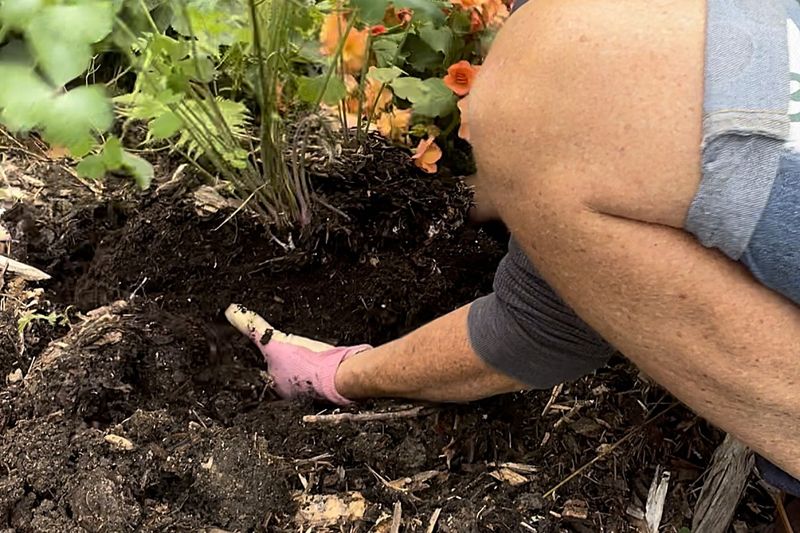
Before moving soil or pulling plants, spend a few minutes reading what the bed is actually telling you. Pull back loose mulch and leaves gently by hand, starting near the base of each plant.
For herbaceous perennials, grasses, sedges, and ferns, compare where the stem meets the soil with the original container soil line, which is usually visible as a color or texture change on the stem. If the crown is buried under more than a half-inch of added material, that is worth correcting on a newly planted specimen.
NC State Extension’s fall planting guidance identifies this burial as a primary cause of crown failure.
For woody trees and shrubs, locate the root flare using the same approach: brush back surface material and look for where the trunk widens. If the flare is buried under nursery soil or added mulch, carefully remove the excess, working outward from the trunk without cutting roots.
Penn State Extension’s planting review cautions that newly planted material is more forgiving of this correction than an established plant whose roots have grown into surrounding soil, so act sooner rather than later if you suspect a problem.
Check the soil moisture at the root zone while you are there. Push a finger or a wooden dowel four to six inches into the soil.
Persistent saturation or standing water in the planting hole points to a drainage problem that depth correction alone will not fix. NC State’s container-plant chapter notes that poor drainage compounds planting-depth problems significantly.
If a plant is already showing serious symptoms such as blackened stems, collapsed crowns, or extensive root discoloration, consult your county Extension office or a qualified professional before disturbing the root system further. NC State’s Phytophthora guidance recommends an accurate diagnosis before any corrective action, because the wrong intervention on a diseased plant can spread pathogens or cause additional root damage.
Support establishment with the right water, soil, and timing
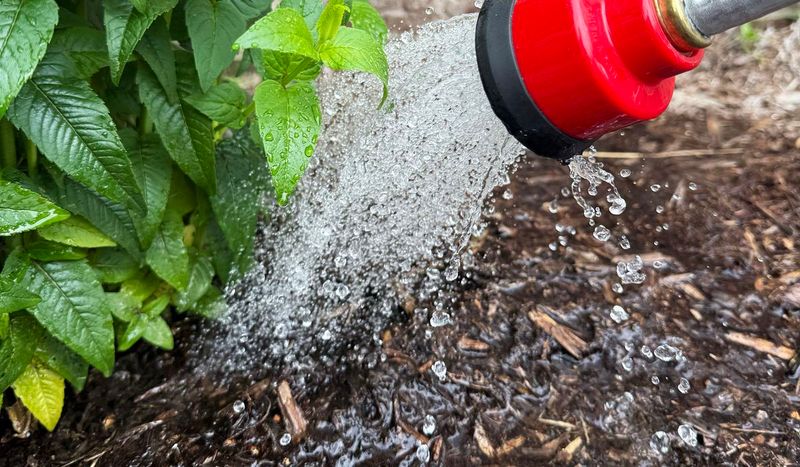
Correcting planting depth removes one obstacle, but newly installed natives still need consistent moisture to push roots into surrounding soil. NC State Extension’s native plants chapter states plainly that newly planted natives require supplemental irrigation during establishment, even in fall and winter when rainfall can be unreliable.
Drought tolerance is a characteristic of established plants with roots spread through the surrounding soil; a plant installed two weeks ago has not earned that resilience yet. A general starting point for one- to three-gallon woody plants is roughly three to five gallons twice weekly when rain is absent, adjusted for actual soil moisture and weather.
Checking the soil before watering is more reliable than following a fixed schedule. Saturated soil needs no additional water regardless of how many days have passed since planting.
Penn State Extension’s root-rot guidance identifies waterlogged conditions as a primary trigger for root-rot pathogens, so the goal is consistent moisture without saturation. If your site drains poorly, consider whether the plant choice matches the location before assuming more watering is better.
Soil choice and site preparation matter as much as water. Most landscape beds benefit from using native soil as backfill rather than creating a pocket of heavily amended material around the root ball.
An isolated amended zone can act like a container, discouraging roots from spreading into the surrounding native soil. NC State’s pre-planting guidance recommends improving the entire bed when amendment is needed, and it advises controlling persistent perennial weeds before installation because options for treating them after natives are in the ground are limited without risking herbicide injury to the ornamentals.
Planting timing also varies by region and species. NC State’s regional planting resources reflect the real differences among the Blue Ridge, Piedmont, Sandhills, and Coastal Plain in terms of frost timing, soil moisture, and plant-specific establishment windows.
Mountain gardeners generally need to finish planting earlier in fall than gardeners in the eastern part of the state.
Protect the planting line while preserving native habitat
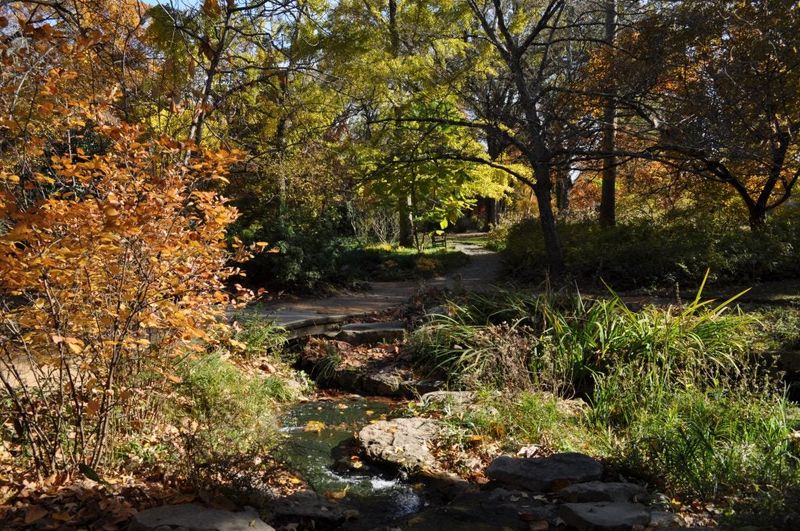
A native bed that doubles as wildlife habitat does not require bare, perfectly groomed soil. It requires plants that are actually alive.
NC State Extension’s native plants chapter supports moderate leaf litter and structural stems as genuine habitat features, not signs of neglect. The practical line to hold is simple: leave the litter and the stems, but keep them from burying the plants that make the habitat possible.
Run through the short checklist once this fall. Confirm planting depth matches the plant type, with the root flare visible on woody plants and the crown at grade on herbaceous ones.
Keep mulch to two to three inches and pull it several inches back from trunks. Thin compacted leaf piles over crowns without stripping the bed bare.
Water according to soil conditions until roots establish. NC State Extension’s pollinator cleanup guidance offers plant-specific advice on which stems to leave and which to cut, and your county Extension office is the right call when a species, site, or set of symptoms falls outside these general rules.
The best wildlife garden is one where the plants survive long enough to become habitat. Getting the depth right from the start is the single most reliable way to make sure that happens.