
Your Irises Are Already Deciding Next Spring’s Blooms – 9 Fall Jobs That Tip The Odds
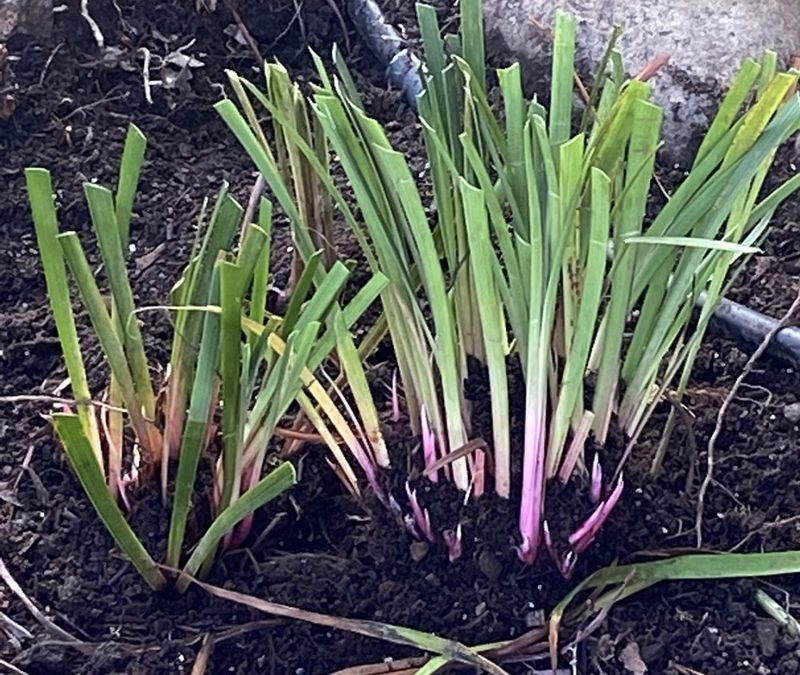
Your irises may look quiet in fall, but under the soil they are busy getting ready for spring. The thick roots, called rhizomes, are storing up the energy that will become next year’s flowers.
If they go into winter weak, crowded, or sick, you may get lots of leaves and very few blooms. A few simple fall chores can help you avoid that letdown and set up a much better show.
1. Cut Back Tired Foliage

Floppy, brown-tipped iris leaves are more than an eyesore in October. They can be a cozy winter home for iris borer eggs and fungal spores that wait to attack in spring.
Once the foliage yellows or you have had a few frosts, trim the leaves back to about 4 to 6 inches above the ground. Many gardeners cut them into a little fan or upside-down V shape, which helps rain run off.
Toss the clippings in the trash, not the compost pile. Borer eggs can survive in compost and hatch right back into your garden.
2. Divide Crowded Clumps
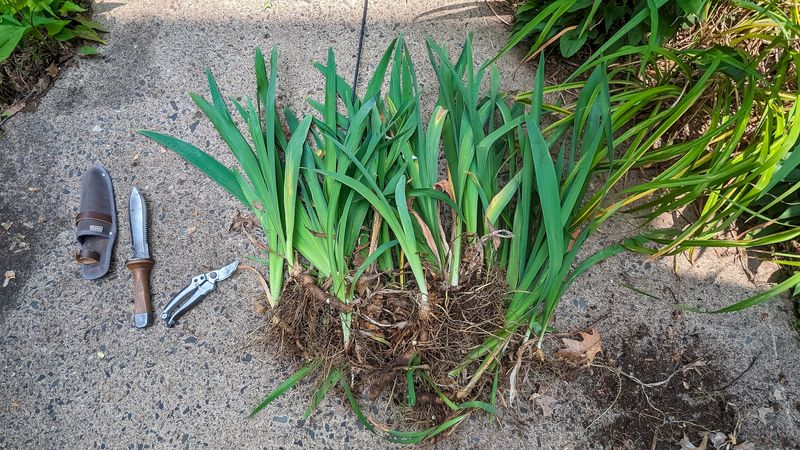
Lots of green fans but hardly any flowers? That is the classic sign of an iris clump that has run out of room.
Every three to five years, dig up crowded clumps in late summer to early fall, usually July through September. Gently pull or cut the rhizomes apart, keeping pieces that each have a healthy fan of leaves and some roots.
Throw away the old, woody center sections, since they rarely bloom well again. Replant the young pieces about 12 to 18 inches apart with the tops of the rhizomes just peeking above the soil, like ducks floating on water.
Give them space now, and they can reward you with fresh flowers within a season or two.
3. Pull Every Weed
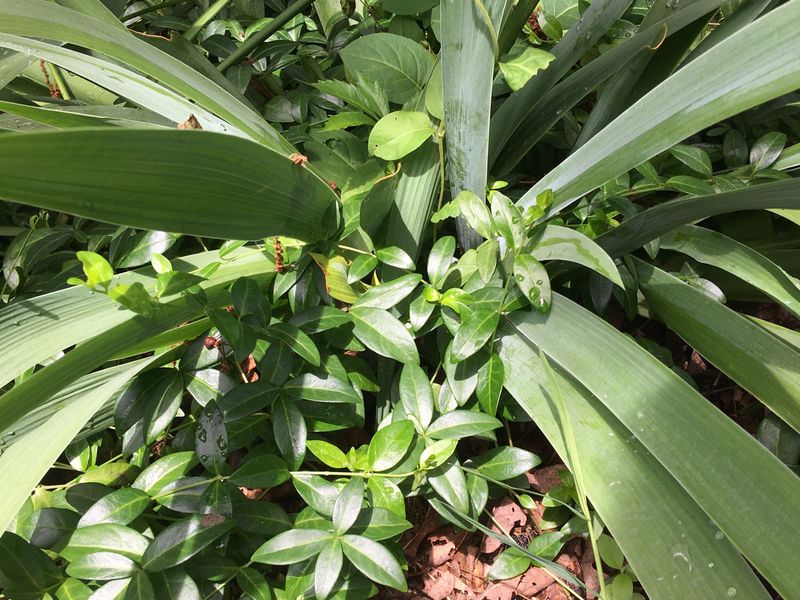
Weeds are sneaky thieves. While you are raking leaves, they keep sipping water and nutrients your irises want for themselves.
Fall weeding matters even more for bearded irises because their rhizomes sit right at the surface. They need sunshine on their backs, and a blanket of weeds keeps them shaded and damp.
Pull weeds by hand near the rhizomes instead of hoeing, since iris roots are shallow and easy to nick. A weeded bed today means less competition when spring growth kicks off.
4. Clear Out Plant Debris
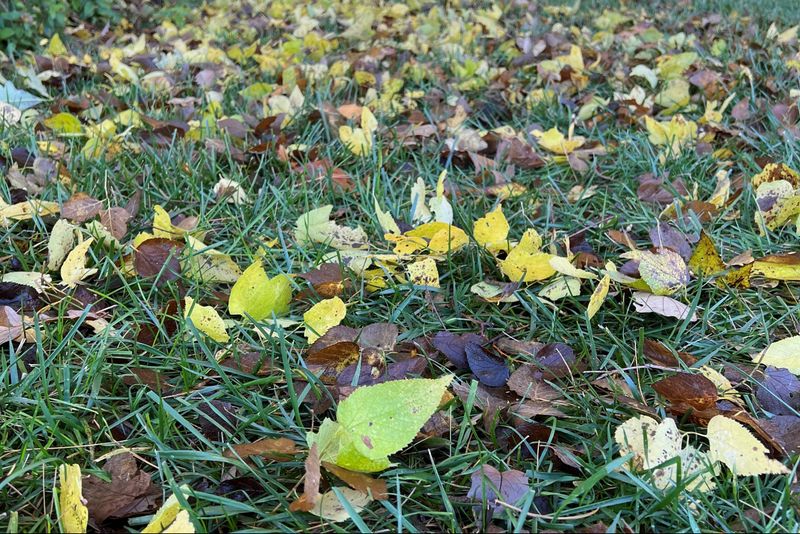
Think of fall cleanup as closing the door on pests before winter. Soggy leaves and old stems piled around iris bases create perfect hiding spots for borers, slugs, and leaf spot fungus.
Rake away dead leaves, fallen tree debris, and any mushy plant bits around your clumps. Pay extra attention to the area right where the leaves meet the rhizome.
A tidy bed dries out faster after rain, which may lower the chance of rot. It is a small job that can save you a big headache in April.
5. Feed With Low-Nitrogen Fertilizer
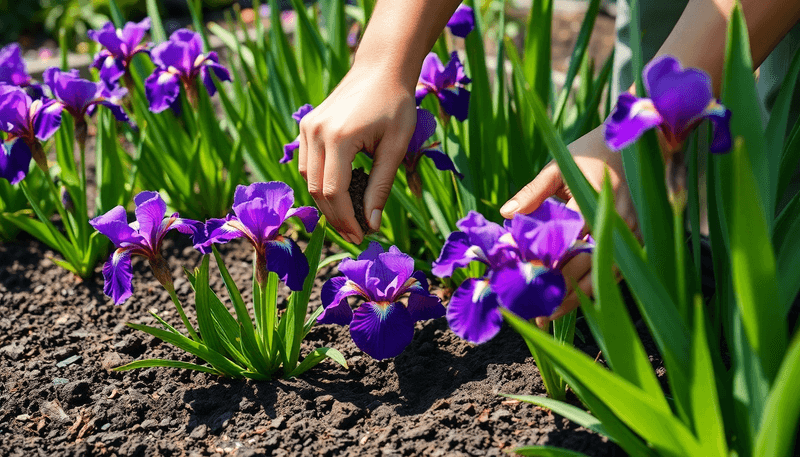
Here is a mistake lots of iris lovers make: grabbing the same lawn fertilizer they use on the grass. High nitrogen pushes out leaves, not flowers.
Instead, choose a low-nitrogen blend like 6-10-10 or 4-4-2. Sprinkle a light amount around the clump in late summer or early fall, after blooming has finished.
The extra phosphorus and potassium help rhizomes refill their energy tank for next spring’s buds. Keep the granules off the rhizomes themselves and water them in gently.
6. Mulch Lightly in Cold Zones
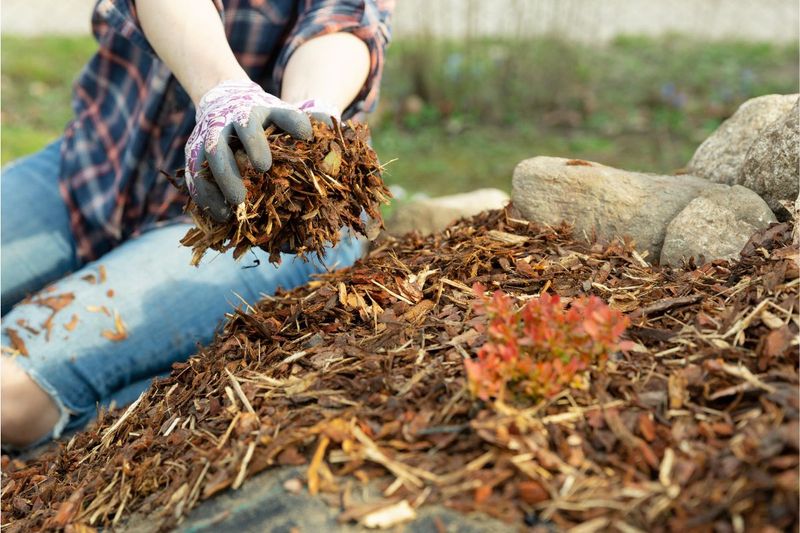
Ever found an iris rhizome lying on top of the soil in March? Freezing and thawing can heave plants right out of the ground, especially new ones.
In USDA zones 3 to 6, add a light, airy mulch like evergreen boughs or loose straw after the ground freezes. Wait for that freeze so you are not trapping warmth that invites rodents or rot.
For bearded irises, keep mulch from smothering the rhizomes, since they can rot when covered and wet. Pull the mulch back in early spring so the sun can warm them again.
7. Water Newly Planted Irises
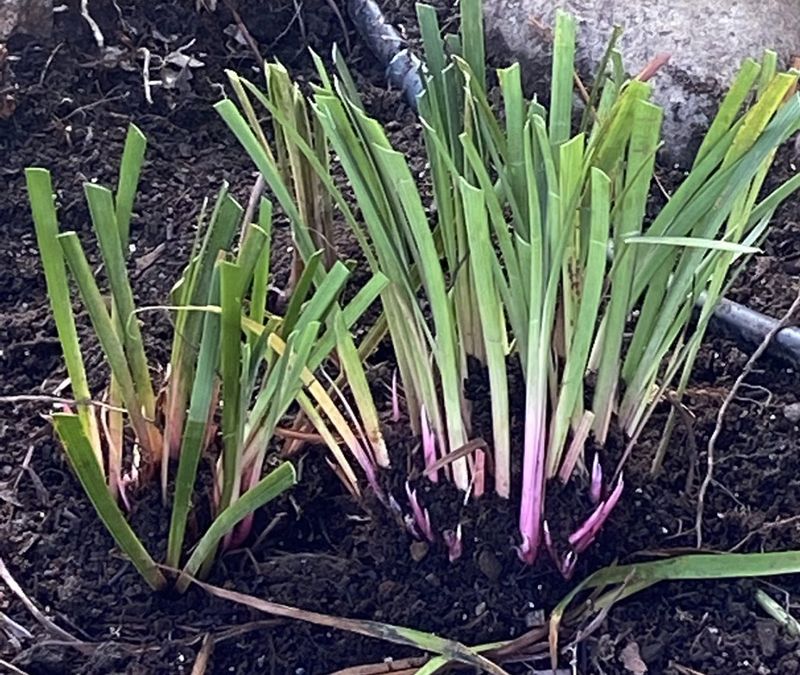
Established irises are tough customers that shrug off dry spells. Freshly planted or divided ones are a different story.
Give new plantings a good drink about once a week in fall until they grow new roots. In warmer areas where temperatures stay above 45 degrees, an occasional watering through fall and winter can prevent drought stress that might mean fewer blooms.
As days cool and growth slows, ease off. Soggy soil is a bigger danger to irises than a little thirst.
8. Remove Old Flower Stalks
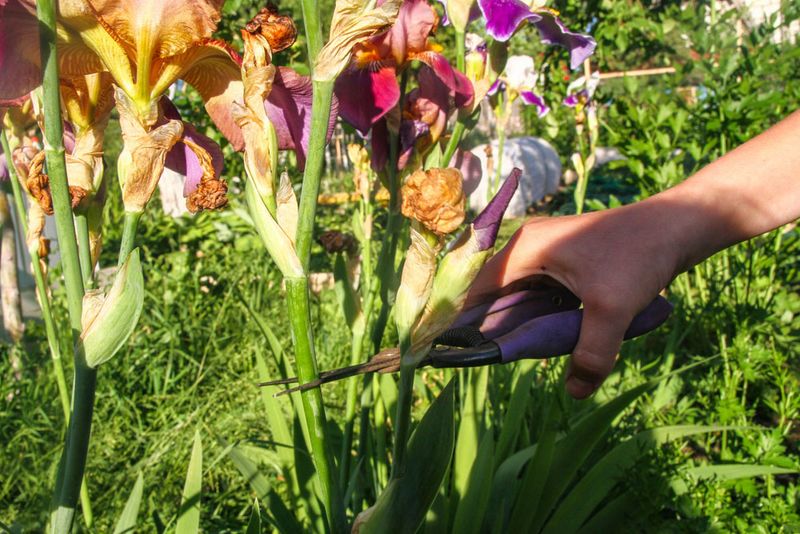
Leftover seed pods might look interesting, but they are an energy drain. Every pod your iris ripens uses fuel that could have gone into the rhizome.
If you missed cutting spent stalks earlier, do it now. Snip the whole stalk down at its base, close to the rhizome, without slicing into the leaves.
Fun fact: the name iris comes from the Greek goddess of the rainbow, a nod to the many colors these flowers come in. Help yours save energy, and more of those colors may show up next spring.
9. Inspect Rhizomes for Rot and Borers
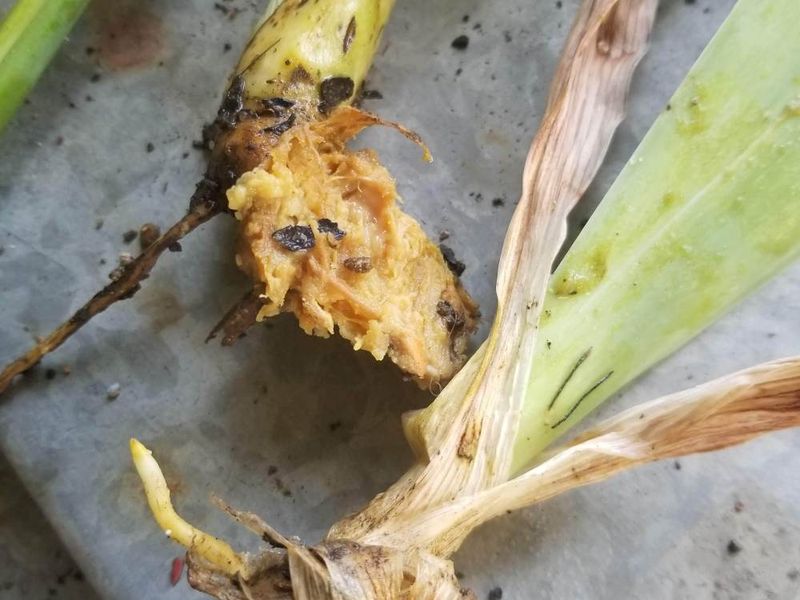
A quick squeeze can tell you a lot. Healthy iris rhizomes feel firm, like a raw potato, while trouble feels soft, mushy, or smells bad.
While you clean up or divide, look for brown rotten spots, small holes, or pinkish borer larvae. Cut away bad sections with a clean knife and let the healthy part dry in the sun for a day before replanting.
Throw away anything badly damaged so problems are less likely to spread. Catching rot now gives the rest of your bed a much better shot at a strong bloom season.