
13 Tomato Tips That Actually Boost Your Late-Summer Harvest (And 2 That Just Waste Your Time)
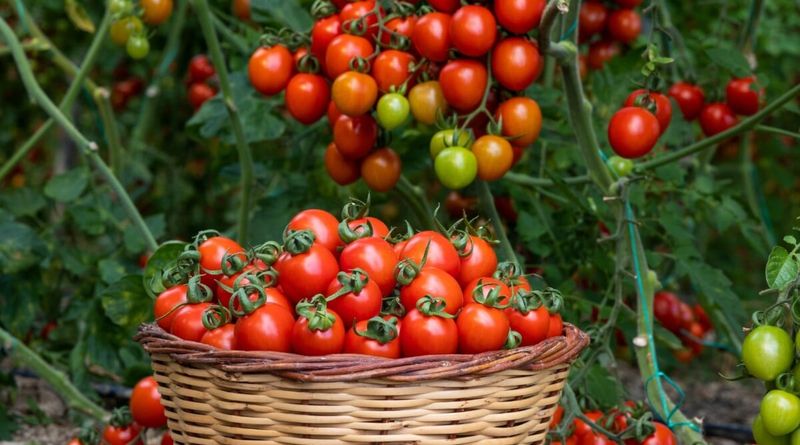
Late summer is make-or-break time for backyard tomatoes. The plants are tired, the pests are hungry, and every green fruit on the vine is racing the calendar to ripen before cooler nights arrive. Some of the advice floating around gardening groups genuinely helps, while a couple of old habits just eat up your Saturday for nothing. Here are 13 moves worth your time, plus 2 you can skip without a shred of guilt.
1. Prune the Bottom Leaves to Cut Off Disease Early
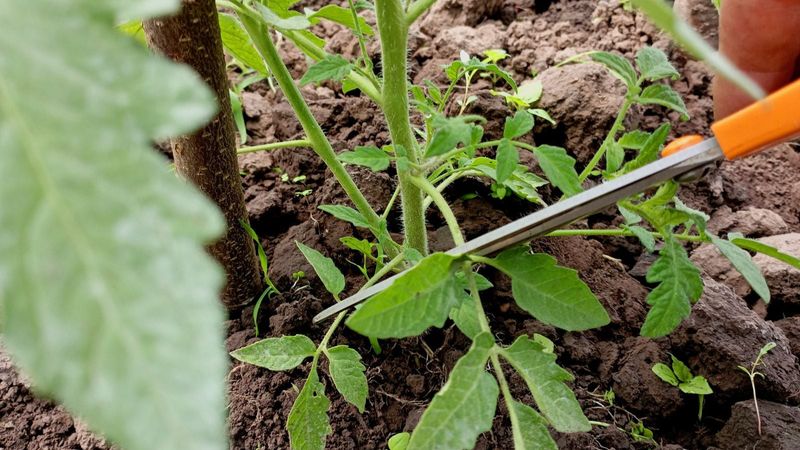
Walk out to your bed in August and you will often spot the lowest leaves turning yellow with brown spots. Those bottom leaves are the front door for soil-borne fungus, and they splash right up onto the plant every time it rains.
Snipping off the first 8 to 12 inches of foliage keeps water from bouncing spores onto healthy growth. It also opens up airflow around the base, which dries the plant faster after storms and makes it harder for early blight to settle in.
Read the leaves like a warning sign as you go. Yellowing with dark concentric rings usually points to blight, while pale leaves with green veins often mean a nutrient issue instead. Cutting the worst offenders early can slow the spread up the stem and buy your late fruit the extra weeks it needs.
Use clean shears and toss the trimmings in the trash, not the compost, so you are not replanting the problem next season.
2. Top the Plants to Force Energy Into Existing Fruit
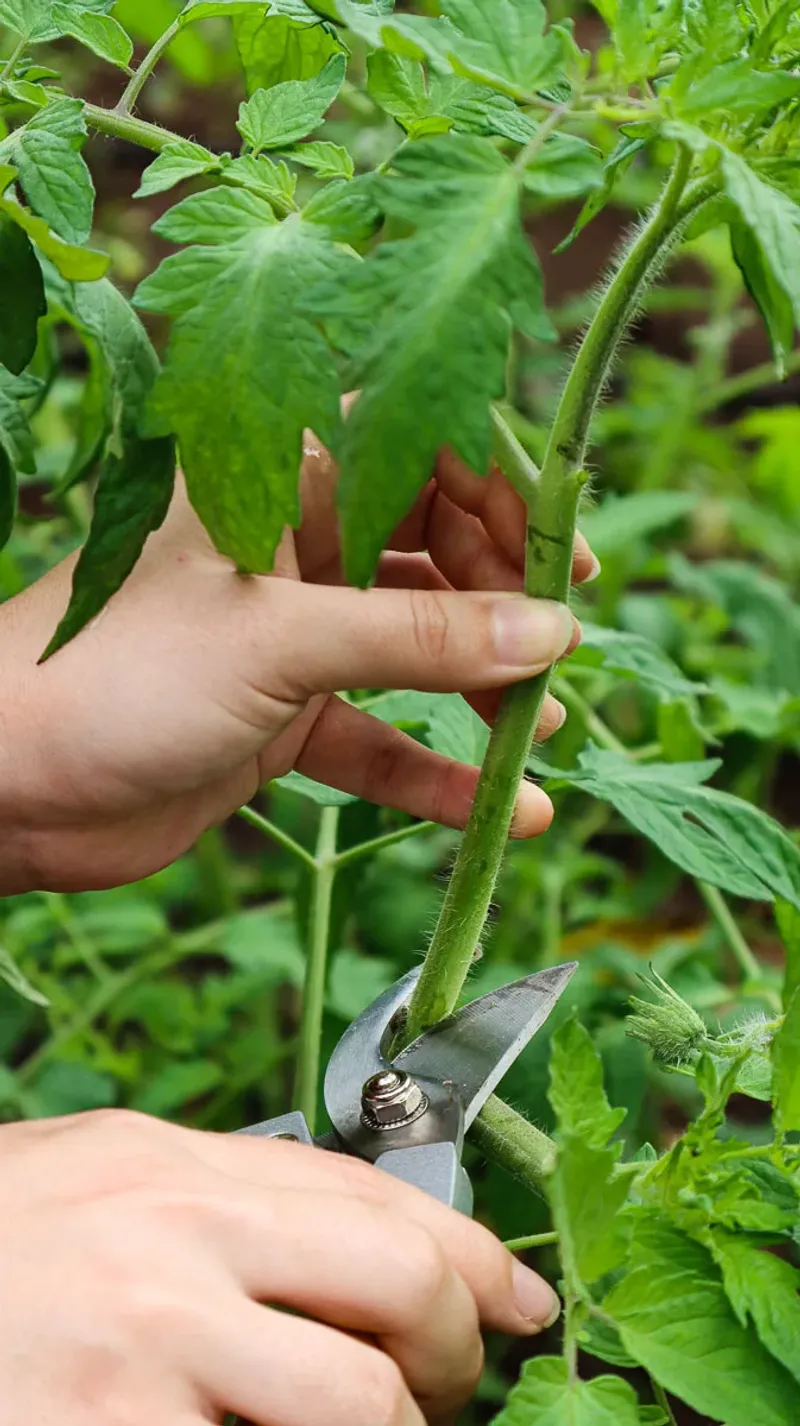
Here is a hard truth about late-season indeterminate tomatoes: any flower that opens in mid-August probably will not become a ripe fruit before frost. The plant does not know that, so it keeps pouring energy into new growth it can never finish.
Topping means cutting the main growing tips off the plant, usually about four weeks before your average first frost. Once the plant stops chasing new height, it redirects sugars and water into the tomatoes already hanging on the vine.
Growers who try this often notice fruit sizing up faster and coloring sooner within a couple of weeks. You can also pinch off brand-new flower clusters at the same time for the same reason.
It feels wrong to cut a healthy, growing plant, I know. But in the last stretch of the season, quantity of green growth matters less than turning what you already have into something you can slice onto a sandwich.
3. Deep-Water Less Often Instead of Sprinkling Daily
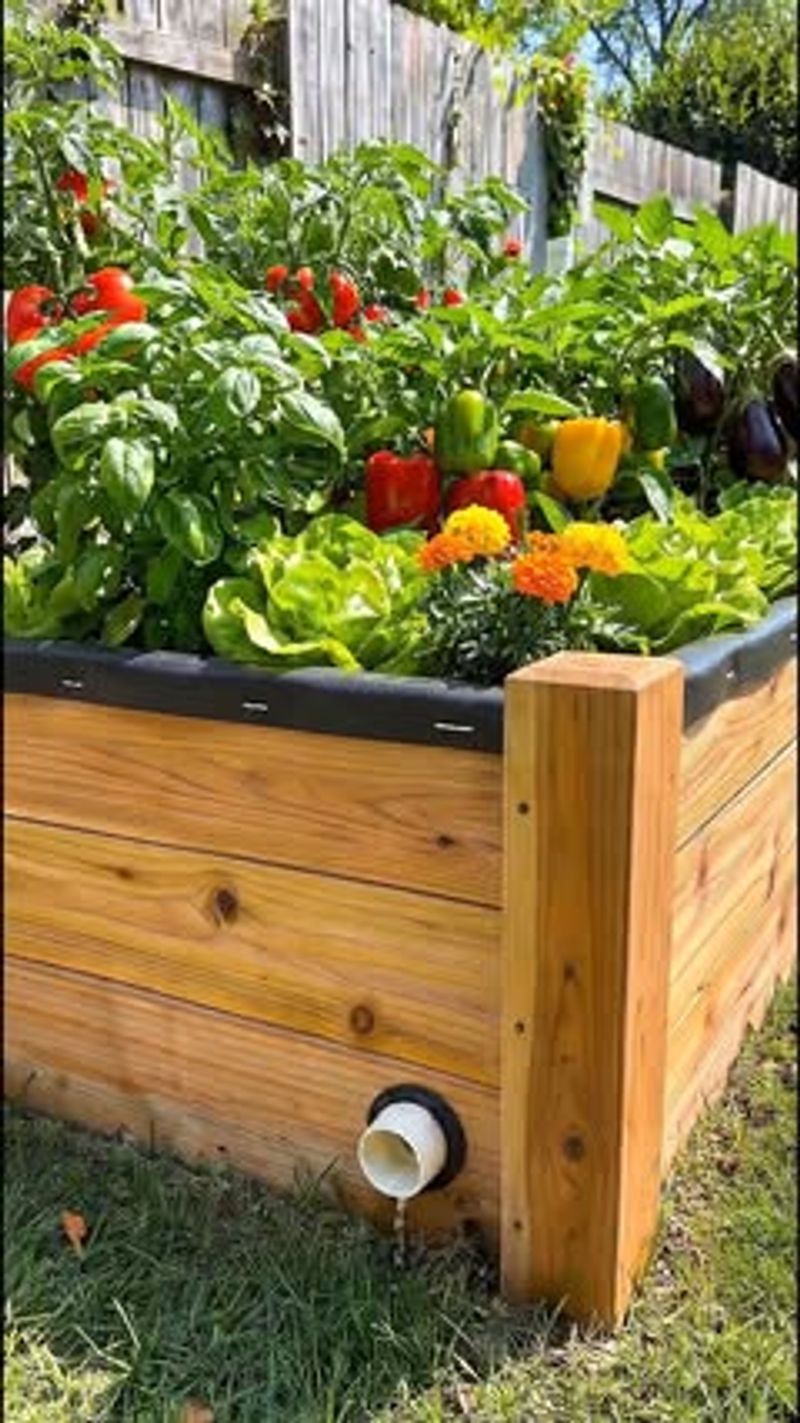
Shallow daily splashes train tomato roots to stay near the surface, where the soil bakes and dries the fastest. A plant with lazy surface roots is a plant that panics the moment you skip a day.
Soaking deeply two or three times a week instead pushes roots down where moisture lingers longer. Deeper roots mean steadier water uptake, and steadier water is the single biggest thing standing between you and cracked skins or blossom end rot.
Aim the water at the soil, not the leaves, and let it run slow enough to actually soak in rather than sheet off the top. A finger pushed two inches into the dirt tells you more than any schedule: dry down there means water, still damp means wait.
Consistency is the whole game here. Wild swings between bone-dry and soaked are what split your ripening fruit right when it looks perfect.
4. Mulch Thick to Steady the Soil and Block Splash
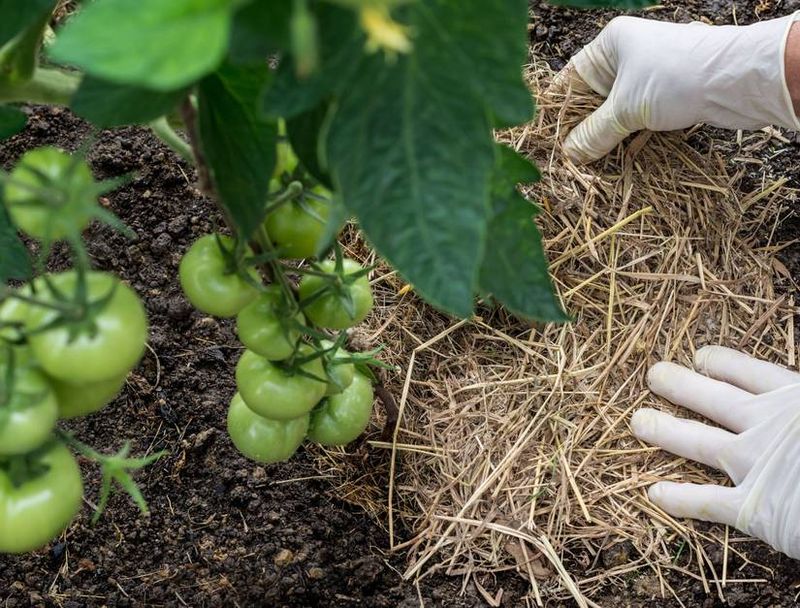
Bare soil around a tomato plant is a liability in late summer. It dries out fast, swings hot and cold, and turns every rainstorm into a spore-launching splash zone against the lower leaves.
Laying down two to three inches of straw, shredded leaves, or grass clippings fixes several problems at once. The mulch holds moisture so your deep-watering habit lasts longer, keeps the root zone cooler during heat spikes, and forms a barrier between soil fungus and foliage.
Weeds that would otherwise steal water and nutrients also have a much harder time punching through a thick layer. Fewer weeds means less competition for the resources your fruit needs to finish.
Keep the mulch pulled back an inch or two from the main stem so it does not trap moisture right against the plant. A little breathing room at the base prevents rot where you least want it.
5. Feed With Potassium and Phosphorus, Not Nitrogen
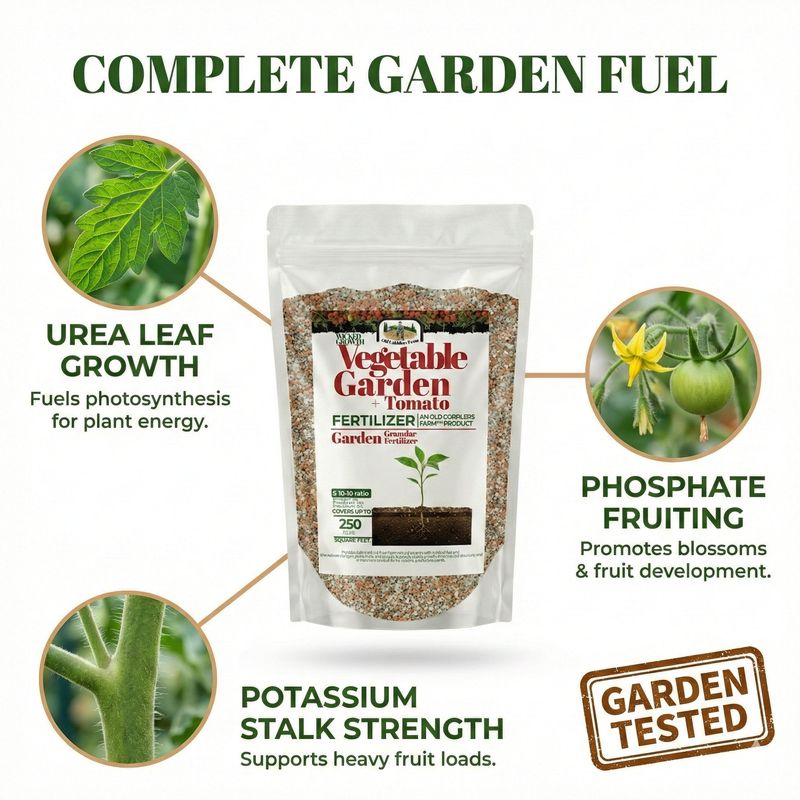
Plenty of gardeners keep reaching for the same all-purpose fertilizer all season long, and that is a mistake once fruit sets. High nitrogen at this stage tells the plant to grow more leaves when what you actually want is ripe tomatoes.
Late in the season, switch to a feed that leans heavy on potassium and phosphorus. Potassium in particular helps fruit develop color, flavor, and firmness, which is exactly the finishing push August tomatoes need.
A tomato-specific fertilizer or something like a bloom formula does this job well. Follow the label rate rather than doubling up, because too much fertilizer late in the game can stress the roots more than it helps.
Think of it as switching the plant from building mode to harvest mode. Less leafy showing off, more sugar packed into every fruit hanging on the vine.
6. Plant Basil and Marigolds Nearby to Confuse Pests
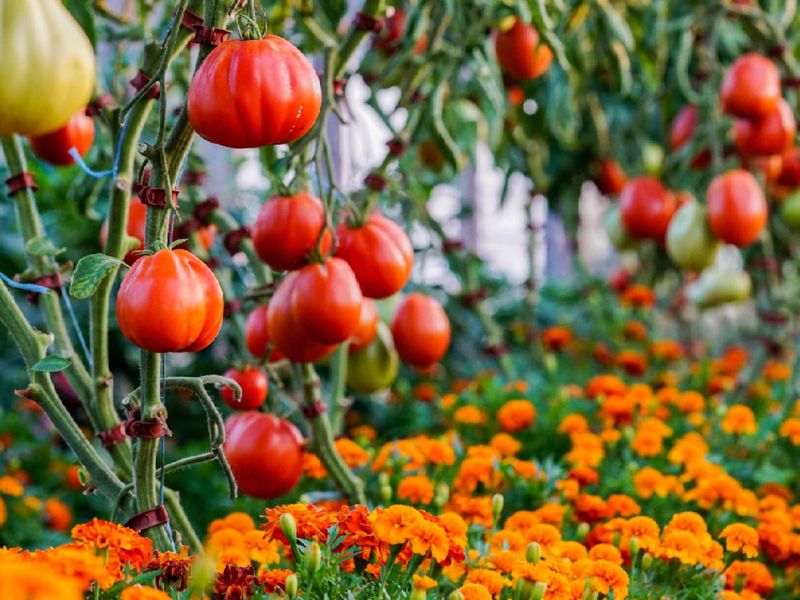
Some of the best pest defense does not come in a spray bottle at all. Strong-scented companions tucked around your tomatoes can mask the smell that draws bugs straight to the buffet.
Basil is the classic partner, and its oils may help deter thrips and whiteflies while the plant does double duty in your kitchen. Marigolds give off a pungent scent that many gardeners swear throws off aphids and hornworm moths looking for a place to lay eggs.
Nasturtiums are worth a spot too, often acting as a trap crop that pulls aphids toward themselves and away from your fruit. None of these are magic force fields, but stacking a few scented allies changes the sensory map a pest uses to find dinner.
As a bonus, the flowers pull in pollinators and beneficial insects that hunt the very pests you are trying to shake.
7. Hunt Hornworms at Dusk With a Flashlight
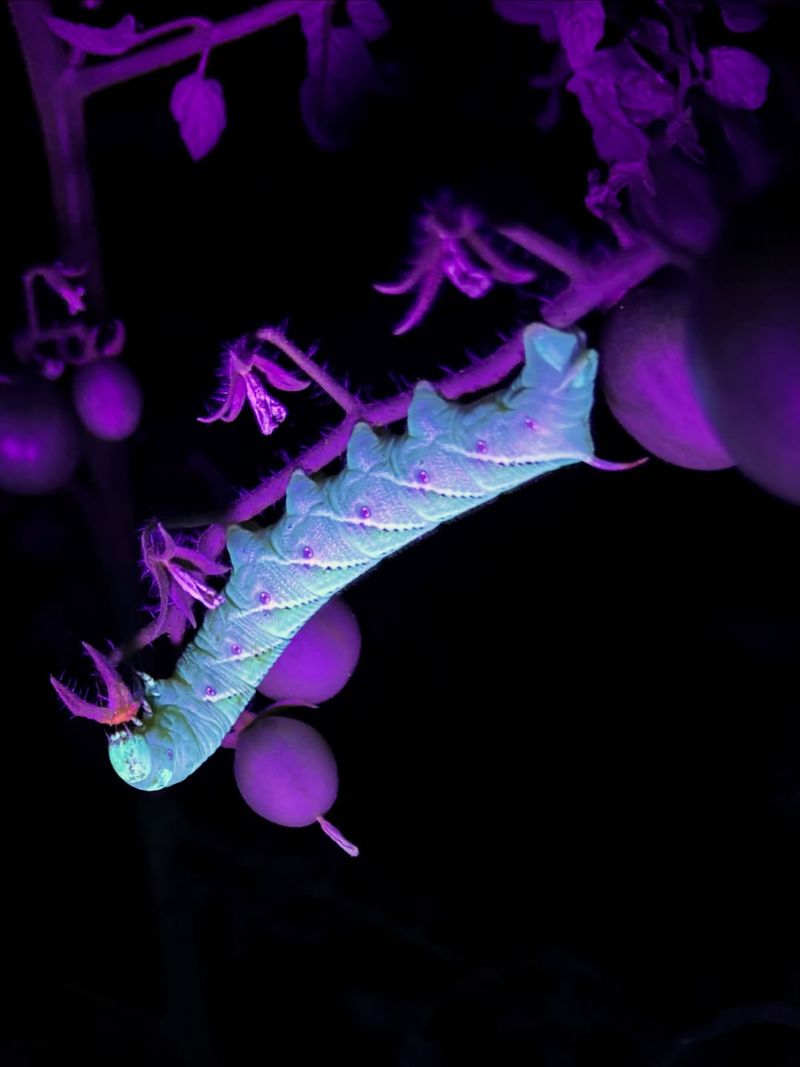
Nothing humbles a proud tomato grower faster than finding a stem stripped bare overnight. Tomato hornworms are masters of disguise, blending perfectly into green stems all day long while they eat entire branches.
The trick is to hunt them after dark with a small UV or blacklight flashlight. Under that light the caterpillars glow an eerie greenish color, standing out against the foliage like little lightbulbs you can pick off by hand.
Look also for their calling cards during the day: dark pellet droppings on leaves below and chewed, ragged stem tips. Follow the damage upward and the culprit is usually hiding close by.
Drop each one into a bucket of soapy water and the problem is solved with zero chemicals. If you spot a hornworm covered in little white rice-like cocoons, though, leave that one alone. It has been parasitized by wasps that will hatch and hunt more hornworms for you.
8. Harvest at the Breaker Stage and Ripen Indoors
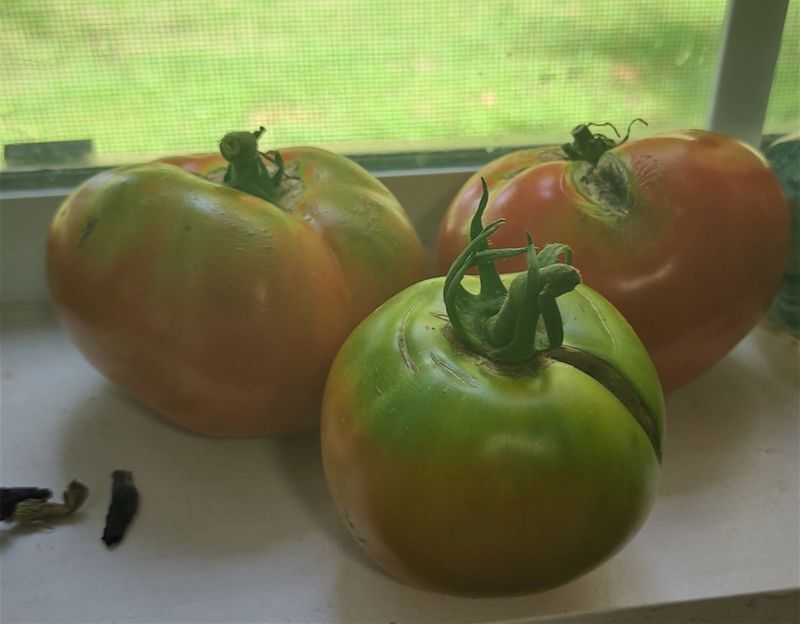
Leaving every tomato on the vine until it is fully red feels natural, but late in the season it is a gamble. The longer a ripe fruit hangs outside, the more time birds, squirrels, splitting, and stink bugs have to ruin it first.
Once a tomato hits the breaker stage, that first blush of color at the blossom end, it has everything it needs to finish ripening off the plant. Bring it inside to a countertop out of direct sun, and it will color up with barely any loss in flavor.
Picking at breaker also signals the plant to keep pushing its remaining fruit along instead of coddling the ones already done. You get a steadier stream of ripe tomatoes and far fewer sad, pecked losses.
Skip the windowsill myth, by the way. Room temperature ripens better than a hot sunny sill, which can cook the fruit soft before it colors.
9. Read the Leaves to Catch Trouble Before It Spreads
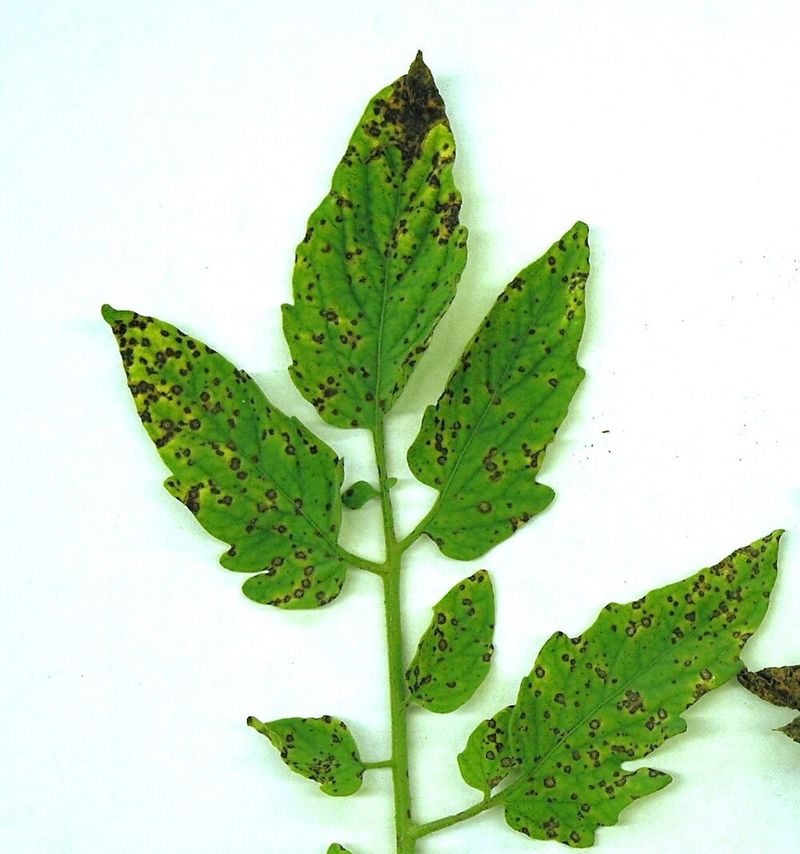
Your tomato plant is basically talking to you through its leaves, and late summer is when it gets chatty. Learning to read those signals turns you from a reactive gardener into one who heads off disaster early.
Yellow leaves with dark bullseye rings that start low and creep up usually mean early blight. Purple undersides can flag a phosphorus shortage, while curled, leathery leaves in heat are often just the plant conserving water rather than anything sinister.
Tiny yellow speckling with fine webbing points to spider mites, and pale stippled patches can mean aphids or thrips are feeding underneath. Each pattern tells you a different story, and matching the symptom to the cause saves you from spraying the wrong fix.
Flip a few leaves over during every visit and glance at the color and shape. Two minutes of leaf-reading can mean the difference between a small problem you snip out and one that takes the whole plant.
10. Shade the Plants During Brutal Heat Waves
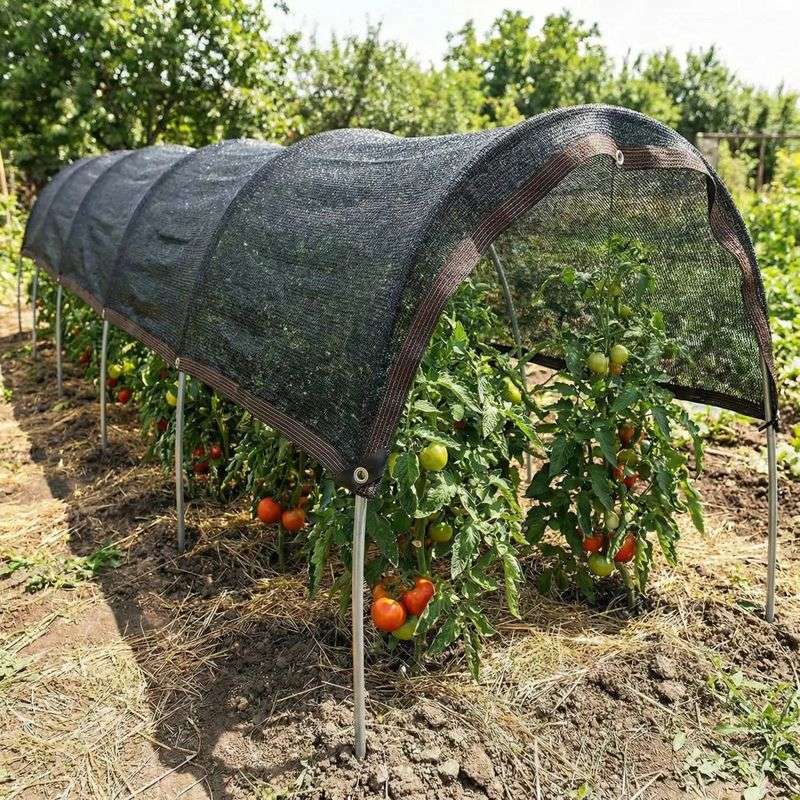
When afternoon temperatures push past the mid-90s, tomatoes quietly stop setting fruit and their pollen can go sterile. Even loaded plants will drop blossoms rather than build tomatoes in that kind of heat.
Draping a length of 30 to 40 percent shade cloth over the plants during the worst afternoon hours takes the edge off without starving them of light. The plants keep photosynthesizing, but the fruit stops scalding and pollination has a fighting chance again.
Sunscald shows up as pale, papery patches on the side of fruit facing the sun, and shade cloth is the simplest way to prevent it. An old bedsheet clipped to stakes works in a pinch if you do not have proper cloth on hand.
Pull the cover once the heat wave breaks so the plants get full sun again. It is a temporary rescue, not an everyday fixture.
11. Shake the Cages to Hand-Pollinate Stubborn Blooms
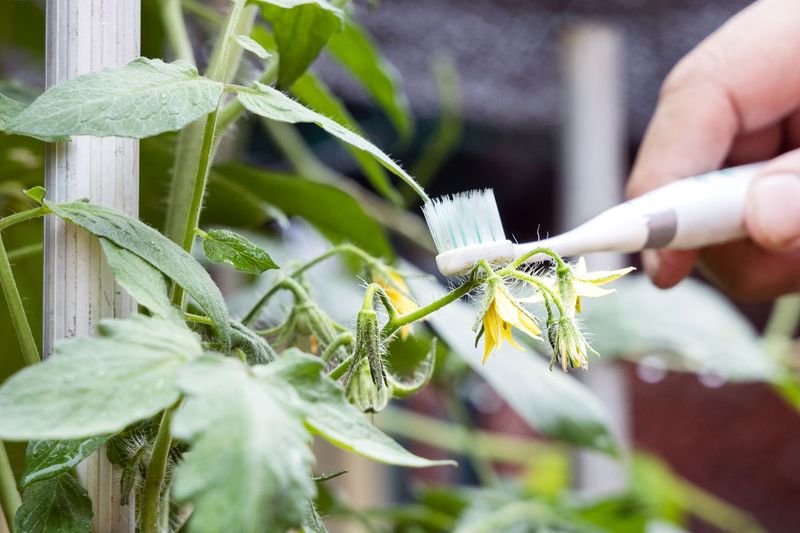
Tomato flowers are self-pollinating, but they need a little vibration to shake the pollen loose inside the bloom. In sticky, still, humid weather that natural jostling from wind and bees can stall out, leaving flowers that never set.
Giving the stake or cage a firm daily shake mimics the buzz that frees the pollen. Some gardeners go further and touch an electric toothbrush to the flower cluster, which vibrates at nearly the same frequency bees use for buzz pollination.
Mid-morning is the sweet spot, once the dew has dried but before the afternoon heat sets in. That window gives the freed pollen the best odds of actually fertilizing the flower.
It sounds fussy, but on a humid August afternoon a thirty-second shake can be the difference between an empty cluster and another handful of tomatoes on the counter next month.
12. Skip This: Sprinkling Epsom Salt on Everything
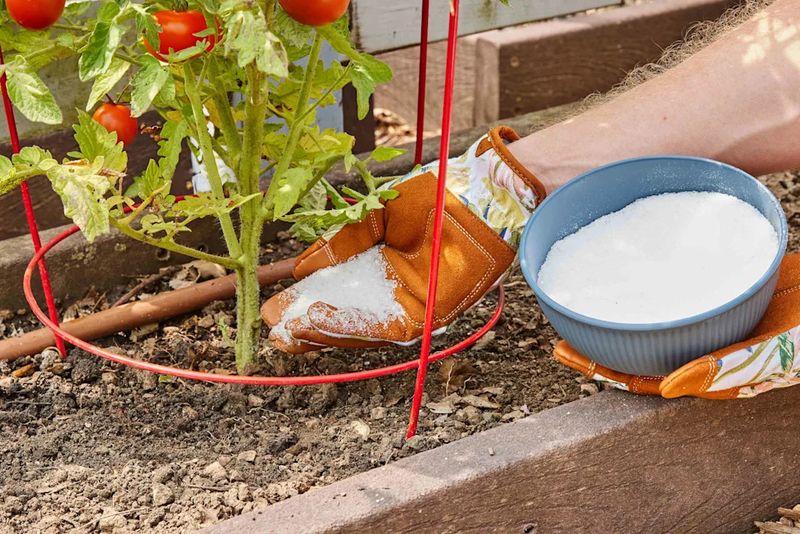
Somewhere along the way, Epsom salt got crowned the miracle cure for every tomato complaint, and gardeners started dumping it around every plant. Here is the reality: Epsom salt is just magnesium sulfate, and it only helps if your soil is genuinely short on magnesium.
Most backyard beds have plenty of magnesium already. Adding more does nothing for yield, and it will not cure blossom end rot, which is a calcium and watering problem, not a magnesium one.
Worse, piling on excess magnesium can actually throw off your soil balance and interfere with how the plant takes up calcium, nudging you toward the very rot you were trying to prevent. A cheap soil test tells you in minutes whether you have a real deficiency worth treating.
Unless a test says your soil is low, that box of Epsom salt is better spent on a relaxing foot soak than on your tomato bed.
13. Skip This: Burying Crushed Eggshells for Instant Calcium
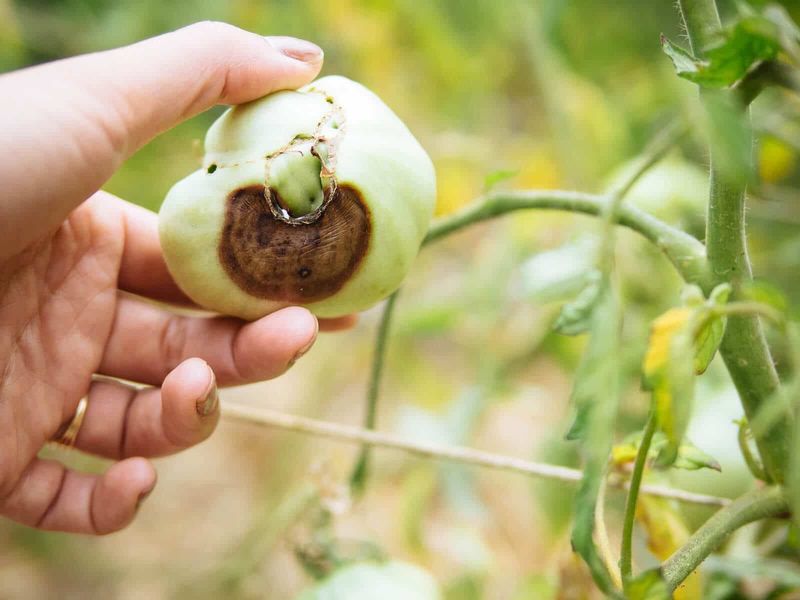
The eggshell trick shows up in every gardening group like clockwork: crush a few shells into the planting hole and never worry about blossom end rot again. It is a lovely idle and, unfortunately, mostly wishful thinking on a summer timeline.
Eggshells are almost pure calcium carbonate, but they break down painfully slowly in soil, often taking a year or more to release anything the plant can actually use. By the time those shells offer up calcium, your late-summer tomatoes are long gone.
Blossom end rot in August is rarely about missing calcium in the ground anyway. It is usually about inconsistent watering, which keeps the plant from moving the calcium it already has up into the fruit.
Save your shells for the long-term compost pile where slow breakdown is fine. To actually stop end rot this season, fix your watering rhythm and mulch to hold moisture steady, and skip the crunchy placebo.