
17 Tomato Feeding Tricks For Late July That Keep Hungry Plants From Stalling
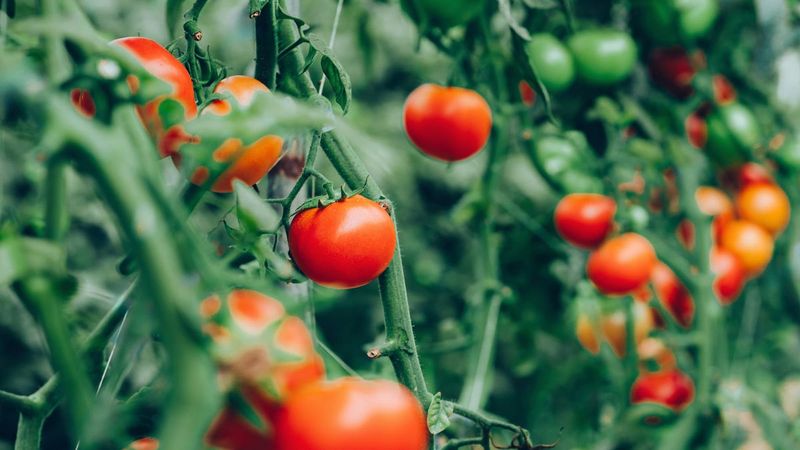
By late July, tomato plants have poured most of their energy into growing tall and setting their first fruit, and that hard work leaves them genuinely hungry. If you skip feeding now, plants often stall out, drop blossoms, and give you fewer tomatoes just when the season should be exploding with them. The good news is that smart, well-timed feeding can flip a tired plant back into a producing machine. Here are 17 practical feeding tricks you can try this week to keep your tomatoes fueled all the way to first frost.
1. Switch From Nitrogen To Potassium And Phosphorus
Early in the season, nitrogen is your best friend because it builds the leaves and stems that power everything else. By late July, though, a nitrogen-heavy diet backfires, pushing your plant to grow more foliage when what you actually want is fruit.
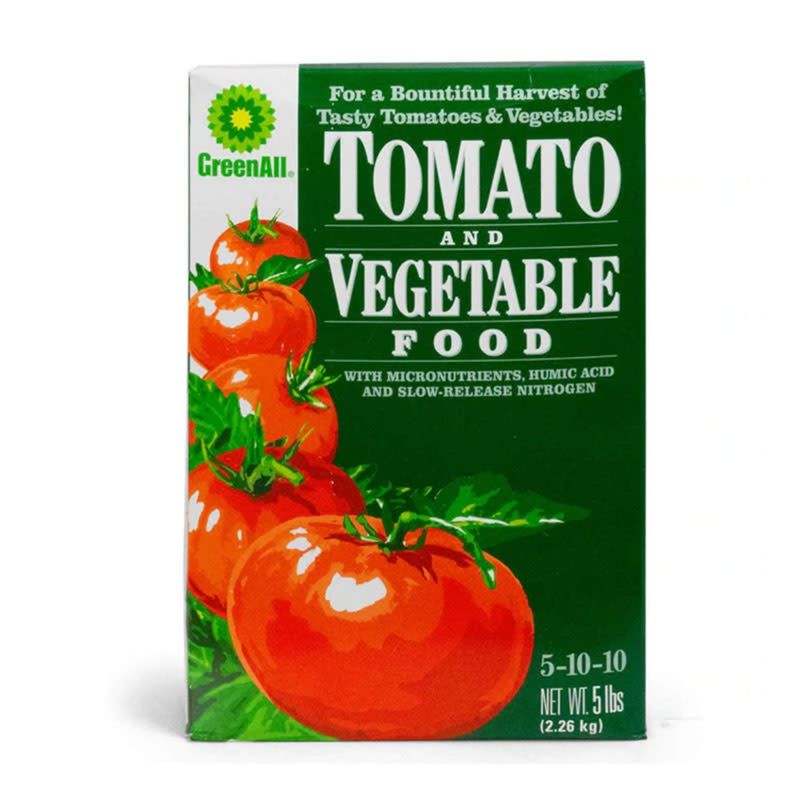
Look for a fertilizer with a lower first number and higher middle and last numbers, something like a 5-10-10 or a bloom-specific blend. Potassium helps fruit size up and ripen evenly, while phosphorus supports strong flowering. Making the swap now tells your plant that the season has shifted from building to producing.
Home gardeners who feed the same all-purpose formula from spring through fall often wonder why their vines look lush but the harvest is thin. The answer is usually right there in the ratio. Reading the three numbers on the bag before you buy is one of the cheapest upgrades you can make to your tomato patch this summer.
2. Give A Weekly Diluted Liquid Feed
Big monthly doses of dry fertilizer can shock a plant that is already stressed by heat and heavy fruit load. A gentler approach works better once the harvest window opens up.
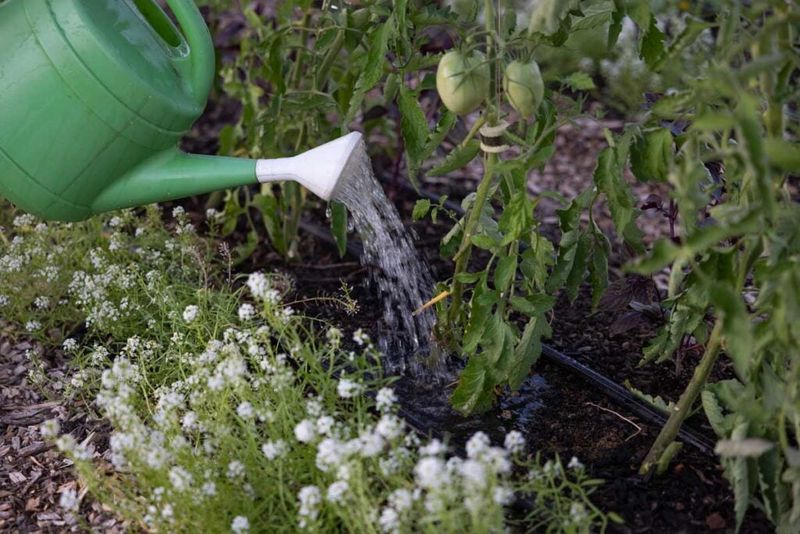
Mixing a liquid feed at half strength and giving it every seven days keeps a steady trickle of nutrients flowing instead of a feast-then-famine cycle. Tomatoes respond to consistency, and small regular meals are easier for the roots to absorb without burning tender feeder roots.
Set a reminder on your phone for the same day each week so it becomes routine. Many backyard growers find that a Saturday morning feed paired with watering turns into a pleasant habit rather than a chore. The plants reward that rhythm with steadier growth and fewer sudden stalls in fruit set.
3. Feed With Compost Tea For A Microbe Boost
There is something satisfying about brewing your own plant food from a bucket of finished compost and water. Beyond the fun of it, compost tea delivers a living dose of beneficial microbes along with a mild nutrient hit.
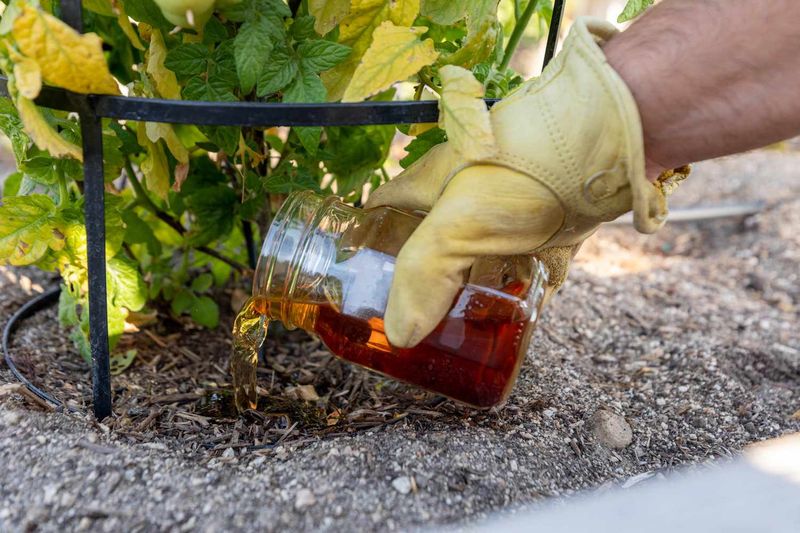
To make it, steep a shovelful of good compost in a five-gallon bucket of water for a day or two, stir it now and then, then strain and pour it around the root zone. The microbes may help your soil release nutrients that were already there but locked up and unavailable to hungry roots.
Late July is a smart time to use it because soil biology slows in extreme heat, and a fresh microbial jolt can wake things back up. Skip any tea that smells foul or rotten, since that usually means it went bad. A properly brewed batch should smell earthy, like a forest floor after rain.
4. Side-Dress With Aged Compost Around The Drip Line
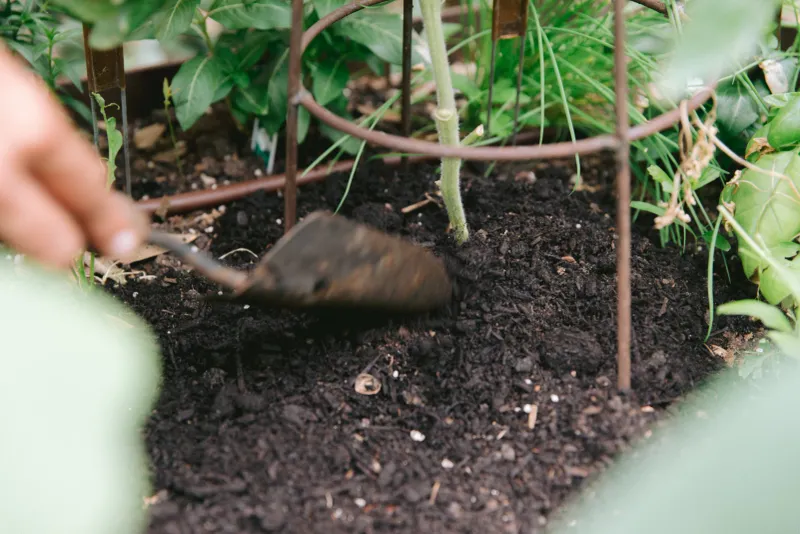
Nothing fancy is required for one of the most reliable feeding tricks in the book. A couple of inches of aged compost spread in a ring around each plant slowly releases nutrients every time you water.
Place it near the drip line, roughly where the outer leaves cast their shadow, since that is where the active feeder roots are hunting for food. Scratch it lightly into the top layer of soil so it makes contact without disturbing shallow roots.
The beauty of this method is how forgiving it is. You cannot really overdo compost the way you can burn plants with concentrated chemical fertilizer, so it suits gardeners who worry about getting the dose wrong. As a bonus, that layer of compost holds moisture and keeps the soil cooler during the hottest stretch of the year.
5. Add Epsom Salt For Magnesium-Starved Leaves
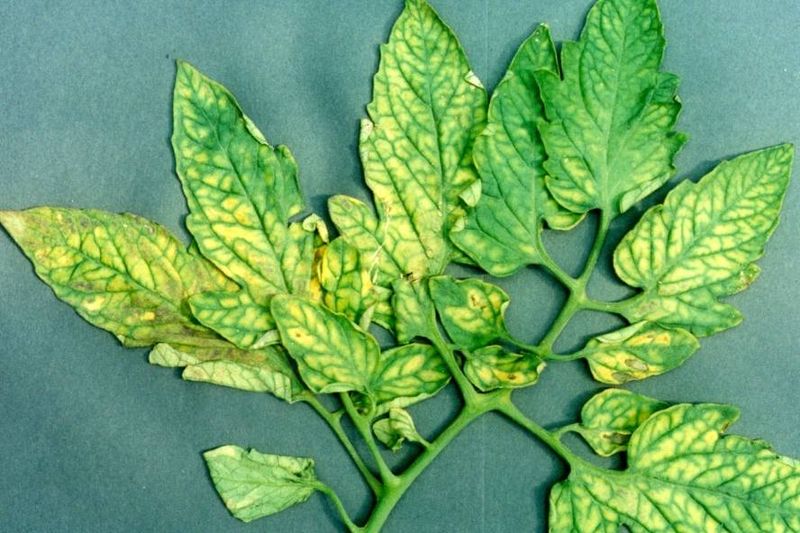
Yellowing between the veins on older leaves while the veins stay green is a classic sign of magnesium shortage, and it shows up often in heavy-feeding tomatoes by midsummer. A simple Epsom salt drink can help.
Dissolve about a tablespoon per gallon of water and pour it around the roots, or mix a lighter solution to mist the leaves directly. Magnesium is a building block of chlorophyll, so topping it up can restore that deep green color and keep photosynthesis humming.
Use it as a targeted fix rather than a constant habit, because too much magnesium can crowd out other nutrients like calcium. When you spot those telltale yellow patches, one or two treatments a couple of weeks apart is usually plenty to turn things around.
6. Bury Crushed Eggshells For Slow-Release Calcium
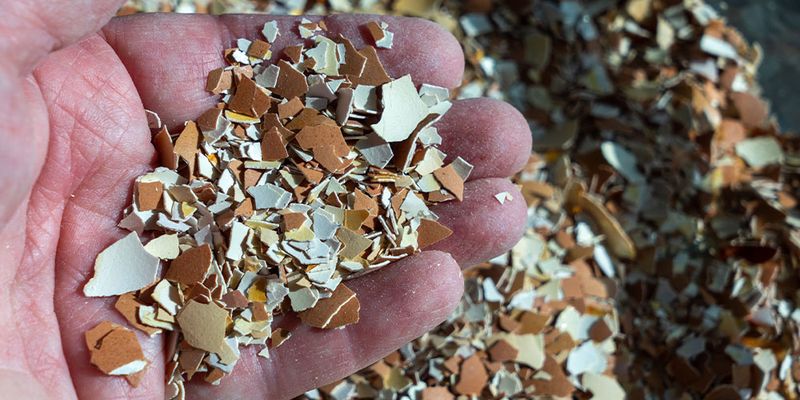
Blossom end rot, that ugly black sunken patch on the bottom of your tomatoes, traces back to calcium not reaching the fruit. Crushed eggshells can offer a slow, steady calcium supply as they break down in the soil.
Rinse and dry your shells, crush them fine, and work a handful into the soil around each plant. The finer you grind them, the faster the calcium becomes available, so a quick spin in an old coffee grinder helps a lot.
Keep in mind that calcium moves through the plant with water, so pairing this trick with even, consistent moisture matters just as much as the mineral itself. Gardeners who save shells all winter often have a stockpile ready exactly when their late-July plants need it most. It is a tidy way to turn kitchen scraps into stronger fruit.
7. Use Fish Emulsion For A Fast Green-Up
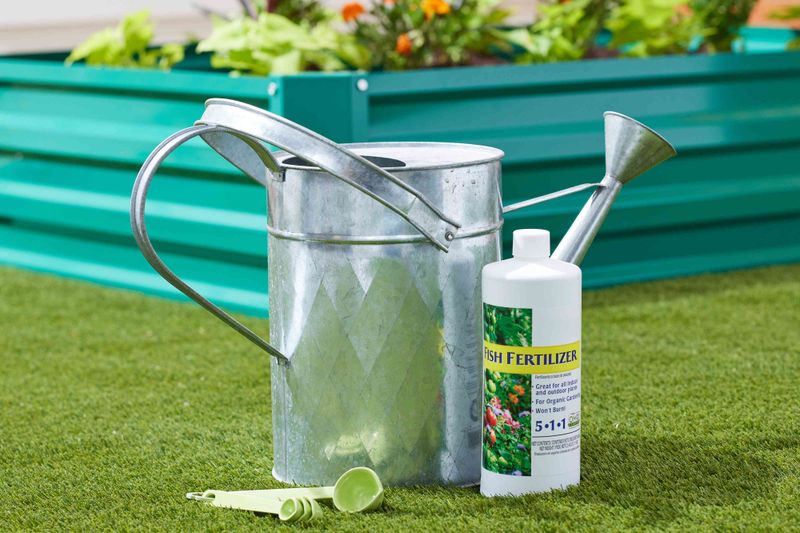
When a plant looks pale and sluggish and you need results in days rather than weeks, fish emulsion is the reliable quick fix. It carries readily available nutrients that roots and leaves can grab almost immediately.
Mix it according to the label, usually a couple of tablespoons per gallon, and apply it in the cooler part of the day. Yes, it smells like the dock at low tide, but the odor fades within a day and the green-up is worth holding your nose for.
Because it leans nitrogen-forward, use it thoughtfully this late in the season, focusing on plants that genuinely look starved rather than blanketing the whole bed. A single well-timed application can nudge a stalled plant back into active growth. Cats and raccoons find the smell interesting, so water it in well to keep curious visitors from digging.
8. Try A Kelp Or Seaweed Feed For Trace Minerals
Big-name nutrients get all the attention, but plants also need tiny amounts of trace minerals to function, and those are easy to overlook. Kelp and seaweed feeds fill that gap with a broad menu of micronutrients plus natural growth compounds.
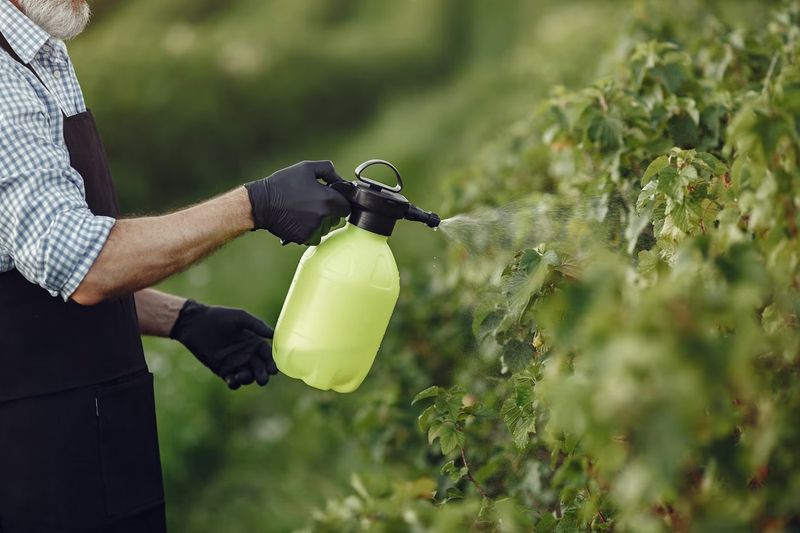
Applied as a soil drench or a foliar spray, kelp can help plants handle heat and stress a little better while supporting steady fruit development. It pairs nicely with a regular fertilizer since it covers the gaps rather than duplicating the main course.
Fun bit of history: coastal gardeners have hauled seaweed onto their fields for centuries, long before anyone knew what a micronutrient was. They simply noticed their crops grew better. You get the same benefit from a bottle without the trek to the shoreline.
9. Spray A Foliar Feed On Cool Mornings
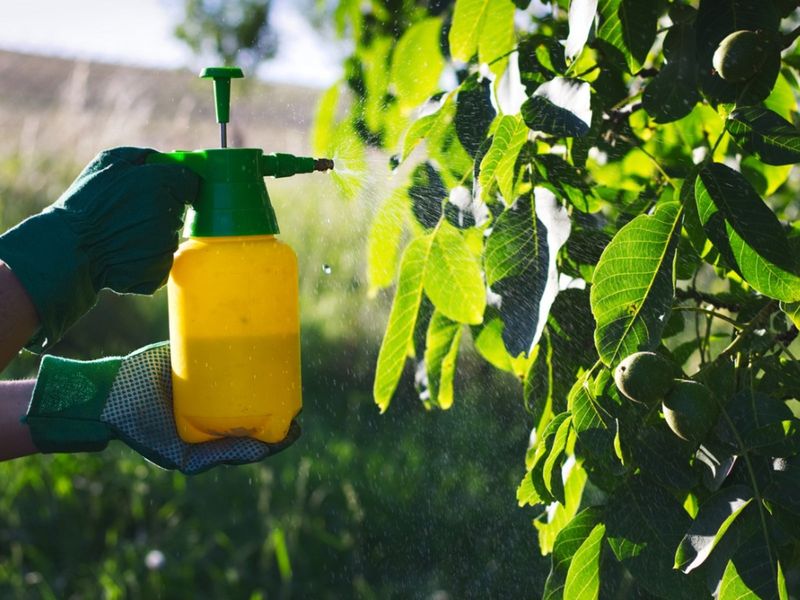
Leaves are not just for making energy from sunlight; they can also drink in nutrients directly through tiny pores. A well-timed foliar spray delivers a fast boost that bypasses roots struggling in hot, dry soil.
The trick is timing. Spray early in the morning when the pores are open and the sun is not yet strong enough to scorch wet leaves or evaporate your mix before it can absorb.
Coat the undersides of the leaves too, since that is where most of those absorbing pores sit. Keep the solution weak, because leaves burn far more easily than roots do. Think of foliar feeding as a supplement between root feedings rather than a full replacement, especially when a plant needs help fast during a stressful stretch.
10. Bank Extra Nutrients Right Below Each Root Ball
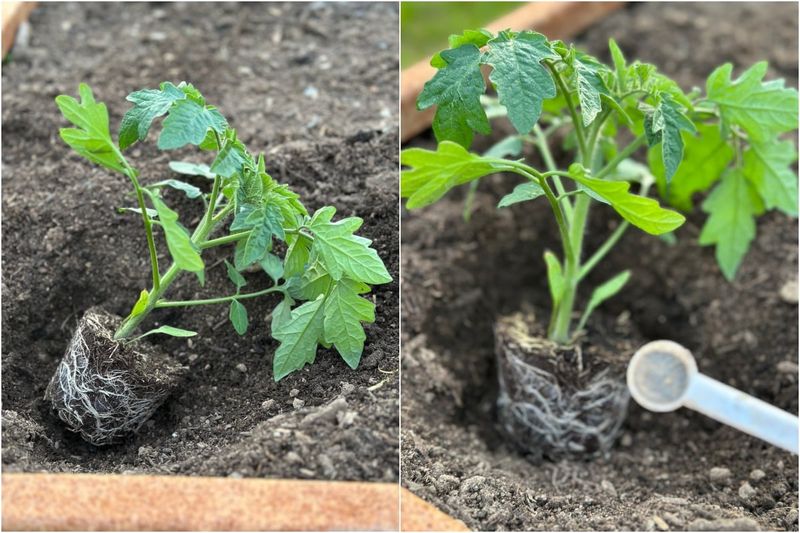
Deep-rooted plants can reach food that shallow feeding never touches, and tomatoes send roots surprisingly far down when conditions allow. Tucking a slow-release supply below the root zone gives them a reserve to grow into.
Using a soil auger or a long dibber, poke a few holes near each plant and drop in a spoonful of balanced organic fertilizer or worm castings before backfilling. As roots reach down chasing moisture during dry spells, they find that hidden pantry waiting.
The approach shines in raised beds and sandy soils where surface nutrients wash away quickly. Instead of everything staying at the top where the sun bakes it, some of the food sits protected deeper down. It rewards a little planning with fewer midsummer stalls when the weather turns harsh.
11. Brew A Banana Peel Potassium Water
Bananas do more than fuel your breakfast; their peels are loaded with potassium, the very nutrient tomatoes crave for fruiting. A quick homemade steep turns a scrap into a feed.
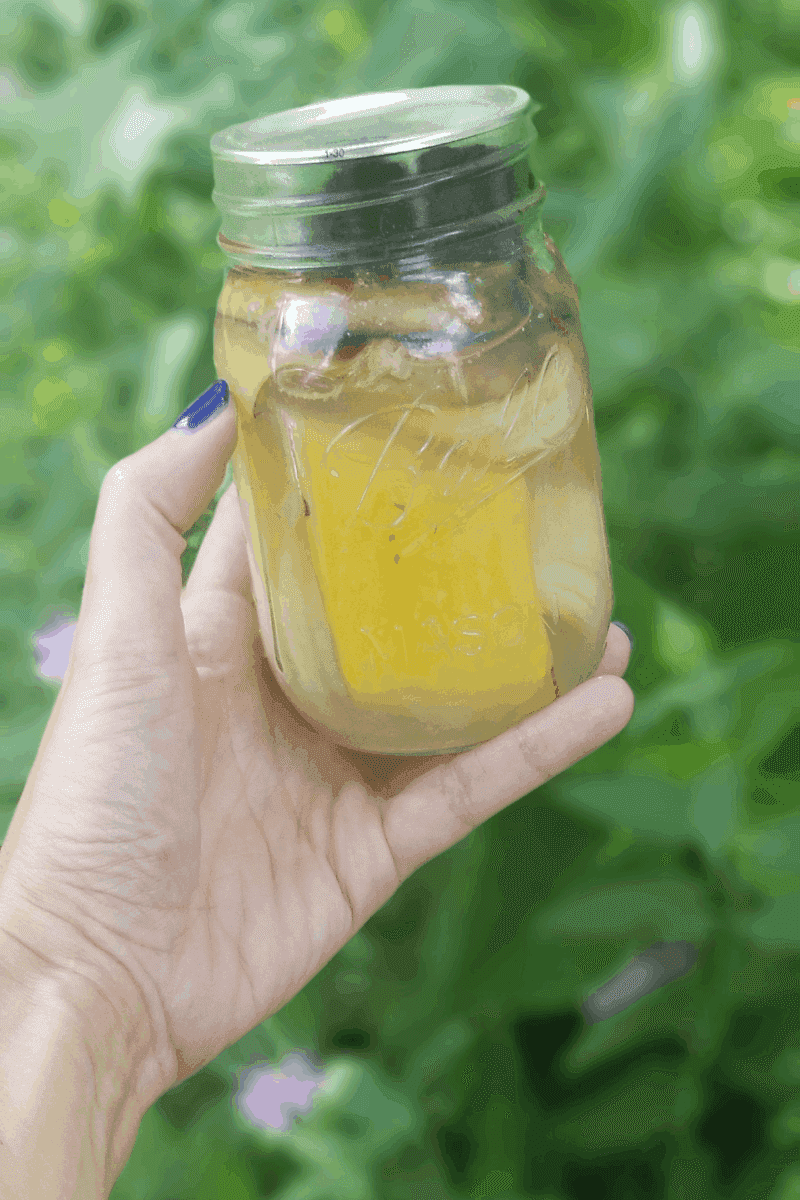
Drop a few chopped peels into a jar of water, let them soak for two or three days, then pour the potassium-rich liquid around your plants and toss the softened peels straight into the soil or compost. It costs nothing and uses something you would have thrown away anyway.
Frugal gardeners love this one because it stretches the grocery budget and the garden budget at the same time. While it will not replace a full fertilizer program, it makes a friendly between-feeding top-up during the heavy fruiting weeks of late July. Keep the jar lidded loosely so it does not attract fruit flies indoors.
12. Water Before You Feed To Protect The Roots
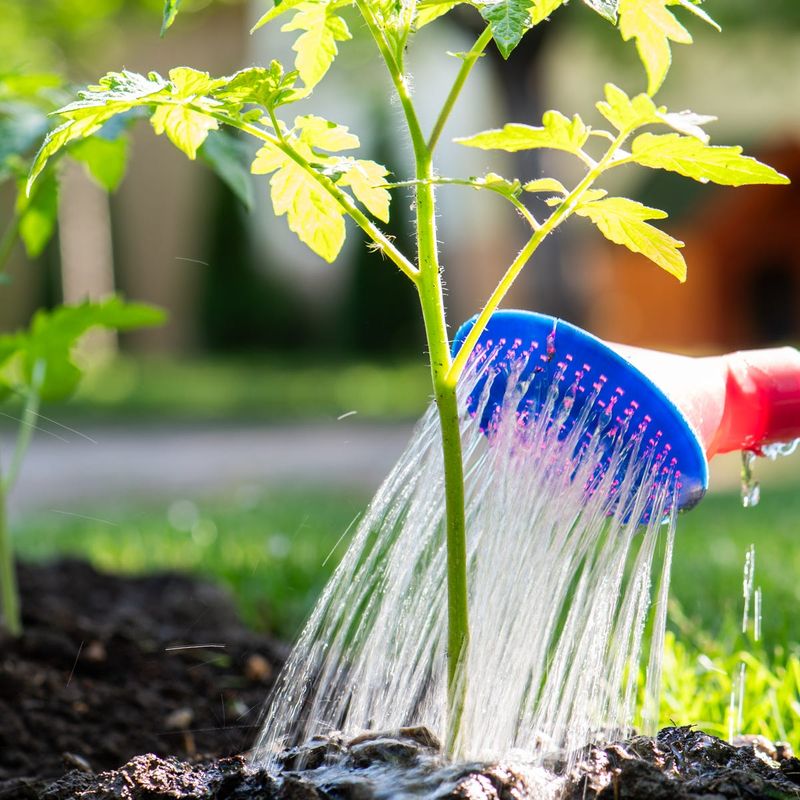
Pouring fertilizer onto bone-dry soil is a fast way to scorch the very roots you are trying to nourish. Dry roots grab concentrated salts too aggressively and end up damaged.
Give the bed a good drink first, wait a little while, then apply your feed onto already-moist soil. The water buffers the nutrients and helps them spread evenly through the root zone instead of sitting in hot pockets.
Order of operations matters more than most people expect. A plant that is wilting from thirst reads any strong feed as a shock, while a well-hydrated plant treats it as a welcome meal. Building this simple two-step habit protects your investment and keeps late-season feeding from doing more harm than good.
13. Refresh The Mulch Layer To Hold Nutrients In
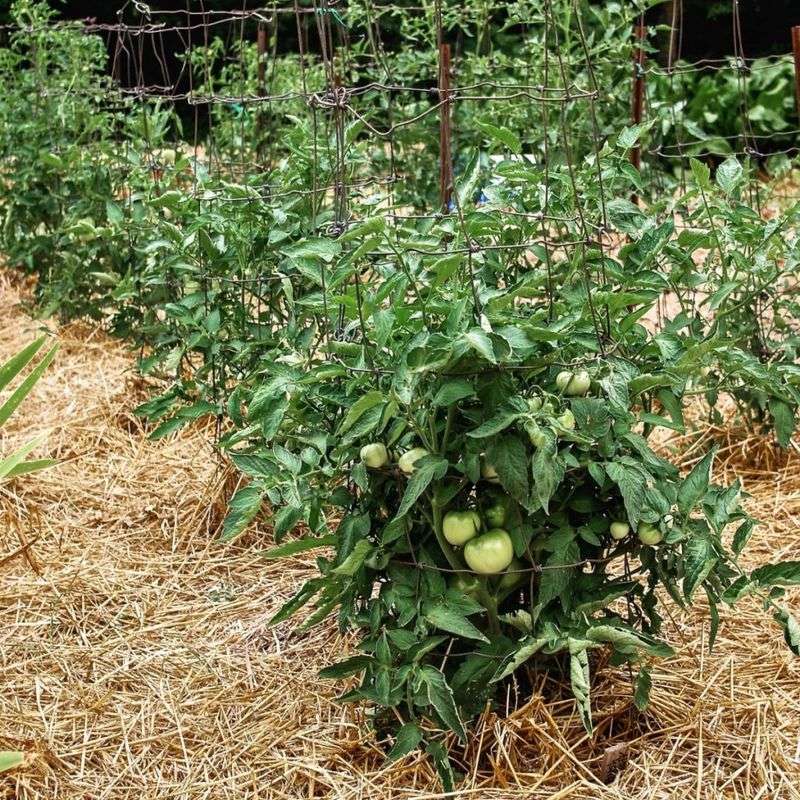
Feeding a plant only to let the nutrients wash or evaporate away is like filling a leaky bucket. A fresh layer of mulch seals in both moisture and the food you just applied.
Spread straw, shredded leaves, or grass clippings a couple of inches thick around each plant after feeding. As organic mulch slowly breaks down, it quietly adds its own nutrients to the soil, so it feeds twice.
By late July the original spring mulch has often thinned out and started decomposing, leaving bare patches where the sun bakes the soil and nutrients degrade faster. Topping it off keeps the root zone cooler and steadier. Steady soil conditions mean the roots can actually use everything you feed them instead of losing it to the heat.
14. Read The Leaves Before You Reach For Fertilizer
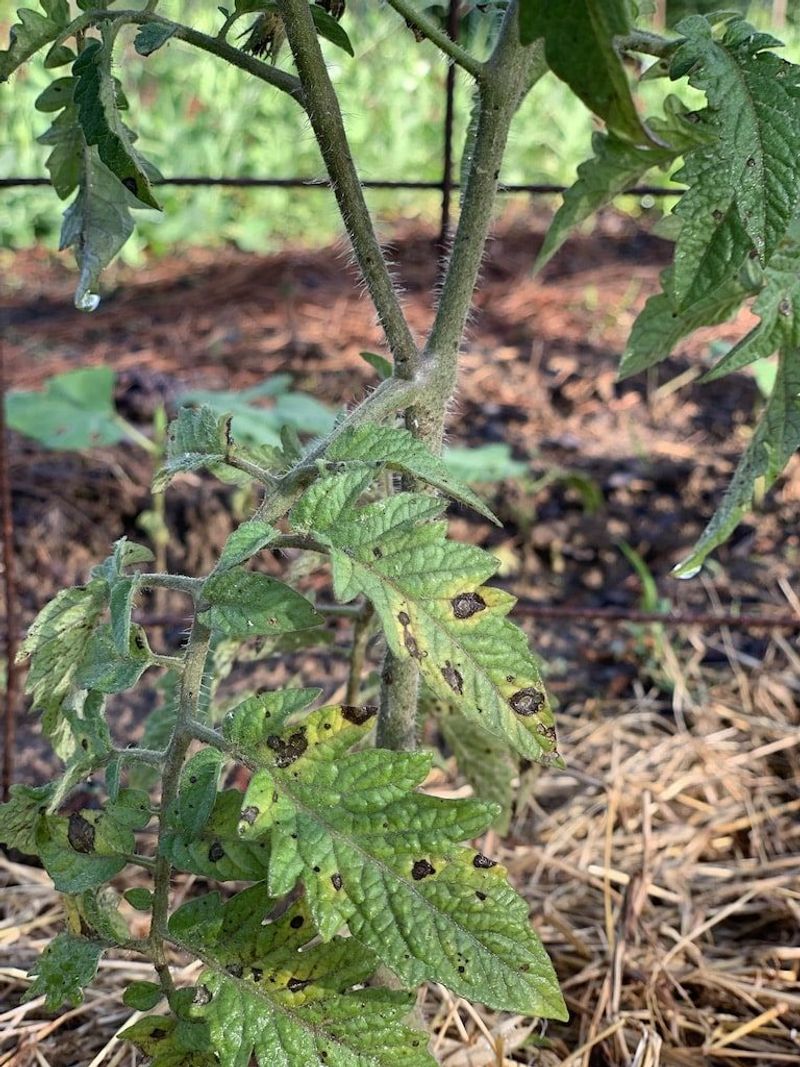
Plants send clear signals long before they collapse, and the leaves are the dashboard. Learning to read them saves you from feeding the wrong thing at the wrong time.
Pale new growth at the top often points to a nitrogen or iron shortage, while purple undersides can hint at low phosphorus, and yellowing between veins on old leaves usually means magnesium. Matching the feed to the actual signal beats dumping a generic fertilizer and hoping.
Guessing wastes money and can even make problems worse if you add a nutrient that was never missing. Spend two minutes eyeballing the top, middle, and bottom leaves before every feed. Over a season you will start diagnosing your plants at a glance, and your fertilizer will go exactly where it is needed rather than everywhere at once.
15. Ease Off Feeding While Fruit Is Ripening
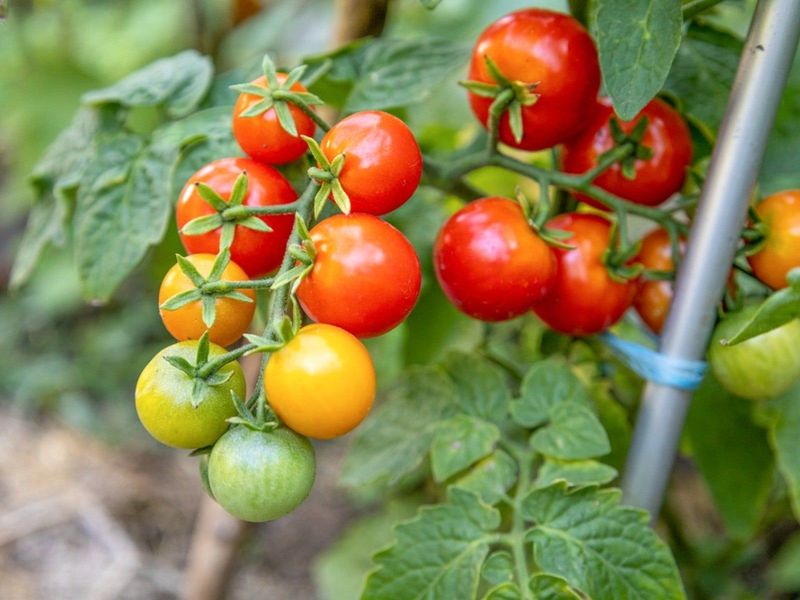
More food is not always better, and tomatoes prove it during the ripening stretch. Once fruit has sized up and started blushing toward red, heavy nitrogen can actually slow the color change and dilute flavor.
Pull back on rich feeds for those specific plants and let the fruit finish. A touch of stress at this stage often concentrates sugars and gives you that deep, sweet taste homegrown tomatoes are famous for.
Growers chasing the biggest, most flavorful fruit learn to think like a farmer here: push growth early, then coast at the finish line. Keep watering consistent to prevent cracking, but set the fertilizer bottle aside for the clusters that are nearly done. Save your feeding energy for the younger flowers and green fruit still forming higher up the vine.
16. Feed Container Tomatoes Twice As Often
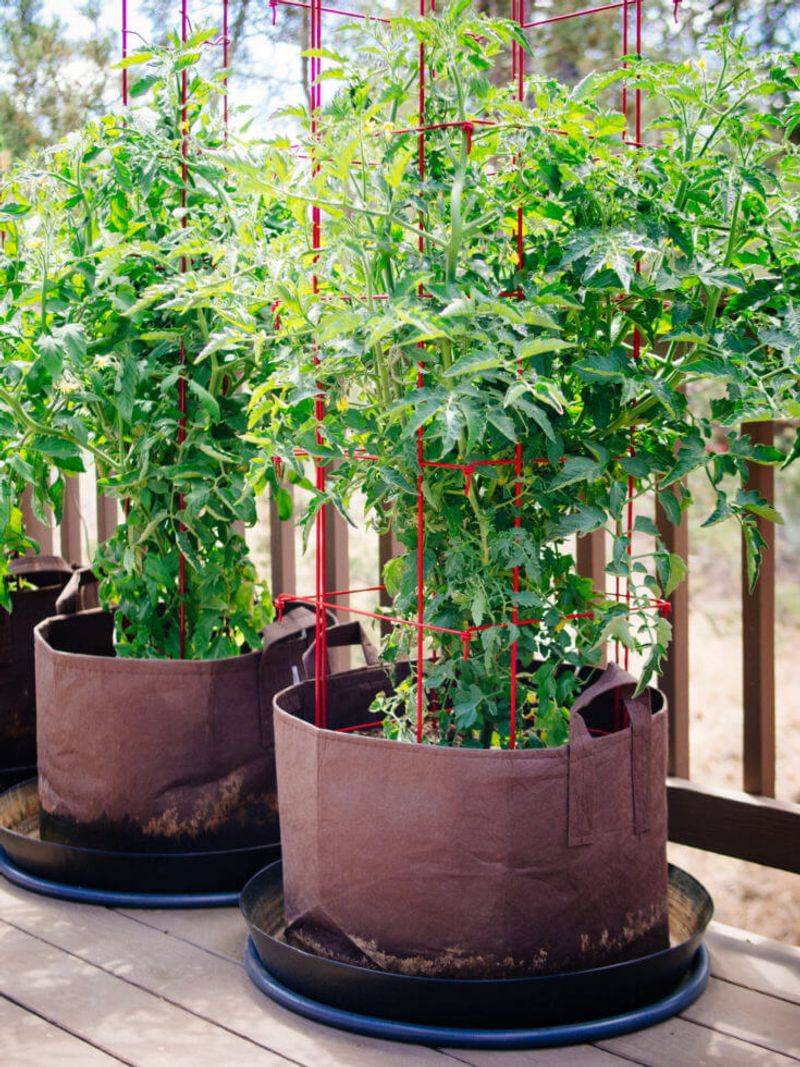
Pots are a different world from garden beds, and their tomatoes get hungry much faster. Frequent watering flushes nutrients right out the drainage holes, so container plants run out of food long before their in-ground cousins.
Plan to feed potted tomatoes about twice as often, using a diluted liquid feed to avoid salt buildup in the limited soil. Watch for a white crust on the pot rim or soil surface, which is your cue to flush the container with plain water before the next feeding.
The small root zone also heats up quickly on a sunny patio, stressing the plant and slowing nutrient uptake. Grouping pots together and shading the containers, not the leaves, helps them hold onto the food you give. Attentive feeding is the price of the flexibility that growing in pots offers.
17. Add A Handful Of Worm Castings For A Gentle Lift
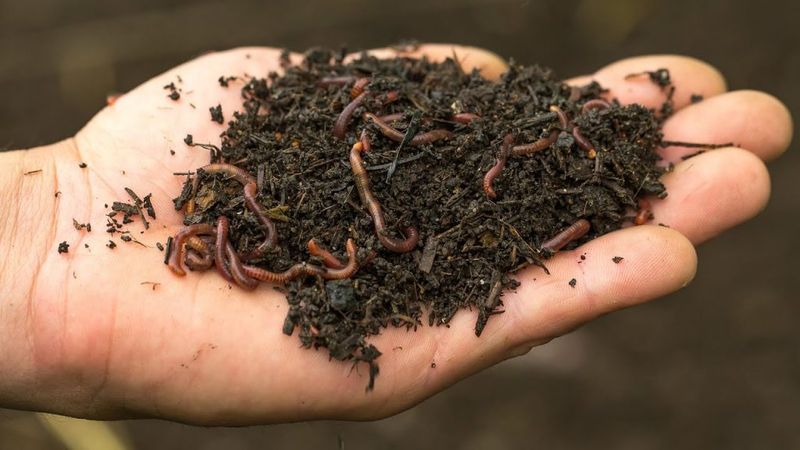
Worms quietly produce one of the best all-around plant foods on the planet, and their castings never burn even tender roots. A single handful worked into the soil around each plant delivers a mild, balanced boost plus a wave of helpful microbes.
Sprinkle the dark, crumbly castings near the base and scratch them in lightly, then water so the nutrients start seeping down to the roots. Because they release slowly, castings suit late July perfectly, feeding without the risk of shocking a heat-stressed plant.
Did you know a pound of worm castings can hold far more available nutrients than the same weight of ordinary garden soil? That concentrated goodness is why gardeners call it black gold. Keep a bag on hand and your tomatoes will thank you with steady, unstressed growth right through the dog days.