
20 Container Tricks That Fix Lavender That Sulks In Pots Instead Of Thriving
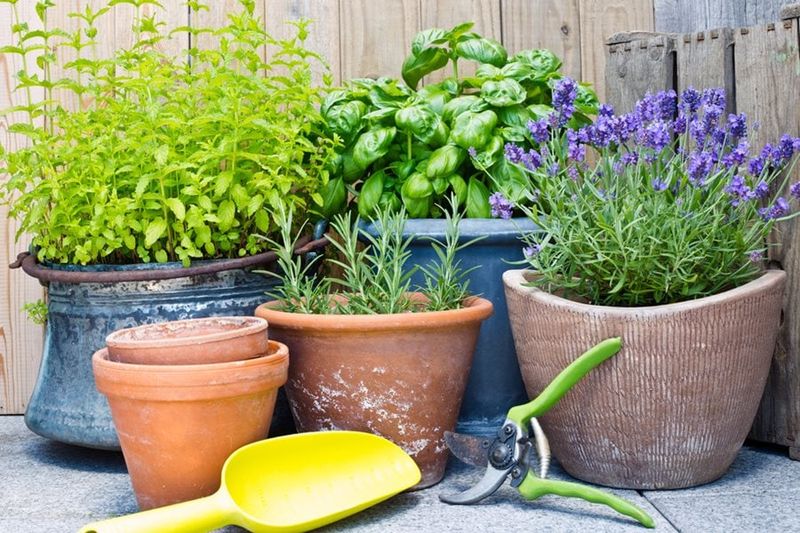
Lavender should smell amazing and buzz with bees, but in a pot it can turn sad, floppy, and gray for no obvious reason. Most of the time the plant is not broken, it is just fighting the container itself. Once you learn how lavender likes to live, you can fix almost every pot problem with small changes to soil, sun, and drainage. Here are 20 practical container tricks that turn a sulking lavender into a happy, fragrant one.
1. Switch to a Terracotta Pot
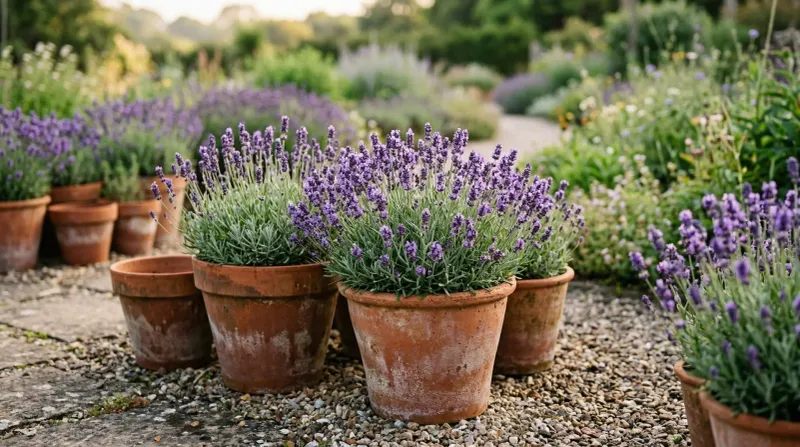
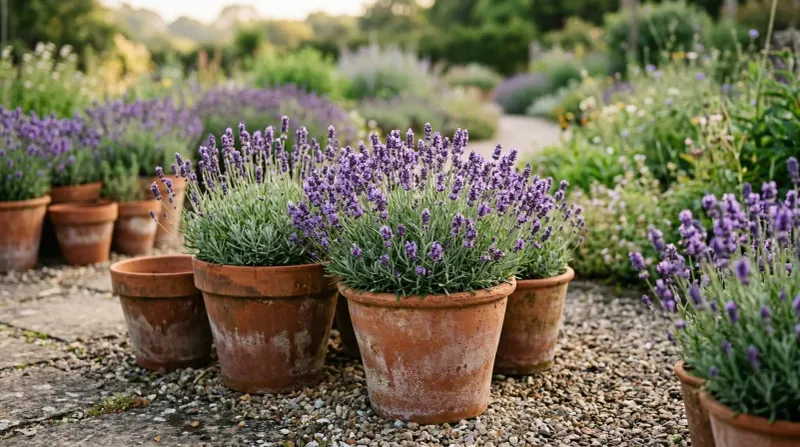
Plastic pots trap moisture like a wet sponge, and lavender absolutely hates soggy roots. Terracotta is porous, so it breathes and lets extra water escape through the sides.
A clay pot dries the soil faster between waterings, which is exactly the desert-ish rhythm lavender grew up with in the Mediterranean. If your plant is turning gray-green and mushy at the base, the pot material may be quietly drowning it.
Move your lavender into unglazed terracotta and you often see the leaves firm up within a couple of weeks. The extra weight of clay also keeps tall plants from tipping over in a summer storm.
2. Size the Pot Correctly
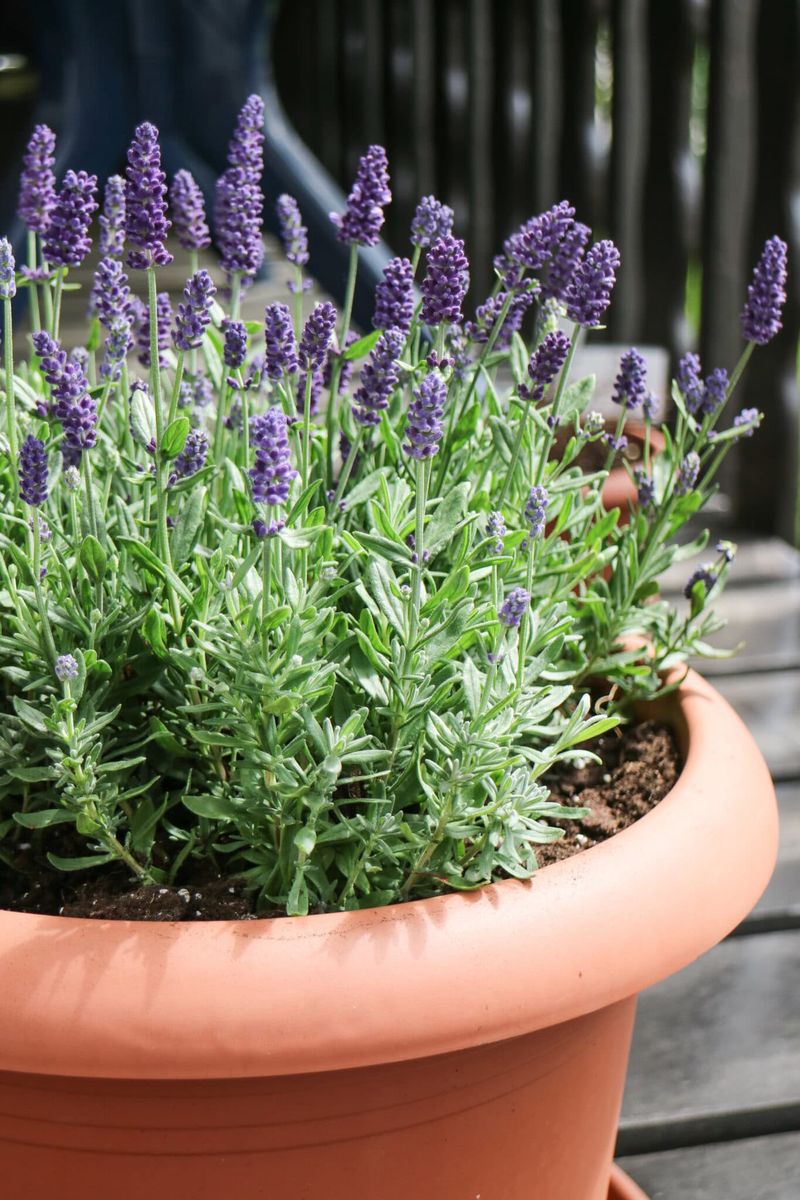
Bigger is not better with lavender, even though it feels generous to give roots lots of room. A giant pot holds a giant amount of wet soil, and that soggy mass sits around the roots long after watering.
Aim for a container only an inch or two wider than the root ball. Snug roots dry out at a healthy pace and push the plant to bloom instead of sprawling.
When you finally do need to move up a size, step up gradually rather than jumping to a huge planter. Your lavender will reward the modest upgrade with tighter growth and more flowers.
3. Build a Gritty, Fast-Draining Mix
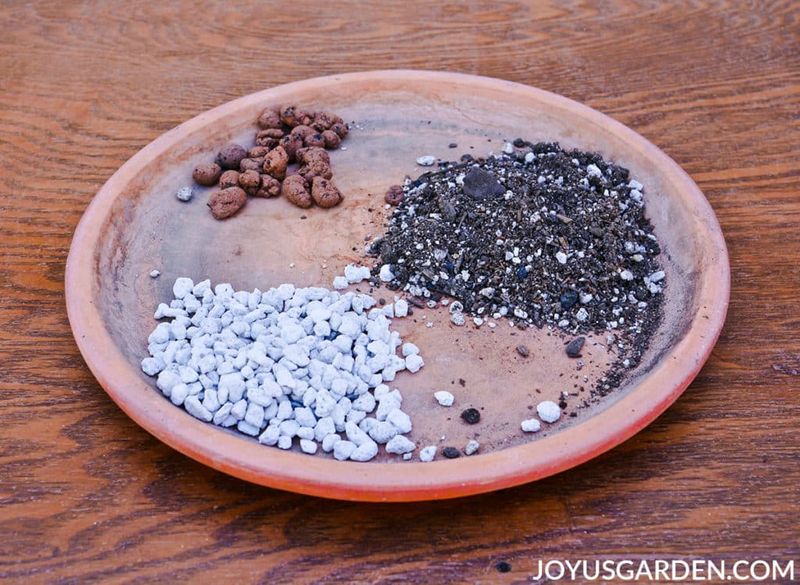
Standard bagged potting soil is built to hold moisture, which is great for tomatoes and terrible for lavender. Roots left in that spongy blend suffocate and rot.
Mix roughly two parts potting soil with one part coarse sand and one part perlite or fine gravel. The goal is a blend that water rushes through, leaving the roots damp but never waterlogged.
Squeeze a handful after watering; if it drips and clumps, add more grit. A gritty mix mimics the rocky hillsides where lavender feels most at home.
4. Check That Drainage Holes Are Truly Open
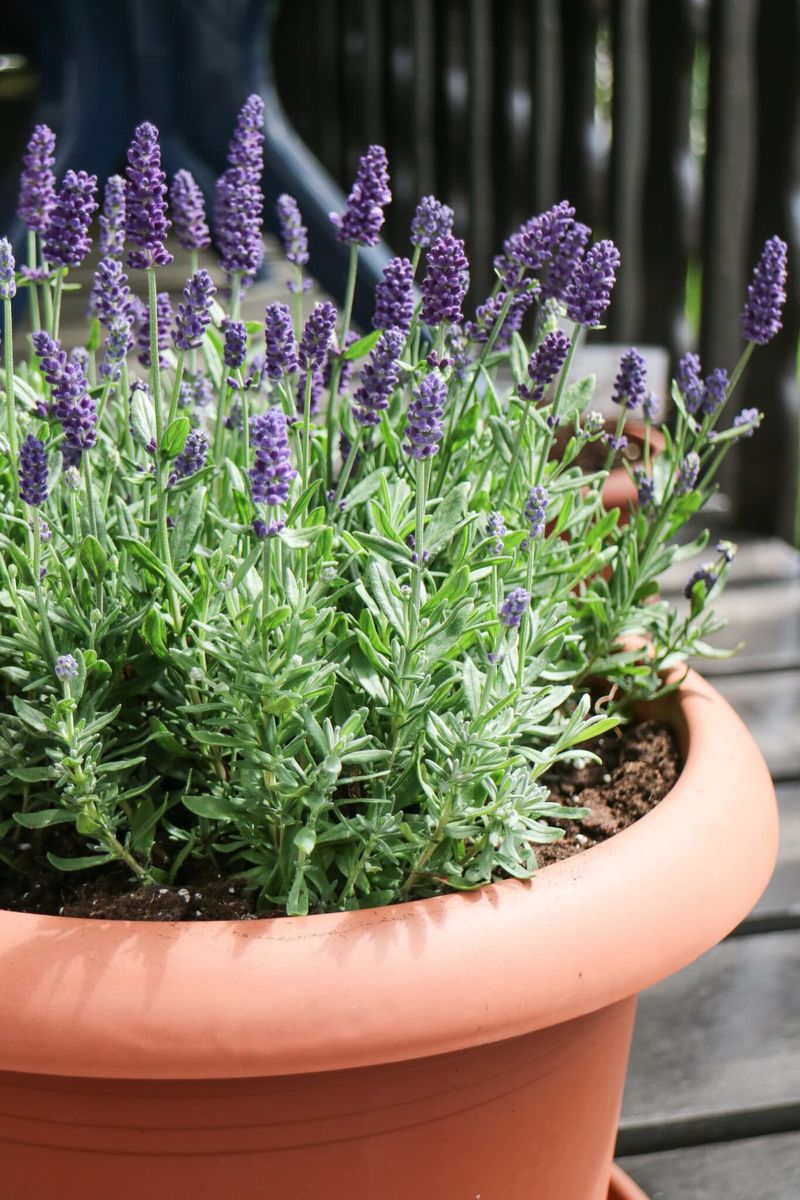
Plenty of gorgeous pots ship with a hole that is half-blocked or way too small. Water pools at the bottom, the roots sit in a hidden puddle, and the plant slowly declines while you scratch your head.
Tip the pot and make sure water flows freely out the bottom. If it trickles or stalls, drill extra holes or widen the existing one.
A layer of gravel at the bottom does not replace real holes, despite the old advice. Free-flowing drainage is the single change that saves the most container lavenders.
5. Ditch the Water-Catching Saucer
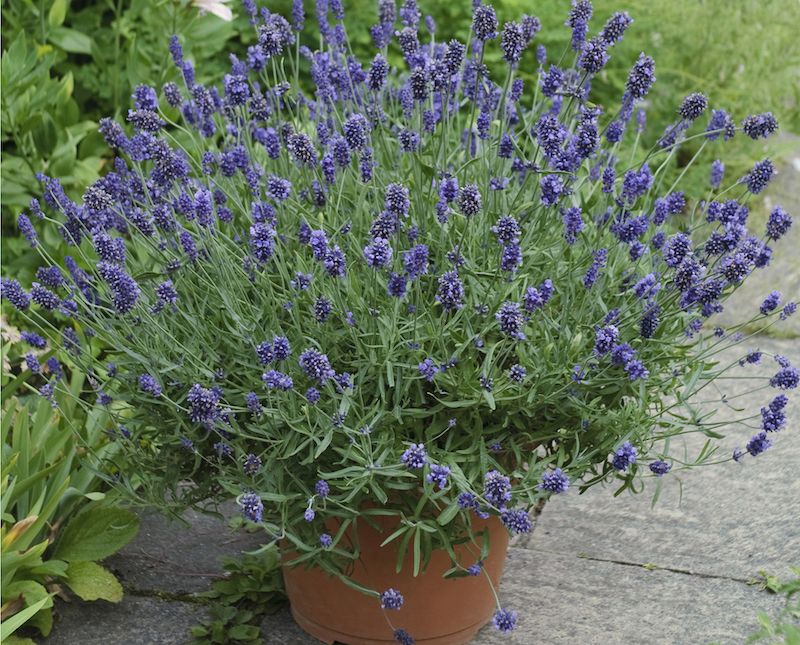
A saucer under the pot looks tidy and protects your deck, but it can quietly undo all your drainage work. Water collects in that dish and wicks right back up into the soil.
Either empty the saucer within an hour of watering or lift the pot onto little feet so air moves underneath. Pot feet also stop the base from staining and rotting.
If you grow indoors, dump the tray every single time. Lavender would rather be a touch thirsty than stand in a shallow pool.
6. Give It a Full Six Hours of Sun
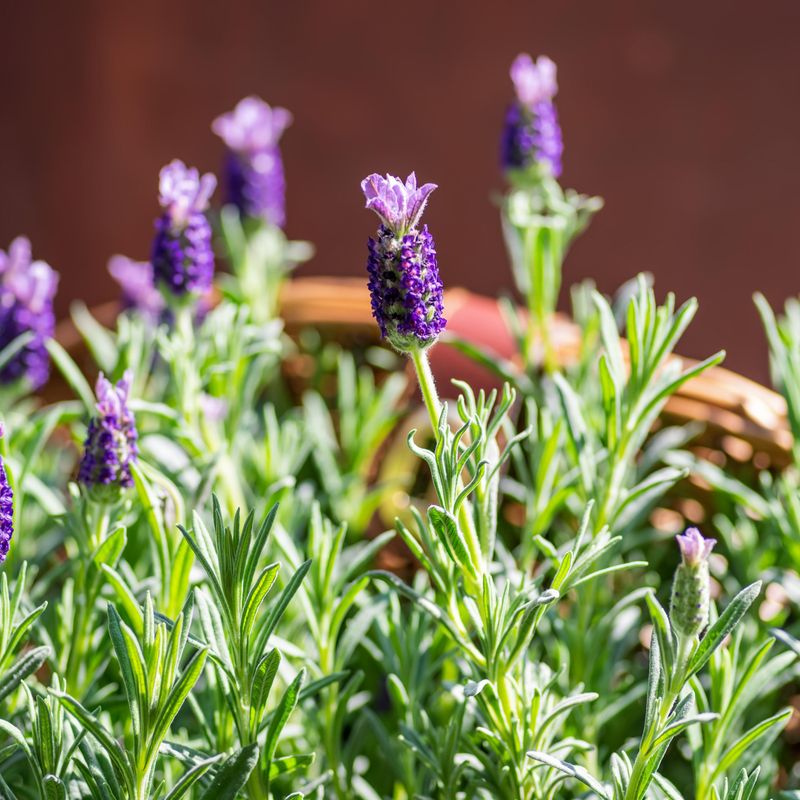
Lavender is a sun worshipper, and a shady corner is a slow death sentence. In dim light the stems stretch, flop, and produce weak, faded flowers with barely any scent.
Set the pot where it soaks up at least six to eight hours of direct sun a day. A south- or west-facing patio in most US backyards is ideal.
The nice thing about containers is that you can chase the sun. If a tree grew taller than you expected, just roll the pot to a brighter spot.
7. Let the Soil Dry Between Drinks
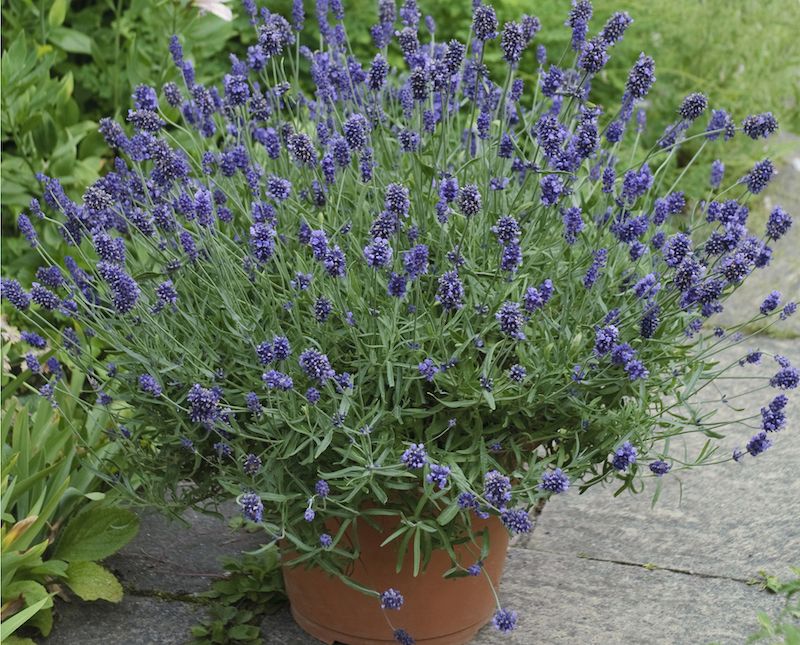
Overwatering kills far more potted lavender than drought ever will. The plant stores water in its tough, woody frame and expects long dry spells between rains.
Poke a finger two inches into the soil before you reach for the hose. If it feels even slightly damp, wait another day or two.
When you do water, soak deeply until it runs out the bottom, then leave it alone. Deep, infrequent drinks train roots to grow down and make a sturdier, more drought-proof plant.
8. Top the Soil With Light-Colored Gravel
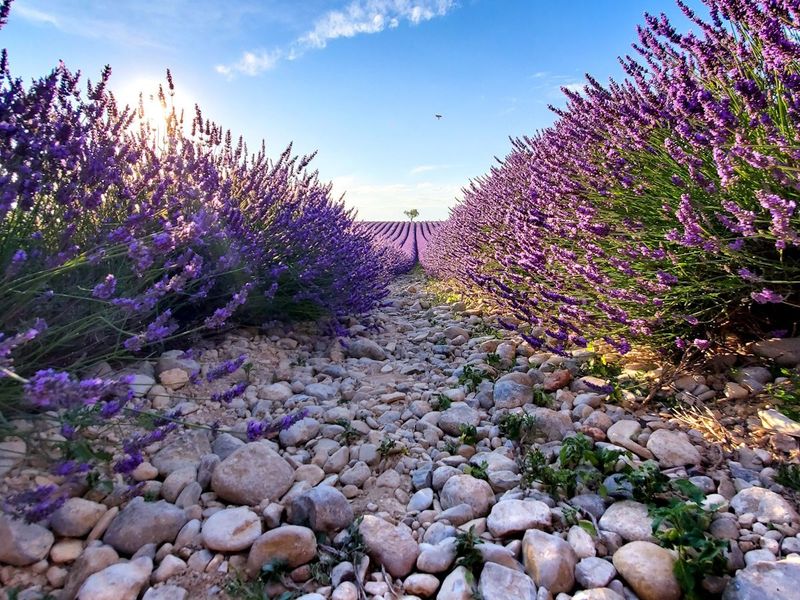
A mulch of pale pea gravel or crushed oyster shell around the crown works surprisingly hard. It keeps the base of the stem dry, which prevents the rot that sneaks in at the soil line.
Light-colored stone also bounces sunlight back up into the plant and reflects heat, something lavender loves. Bonus: it looks clean and tidy in a container.
Skip bark or wood mulch here, since those hold moisture against the stem. A dry collar is a happy collar for lavender.
9. Go Easy on the Fertilizer
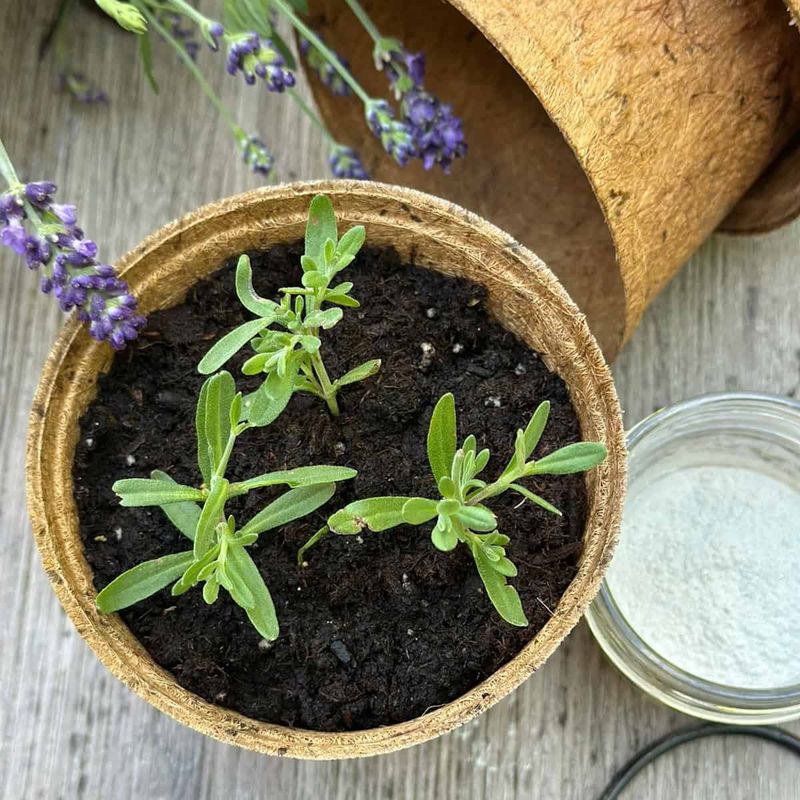
Rich feeding sounds kind, but lavender treats heavy fertilizer like too much dessert. Loads of nitrogen push floppy green growth and almost no flowers.
This is a plant that evolved in poor, rocky soil and actually prefers to stay a little hungry. A single light feed in early spring is usually plenty for the whole season.
If your lavender is all leaf and no bloom, back off the plant food entirely. Lean living brings out the fragrance and the flowers.
10. Sweeten the Soil With Lime
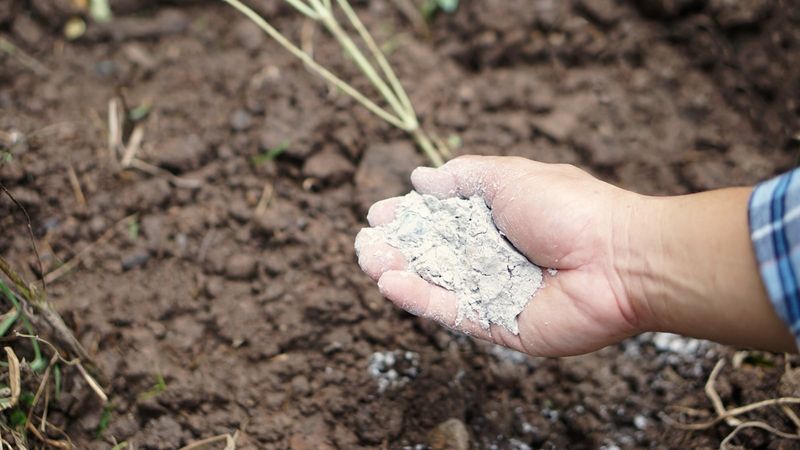
Most potting mixes lean acidic, and lavender quietly resents that. It thrives in neutral to slightly alkaline soil, closer to a chalky hillside than a forest floor.
Work a spoonful of garden lime or a handful of crushed eggshells into the top of the mix. Over a few weeks the pH nudges upward and the plant perks up.
A cheap soil pH test kit takes the guessing out of it. If your lavender sulks despite great drainage and sun, sour soil is often the hidden culprit.
11. Pick a Compact, Pot-Friendly Variety
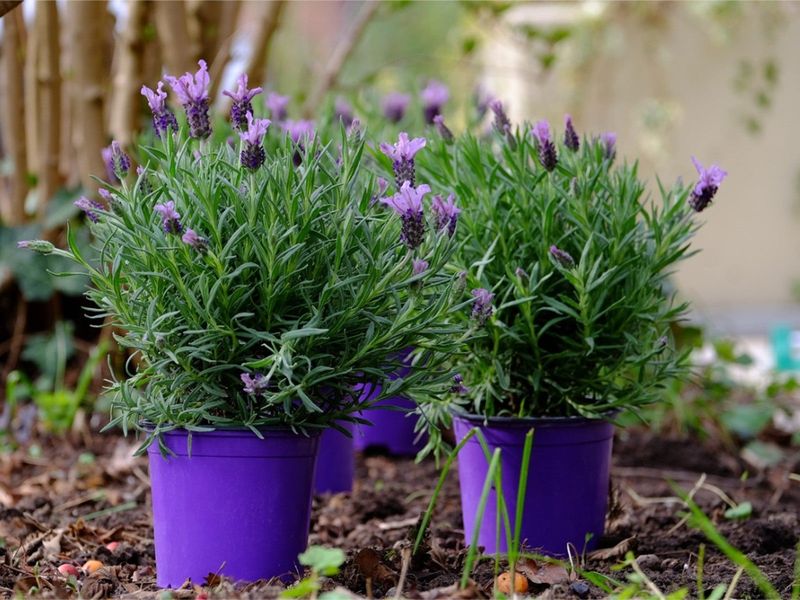
Some lavenders are built for containers and others simply are not. English types like Munstead and Hidcote stay tidy and compact, perfect for a pot on the porch.
Sprawling French and Spanish varieties can outgrow a container fast and flop over the sides. Matching the plant to the pot saves you constant battles later.
Fun fact: Hidcote was named after a famous English garden and prized for its deep purple color. Choose the right cultivar up front and half your problems disappear before they start.
12. Prune Right After It Blooms
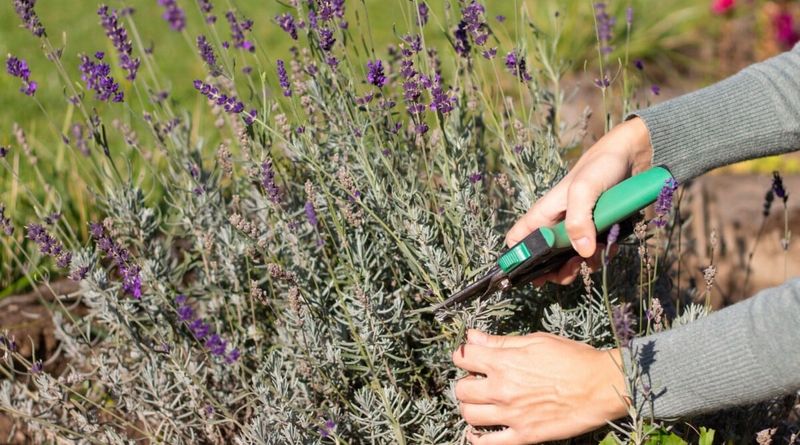
An unpruned lavender turns woody, leggy, and bare at the bottom within a couple of seasons. A yearly haircut keeps it rounded, full, and blooming hard.
Once the flowers fade, shear off the top third of the plant, staying above the woody stems. Never cut deep into old wood, because it rarely sprouts back there.
Regular trimming also improves airflow through the middle of the plant. That extra breeze cuts down on the fungal problems that plague crowded container plants.
13. Improve Airflow Around the Pot
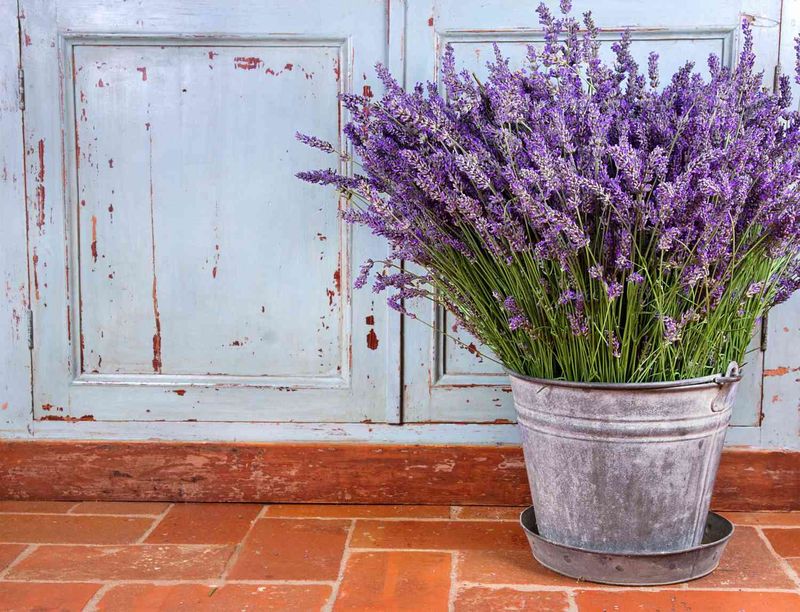
Crammed against a wall or crowded by other pots, lavender loses the breeze it depends on. Stagnant, humid air invites mildew and the gray fuzz of rot on the lower leaves.
Give your plant elbow room so air can circulate on every side. A gentle draft dries the foliage quickly after rain or morning dew.
Spacing matters even more in muggy summer regions like the Southeast. Think of good airflow as an invisible fungicide that costs nothing.
14. Read the Leaves as a Warning System
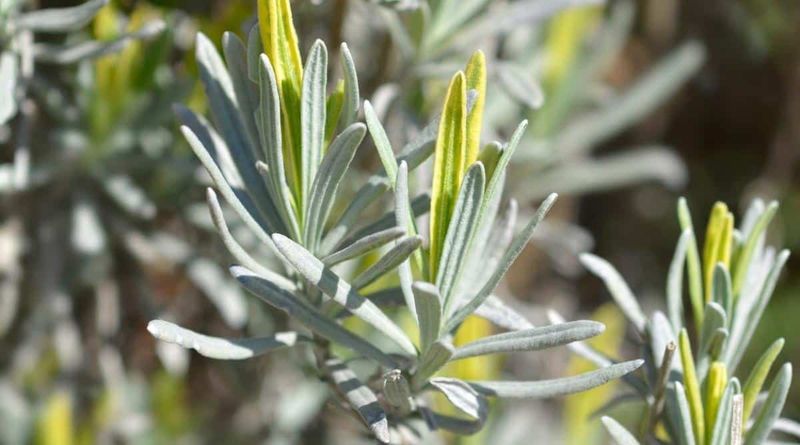
Your lavender talks to you through its leaves long before it collapses. Yellowing lower foliage usually means too much water, while crispy brown tips point to scorching and thirst.
Pale, washed-out gray leaves can signal soil that is too acidic or too rich. Dark spots or fuzzy patches warn of fungus creeping in from damp, stagnant conditions.
Get in the habit of a quick leaf-check each time you pass the pot. Catching these signals early lets you fix the cause while the plant can still bounce back.
15. Water at the Base, Never Overhead
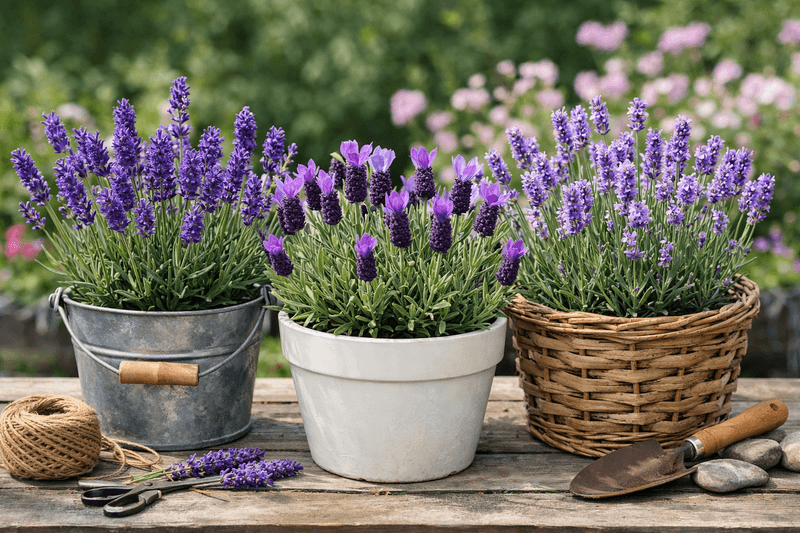
Splashing water over the whole plant on a hot day feels refreshing, but lavender hates a wet crown. Droplets sitting on the foliage in humid weather invite mildew and rot.
Aim the spout at the soil surface and keep the leaves and flowers dry. Morning watering gives any stray splashes time to evaporate.
A long-necked watering can makes base-watering easy in a crowded container. Keep the top of the plant dry and you sidestep most fungal headaches.
16. Insulate Roots Against Summer Bake
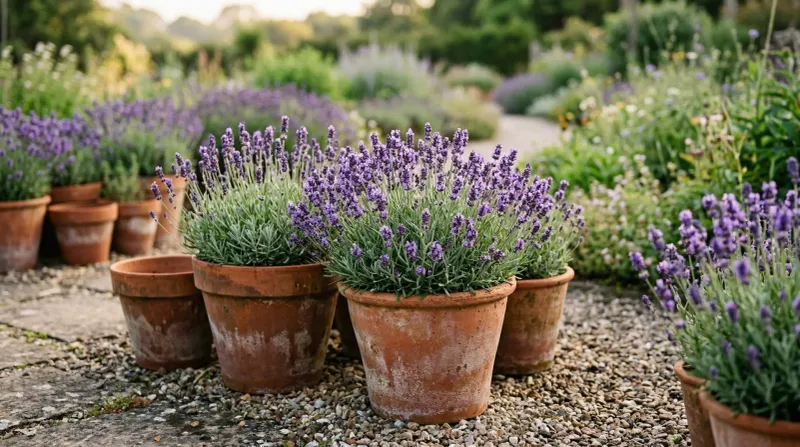
Dark pots in blazing sun can turn into little ovens that cook the roots. Lavender loves warm air but not roots roasting at 120 degrees against a black plastic wall.
Slip the pot inside a lighter outer pot, or tuck it among other containers to shade the sides. Grouping pots creates a cooler pocket without blocking the sunshine the leaves crave.
Light-colored terracotta stays cooler than dark plastic in the same spot. Protect the roots and the plant can enjoy all the sun it wants up top.
17. Refresh the Top Layer of Soil Yearly
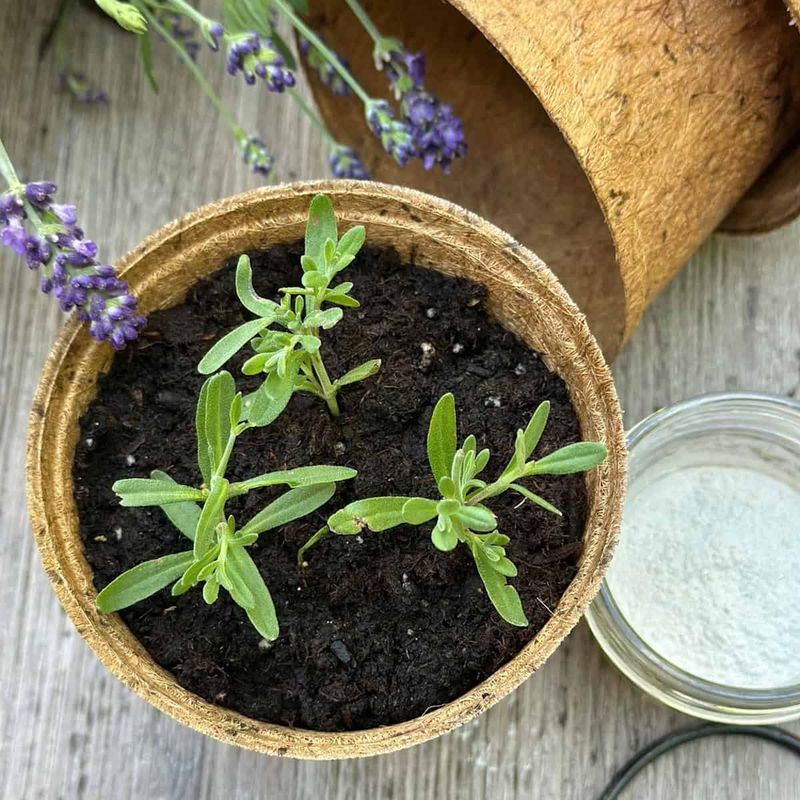
Potting mix breaks down over time, turning dense and holding water where lavender wants it loose. Old, compacted soil is a common reason a formerly happy plant starts sulking.
Each spring, scrape off the top inch or two of tired mix and replace it with fresh gritty blend. You get better drainage without the stress of a full repot.
Loosen the surface gently so air can reach the roots again. A small annual refresh keeps the container lively for years.
18. Repot Before It Becomes Root-Bound
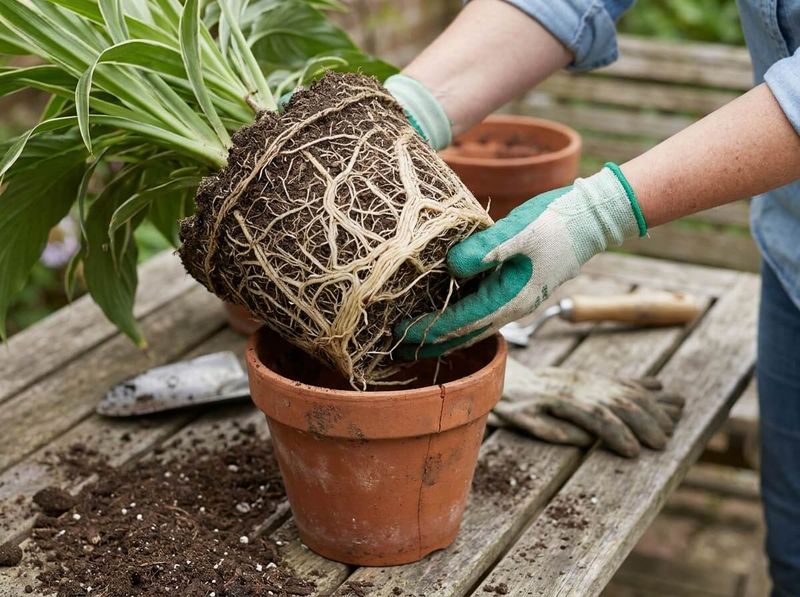
Roots circling the inside of the pot in a tight spiral choke off water and air. A root-bound lavender dries out within hours and slowly starves no matter how carefully you water.
Slide the plant out every couple of years and take a look. If you see a dense white mat of coiled roots, it is time for a slightly larger home and fresh mix.
Tease the outer roots loose before replanting so they grow outward again. A little root maintenance keeps the plant vigorous instead of stalled.
19. Shelter It From Winter Wet
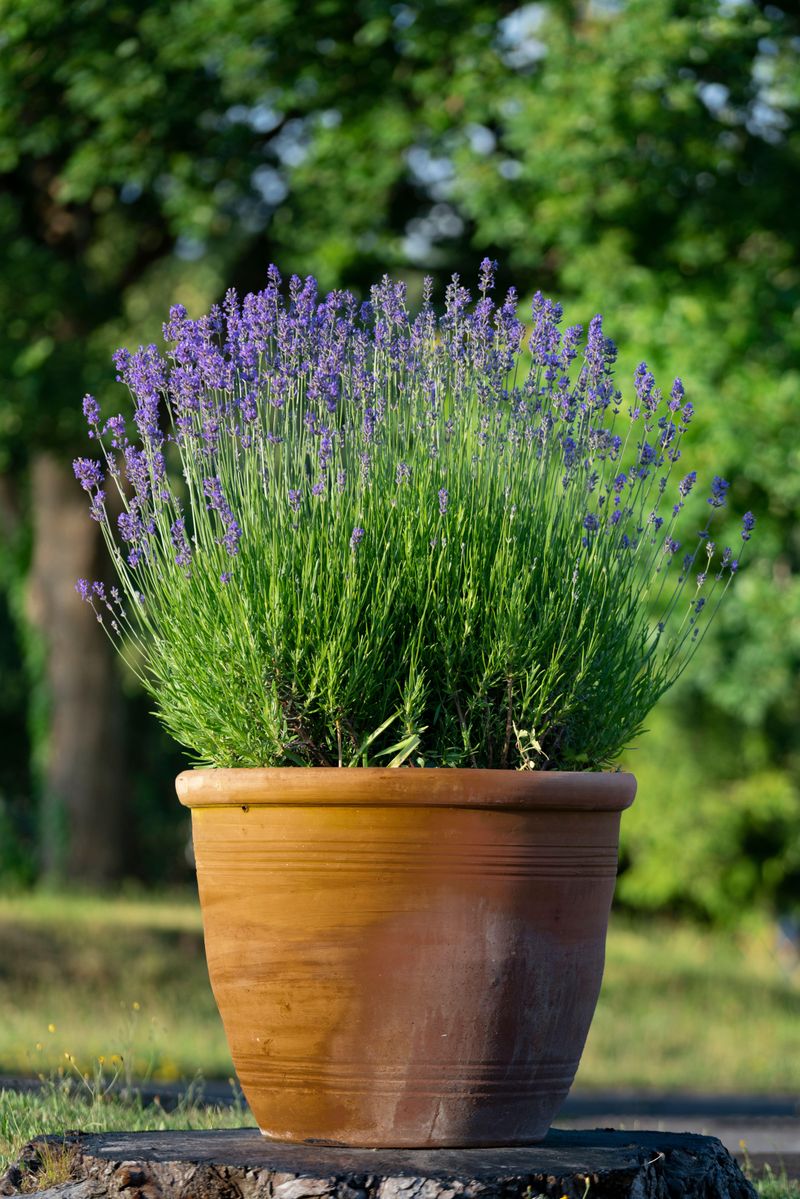
Cold rarely kills potted lavender outright, but soggy winter roots absolutely do. A pot left out in constant winter rain becomes a bathtub, and the plant rots before spring.
Move containers under an eave, into an unheated garage, or against a sheltered wall once growth slows. The goal is dry roots and good airflow, not warmth.
In colder US zones, group pots together and mulch the tops with gravel for extra protection. Keep them dry through winter and they wake up strong when the days lengthen.
20. Use a Deep Pot for a Strong Taproot
Lavender sends down a surprisingly long central root to hunt for water and stay anchored. A shallow, wide bowl cramps that taproot and leaves the plant weak and prone to toppling.
Choose a container that is deeper than it is wide so the roots can stretch downward. Depth also holds a healthier reservoir of dry-then-damp soil the plant enjoys.
A well-rooted lavender stands up to wind and drinks more efficiently. Give the roots room to reach down and the whole plant grows tougher and more self-reliant.