
8 October Clematis Jobs That Fill Your Vine With Twice The Flowers Next Summer
If your clematis gave you fewer flowers than you hoped this year, the fix may start right now, in October. What you do with your vine this month shapes how many buds it carries into spring.
A few simple chores can protect the roots, keep disease away, and save the stems that hold next summer’s blooms. None of them take long, and most cost nothing at all.
1. Figure Out Your Pruning Group First
Picture snipping your vine back in fall and then getting zero flowers in May. That heartbreak happens to plenty of gardeners, and it usually comes down to one missing piece of information: the pruning group.
Clematis come in three groups. Group 1 types, like Clematis montana, bloom in early spring on old wood, so cutting them in fall removes next year’s show.
Group 2 varieties, such as Nelly Moser, flower in late spring on old wood and again later on new growth, so fall cuts shrink that first big flush.
Group 3 clematis, like Jackmanii and Sweet Autumn, bloom on new wood from midsummer onward. They handle light fall tidying, though their real hard prune waits until late winter.
Dig out the old plant tag or look up your variety name before you touch the shears. If you truly cannot tell, treat the vine as Group 1 and leave healthy stems alone.
2. Trim Only the Dead, Damaged, and Diseased
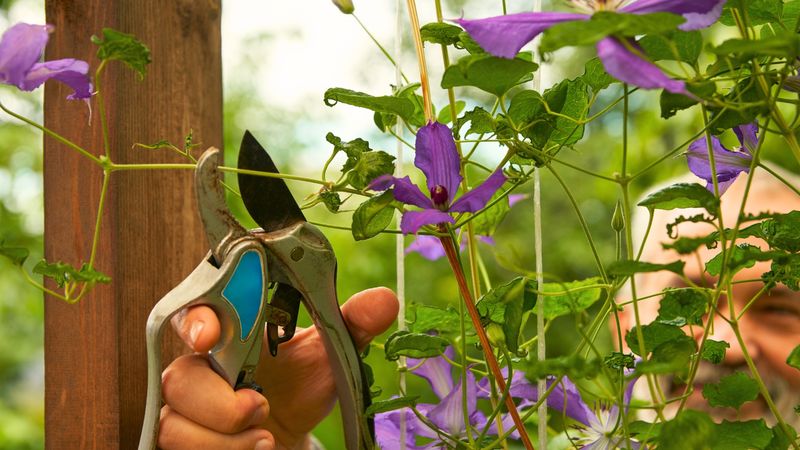
Think of October pruning as a health checkup, not a haircut. Your goal is to remove the three D’s: dead, damaged, and diseased stems.
Brown, brittle stems that snap easily are done for. Cut them back to healthy green tissue or to the base.
Stems with dark lesions, blackened tips, or mushy spots can harbor fungus over winter, so those should go too.
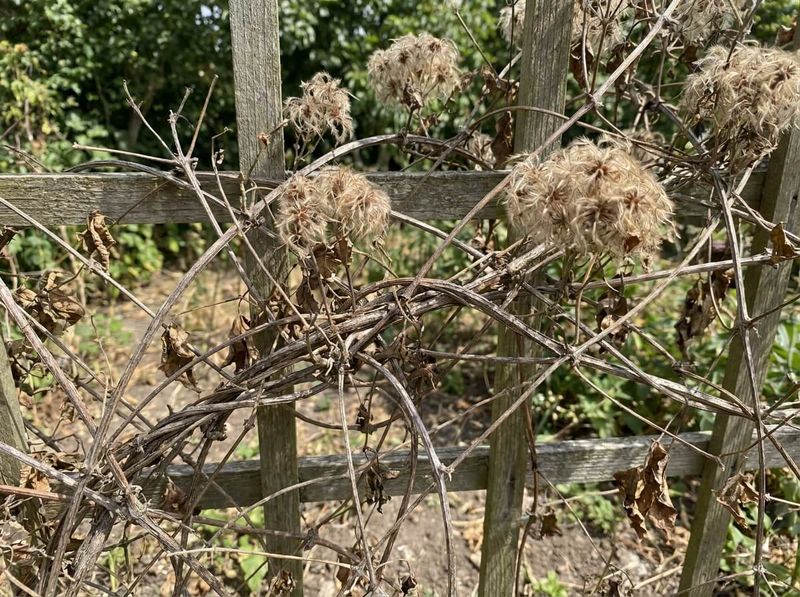
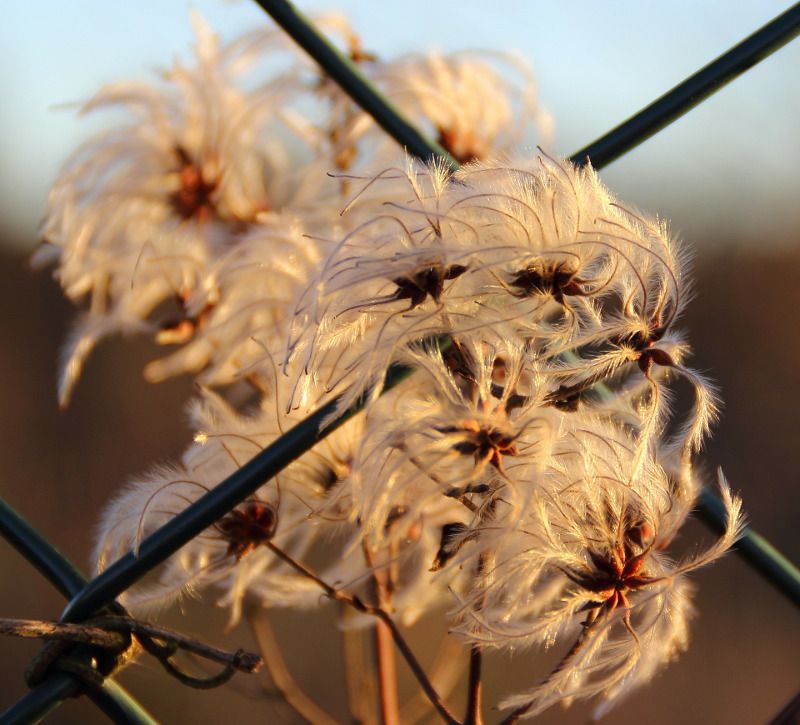
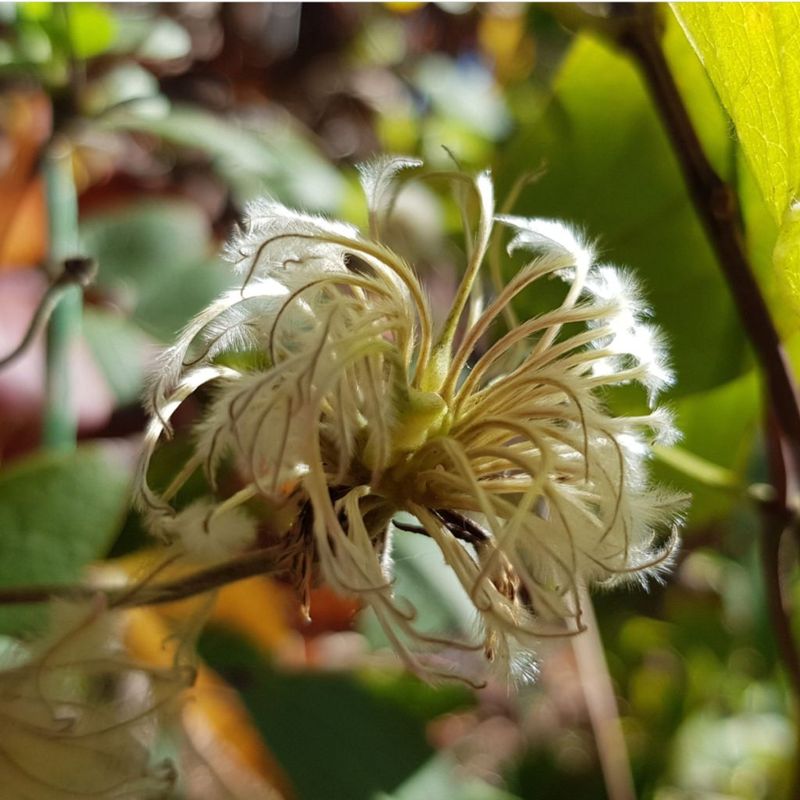
Spent seed heads can come off now as well, unless you love their fluffy silver look in the winter garden. Leave every healthy stem in place, since many varieties carry next year’s buds on that woody growth.
Clean your pruners with rubbing alcohol between cuts on sick stems so you don’t spread trouble to the good ones.
3. Rake Up Fallen Leaves and Spent Petals
Fungal spores are sneaky little hitchhikers. They settle into fallen leaves and old petals at the foot of your clematis, wait out the cold, then splash back onto fresh shoots in spring.
Clearing that litter now is one of the easiest ways to cut down on clematis wilt and leaf spot next year. Gently rake or hand-pick the shriveled foliage and dropped flowers from around the crown.
Take a peek at the lower leaves still on the vine too, and pull any that look spotted or blackened.
Here’s the part people skip: bag diseased material and put it in the trash. Most backyard compost piles don’t get hot enough to kill those spores, so tossing them in the bin just recycles the problem.
4. Check the Crown and Top Up the Soil
Down at soil level sits your clematis insurance policy. The crown, where stems meet roots, holds dormant buds that can push up new shoots if the top of the plant gets damaged or hit by wilt.
Rain and watering slowly wash soil away over a season. Kneel down and look closely.
If you see bare stem bases poking out at or above the soil line, that crown is exposed to freezing cold.
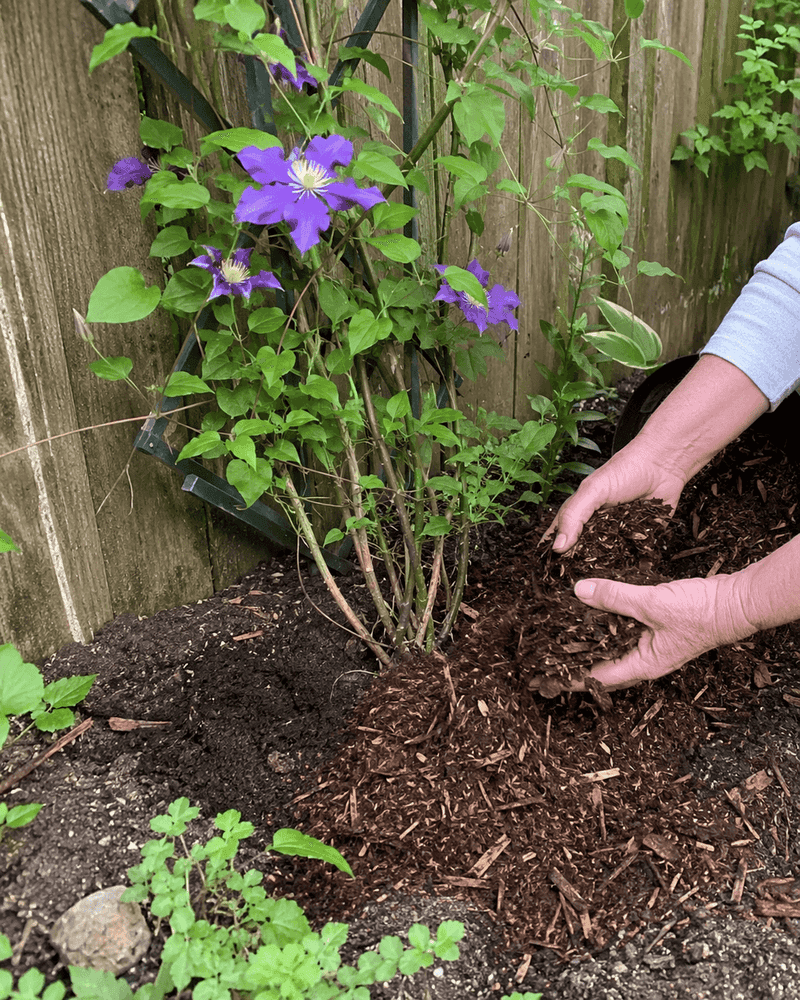
Mound two or three inches of compost or good garden soil around the base. It acts like a warm blanket and protects those backup buds.
Fun fact: experienced growers often plant clematis a few inches deeper than the pot level for this exact reason, so a deeper crown is a happier crown.
5. Tie Loose Stems to Their Support
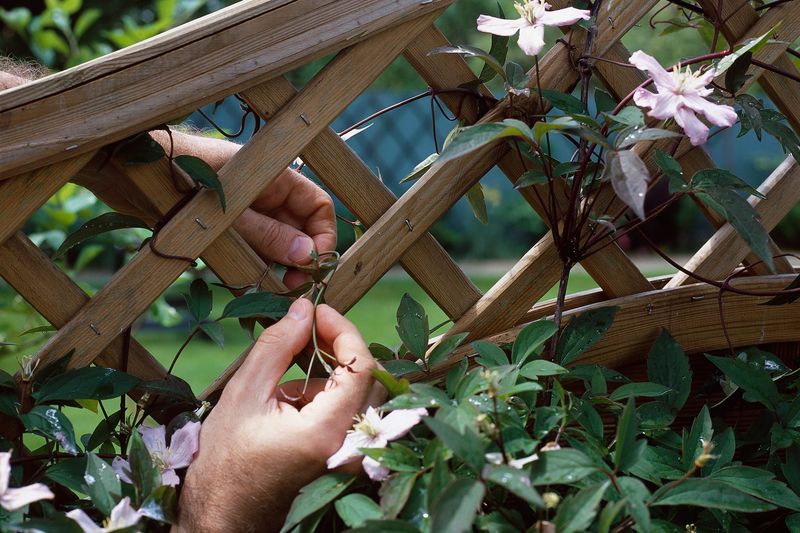
A single winter windstorm can undo a whole year of growth. As clematis stems age in fall, they turn woody and brittle, and loose vines whipping in the wind snap far too easily.
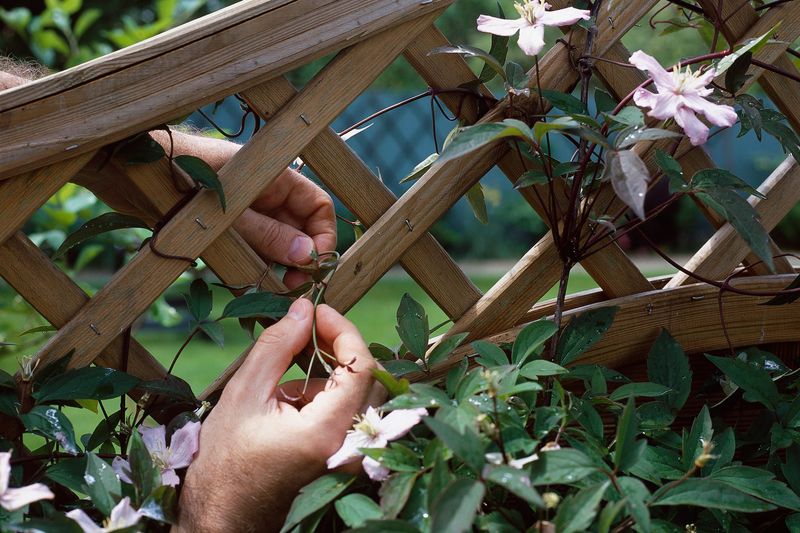
Walk along your trellis, arbor, or fence and look for stems flopping free. Secure them with soft twine, stretchy plant tape, or velcro garden ties.
Skip thin wire, which can cut into the bark as the stem moves.
Why bother? On Group 1 and Group 2 clematis, those woody stems are where next spring’s flower buds live.
Every stem you save is a stem that can bloom. In snowy areas, a few extra ties also keep heavy snow from dragging the whole vine down.
6. Give a Deep Drink If October Is Dry
Dry fall weather fools a lot of gardeners. The air feels cool, so the watering can goes back in the shed, but clematis roots run deep and still need moisture going into winter.
Push a finger a couple of inches into the soil near the base. If it feels dry, give the plant a slow, deep soak, letting a hose trickle for 15 to 20 minutes.
Well-watered roots handle freezing temperatures far better than thirsty ones.
Just don’t overdo it. Clematis hate soggy feet, and roots sitting in wet soil can rot.
Once a week during dry spells is plenty, and you can stop entirely once the ground freezes.
7. Spread Mulch Around the Root Zone
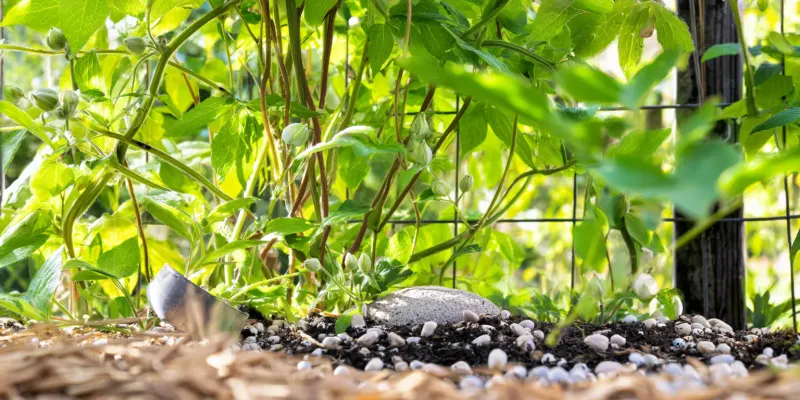
Clematis growers love an old saying: head in the sun, feet in the shade. October mulch keeps those feet cozy all winter long.
Spread a 2 to 3 inch layer of shredded bark, compost, straw, or chopped leaves over the root zone. It evens out soil temperature, holds moisture, and softens the freeze-thaw cycles that can heave roots out of the ground.
Leave a gap of a few inches between the mulch and the stems. Piling mulch right against the vine traps moisture and invites rot and disease.
Shredded fall leaves from your own yard work beautifully here and cost you nothing.
8. Put the Fertilizer Away Until Spring
Your vine looks tired, and the urge to feed it is real. Resist it.
Fertilizing clematis in October can trigger a flush of soft new growth right before frost.
That tender growth freezes quickly, and the plant burns stored energy making it. That energy should be going into roots and next year’s buds instead.
Save the feeding for early spring, when new shoots appear. A balanced or bloom-boosting fertilizer then gives your clematis exactly what it needs to put on a big show.
Doing nothing this month is honestly one of the best things you can do for more flowers next summer.