
The One Soil Type Cucumbers Struggle In – And Why It Leaves Them Weak And Yellow
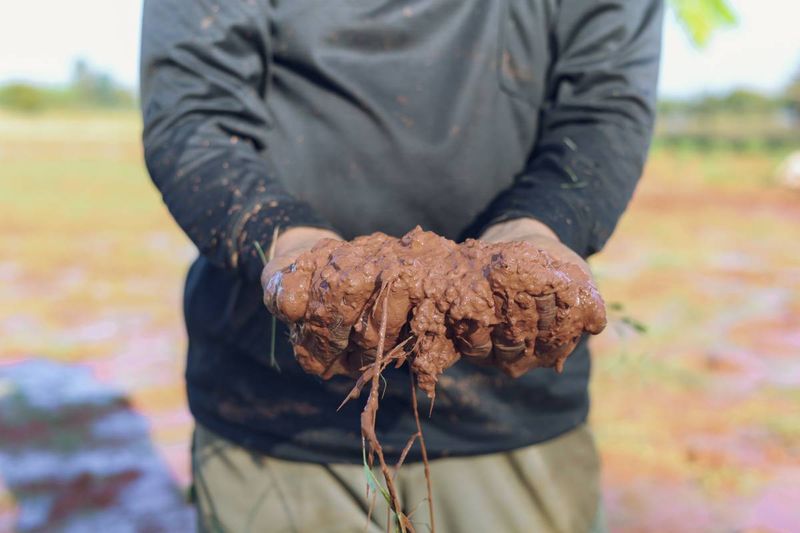
Your cucumber plants looked promising when you put them in the ground, but now the leaves are going yellow and the vines seem stuck in place. Before you reach for a bag of fertilizer, the real trouble may be sitting right below the surface. Heavy, compacted, or waterlogged clay soil can choke roots and block nutrient uptake even when the soil itself contains plenty of food. Understanding what is actually happening underground can save you from treatments that will not work – and help you fix the right problem.
Clay is not the problem by itself
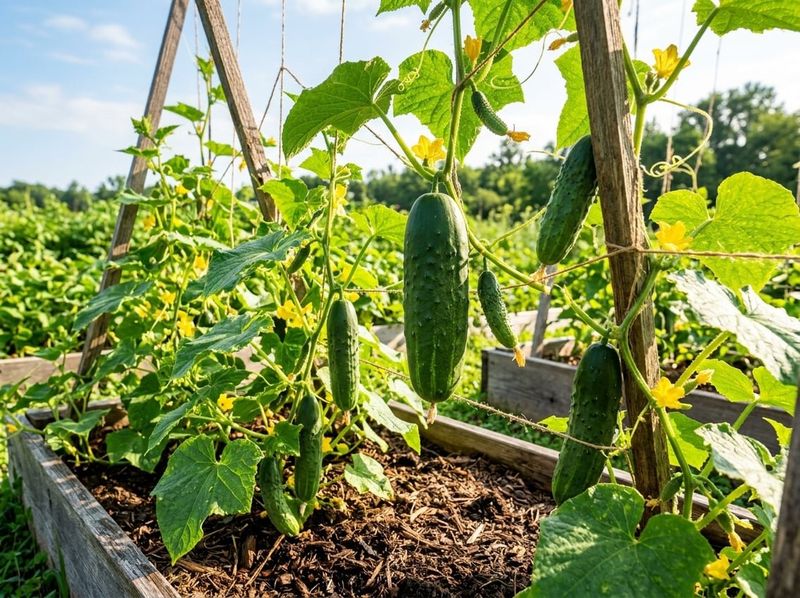
Plenty of gardeners have heard that clay soil is a death sentence for cucumbers, and that claim deserves a closer look before you start hauling in bags of fill. Cucumbers can actually grow in clay when the soil has decent structure, enough organic matter, consistent moisture, and adequate drainage. University of Georgia Cooperative Extension guidance on home cucumber growing confirms that cucumbers perform well in many soil types as long as the root zone stays loose, fertile, and well drained.
The real trouble starts when clay becomes heavy, compacted, or persistently wet. Those three conditions – not clay’s basic chemistry – are what leave plants looking pale and stunted. Oregon State University Extension’s overview of clay soil challenges makes this distinction clearly: clay can store water and nutrients effectively when its structure is sound, but poor structure, saturation, or compaction changes the picture entirely.
When the root zone is compromised, cucumbers may show yellowing or slow growth that looks exactly like a fertilizer shortage. Nutrients can be sitting in the soil in adequate amounts, yet damaged or oxygen-starved roots cannot pull them in. That gap between what the soil contains and what the plant can actually use is the core of the problem.
A good diagnosis starts underground, not at the garden center. University of Minnesota Extension’s cucumber growing guide recommends soil that holds moisture but drains well – a balance that heavy, compacted clay consistently fails to provide. Working through a short confirmation sequence before adding any amendments will tell you whether the soil structure, drainage, pH, or something else entirely is the source of your plants’ distress.
How compacted and waterlogged clay harms roots
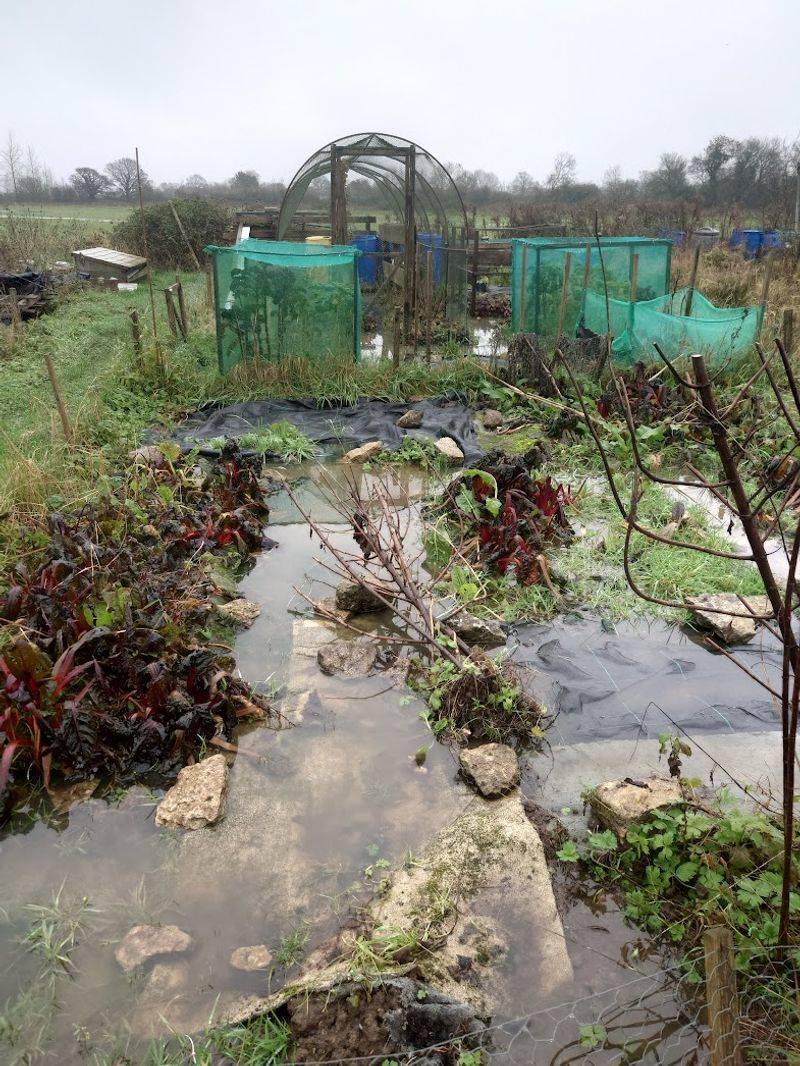
Clay particles are extremely small compared with sand or silt, and that size difference has consequences. Those fine particles pack together and create narrow pores that slow the movement of water through the soil, especially when the soil’s structure has broken down. Under normal conditions, a mix of large and small pores allows both water and air to move through the root zone. When clay structure deteriorates, the large pores disappear and water moves so slowly that the soil stays wet long after a rain.
Compaction makes the situation worse in a specific way. USDA Agricultural Research Service documentation on soil compaction explains that compaction reduces and restricts total pore space and pore connectivity, which limits how far roots can push through the soil and how much oxygen reaches them. A root hitting a compacted layer essentially stops growing in that direction, and a shallow root system cannot support a vigorous vine.
Saturation adds another layer of stress that is distinct from compaction. When soil pores fill completely with water, the air-filled space shrinks and oxygen availability drops sharply. University of Minnesota Extension’s soil compaction resource notes that oxygen-deprived roots lose the ability to function normally, which means nutrient uptake slows or stops even when the soil chemistry looks fine on paper.
Cucumbers need steady, consistent moisture because their roots are relatively shallow, but that need for moisture is not the same as a tolerance for waterlogging. Minnesota Extension’s cucumber guide states plainly that waterlogged soil deprives roots of the oxygen they require. The practical result is a plant that looks stressed from drought and nutrient deficiency at the same time, even though the soil may be soaking wet and full of nutrients it cannot deliver.
Yellow leaves point to possibilities, not one cause
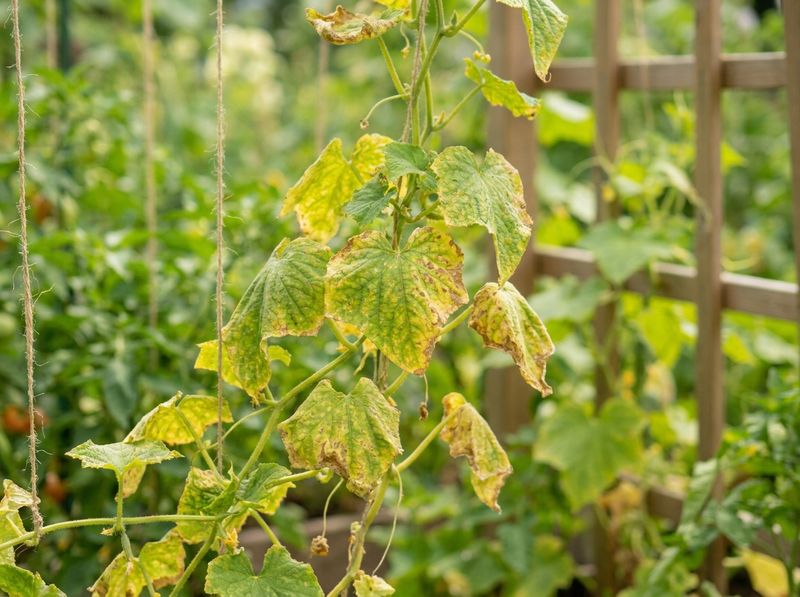
Yellow leaves on a cucumber plant are a signal worth paying attention to, but they are not a diagnosis on their own. The pattern and position of that yellowing can point you toward different possibilities, and reading those clues carefully saves time before you commit to a fix. Illinois Extension’s guide on yellow leaves as plant problem indicators identifies poor drainage, root injury, compacted soil, pH-related nutrient unavailability, cold wet soil, insects, and fungal or viral diseases as separate explanations that can all produce yellowing.
Older leaves turning yellow from the bottom of the plant upward can suggest root stress or certain nutrient deficiencies where mobile nutrients are being pulled from older tissue. Younger leaves showing interveinal yellowing – where the leaf tissue between the veins goes pale while the veins stay green – can point toward different nutrient-availability issues, often tied to pH rather than a simple lack of fertilizer. Neither pattern alone is conclusive.
Pest and disease problems are major alternative explanations that gardeners sometimes overlook when they are focused on soil. Illinois Extension’s cucumber growing resource describes cucumber beetles that can stunt plants and transmit bacterial wilt, downy mildew that produces angular yellow lesions on leaf surfaces, powdery mildew that starts as pale yellow areas before white fungal growth appears, and viruses that cause mosaic yellow-green patterns combined with stunting. Any of these can mimic soil-related stress.
Root observations add another layer of information when you can access them. Penn State Extension’s overview of fungal root rots notes that dark or black roots, very few white root tips, and slow above-ground growth can indicate root rot problems, though these observations are not sufficient for a definitive diagnosis by themselves. Treat leaf patterns and root checks as clues that narrow the list of likely causes, and plan to investigate further if symptoms persist or worsen after you address the soil.
Test the soil and check drainage before treating
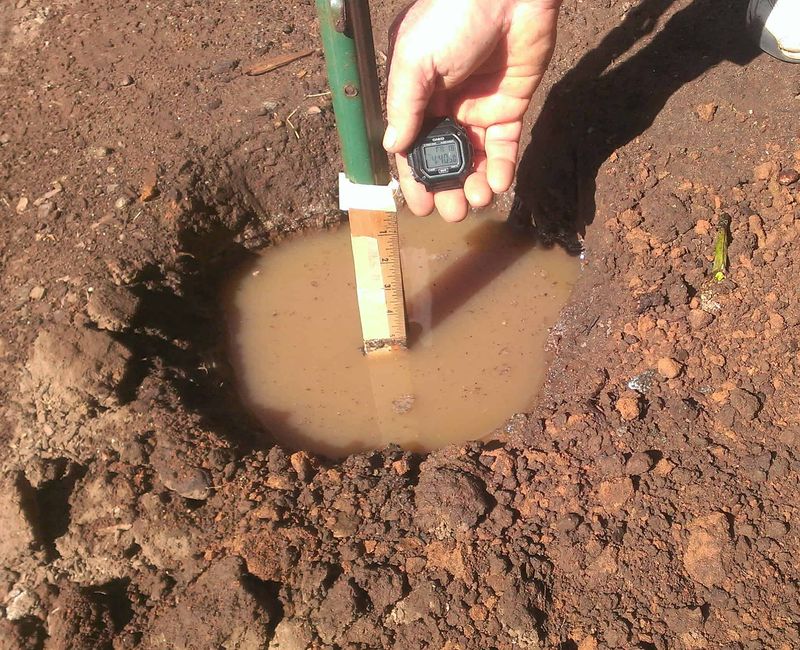
Reaching for lime, fertilizer, or a large bag of compost before you know what the soil actually contains is an easy way to spend money on the wrong fix. A soil test is the most reliable first step, and most state university extension labs process them for a modest fee. University of Minnesota Extension’s soil testing guide explains that a standard test can measure pH, phosphorus, potassium, and organic matter content, and some labs also report texture estimates, soluble salts, or micronutrient levels depending on the package you choose.
pH matters a great deal for cucumbers because it controls how available nutrients are to roots. Most home-garden sources put the workable range at roughly 6.0-6.5, though Penn State Extension gives a slightly broader range of 5.8-6.6. Neither figure is a universal requirement, so your goal is to land somewhere in that window rather than chase a single number. A soil test result will tell you where you are starting and how much, if any, adjustment is needed.
Drainage is the other variable worth checking before you treat anything. After a moderate rain, walk out and observe whether water pools on the surface or the soil stays visibly soggy for more than a day. For a more precise read, dig a hole about 12 inches deep, fill it with water, let it drain once, refill it, and time how fast the water level drops. Illinois Extension’s soil drainage improvement resource presents 1-3 inches of drainage per hour as a general benchmark for many garden plants, and less than 1 inch per hour as a sign of poor drainage worth addressing.
That benchmark applies broadly, not specifically to cucumbers, but it gives you a useful reference point for deciding whether your soil needs structural help before the next planting.
Improve clay without destroying its structure
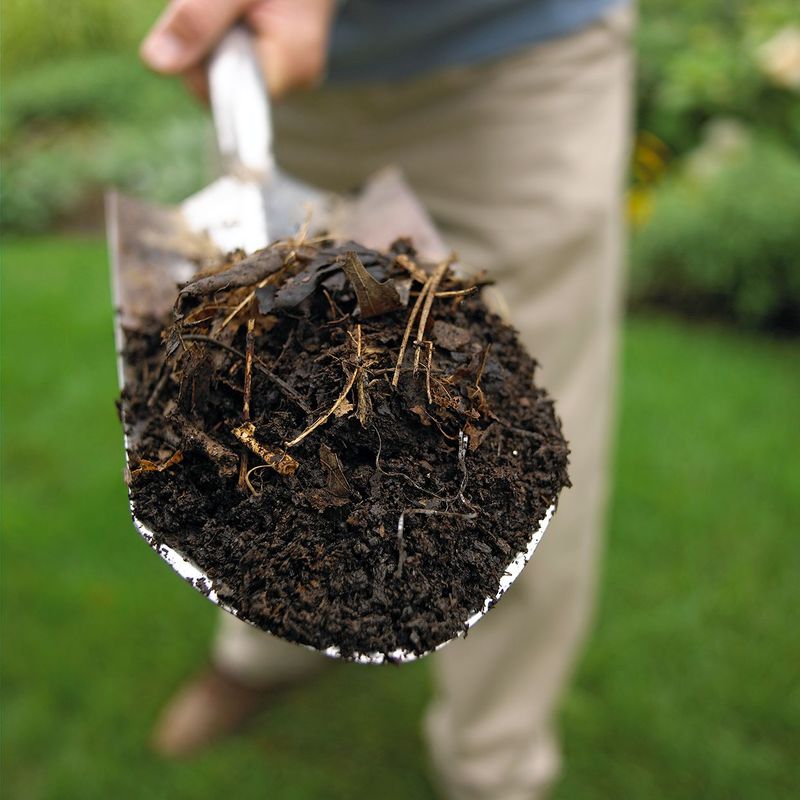
Once a soil test and a drainage check confirm that heavy or compacted clay is contributing to the problem, the safest first move is adding finished compost or other well-decomposed organic matter. Oregon State University Extension’s clay soil guidance explains that organic matter improves aggregation, aeration, infiltration, drainage, and nutrient retention in clay soils – a meaningful set of improvements that address most of the root-zone problems described in earlier sections.
One expectation worth setting clearly: adding compost does not change the soil’s underlying texture. Clay remains clay at the particle level. What changes is the structure – the way those particles are organized into clumps and channels. OSU Extension’s organic matter guide reinforces that organic amendments improve soil function rather than instantly converting clay into loam, and that the improvement builds gradually over multiple seasons of consistent additions.
How much to add should come from your soil test results, not from a general prescription. Excess compost or incompletely decomposed manure can contribute salts, raise phosphorus to problematic levels, or introduce pathogens and herbicide residues from treated hay or feed sources. Use only finished, fully decomposed material, and follow any application rates your extension lab recommends based on your test numbers.
Timing matters as much as the material itself. Walking across, digging, or tilling saturated clay can collapse pore structure and create compacted layers that restrict roots and slow drainage for seasons afterward. University of Minnesota Extension’s soil compaction resource is direct on this point: avoid working wet soil. Wait until the soil passes a simple squeeze test – a handful should crumble apart rather than smear or hold its shape.
Matching amendment work to a dry enough window protects the improvements you are trying to create.
pH adjustments should also follow the soil test. If results show the pH falls outside the approximate 5.8-6.6 range that Minnesota Extension recommends for cucumbers, use lime to raise it or sulfur to lower it in the amounts the lab specifies – not as a general precaution applied without data.
Use raised beds carefully and skip risky shortcuts
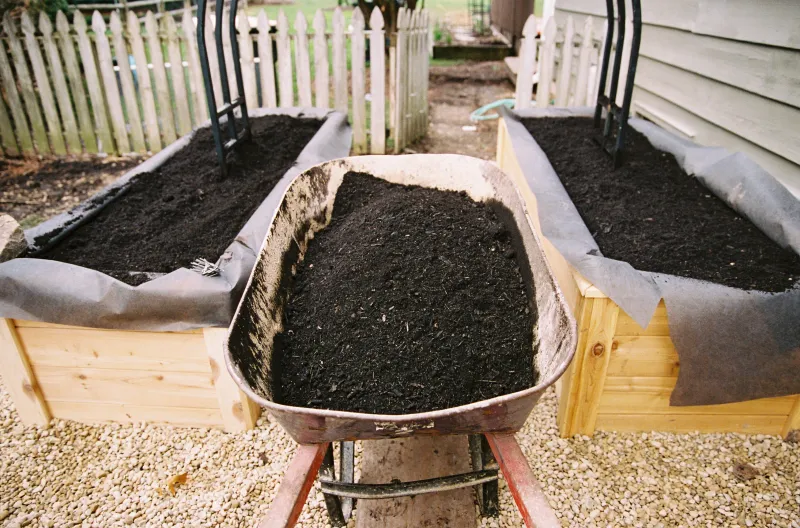
When native clay stays persistently wet or compacted despite amendment work, a raised bed is a practical way to give cucumbers a better root zone from the start. Lifting the growing area above the native soil allows you to control the mix, depth, and initial drainage characteristics in ways that in-ground work cannot always achieve. University of Georgia Extension’s raised bed gardening guidance supports raised beds as a useful option but notes that the fill material, pH, nutrient levels, and drainage all still need to be appropriate – a raised bed is not automatically a problem-free environment.
Before filling a new bed, consider whether water can actually drain through the bottom and into the underlying soil. If the native clay below is severely compacted or if the bed sits in a low spot, water can accumulate at the base of the fill and recreate the waterlogging problem at a different depth. Testing drainage in the area before building, and loosening the soil below the bed if possible, reduces that risk.
Several common shortcuts are worth avoiding outright. Mixing small or moderate amounts of sand into clay is one of the most frequently repeated bad ideas in home gardening. Oregon State University Extension warns directly that small sand additions can worsen structure or create a dense, concrete-like mixture rather than improving drainage. Meaningful texture change requires quantities closer to soil replacement than ordinary amendment work.
Fresh or incompletely composted manure carries its own risks: root injury, pathogen introduction, temporary nitrogen tie-up, and potential herbicide residues from treated pasture or hay. Use only finished, fully decomposed material, and let your soil test guide quantities rather than adding as much as possible. University of Minnesota Extension’s high-tunnel nutrient management resource documents how excess compost or manure can elevate salts and phosphorus to levels that create new problems even in raised growing systems. Regarding gypsum, some sources suggest it may help in sodic soils specifically, but applying it as a general clay remedy without a soil test and a verified source recommendation is not supported – check with your local extension office before using it.
Follow a short diagnosis-and-repair sequence
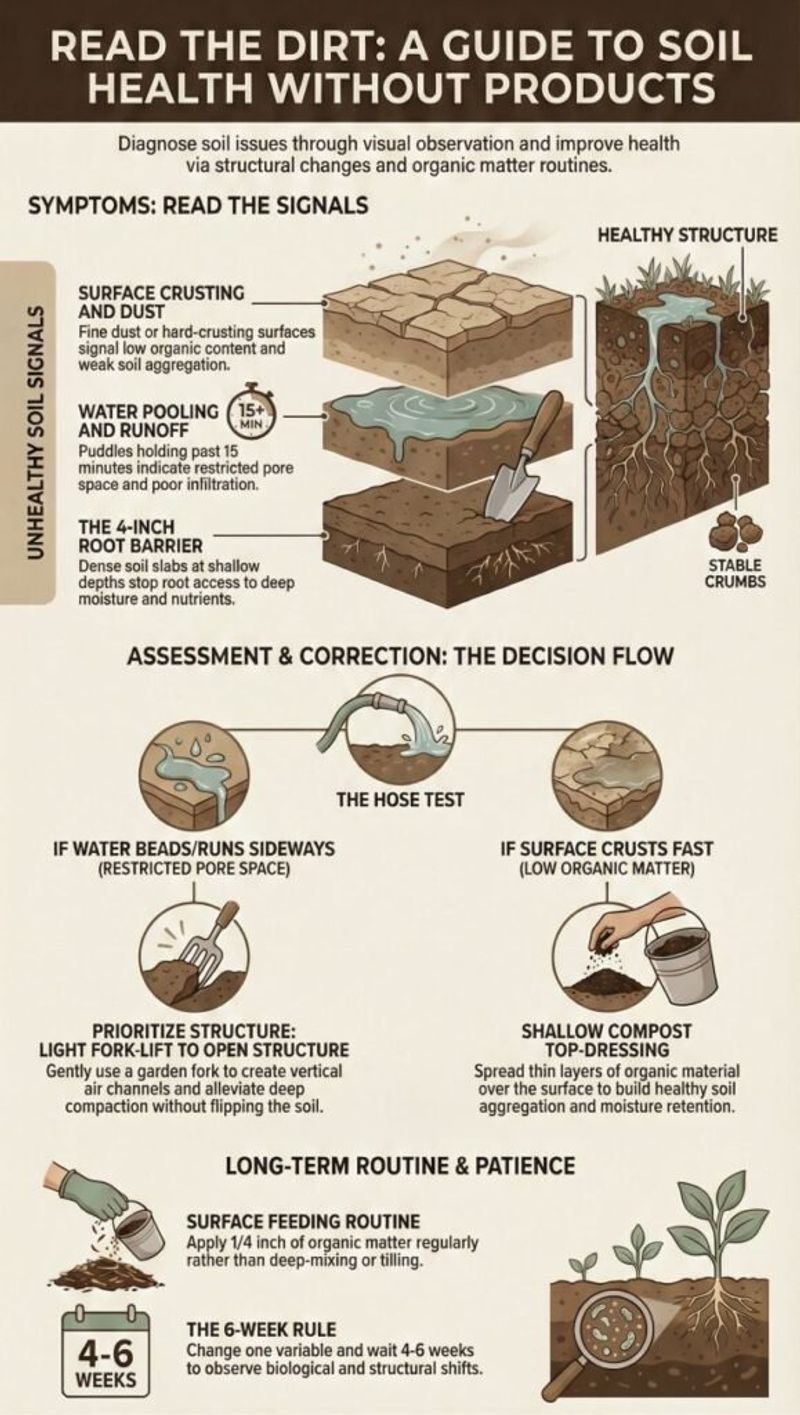
Getting from yellow, struggling cucumbers to healthy ones is mostly a matter of checking the right things in the right order. Start by stopping any work on wet soil immediately – every pass over saturated clay risks compressing pore space further and extending the problem. Then observe moisture and drainage: does water pool after rain, and does the soil stay soggy for more than a day? Those observations alone can confirm whether drainage is worth addressing before anything else.
Check roots when you can do so without causing more damage. Gently expose a small section near the base of a struggling plant and look for firm white root tips as a sign of active growth, or dark, mushy roots as a possible indicator of rot or oxygen stress. Neither observation is a final diagnosis, but both help narrow the list. Get a soil test to measure pH, phosphorus, potassium, and organic matter before adding any amendments.
Minnesota Extension’s cucumber guide and Oregon State’s clay soil resource both point toward test-guided amendments rather than guesswork.
If the test and drainage check confirm a structural problem, work finished compost into the bed when the soil is dry enough to crumble, or build a properly filled raised bed above the problem zone. Reassess before escalating to fertilizer or disease treatments. Illinois Extension reminds gardeners that persistent or patterned symptoms – mosaic coloring, angular lesions, insect feeding damage – still require a pest, disease, or nutrient diagnosis that goes beyond soil work. Healthy, well-structured clay can support cucumbers through a full season; the goal is simply to keep it from becoming the compacted, airless version that turns a productive plant into a yellow one.