
If Your Rosemary Grows Woody Stems But Wilts And Yellows In Its Pot, Soggy Roots Are Drowning It Slowly
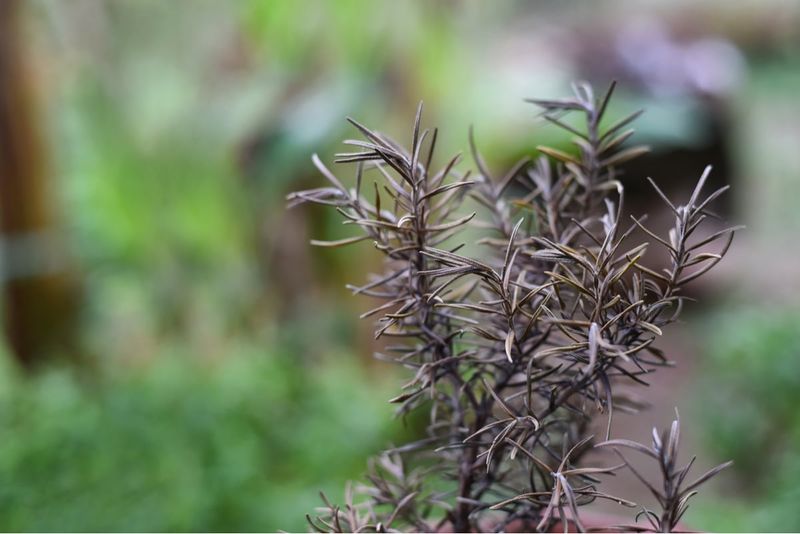
Rosemary has a reputation as a tough, nearly indestructible herb, so finding it wilted and yellowing in its pot can feel confusing and alarming. Many gardeners assume those woody lower stems are a red flag, but woody growth is actually a normal part of how rosemary ages. The real trouble, when it exists, usually starts underground, where a persistently wet growing medium slowly robs roots of the oxygen they need. Learning to read the full picture, not just one symptom, is what separates a quick fix from a wasted plant.
Woody stems do not prove drowning
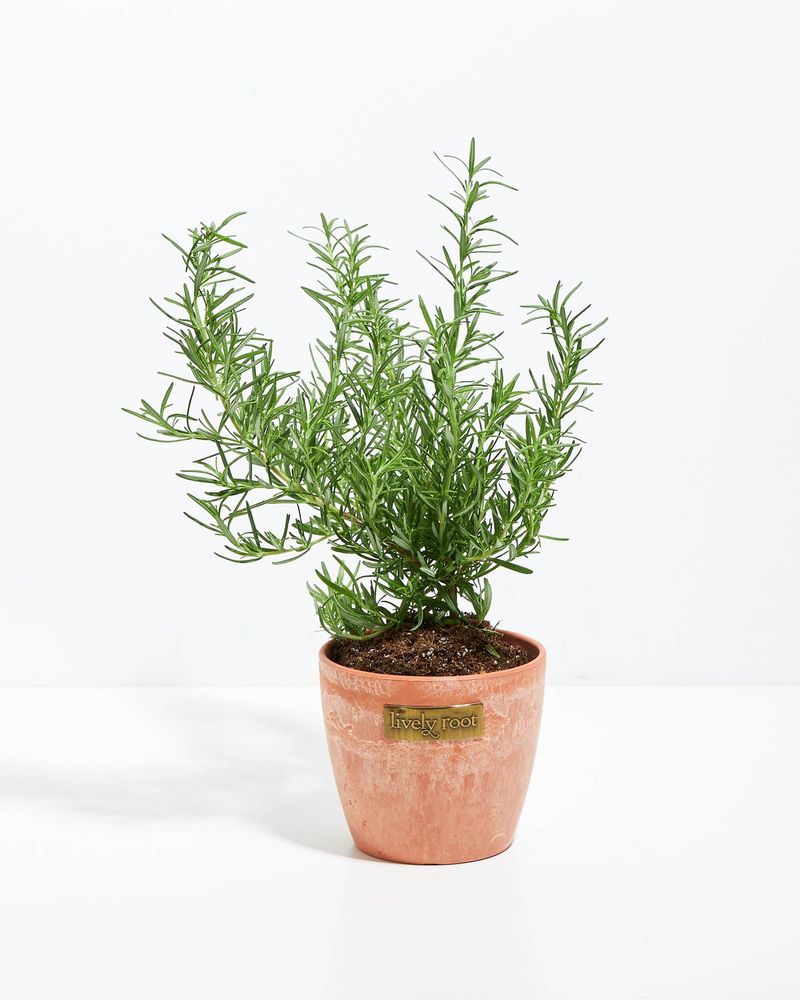
Rosemary is a woody perennial, meaning it naturally develops thick, bark-covered stems over time. RHS guidance on growing rosemary notes that plants left unpruned tend to become leggy, woody, and bare at the base as they mature. Seeing brown, bark-like stems on your potted rosemary is not a sign that anything has gone wrong underground.
The confusion comes from layering several symptoms together and drawing a single conclusion. Woody stems plus wilting plus yellow leaves can look alarming, but each of those things has more than one possible cause. Penn State Extension’s plant health diagnostic guide points out that yellowing, for example, can stem from underwatering, low light, nutrient shortfalls, pests, disease, cold injury, transplant shock, or the natural aging of older leaves. None of those symptoms, on its own, points directly to soggy roots.
A more reliable root-rot pattern involves several conditions working together: foliage that yellows or browns and does not recover, a persistent wilt that does not respond to normal watering adjustments, potting mix that stays wet day after day, and, when you pull the plant out, roots that look brown, feel limp, or break down into a mushy texture. Iowa State University Extension’s root rot resource describes healthy roots as generally firm and pale or white, with visible feeder roots, while damaged roots are brown or reddish, soft, and limp.
Diagnosing the combination matters because the right response depends on what is actually happening. A plant that is simply aging and getting woody needs light pruning, not a drainage overhaul. A plant sitting in a chronically wet mix with damaged roots needs a different intervention entirely. Checking both the growing medium and the roots before deciding on a course of action saves time, effort, and often the plant itself.
Why wet roots can cause drought-like wilt
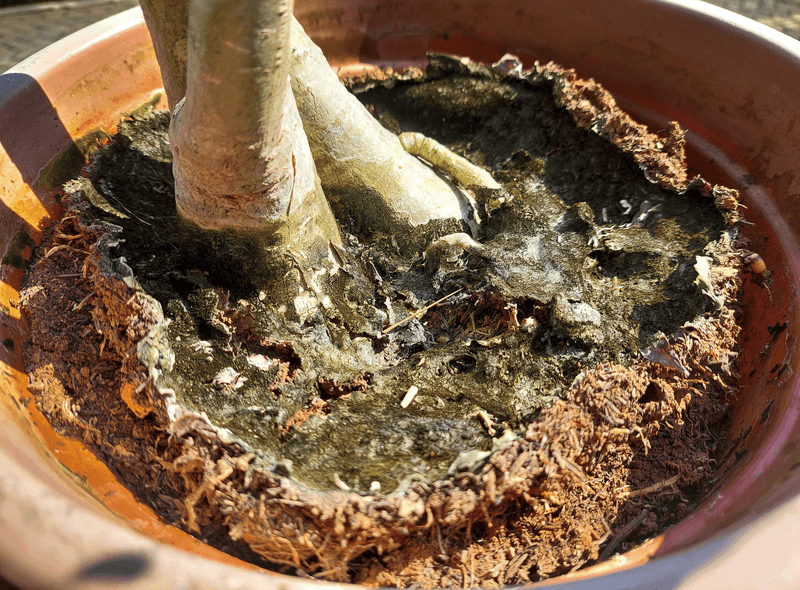
One of the more counterintuitive things that can happen to a container plant is that it wilts because of too much water rather than too little. Colorado State University Extension’s overview of water in plant growth explains that plant roots need both water and oxygen to function. When a potting mix stays saturated, water fills the small air spaces between soil particles and pushes oxygen out of the root zone.
Without adequate oxygen, roots begin to deteriorate. They lose the ability to absorb and move water efficiently up through the plant’s stems and into the foliage. The leaves then experience something that looks and feels exactly like drought stress, drooping and losing color even though the pot feels heavy and wet. This is the mechanism behind the apparently backwards situation where a rosemary surrounded by moisture is actually starving for water at the leaf level.
Rosemary’s native Mediterranean habitat makes it particularly vulnerable to this chain of events. Texas A&M AgriLife Extension’s rosemary guide and University of Illinois Extension’s herb page both note that rosemary thrives in full sun and well-drained, relatively dry conditions. A plant adapted to thin, fast-draining soils has roots that are not built to tolerate prolonged saturation.
That said, wilt caused by genuinely dry roots is just as real a possibility. Before assuming the problem is too much water, check whether the mix is wet or dry. A rosemary that has dried out completely in a small clay pot on a hot, windy afternoon is wilting for the opposite reason, and withholding water from it will make things worse. The mechanism is different even when the symptom looks the same, which is why the medium always needs to be checked first.
Check the medium and roots before watering
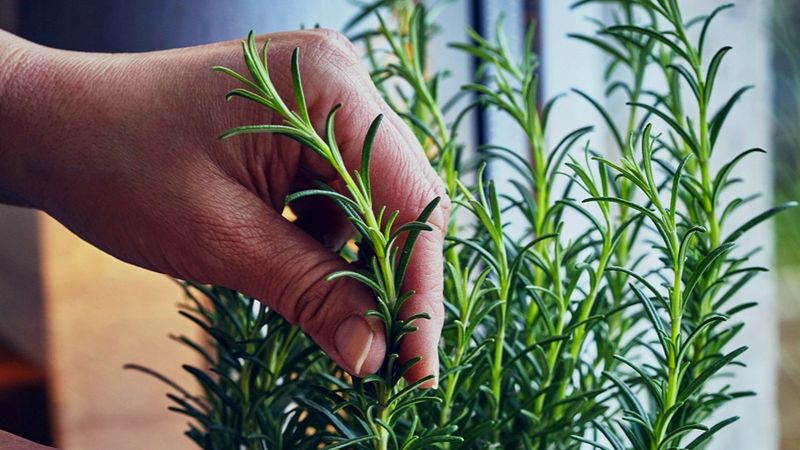
Before reaching for a watering can or assuming the worst, the most useful thing to do is check what is actually happening in the pot. Push a finger about one to two inches below the surface of the growing medium. Iowa State University Extension’s guide to wilting houseplants advises checking soil moisture at that depth rather than relying on a fixed watering schedule, because conditions vary too much between pots, seasons, and locations for a calendar to be reliable.
If the mix feels dry at that depth, the plant likely needs water. If it feels damp or wet, step back and do not add more. Check whether water can actually escape from the pot by looking for a clear, unobstructed drainage hole at the bottom. A pot that drains slowly or not at all will stay wet far longer than the plant can tolerate, regardless of how carefully you water.
When the mix has been staying wet for several days in a row without improvement, the next step is to look at the roots themselves. Gently remove the plant from its pot and examine what you find. Iowa State’s root rot resource describes healthy roots as firm and pale or white with visible feeder roots, while roots affected by rot are typically brown, reddish, limp, or mushy when pressed. The presence of that kind of root damage, paired with a persistently wet mix, is a much stronger signal of a drainage problem than wilting or yellowing leaves alone.
Keep in mind that other stresses can produce similar symptoms. Penn State Extension’s plant health resource and University of Georgia Extension’s houseplant troubleshooting article both point out that pests, disease, cold damage, and nutrient issues can all produce yellowing and wilt without any root rot involved. Working through the medium and root check first rules out the most common container-specific cause before looking elsewhere.
Build drainage into the container
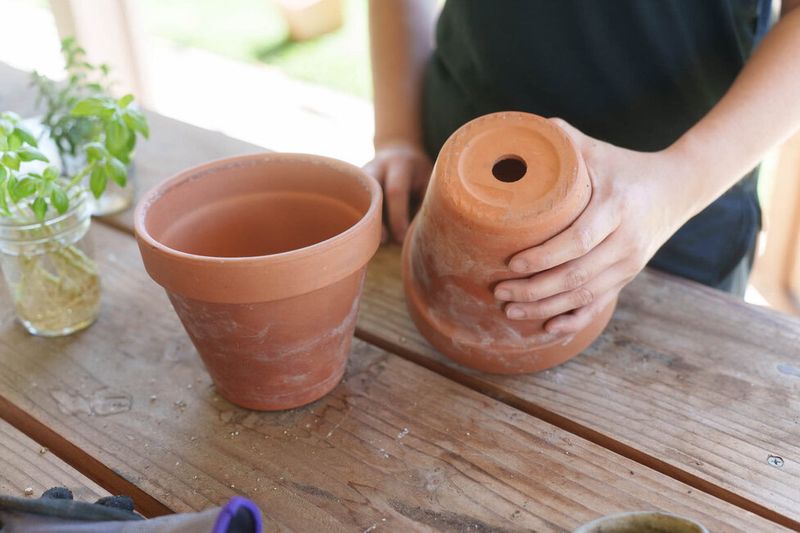
Good drainage starts with the container itself. A pot needs at least one unobstructed hole at the bottom so that excess water can escape freely after each watering. Iowa State University Extension’s houseplant care guide is direct on this point: standing water that collects in a saucer or at the base of a pot without an exit will keep the root zone wet and create the conditions that lead to root damage over time.
The growing medium matters just as much as the hole. University of Illinois Extension’s container soil page notes that garden soil alone compacts in pots, reduces aeration, and drains poorly. A loose, porous container mix, sometimes labeled as potting mix rather than garden soil, keeps spaces between particles open so water moves through rather than pooling. Illinois Extension’s guide to growing herbs in containers specifically recommends a well-drained mix for container herbs.
One common misconception is that adding a layer of gravel or rocks to the bottom of the pot improves drainage. UC Marin Master Gardeners’ container guidance explains that a coarse layer at the base actually raises the water table within the pot, leaving the root zone wetter than it would be with a uniform mix throughout. The fix is a drainage hole, not a rock layer.
Saucers are useful for protecting surfaces but need to be emptied after the pot finishes draining. Water that sits in a saucer beneath the drainage hole effectively blocks drainage and keeps the bottom of the root ball wet. If you prefer a decorative pot without a hole, use it only as an outer cachepot around an inner pot that does drain. Penn State Extension’s repotting guide recommends lifting the inner pot out regularly to pour off any water that has collected inside the decorative shell.
Repot when wet conditions or roots justify it
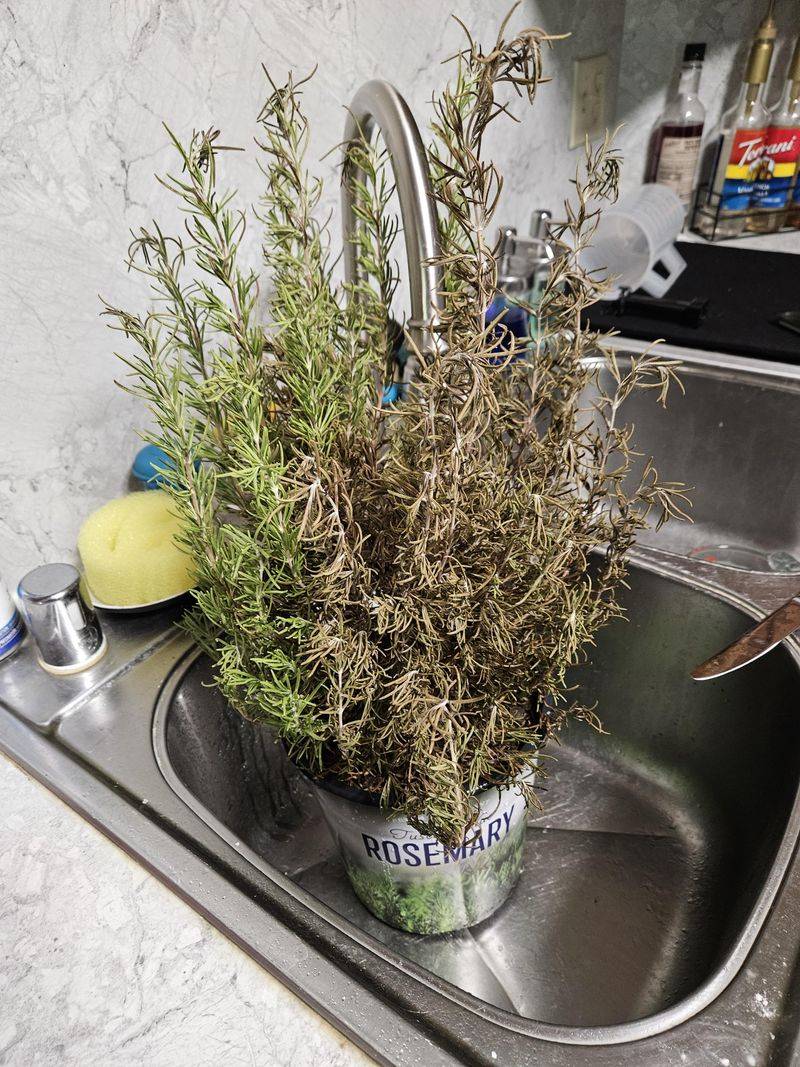
Repotting is not a routine maintenance step for rosemary. It becomes the right move when the growing medium stays persistently wet despite having a drainage hole, or when a root inspection reveals brown, limp, or mushy roots that confirm actual damage has occurred. Going through the process without those supporting signs adds unnecessary stress to a plant that may simply need a watering adjustment.
When the evidence does support repotting, start by gently removing the plant and shaking away as much of the old mix as possible without tearing healthy roots. Examine the root ball carefully and use clean scissors or pruners to cut away any roots that are brown, soft, or visibly dead. Iowa State University Extension’s root rot article notes that removing damaged tissue and moving the plant into fresh, well-drained medium gives the remaining healthy roots the best chance to recover.
Choose a container that is only modestly larger than the healthy portion of the root ball that remains after trimming. A pot that is too large holds far more mix than the roots can dry out between waterings, which recreates the wet conditions you are trying to correct. Iowa State’s houseplant care resource and University of Minnesota Extension’s winter plant tips both reinforce the value of matching pot size to root mass. Fill with a fresh, porous container mix rather than reusing the old medium, and do not add gravel to the bottom of the new pot.
After repotting, hold off on fertilizer. University of Illinois Extension’s container soil guidance and Iowa State’s houseplant care article both advise waiting at least two to four weeks before resuming regular feeding, since roots that are still recovering cannot make good use of added nutrients and may be further stressed by them. Finally, accept that repotting improves the growing conditions but does not guarantee recovery. Penn State Extension’s guide to diagnosing root death in woody ornamentals notes that extensive root damage can remain hidden until symptoms are severe, and a plant with a heavily rotted root system may not pull through even after conditions improve.
Water by conditions, not by the calendar

A fixed watering schedule is one of the most common reasons container rosemary ends up in trouble. Every seven days or every two weeks sounds organized, but those intervals ignore everything that actually determines how fast a pot dries out. Iowa State University Extension’s wilting plant resource recommends checking soil moisture about one to two inches below the surface rather than following a calendar, because pot size, material, light levels, temperature, wind, and the plant’s own root health all affect how quickly a mix dries.
The practical routine is straightforward. Push a finger into the mix and feel what is there at that depth. If it feels dry, water thoroughly, applying enough to wet the entire root ball and letting the excess run freely out of the drainage hole. University of Illinois Extension’s container herb guide and Oregon State University Extension’s indoor herb resource both describe this approach: water until it drains, then wait until the mix has dried before watering again.
Empty the saucer after drainage finishes so the pot is not sitting in collected water.
Drought tolerance can mislead rosemary growers into thinking the plant never really needs water. Iowa State’s houseplant care guide is clear that drought tolerance means the plant prefers drying between waterings, not prolonged total desiccation. A small rosemary in a clay pot sitting in full sun on a breezy summer afternoon can dry out completely within a day or two. University of Illinois Extension’s rosemary page notes that container plants in particular are more exposed to heat and air movement than in-ground plants, so their water needs shift noticeably with the season and weather.
Reading the mix rather than the calendar protects the plant from both extremes. A rosemary that is genuinely dry needs water regardless of how drought-tolerant the species is. One sitting in a still-damp mix does not need more water regardless of how many days have passed since the last watering.
Prune normal woody growth carefully
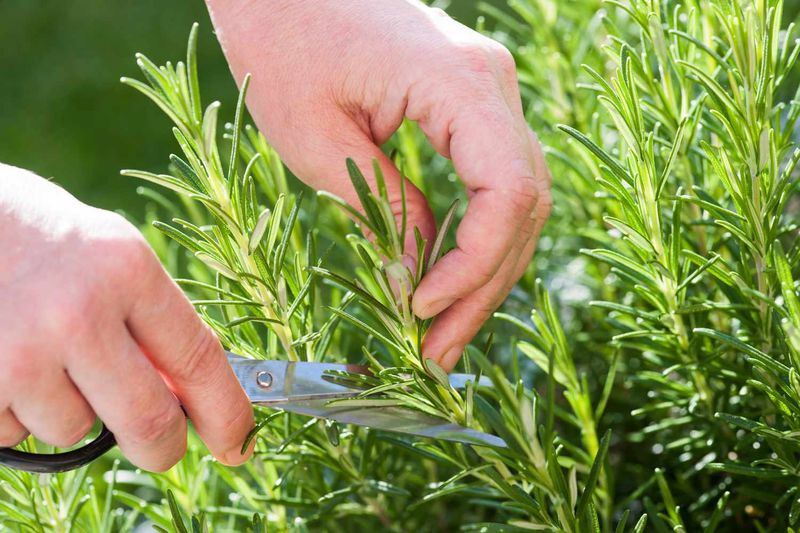
Pruning is a separate conversation from drainage, and it is worth keeping the two clearly apart. When a rosemary develops woody, bare lower stems over time, that is a growth pattern tied to age and pruning history, not evidence of root trouble. Addressing it with a watering adjustment or repotting will not change anything about the plant’s shape.
Light pruning after flowering or during periods of active growth encourages compact, bushy growth and can slow the rate at which the lower stems become bare. RHS guidance on growing rosemary recommends trimming back into the green, leafy portion of the stems rather than cutting deeply into bare old wood. Rosemary does not reliably resprout from leafless, woody sections, so aggressive cuts into that material often leave dead stubs rather than fresh growth.
If the plant has become very woody and open over several seasons without much pruning, gradual reshaping over multiple growing seasons is more likely to succeed than a single hard cutback. Remove no more than about one-third of the green growth at a time, focusing on the tips and the most congested stems. Consistent light pruning throughout the growing season keeps the plant more compact year over year than occasional heavy cuts.
A rosemary that is severely old, declining, and mostly bare wood may be a candidate for replacement rather than rejuvenation. Taking cuttings from any remaining healthy, green stems and rooting them in a fresh, well-drained mix gives you a new plant with a better start. Drainage correction should run in parallel if wet roots are also part of the picture, but pruning alone will not solve a waterlogged container, and improving drainage will not restore a plant that has simply outgrown its productive life.
Use the evidence-based rosemary rule
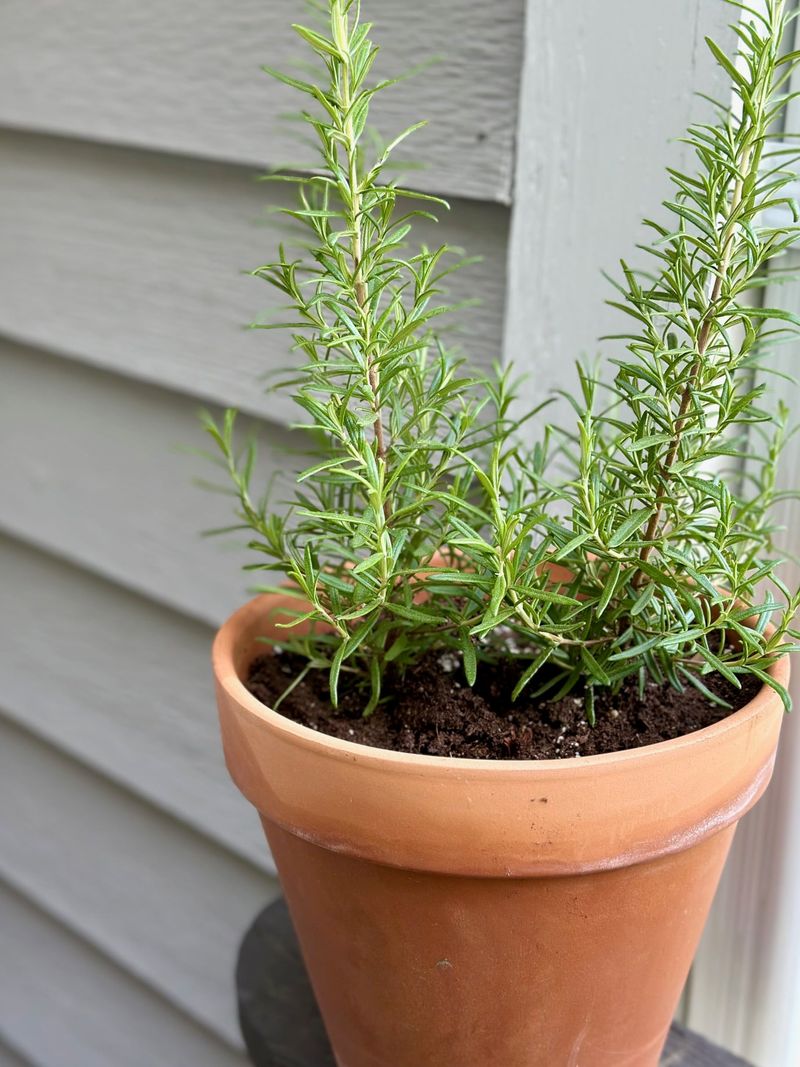
Woody stems on a rosemary are not a reason to panic or immediately change your watering routine. They become worth investigating when they appear alongside persistent wilt or yellowing foliage and a pot that stays wet between waterings. That combination, not any single symptom, is what points toward a medium, drainage, and root check.
The container habit that protects rosemary most reliably is simple: an unobstructed drainage hole, a porous mix that does not compact or hold excess water, an empty saucer that is cleared after each watering, and a moisture-based approach that checks the mix about one to two inches down before adding water. UC Marin Master Gardeners’ container guidance and University of Illinois Extension’s rosemary page both support this setup as the foundation for healthy container herbs.
Root rot is a possible explanation for wilting and yellowing in a persistently wet pot, but it is not a certainty, and fixing drainage does not guarantee that a damaged plant will recover. Iowa State University Extension’s root rot resource notes that extensive damage can remain hidden until symptoms are severe. The goal is to create conditions where healthy roots can thrive and struggling ones have a fair chance, while recognizing that some plants have already passed the point where intervention helps. A rosemary grown in the right container with the right mix and a consistent moisture check rarely ends up in that position to begin with.