
The Ultimate Guide To Growing Tall, Gorgeous Hollyhocks (It Comes Down To One Simple Secret)
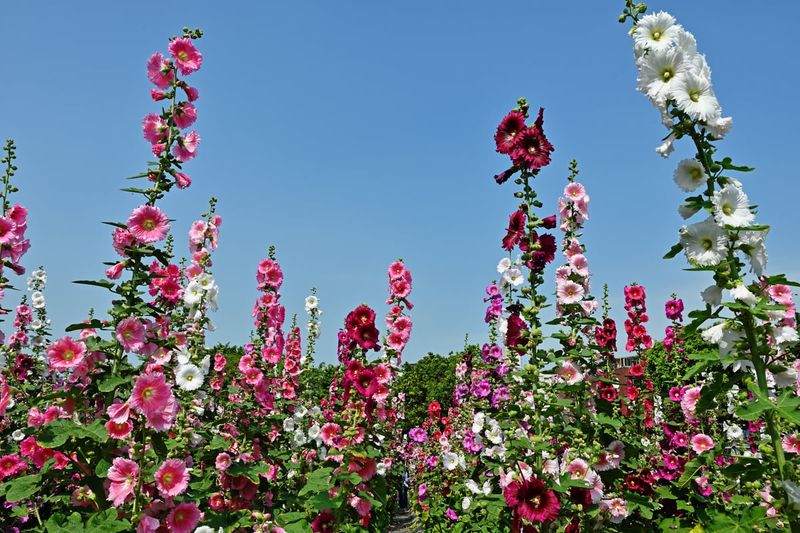
Hollyhocks are one of those old-fashioned garden plants that stop people in their tracks when they are growing well. Their towering stalks loaded with big, papery blooms look like something out of a cottage garden painting, and plenty of backyard gardeners want that same effect.
The good news is that reaching that kind of height is not a mystery, but it does require getting a few basics right from the start. Full sun is the single best place to begin, and everything else builds from there.
Start with the sunniest suitable site
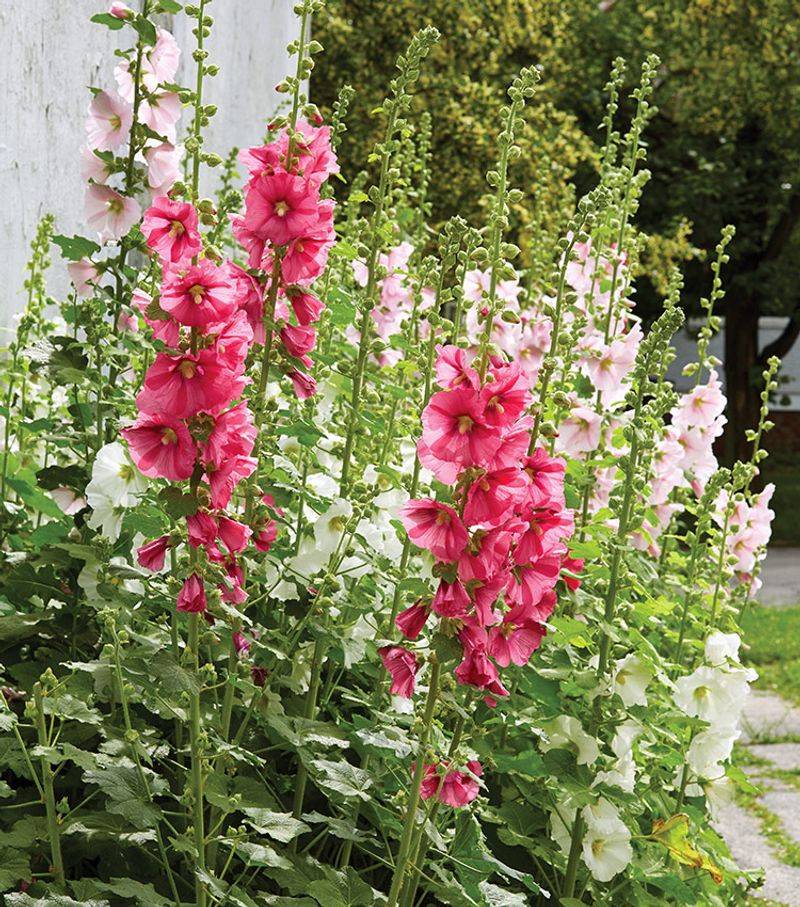
Location is the single most important decision you make before a hollyhock seed ever touches the soil. A spot that receives generally at least six hours of direct sunlight each day gives hollyhocks the strongest possible foundation for healthy growth and a full flower display.
NC State Extension’s hollyhock profile recommends full sun, meaning six or more hours of direct light daily, as the preferred growing condition for this plant.
When hollyhocks are placed in shade or even partial shade, flowering tends to suffer noticeably. Stems can become weaker, plants may stay shorter than their genetic potential, and the overall display loses the drama you were hoping for.
That said, sunlight alone is not a guaranteed height switch. Cultivar genetics, the plant’s age, soil quality, moisture during establishment, wind exposure, and disease pressure all play a role in how tall a hollyhock actually grows.
Think of full sun as the foundation rather than the ceiling. You can give a hollyhock a perfect, sunny location and still end up with a shorter-than-expected plant if the variety is naturally compact, the soil drains poorly, or rust strips the foliage mid-season.
University of Illinois Extension’s hollyhock care guide reinforces that a sunny, well-drained site is the starting point, not the whole story.
When scouting a planting location, look for a spot that gets open sky from mid-morning through late afternoon. South- or west-facing areas along a fence or wall often work well and have the added benefit of providing some wind shelter for tall stems.
Avoid spots under trees or on the shaded side of structures, even if the area looks bright. Reflected light and dappled shade are not substitutes for direct sun when you want hollyhocks to perform at their best.
Choose a variety bred to grow tall
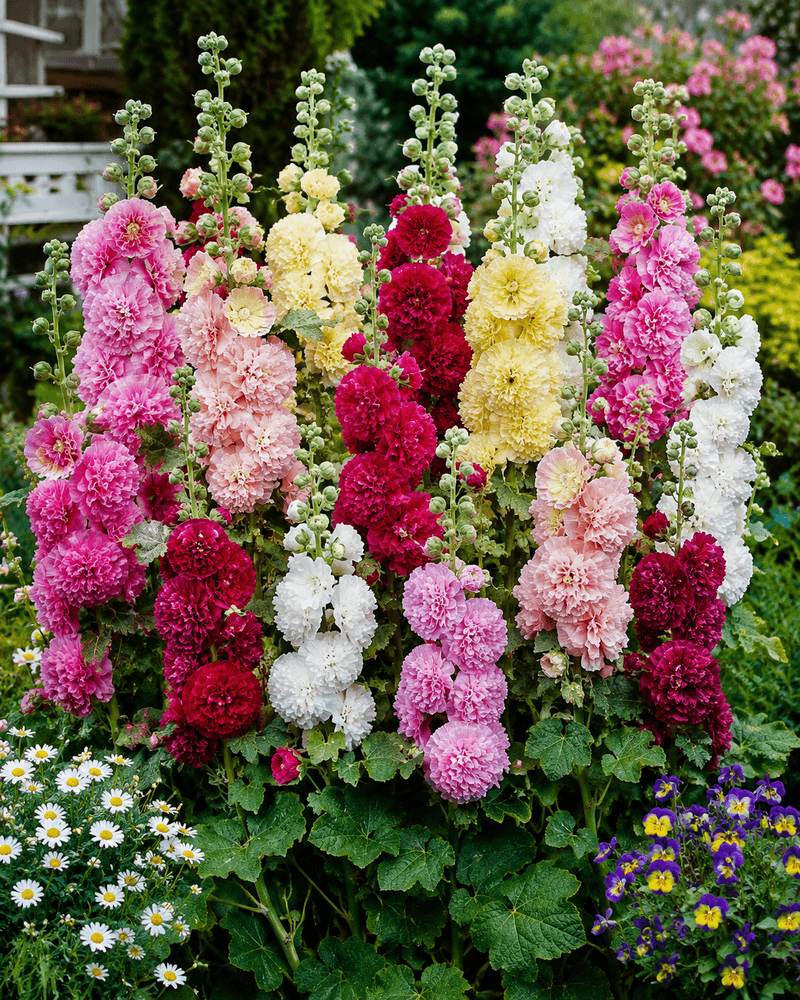
Not every hollyhock reaches the same height, and that difference starts with genetics. Reported mature heights vary widely across hollyhock species and cultivars, ranging from roughly two to six feet for some garden types to five feet or taller for others.
University of Illinois Extension lists a general height range of two to six feet for hollyhocks, while other species descriptions reach higher. If height is the goal, the variety description on your seed packet or plant tag should take priority over any general promise.
Before buying seeds or transplants, check the cultivar name and look up its expected mature height. A variety described as a dwarf or compact type will stay shorter by design, no matter how much sun or care it receives.
Choosing a variety specifically described as tall is the most reliable way to set yourself up for an impressive display. Common hollyhock, Alcea rosea, includes many tall-growing selections, and the RHS hollyhock growing guide notes that plants can reach substantial heights when conditions suit them.
Once you have the right variety, patience becomes essential. Many traditional hollyhocks follow a biennial life cycle, meaning they spend their first growing season building a leafy rosette close to the ground and do not send up a flowering stalk until the second year.
Ask Extension’s hollyhock FAQ confirms this two-year pattern for many common types, and it is one of the most common sources of gardener frustration.
A first-year plant that looks like a low, leafy mound is almost certainly doing exactly what it should. Some annual or specially bred cultivars are developed to flower in their first year, so if waiting is not appealing, look for varieties labeled as annual or first-year-flowering.
Iowa State University Extension notes that biennial types typically form a rosette in year one before flowering in year two, so understanding your cultivar type helps you know what to expect and when.
Prepare a well-drained root zone
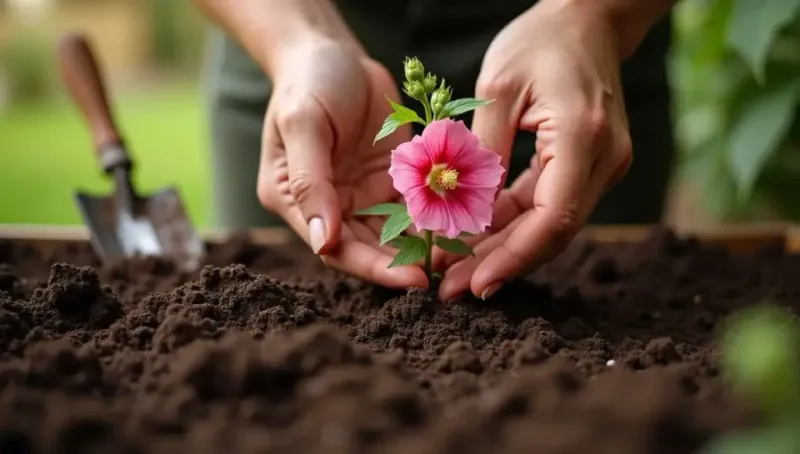
Hollyhocks are more forgiving about soil texture than many gardeners expect. They can grow in clay, loam, and sandy soils, but they consistently perform best when the site is reasonably fertile and drains well.
NC State Extension recommends well-drained soil as a core requirement alongside full sun. Waterlogged or consistently soggy ground can damage roots and make plants more vulnerable to disease, so if your yard tends to hold standing water after rain, amending with compost or choosing a raised bed is worth the effort before planting.
At the same time, well-drained does not mean bone dry. New hollyhock seedlings and transplants need consistent moisture while they get established.
The goal is soil that stays evenly moist without staying saturated. Once plants are established and growing strongly, they can handle drier conditions better, but during those first weeks after germination or transplanting, drying out too quickly can slow development.
Seed placement matters more than many gardeners realize. Iowa State University Extension notes that hollyhock seeds germinate best when pressed into the soil surface and covered only lightly, if at all, because light can aid germination.
Burying seeds too deeply is a common reason for poor or uneven emergence. In warm soil, expect seedlings to appear in roughly five to ten days.
In cooler soil, emergence may take ten to twenty-one days, so do not give up too quickly if nothing is showing yet.
For sowing timing, resist the urge to follow a rigid national calendar. UC Agriculture and Natural Resources’ hollyhock fact sheet provides regional sowing guidance, but the safest general advice is to follow the directions on your seed packet and check with your local extension service.
Frost dates, winter severity, heat, and cultivar type all affect the best window for your specific garden. Getting the timing right for your region is just as important as getting the soil right.
Protect height without forcing fragile growth
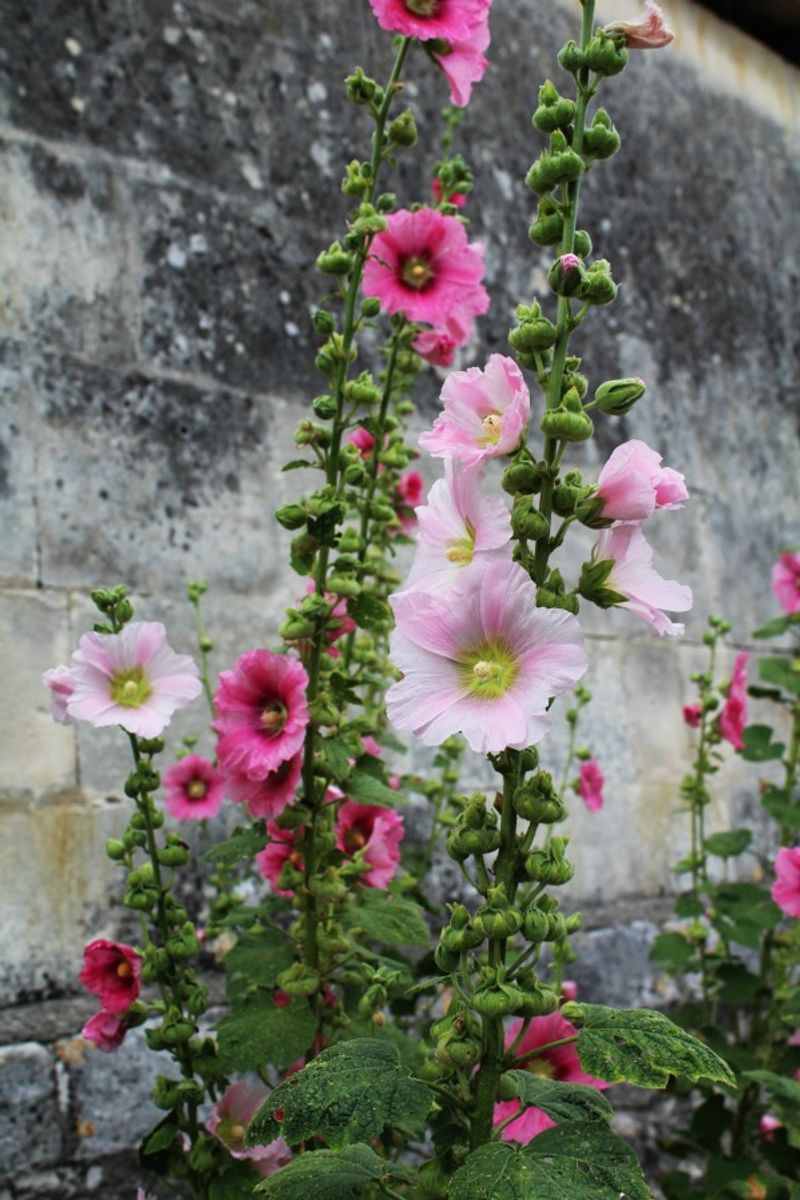
Reaching tall hollyhock height is one thing. Keeping that height standing upright through a summer of wind, rain, and heat is another challenge entirely.
Several care choices directly affect whether your plants stay healthy and vertical or end up bent, broken, or bushy when you wanted them tall.
Watering is one area where more is not automatically better. New plants need adequate, consistent soil-level moisture while they establish roots, but the amount should be guided by your soil conditions and current weather rather than a fixed daily schedule.
South Dakota State University Extension advises keeping hollyhocks adequately watered, especially during dry spells, while avoiding saturated conditions. Wet foliage also creates favorable conditions for fungal disease, so watering at the base of the plant rather than overhead is a practical habit to build from the start.
Wind is a real threat to tall hollyhock stems. Planting near a fence, wall, or hedge can provide natural shelter and reduce the risk of stems bending or snapping during summer storms.
In more exposed locations, staking individual stems with bamboo canes or garden stakes gives plants reliable support. Colorado State University Extension’s perennial gardening guide and the RHS hollyhock growing guide both note that staking protects the display in windy situations.
These measures keep tall plants standing, but they do not make plants grow taller than their genetics allow.
Pinching is a technique that some gardeners use to encourage bushier, more branched plants, but it works directly against the goal of maximum height. Removing the growing tip early in the season forces the plant to push out side shoots rather than continuing its upward climb.
University of Illinois Extension confirms that pinching produces shorter, bushier plants. If tall is the priority, skip pinching entirely.
Fertilizing is another area where restraint pays off. Excess nitrogen, in particular, can push plants to produce abundant leafy growth at the expense of flowers.
Feed only when the soil actually needs it, ideally based on a soil test rather than a guesswork schedule. University of Connecticut’s fertilizer guidance for flowers recommends soil testing before applying nutrients, an approach that prevents both underfeeding and the kind of overfeeding that leads to floppy, flower-poor plants.
Reduce rust risk with space and dry foliage
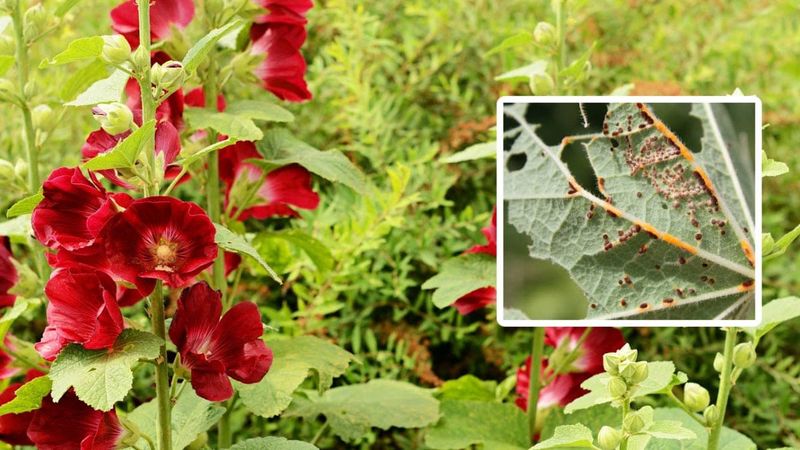
Hollyhock rust is one of the most common problems gardeners encounter with this plant, and it can do real damage to the foliage and flowering display if it takes hold early in the season. Knowing what to look for makes it much easier to catch and manage before it spreads.
University of Wisconsin Extension’s hollyhock rust guide describes the classic symptoms: pale or yellow spots on the upper surface of leaves, paired with orange-brown or dark rust-colored pustules on the underside. Those powdery bumps on the leaf undersides are the clearest sign that rust is present.
Rust is caused by a fungal pathogen that spreads through airborne spores, so it can arrive in a garden even when cultural practices are excellent. That said, certain conditions make infection and spread much more likely.
Crowded plants with poor airflow, wet foliage that stays damp for extended periods, and splashing water from overhead irrigation all create a more favorable environment for rust to develop and move from plant to plant. University of Maryland Extension’s rust disease resource highlights the role of moisture and crowding in rust development.
Practical prevention centers on a few repeatable habits. Give plants enough space so air can move freely through the planting, following spacing guidance from your seed packet and the UC hollyhock fact sheet, which suggests approximately two to three feet between seed groups as a starting point.
Water at soil level rather than overhead, and try to water early enough in the day that any foliage that does get wet has time to dry before evening. Remove heavily infected leaves as soon as you spot them, and clear away all infected plant debris at the end of the season rather than leaving it to harbor spores over winter.
Iowa State University Extension’s rust management guidance supports end-of-season cleanup as a meaningful risk-reduction step.
Some hollyhock species carry better resistance to rust than common Alcea rosea. Russian hollyhock (Alcea rugosa) and figleaf hollyhock (Alcea ficifolia) are both reported as more resistant, according to University of Minnesota Extension’s rust in the flower garden resource.
Choosing a more resistant type can lower the risk, but resistance is not immunity, and any hollyhock can still become infected under the right conditions.
Choose a post-bloom strategy
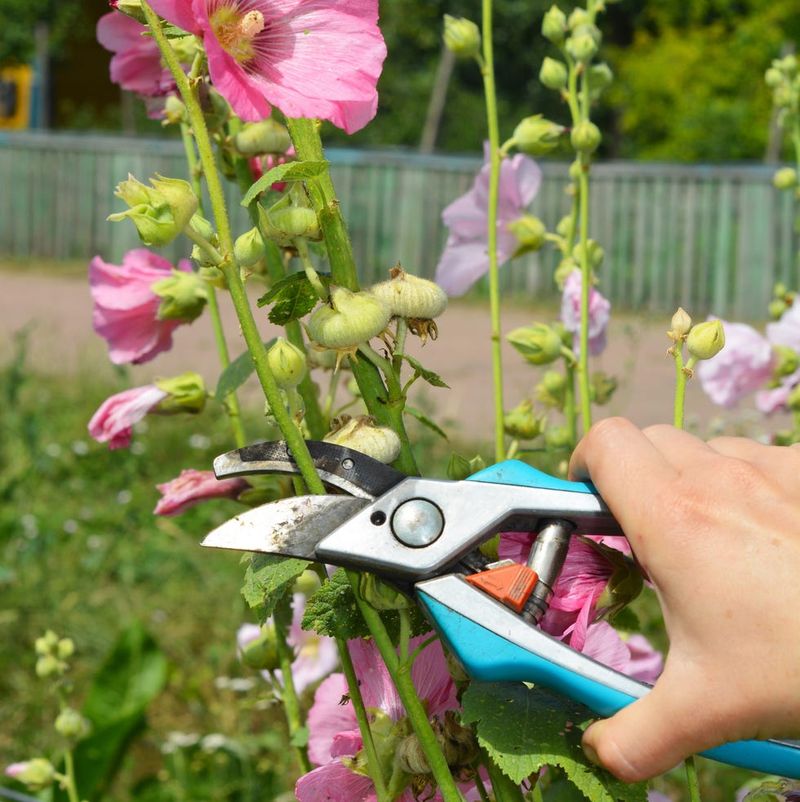
Once the blooming season winds down, the decisions you make about your hollyhocks will shape what happens in the garden next year. There is no single right answer for every gardener, because tidiness, seed production, and plant succession are competing goals that each point in a different direction.
Deadheading, which means removing spent flowers before they set seed, can keep the display looking cleaner and may encourage the plant to redirect some energy. South Dakota State University Extension notes that removing faded flowers is one option for maintaining tidiness.
The trade-off is that deadheaded plants produce fewer or no seeds, which matters if you are counting on self-sowing to fill the garden with hollyhocks in future seasons.
Allowing some flowers to mature and drop seed is often the more practical choice for gardeners who want hollyhocks to persist in the same spot year after year. Many hollyhock plants decline or die after flowering, especially biennial types that have completed their two-year cycle.
The RHS hollyhock growing guide explains that self-seeding is one of the main ways hollyhocks maintain a presence in the garden from season to season. Removing every plant after bloom can accidentally eliminate the next generation of seedlings.
Ask Extension’s hollyhock FAQ confirms that individual plants may persist beyond their first flowering year in some conditions, but gardeners should not count on every plant returning. A sensible middle-ground approach is to deadhead some stems for tidiness, leave others to set seed for self-sowing, and remove any plants showing heavy rust or disease damage at the end of the season so that infected debris does not carry problems into the following year.
Match the plant’s height to the garden
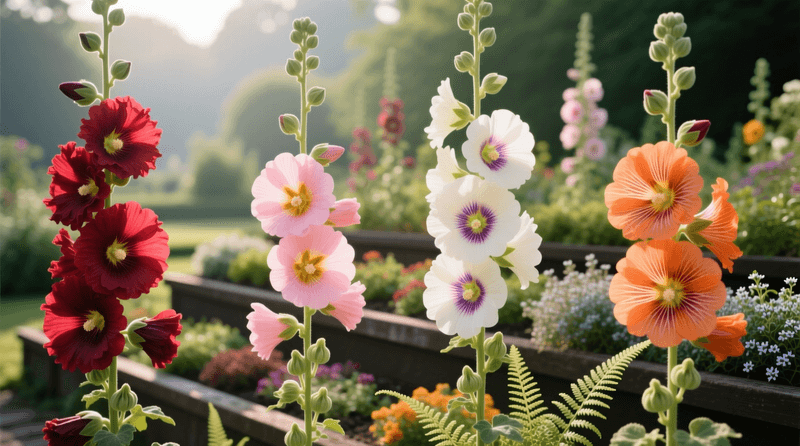
Pulling everything together comes down to a practical decision rule: start with the sunniest spot available, pick a cultivar whose described height actually fits what you want to achieve, and give it well-drained soil with enough moisture during establishment. Biennial types need a full year before they flower, so patience is part of the plan.
Wind protection and rust management are worth adding when your site or local conditions make those problems likely. NC State Extension and the RHS hollyhock growing guide both support this hierarchy of basics as the foundation for a successful planting.
An exposed garden where tall stems regularly fall over may actually benefit more from a sturdier mid-height cultivar than from an unsupported eight-foot giant. University of Illinois Extension’s hollyhock care guide notes that site conditions should guide cultivar choice, not the other way around.
If a hollyhock stays stubbornly short or refuses to bloom, run through this quick checklist before assuming the plant is lost. Is it getting enough direct sun each day?
Is the cultivar naturally compact? Is this its first year, meaning it may simply be a biennial rosette?
Are there drainage problems or drought stress at the roots? Has wind been bending or breaking the stem?
Is rust stripping foliage before the plant can build energy? Most short or non-blooming hollyhocks have an answer somewhere on that list, and fixing the underlying cause is almost always simpler than starting over.