
7 Real Reasons Your Clematis Won’t Bloom (And Exactly How To Fix Each One)
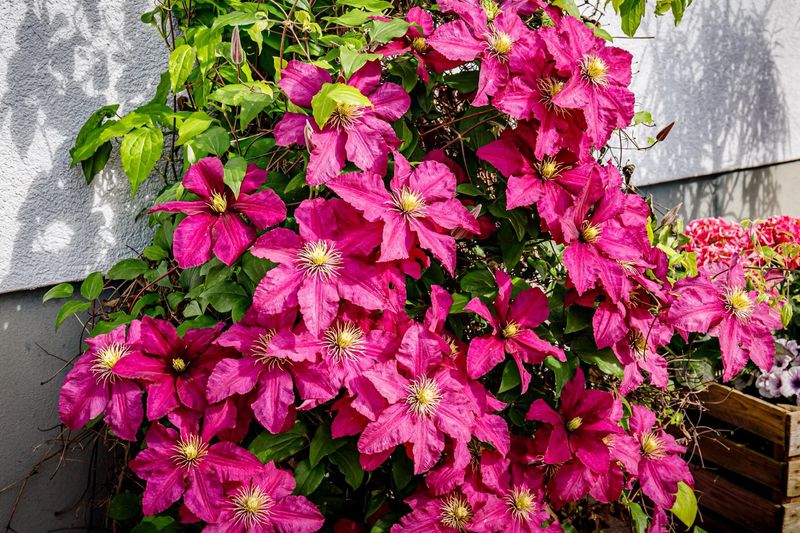
You planted a clematis dreaming of a wall covered in big, showy flowers, but all you got was a tangle of green leaves and maybe one sad bloom. Before you give up and rip it out, know that a non-blooming clematis is almost always fixable once you spot what is going wrong.
Most of the time it comes down to one simple mistake, like pruning at the wrong moment or feeding it the wrong food. Let’s walk through the seven real reasons your clematis is holding back, and exactly what to do about each one.
1. Pruning at the Wrong Time
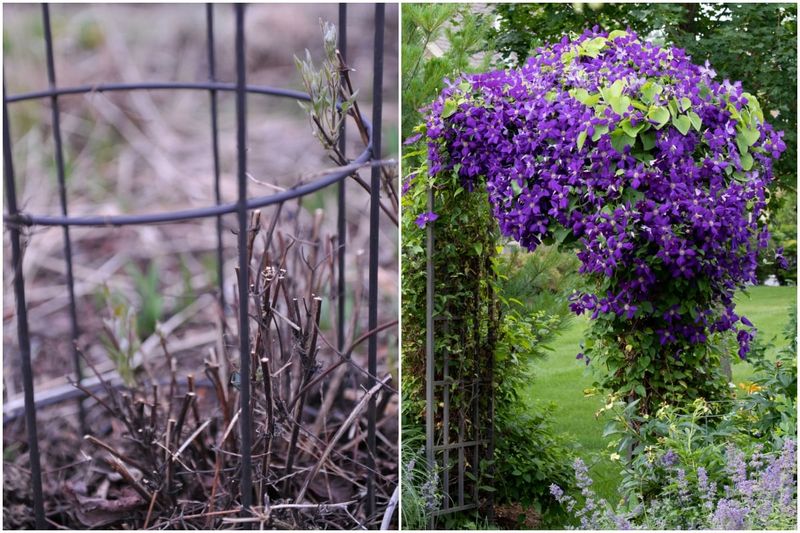
Snip at the wrong moment and you can accidentally cut off every flower bud your clematis was about to open. It is the single most common reason gardeners end up with a leafy vine and zero color, and the frustrating part is that you thought you were helping.
The trick is knowing your plant’s pruning group. Group 1 types are early spring bloomers that flower on old wood, so give them only a light shaping right after they finish flowering and never a hard cut in late winter.
Group 2 repeat bloomers flower on both old and new growth, so in late winter just remove dead stems and trim back to the first pair of fat, healthy buds, then tidy again after the first flush.
Group 3 clematis bloom on brand new growth, and they actually want a hard chop. Cut them back to about 12 inches above the ground every late winter or early spring, and you will get flowers from top to bottom instead of a bare-legged tangle with a few blooms way up high.
If you have no idea which group you own, watch when it naturally flowers this year and label it. That one bit of detective work fixes years of disappointment.
2. Not Enough Sunlight
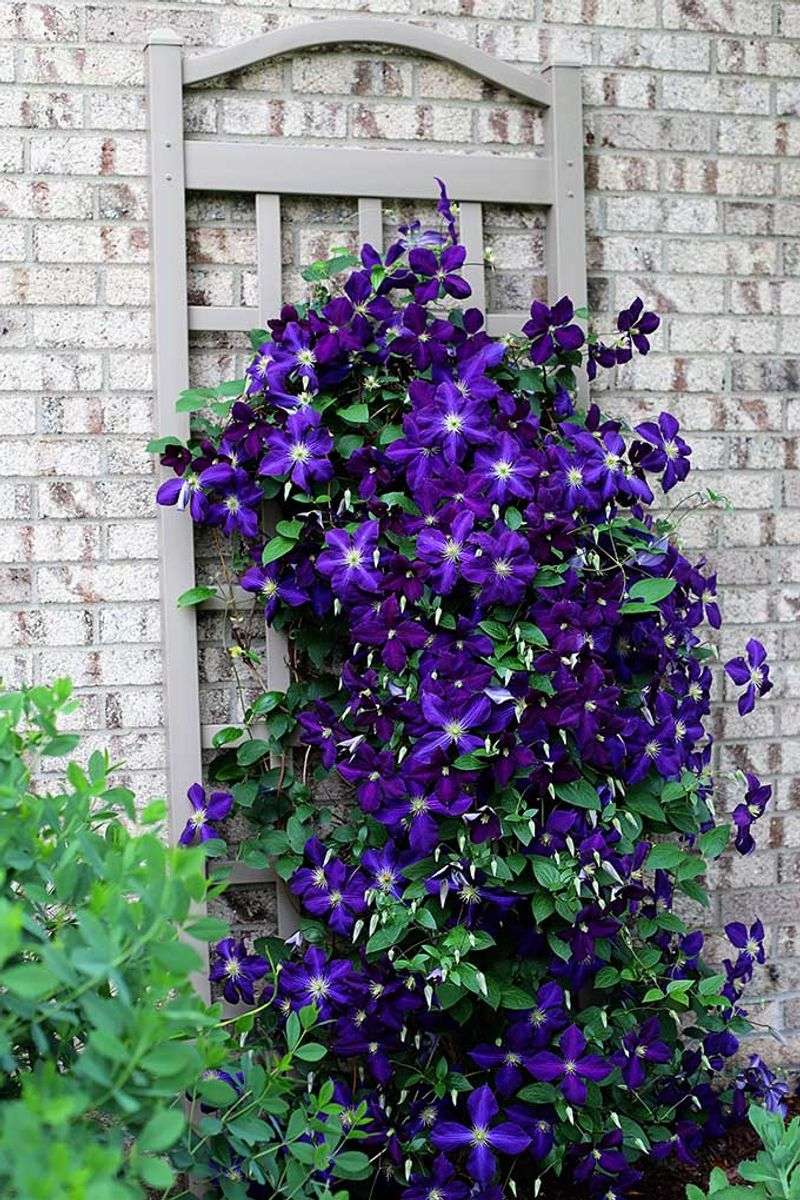
A clematis buried in shade will happily grow miles of foliage and reward you with almost nothing. The plant needs energy from the sun to build flowers, and without enough light it simply skips the expensive part and stays green.
Most varieties want at least six hours of direct sun a day on their vines. If a nearby tree, shrub, or fence has quietly grown up over the last couple of seasons, your once-sunny spot may now be shadier than you realize.
Walk out and watch where the light actually falls during the day. A quick trim of the overhanging branches blocking your clematis can bring back the sunshine without moving anything.
When a trim is not enough, plan to relocate the vine in early spring or fall to a brighter wall, trellis, or fence. Aim for a spot where the top basks in sun while the base stays shaded, and you will usually see buds return the following season.
3. Too Much Nitrogen
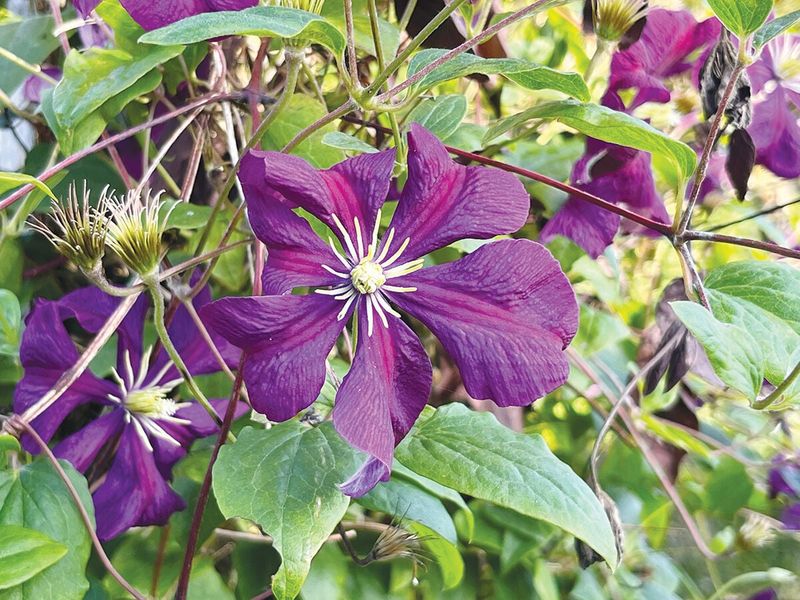
Feeding your clematis the wrong fertilizer can backfire in a big way. High-nitrogen food pushes the plant to pump out lush leaves while quietly ignoring flowers, so you end up with a gorgeous green curtain and no color.
Clematis are hungry plants, but they want the right menu. In spring, reach for a low-nitrogen blend like 5-10-10 or 5-10-5, where those higher middle and last numbers encourage roots and blooms instead of foliage.
For a steady supply, some growers alternate that with a balanced liquid feed such as 10-10-10 every four to six weeks through the growing season. Consistent, gentle feeding beats one heavy dose every time.
Watch out for a sneaky culprit too. If your clematis sits near a lawn you fertilize often, runoff can flood its roots with extra nitrogen, so keep it well away from that heavily fed grass.
4. The Plant Is Still Too Young
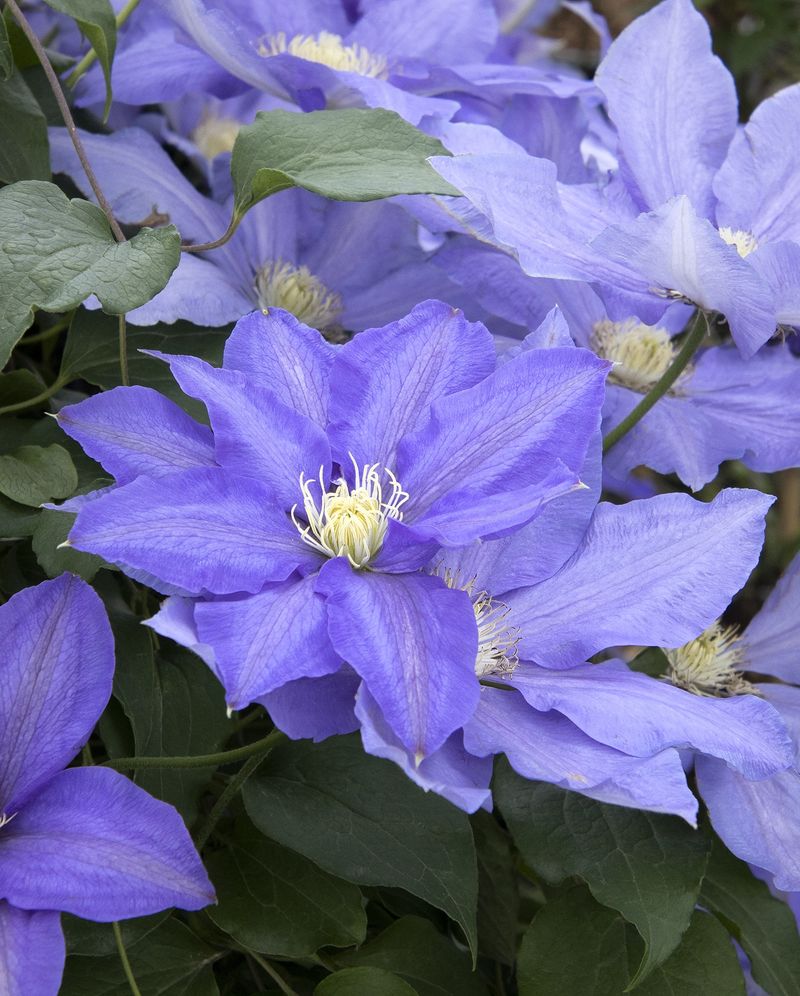
Sometimes the problem is not a mistake at all, it is just the calendar. A young clematis often spends its first year or two building roots underground before it has the strength to put on a real flower show.
Patience is genuinely the fix here. Many clematis take one to three years to develop a robust root system and reach the maturity where blooms come thick and fast, so a quiet first season is completely normal.
Give that little plant every advantage while it settles in. Water it consistently, feed it gently, and plant it deep with the crown sitting 3 to 4 inches below the soil surface, which encourages strong stems to sprout from below ground.
Think of these early years as an investment. The vine you baby now is the one that will smother your fence in flowers a couple of summers from today.
5. Hot, Exposed Roots
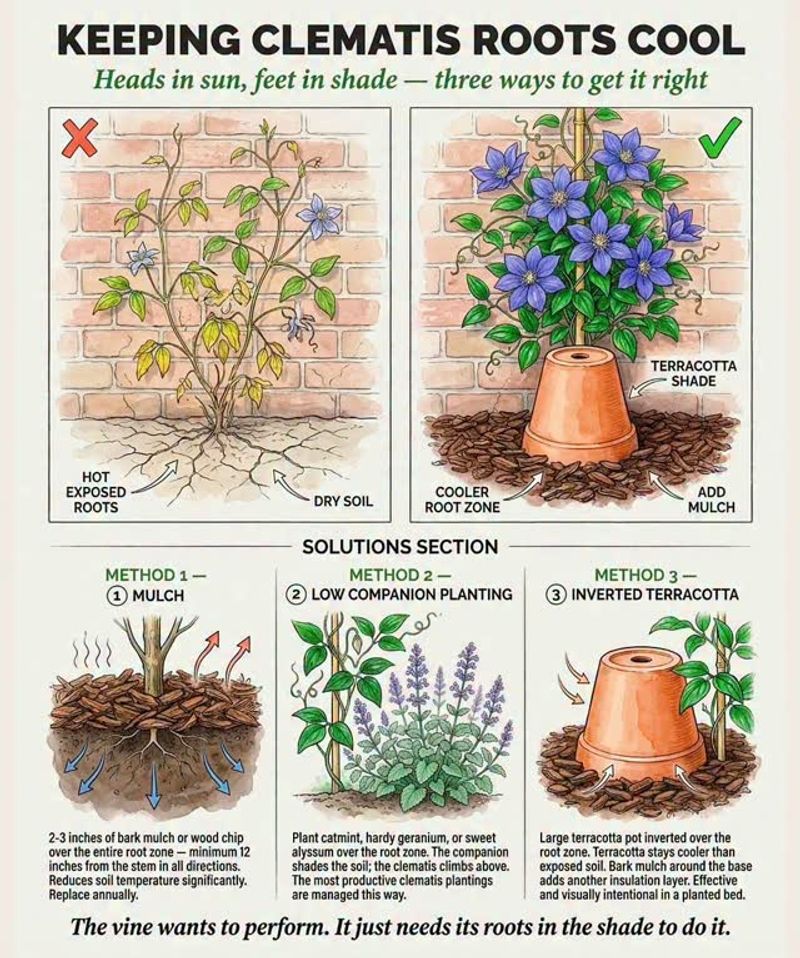
Gardeners love to say clematis wants its head in the sun and its feet in the shade, and there is real wisdom in that old line. When the roots bake in hot, exposed soil, the whole plant gets stressed and blooms are the first thing it drops.
Keeping those feet cool is easier than it sounds. Tuck low, shallow-rooted perennials or annuals around the base, or lay a few flat stones and pebbles over the soil to shield it from the sun.
A 2 to 3 inch layer of organic mulch around the base works wonders too, holding in moisture and steadying the soil temperature through summer heat. Just keep the mulch pulled back slightly from the main stem so it does not smother the crown.
Do this once and it keeps paying off. Cool, evenly moist roots let your clematis put its energy where you actually want it, up top in the flowers.
6. Inconsistent Watering
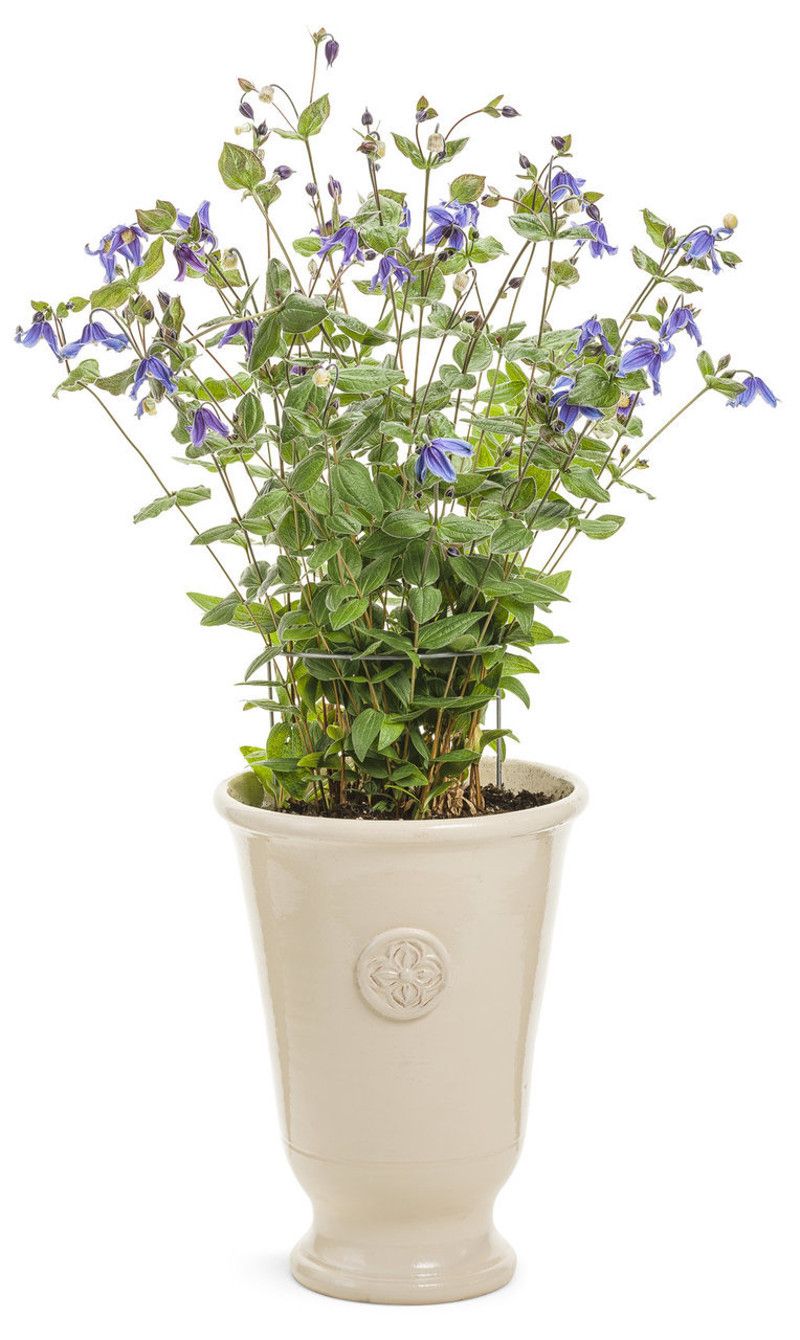
Water is a balancing act with clematis, and getting it wrong in either direction stalls the blooms. Let the soil dry out too long and forming flower buds simply drop off, but keep it soggy and the roots rot and the whole plant weakens.
The goal is steady, deep moisture, especially during the busy growing season. Water deeply so the entire root zone gets a drink, which trains roots to grow down and stay resilient during dry spells.
Newly planted clematis need extra attention, so soak them deeply two to three times a week for the first few weeks. Established vines usually want about one inch of water per week, bumped up during hot, dry stretches.
When in doubt, use your finger. Poke into the top 1 to 2 inches of soil, and if it feels dry, it is time to water; if it is still damp, wait a day.
7. Poor Soil or pH Imbalance
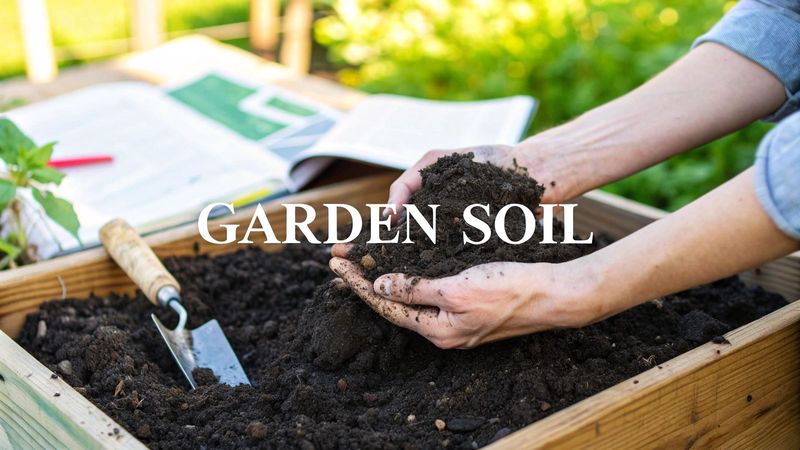
Even with perfect sun and watering, bad soil can quietly hold your clematis back. These vines want rich, well-drained ground with a neutral to slightly alkaline pH, roughly between 5.5 and 7.0, and stray too far from that and the roots struggle to grab the nutrients they need.
Start by fixing the texture. Work plenty of organic matter like compost or well-rotted manure into heavy clay or loose sandy soil to improve both drainage and fertility.
Then check the chemistry with a simple soil test kit. If your soil reads too acidic, adding a bit of garden lime nudges it toward the alkaline side that clematis prefers.
Above all, make sure water actually drains away from the planting spot. Waterlogged ground rots the roots and undoes all your other hard work, so good drainage is the foundation everything else stands on.