
Here’s Exactly How And When To Prune Clematis So It Rewards You With The Most Flowers
Clematis is one of those vines that can stop you in your tracks when it blooms well, and send you into a panic when it doesn’t. If yours came back bare, tangled, or stubbornly flowerless after a pruning, you are not alone.
The good news is that the fix usually comes down to one straightforward decision: figuring out which pruning group your plant belongs to before you pick up the shears. Get that part right, and you give your clematis the best realistic chance at a full, well-managed display.
Identify the pruning group before choosing a time
Before any pruning decision makes sense, you need to know one thing about your clematis: whether it flowers on old wood, new wood, or both. That single piece of information determines when and how hard you should cut, and no calendar date can substitute for it.
As the RHS clematis pruning guide explains, horticultural authorities divide clematis into three broad pruning groups, also referred to as Groups 1, 2, and 3, or alternatively labeled A, B, and C in some references. These are pruning classifications, not universal botanical categories, so do not confuse them with species groupings or broader cultivar names.
The safest first step is to check the plant tag, the cultivar name, or the nursery listing. Illinois Extension specifically advises recording the clematis name because the variety determines the pruning method, and a common visual guess may not be reliable enough.
A cultivar name like ‘Jackmanii Superba’ carries clear group information that a vague label like ‘purple clematis’ simply cannot provide.
If the tag is long gone and the cultivar is unknown, watch the plant bloom through one full season before making any major cuts. Early spring or winter bloomers generally carry their flowers on old wood grown the previous season, placing them in Group 1.
Plants that flower heavily from early summer into fall are more likely to bloom on current-season growth, pointing toward Group 3. Some repeat-blooming clematis use both old and new wood, landing in Group 2.
Bloom timing is a useful secondary clue, but it is not a perfect identification tool on its own. Clemson Cooperative Extension notes that a gardener can make an informed classification by observing flowering time and growth habit, while acknowledging that cultivar information remains more reliable when it is available.
The University of Maryland Extension resource on vines for Maryland gardens also describes subgroups within Group 2, which illustrates why bloom timing alone can be ambiguous for repeat-blooming types. When in doubt, one season of careful observation beats one rushed cut.
Prune Group 1 after its flowering display
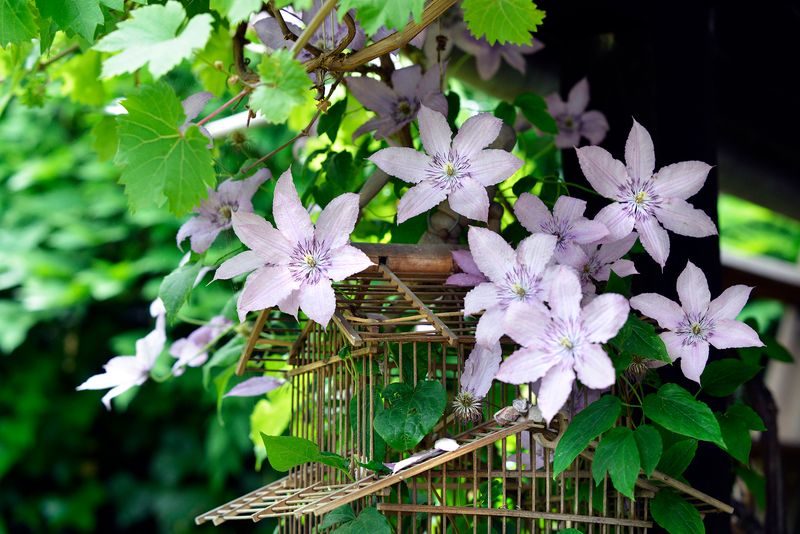
Group 1 clematis are the earliest performers in the garden, often covering a fence or arbor with blooms in late winter or early spring before most other plants have woken up. Because every one of those flowers grows from wood the plant put on the previous season, cutting stems before the display finishes means cutting away the buds that were about to open.
The rule here is patient: wait until that individual plant finishes its flowering display, then prune.
Once blooming is over, the work is relatively light. Remove any dead or damaged stems, cut back growth that has sprawled into unwanted areas, and shorten healthy stems only as much as needed to keep the vine at a manageable size and shape.
Clemson Cooperative Extension recommends pruning Group 1 clematis as soon as possible after bloom and no later than the end of July, though the actual window varies depending on your local climate and when that plant finishes flowering. In a warmer region where bloom ends in early April, July feels generous.
In a cooler climate where the plant finishes later, the practical window narrows.
The reason timing matters so much is that the plant begins setting next season’s buds relatively soon after flowering ends. A heavy cut made in late summer, fall, or the following late winter removes those developing buds along with the stems that carry them.
The RHS pruning guide confirms that heavy pruning at the wrong time for Group 1 plants can remove next season’s flower buds entirely, leaving the gardener with a healthy vine and almost no flowers the following year.
Group 1 plants generally need the least intervention of the three groups. Many established vines can go several years with only light cleanup after flowering before they become too congested to manage easily.
Give Group 2 a light late-winter trim
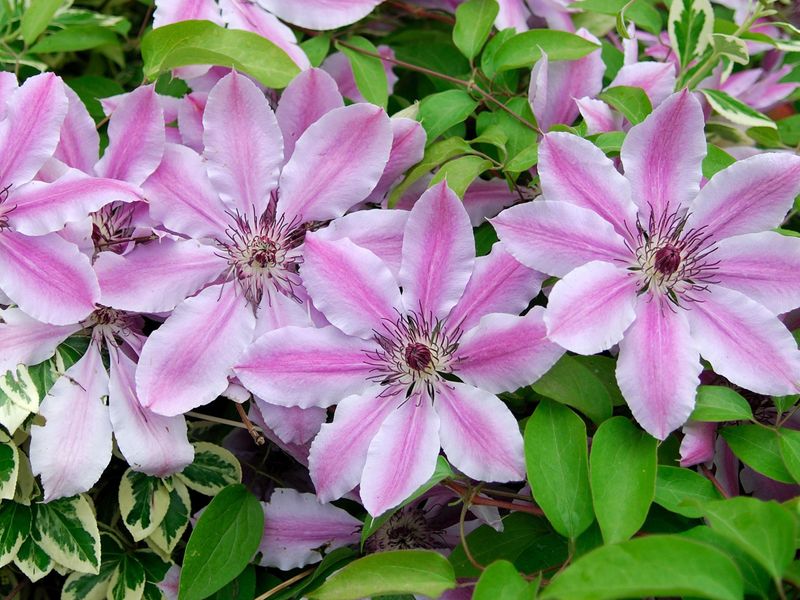
Group 2 clematis occupy the middle ground, and understanding that position is the key to getting their pruning right. These plants flower on both old wood and new wood, which typically means an earlier flush of blooms on stems grown the previous season followed by a later flush on the current season’s growth.
That two-flush habit is why the approach here is lighter than what Group 3 plants receive.
In late winter or early spring, before vigorous new growth begins, go through the vine and remove any stems that are clearly dead or too weak to support flowers. Cut remaining healthy stems back to a pair of strong, plump buds.
The RHS pruning guide describes this as removing dead and weak stems and cutting back to strong buds, which preserves the old wood that will carry the first flush of flowers while still tidying the vine.
After the first flush finishes, you have an optional step: remove spent flowers or lightly shorten shoots if you want to manage the vine’s size or encourage later growth. This cleanup is not mandatory, and skipping it will not ruin the plant.
Think of it as a cosmetic and structural option rather than a requirement for the second flush to appear.
The tradeoff worth understanding is this: a hard cut on a Group 2 plant can produce a flush of fresh new growth, but it sacrifices that year’s early flowers because the old wood that would have carried them is gone. University of Maryland Extension describes B1 and B2 subgroups within Group 2, each with slightly different flowering patterns and pruning flexibility.
That internal variation is another reason why knowing the cultivar name is more reliable than relying on bloom timing alone when a Group 2 plant does not respond the way you expected.
Let Group 3 take the hard late-winter cut
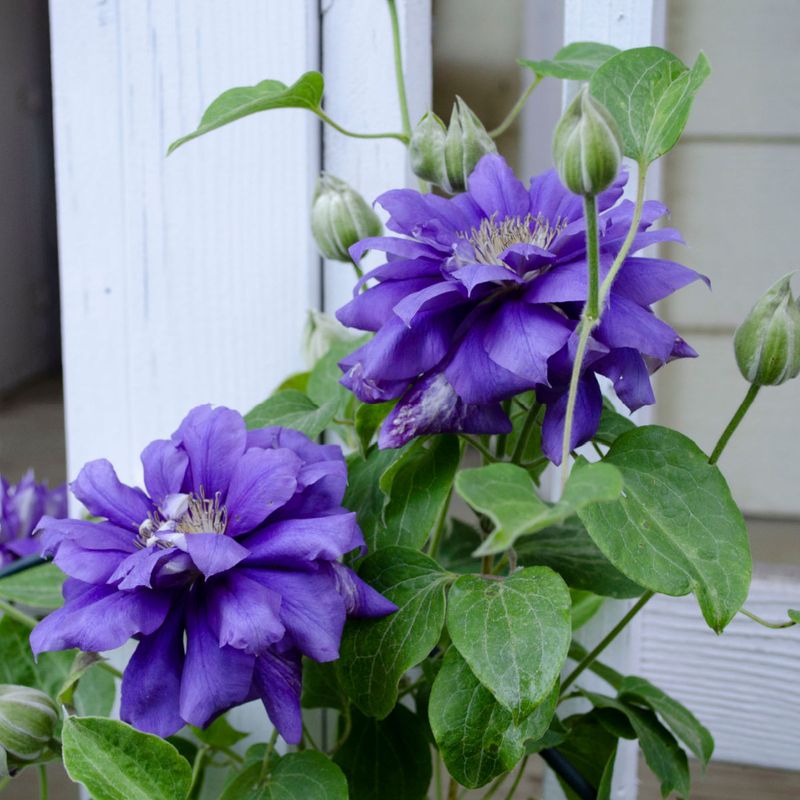
Late-summer and fall bloomers in Group 3 have a straightforward relationship with hard pruning: they welcome it. Because these plants produce all of their primary flowers on growth put out during the current growing season, last year’s tangled mass of stems carries no flower buds worth protecting.
Cutting it back in late winter or early spring, before vigorous new shoots emerge, clears the way for a fresh framework of productive growth.
The practical target is roughly 8 to 12 inches above the ground, or the lowest pair of healthy buds, depending on the plant and the authority you consult. Illinois Extension recommends cutting Group 3 clematis back severely in late winter or early spring, specifying the lowest healthy pair of buds as the guide rather than a flush-to-the-soil cut.
That distinction matters: leaving a short but sturdy low framework gives the plant a stable base from which new shoots can climb, whereas cutting every stem completely to the ground removes even the lowest viable tissue.
What this cut accomplishes is structural clarity. Old, woody, tangled stems from previous seasons tend to accumulate at the base of the vine, creating a bare-bottom look that frustrates many gardeners.
Removing that growth each year keeps the plant from becoming a congested mess and allows new shoots to emerge cleanly and reach their support without fighting through old debris. The RHS pruning guide describes the benefit as encouraging fresh, vigorous growth from the base of the plant.
A realistic expectation helps here. The hard cut creates cleaner structure and can result in a fuller-looking vine as new growth fills in, but it does not guarantee a higher total flower count.
Cultivar characteristics, available light, soil health, and plant maturity all play a role in how the vine ultimately performs after that cut.
Adjust the plan for young and winter-damaged vines
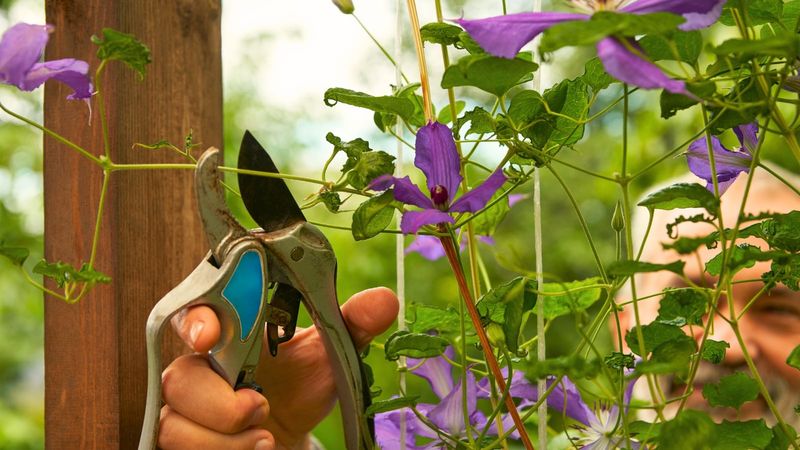
Two situations call for a modified approach rather than the standard group schedule: a newly planted clematis and a vine that took a hit from winter. Treating both cases the same as a mature, healthy plant can lead to disappointment or unnecessary damage.
For a clematis in its first full spring in the ground, Illinois Extension recommends cutting the plant back to about 12 inches in the spring following planting to encourage basal branching and a fuller base. That sounds counterintuitive when you want flowers, but a young clematis that is allowed to race upward on a single stem often ends up bare at the bottom for years.
The early cut encourages multiple shoots to emerge from low on the plant, which builds the branching structure that supports a fuller display in later seasons. Expect to sacrifice some first-year flowers in exchange for a stronger long-term framework.
Winter damage is a different problem, and the most common mistake gardeners make is assuming that every brown or stiff-looking stem is dead. Before cutting anything, scratch the bark lightly with a fingernail or the edge of your pruner blade.
Green or white tissue underneath means the stem is alive and worth keeping. Brown, dry tissue all the way through indicates dead wood.
University of Minnesota Extension specifically recommends pruning marginally hardy plants back to live wood rather than removing stems based on appearance alone.
Work your way down a winter-damaged stem gradually, checking at each point until you find live tissue. Cut just above that point and stop.
The crown of a clematis often survives even when all visible stems look dead, so resist the urge to pull the plant entirely before giving it several weeks in spring to show signs of recovery.
Make clean cuts and separate disease from routine pruning
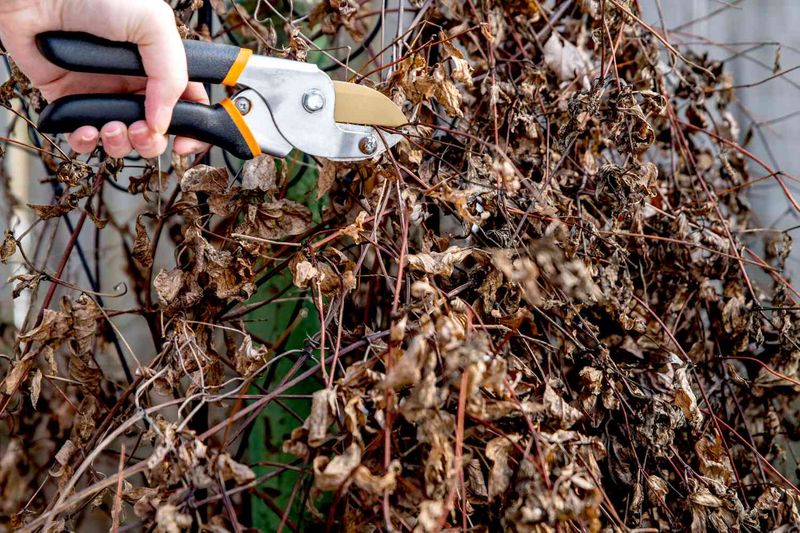
Good pruning technique matters regardless of which group your clematis belongs to. Sharp, clean tools make a difference: a ragged cut from dull blades leaves more tissue exposed and damaged than a precise cut from a well-maintained blade.
Wipe your pruner blades with a clean cloth between plants, especially if you are moving from a diseased vine to a healthy one. Penn State Extension recommends using clean, sharp tools and avoiding unnecessary stem wounds, noting that wounds can provide entry points for disease organisms.
Support the vine carefully while you work. Clematis stems are brittle, and a stem that snaps or cracks during pruning creates an unintended wound that may invite problems.
Keep stems tied to their support structure until you are ready to cut, and handle them gently rather than pulling or yanking them free from a trellis or fence.
Clematis blight and wilt are disease issues, not routine pruning problems, and the two should not be confused. University of Maryland Extension IPM reporting on clematis blight describes the symptoms as leaf spots, stem cankers, wilting, and sudden collapse of otherwise healthy-looking stems.
When you see those signs, remove the affected leaves and vines by cutting below the visibly infected tissue, then discard the material rather than composting it.
Removing diseased tissue helps manage the problem and limits further spread, but it does not cure the disease. Healthy stems on the same plant should not automatically be cut down just because one stem has collapsed.
Improved air circulation, careful watering at the soil level rather than on the foliage, and selecting resistant cultivars are all part of managing blight over time, not a single pruning cut.
Support flowering with sound growing conditions
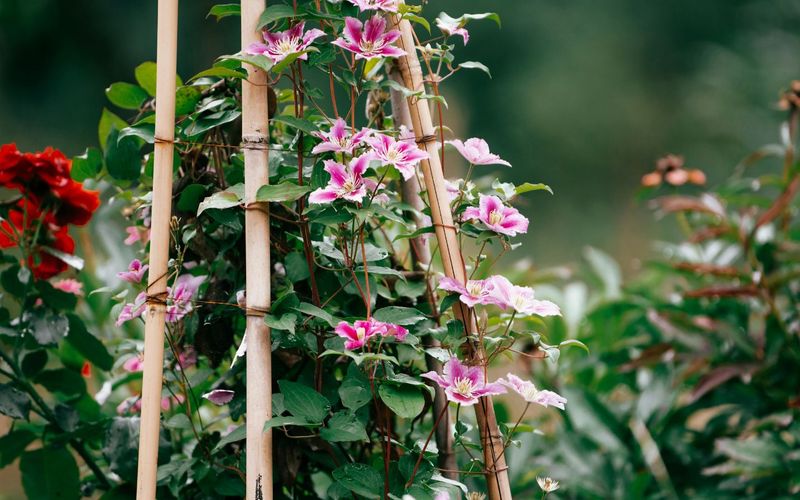
Pruning at the right time for the right group is important, but it works within a larger set of conditions that also shape how well a clematis flowers. A vine that is correctly pruned but starved of light, struggling with waterlogged soil, or recovering from winter injury will still underperform.
Blaming the pruning schedule for every sparse display means missing the other factors that may actually be driving the problem.
Light is one of the most common culprits. Clematis generally needs at least six hours of direct sun to flower reliably, and a vine that has gradually been shaded out by surrounding trees or shrubs may produce fewer blooms each year regardless of how carefully it is pruned.
Consistent soil moisture also matters: clematis prefer cool, moist conditions around their roots but will not tolerate standing water. Penn State Extension recommends shading the root zone, planting deeply with at least two pairs of buds below soil level, and watering the soil rather than the foliage to keep roots cool and reduce disease pressure on the stems.
Plant maturity plays a role as well. A young clematis planted one or two seasons ago may simply not yet have the root system and stem framework to support a heavy bloom.
RHS winter and spring clematis guidance notes that flowering performance also depends on cultivar characteristics and general growing conditions, reinforcing that no single intervention controls every outcome.
Winter injury, disease history, excess nitrogen in the soil, and inadequate support for climbing stems all contribute to reduced or delayed flowering. When a clematis fails to bloom as expected, running through this checklist alongside the pruning group question gives a far more complete picture of what the plant actually needs.
Match the cut to the plant, not a promise of maximum blooms
Pulling the whole approach together comes down to a short checklist. First, verify the cultivar name or observe the plant through a full bloom cycle.
Then match the pruning to the group: cut Group 1 immediately after its flowering display, removing dead and unwanted growth while the season’s buds for next year are still intact. Trim Group 2 lightly in late winter or early spring before new growth begins, preserve the old wood that carries the early flush, and consider optional cleanup after that first bloom if you want to manage the vine’s shape.
Cut Group 3 back hard in late winter or early spring, down to roughly 8 to 12 inches or the lowest healthy pair of buds, clearing old tangled stems before the season’s primary flower-bearing shoots emerge.
The RHS pruning guide and Illinois Extension both frame correct pruning as a way to preserve flower-bearing wood and encourage fresh, manageable growth, not as a formula that overrides every other variable. Light, drainage, plant age, disease history, and cultivar characteristics all have a say in the final result.
Group-specific timing gives your clematis the structural conditions it needs to perform well, and that is a meaningful improvement over guessing, but the vine itself sets the ceiling.