
The One Thing North Carolina Camellias Need Before Fall Or They Quietly Skip Their Whole Bloom
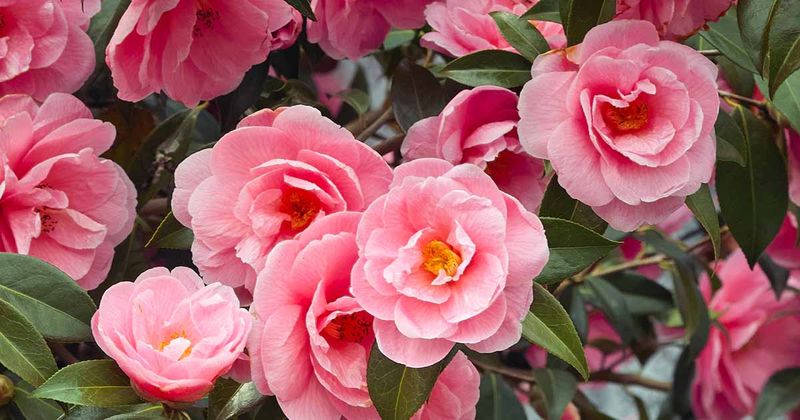
Late summer is a quiet but critical time for camellias growing in North Carolina yards. While the shrubs look calm on the outside, the flower buds forming inside can be affected by dry soil, wrong plant choices, or a few well-meaning but harmful moves.
Knowing what your specific camellia needs right now, and what to avoid, can make a real difference in how many blooms you see this fall and winter.
Identify the camellia before judging its fall bloom
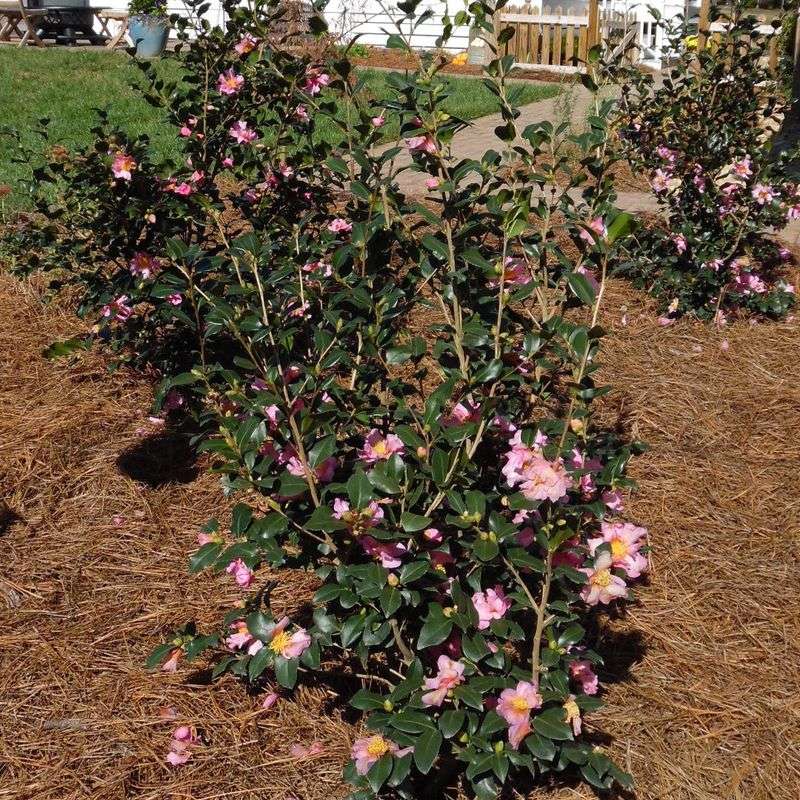
Before worrying about whether your camellia will bloom this fall, spend a moment making sure it is actually supposed to bloom in fall. Two main species grow in North Carolina yards, and they flower at very different times.
Mixing them up can lead a homeowner to treat a perfectly healthy plant as a problem.
NC State Extension’s profile on Camellia sasanqua shows that sasanqua camellias and their related hybrids are the ones most likely to flower in late fall and into early winter. Bloom timing still varies by cultivar and by site, so some sasanquas open as early as October while others push into December.
If your shrub fits that window, this article is written for you.
Camellia japonica is a different story. Many japonica cultivars hold off until winter or even spring to flower, which is entirely normal behavior.
NC State’s plant profile notes that japonicas typically bloom from late winter into spring, depending on the cultivar. Calling a japonica a failed fall bloomer is like expecting a spring bulb to perform in August.
To tell them apart, look at leaf size and texture. Sasanqua leaves tend to be smaller and slightly narrower, while japonica leaves are larger and glossier.
Your plant’s tag, a nursery receipt, or a photo matched against a reliable plant database can confirm the ID. Local NC State Extension offices can also help with identification if you bring a branch sample or a clear photo.
Once you know what you have, the article’s guidance narrows to fall-blooming sasanquas and related hybrids. The goal is reducing avoidable moisture stress during the window when buds are developing, not promising a perfect bloom on every camellia in every North Carolina yard.
Moisture matters while camellia buds develop
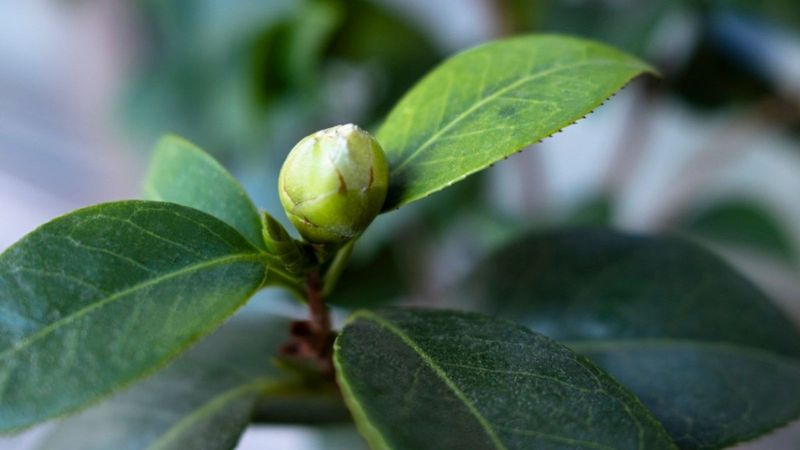
Camellias do not wait until you see flowers to do their most important work. Flower buds form and develop weeks to months before the blooms actually open, and what happens to the plant during that hidden buildup period affects what you see come fall.
Water stress during bud formation can reduce bud quality or contribute to bud drop. The American Camellia Society notes in its general culture guidance for camellias that both under-watering and over-watering can cause buds to drop before they open.
Keeping moisture relatively consistent during this developmental window is the most straightforward way to reduce that kind of avoidable stress.
A timing note matters here. NC State’s plant profile for Camellia japonica specifically warns that drought during August and September can inhibit the following spring’s flowering on japonicas.
That warning is real and worth knowing, but it applies to japonicas and their next-season bloom, not to every sasanqua’s immediate fall display. Translating that caution directly into a promise that one dry spell will wipe out every fall-blooming camellia in North Carolina goes further than the evidence supports.
For fall-blooming sasanquas and hybrids, the practical takeaway is simpler. Prolonged drought or repeated swings between soaking wet and bone dry during late summer can raise the risk of bud drop or poor-quality flowers.
Maintaining appropriate, fairly consistent soil moisture during bud development may reduce that risk. Outcomes still vary by cultivar, site, the plant’s overall health, and other stresses it is dealing with at the same time.
Consistent moisture is a meaningful support, not a guarantee of a full fall show.
Check the soil instead of trusting a wilted leaf
Wilted leaves on a hot August afternoon can look alarming, but they do not always mean your camellia is thirsty. NC State’s drought guidance points out that plants can wilt temporarily during peak afternoon heat even when the root zone still holds adequate moisture.
Acting on that midday wilt alone can lead to overwatering, which creates its own problems for camellias.
A more reliable check starts at the soil. Push a finger, a wooden dowel, or a screwdriver several inches down into the root zone, ideally a few inches out from the trunk where the feeder roots are active.
NC State Extension’s drought survival guidance recommends inspecting the soil directly rather than relying on surface appearance alone. If the soil at that depth feels dry, the plant likely needs water.
If it still feels cool and slightly damp, wait and check again in a day or two.
North Carolina’s landscape varies enough that no single calendar schedule works for every camellia in every yard. A sandy-soil garden in the Coastal Plain drains much faster than a clay-heavy Piedmont bed.
A sasanqua in full afternoon sun dries out faster than one tucked under a pine canopy. Rainfall totals shift week to week and county to county.
An older, established plant with a deep root system handles dry spells better than a camellia planted in the last year or two.
The soil check puts all of those variables into one simple answer. Dry several inches down means water now.
Still moist means hold off. That single habit, done consistently through late summer, gives you a more accurate picture of what your camellia actually needs than any fixed watering schedule could.
Water deeply and slowly across the root zone
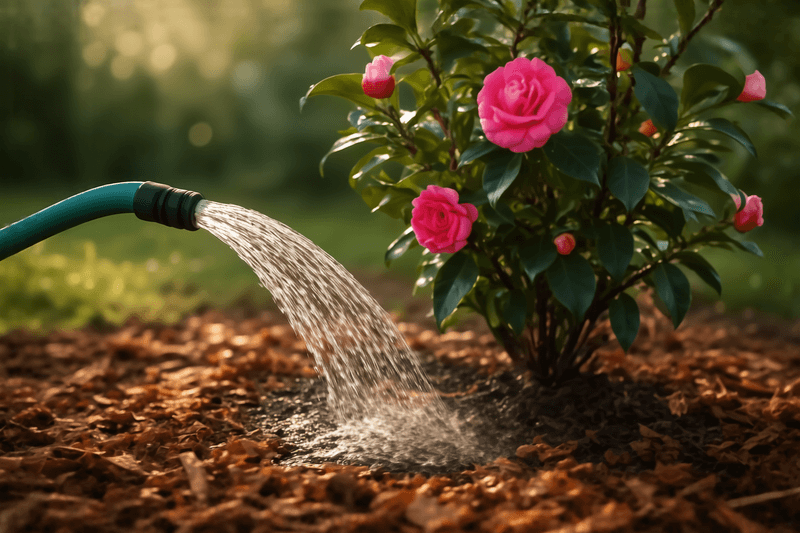
Once the soil check tells you the root zone is dry, the next move is watering in a way that actually reaches the roots rather than just wetting the surface. A quick pass with a handheld hose may look thorough, but it rarely soaks deep enough to matter where the feeder roots live.
NC State Extension’s drought guidance recommends applying water directly to the ground, moving slowly enough to let it soak in rather than run off, and covering the plant’s full root zone. A soaker hose laid in a ring around the drip line, or a regular hose set to a slow trickle and moved around the root zone, accomplishes this better than overhead sprinklers.
The goal is even, deep penetration, not a fast drenching.
The American Camellia Society’s care guidance reinforces that camellias need well-drained soil. Watering slowly and watching for runoff or standing water helps you avoid saturating the ground beyond what the roots can use.
After a thorough, slow watering, the soil should feel moist several inches down but should not stay soggy for days afterward. Good drainage is part of the equation, and no amount of careful watering overcomes a site with genuinely poor drainage.
Skipping a specific volume or calendar interval here is intentional. Soil type, mulch depth, sun exposure, recent rainfall, plant size, and drainage conditions all change how much water a particular camellia needs on a particular day.
The soil check from the previous section gives you the signal. Deep, slow watering across the root zone gives you the response.
Together, they form a practical routine that may reduce moisture-related stress during bud development, though they cannot promise a full fall bloom or cancel out other stresses the plant is dealing with.
Use mulch to moderate moisture swings
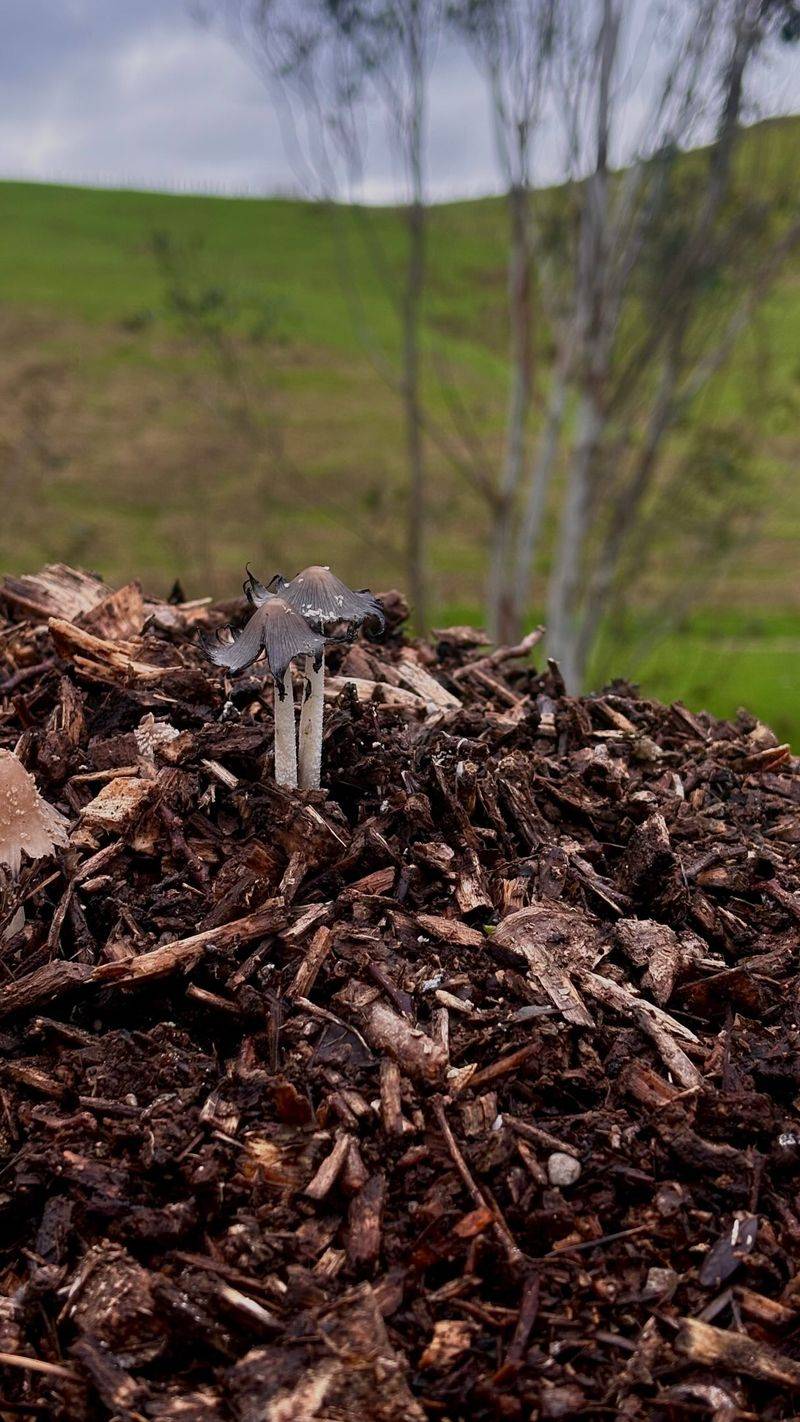
Mulch works quietly in the background, and it earns its place in a late-summer camellia routine. A layer spread over the root zone slows evaporation from the soil surface, which means the moisture you add through watering stays available longer between dry spells.
It also buffers soil temperature, keeping roots slightly cooler during the hottest weeks of the year.
NC State Extension recommends a 2-inch layer of mulch over the root zone and specifies keeping it approximately 6 inches away from the trunk. Piling mulch against the trunk traps moisture against the bark, which can promote rot and invite pest problems.
A flat, even layer that extends out toward the drip line does the most good.
Shredded bark, pine straw, and wood chips all work reasonably well. Pine straw is especially common across North Carolina and breaks down slowly enough to last through the season without needing frequent replacement.
Whatever material you choose, check the depth occasionally, since mulch compacts and decomposes over time and may need topping off.
One point worth repeating: mulch conserves moisture but does not create it. During an extended dry stretch, a well-mulched bed will dry out more slowly than a bare one, but it will still dry out.
The soil check described earlier remains the deciding factor for whether to water. Mulch earns its keep as a support tool in the routine, not as a reason to skip irrigation or to keep the soil constantly wet.
Treat it as a partner to careful watering, not a replacement for it.
Avoid late fertilizer and major pruning
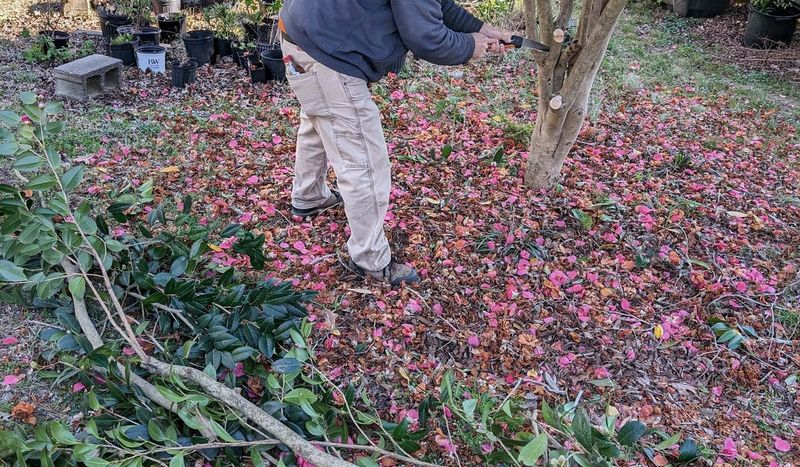
Two common instincts during late summer can actually hurt a camellia’s flowering potential more than help it. Reaching for fertilizer and reaching for the pruning shears both feel productive, but the timing makes each one risky when buds are quietly developing.
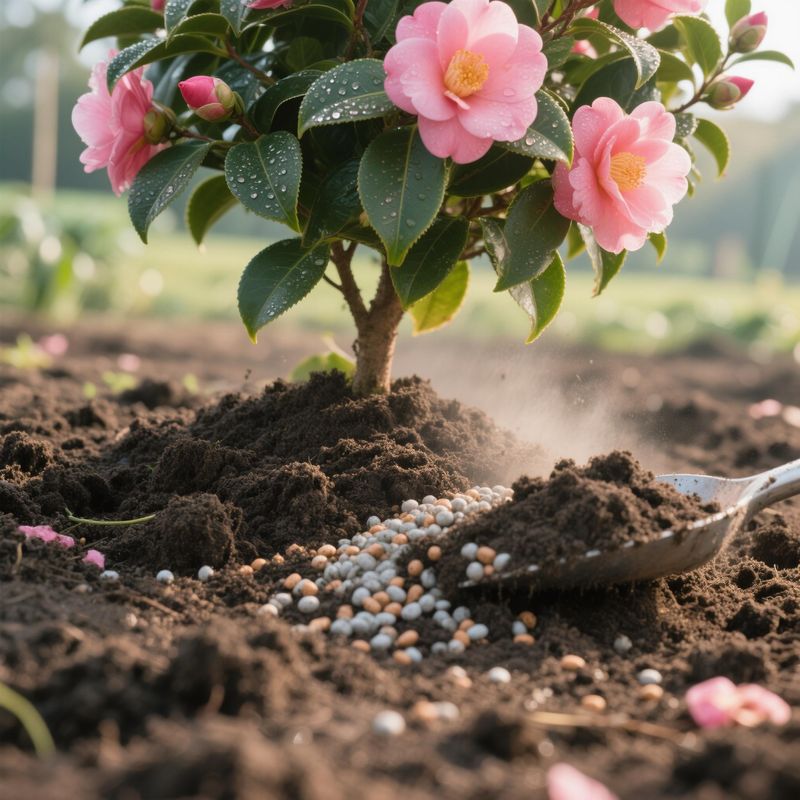
On the fertilizer side, a Wake County response from NC State Extension’s Ask Extension service identifies spring as the recommended fertilizing period for camellias in North Carolina and warns that late applications can push out tender new growth that is vulnerable to early fall frost. That soft growth is a liability, not an asset, as temperatures begin to drop.
The temptation to apply a high-phosphorus bloom-booster before fall is understandable, but the sources do not support phosphorus as a reliable fix for poor camellia flowering, and adding fertilizer without knowing what the soil already holds can cause more imbalance than it corrects.
If your camellia has been producing sparse blooms for several seasons, yellowing leaves, or slow growth that does not match its expected size, those symptoms deserve investigation before any product goes into the ground. NC State’s guide to soil testing explains how to collect a sample and submit it for analysis.
A soil test takes the guesswork out of fertilizer decisions and can reveal pH problems, drainage issues, or nutrient gaps that fertilizer alone would not fix.
Major pruning carries a different risk. Camellias flower on older wood, and the flower buds developing right now are attached to that older growth.
NC State’s camellia profile recommends pruning immediately after flowering or in early summer, when bud development for the next season has not yet begun in earnest. Shaping a camellia in late summer or fall can cut away the very buds you are trying to protect.
If a branch is dead, diseased, broken, or poses a safety concern, remove it now. Anything else can wait until after the plant finishes blooming.
Treat bud drop as a clue, not a verdict
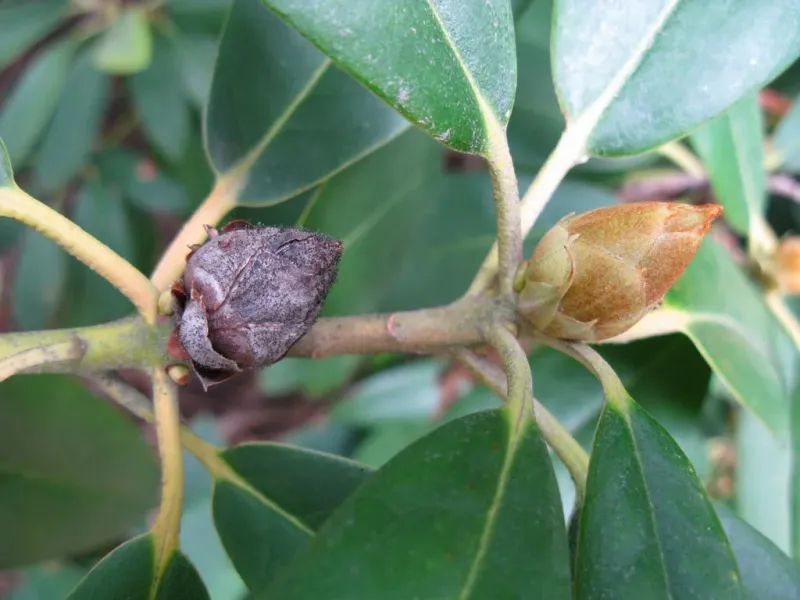
Finding dropped buds under a camellia can feel like a sign that something went seriously wrong. Sometimes it is.
But a small amount of bud drop is a normal part of how camellias manage their own workload, and understanding the difference between normal shedding and a real problem changes how you respond.
NC State’s camellia profile notes that camellias sometimes produce more flower buds than they have the resources to carry to bloom, and natural shedding of excess buds happens even on healthy plants. A handful of fallen buds scattered beneath a vigorous shrub is not automatically a crisis.
Widespread bud failure or buds that form but never open points to something more specific. Drought and moisture swings are possible contributors, but they sit alongside a longer list of causes.
The Texas Plant Disease Handbook’s camellia section lists overwatering, poor drainage, insufficient light, heat stress, and freezing temperatures as additional triggers for bud problems. Root rot, which the American Camellia Society describes as a serious threat in poorly drained sites, can damage the plant’s ability to support buds even when watering looks correct from the outside.
Pests, scale insects, and certain fungal diseases can also interfere with bud development.
Cultivar behavior adds another layer. Some sasanqua cultivars simply bloom more heavily in some years than others, responding to temperature patterns, day length, and accumulated growing conditions in ways that a homeowner cannot fully control.
If bud drop is severe or the plant has shown declining vigor over multiple seasons, a closer look at drainage, sun exposure, root health, and pest activity will tell you more than adjusting the watering schedule alone.
Keep conditions steady without expecting guarantees
Pulling the practical steps together into a short routine makes late-summer camellia care manageable rather than overwhelming. First, confirm that the plant is a fall-blooming sasanqua or related hybrid, not a japonica that is simply waiting for its own winter or spring window.
Then use the soil check as the trigger for every watering decision, pushing several inches into the root zone and acting only when that layer is genuinely dry.
When the soil does need water, apply it slowly and across the full root zone so moisture reaches where the feeder roots are working. Keep a roughly 2-inch layer of mulch over the bed and away from the trunk to slow evaporation between waterings.
Hold off on fertilizer unless a soil test points to a specific need, and save any shaping pruning for after the plant finishes blooming. NC State Extension’s drought guidance supports each of these steps as sound practice for landscape plants under late-summer stress.
Managing moisture well during bud development may reduce avoidable stress and lower the chance of drought-related bud drop on your fall-blooming sasanqua, but it cannot override cultivar timing, drainage problems, pests, disease, or the unpredictability of a North Carolina fall. A camellia that gets consistent, appropriate care simply has a better starting point, and sometimes that is exactly enough.