
If You Pull Your Marigolds At Season’s End, You’re Tossing Thousands Of Free Flowers – Here’s How To Save The Seeds
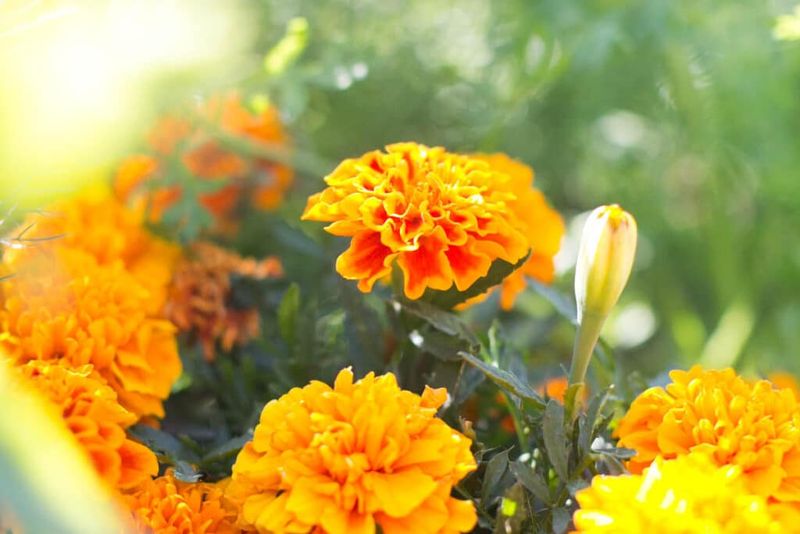
Marigolds are one of the easiest flowers to grow, but most gardeners yank them out at the end of the season without realizing they could be saving seeds for next year. Each spent flower head on a Tagetes marigold can hold a surprising number of seeds, and collecting them costs nothing but a few minutes of your time.
You do not need to keep the whole plant alive to save seeds – you just need to know which heads to pick and when. With the right timing and a dry place to finish the job, you can walk into spring with a stash of seeds ready to plant.
Saving seed is possible; thousands of flowers are not guaranteed
Before anything else, a quick reality check on that headline. You can absolutely save marigold seeds before clearing your beds for the season, but pulling your plants does not automatically mean you have lost a fortune in future flowers.
The good news is that you can snip and save selected heads separately, without keeping the whole spent plant in the ground.
Seed counts per flower head vary more than most gardening articles let on. A 2025 Journal of Horticultural Sciences study on hybrid marigold seed production reported an average of around 113 seeds per flower under repeated pollination methods, while a separate study found a mean of 246 total seeds per flower – though many of those were incompletely filled seeds that would not germinate.
Both studies were conducted under controlled research conditions, not in a typical backyard garden.
What that means for you is simple: a single flower head can hold a meaningful number of seeds, but the actual count depends on the variety, the plant’s health, and how fully the seeds developed. Some will be empty, some may not be viable.
Multiply a few dozen good seeds across several heads and you have a solid start for next spring, not a guaranteed field of thousands.
Seed saving is a practical, low-cost way to carry your favorite marigolds forward. University of Florida IFAS Extension guidance on saving open-pollinated seeds confirms that germination and offspring appearance are not guaranteed, especially from hybrid plants.
Go in with realistic expectations and the process is genuinely rewarding.
Choose Tagetes plants and leave a few heads to mature
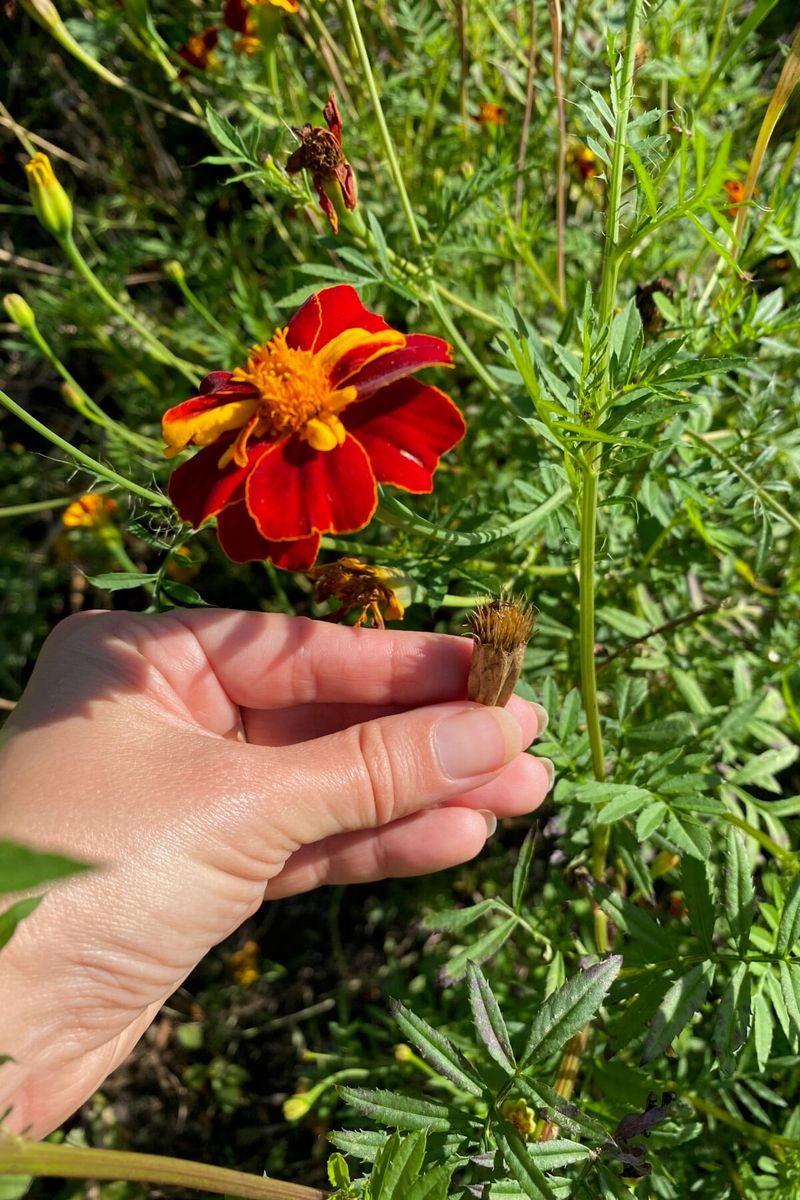
Not every plant called a marigold belongs to the same family. The seed-saving steps in this guide apply specifically to Tagetes, the familiar orange and yellow bedding marigolds most U.S. gardeners grow.
Calendula, sometimes sold as pot marigold, is a completely different plant with different seed heads and different growing habits. Check your seed packet or plant label before you start so you know exactly what you are working with.
Once you have confirmed your plants are Tagetes, pick the healthiest ones in your bed to serve as your seed sources. Healthy plants produce better-developed seed, so skip any that showed signs of disease, stunted growth, or poor flowering during the season.
You do not need many plants – even two or three good candidates can give you plenty of heads to work with.
Here is where deadheading strategy comes in. Illinois Extension’s seed-saving guidance explains that leaving some spent blooms on the plant lets seeds mature, while deadheading other flowers encourages the plant to keep producing new blooms rather than putting energy into seed development.
So you can do both at once: leave a handful of selected spent heads alone to ripen, and continue deadheading the rest if you want more flowers in the meantime.
According to UC Agriculture and Natural Resources seed-saving instructions, you can snip mature heads and bring them in without uprooting the whole plant. That means you can collect your seed heads early and still clear the bed on your own schedule, rather than leaving a ragged row of spent plants standing all fall.
Harvest only when the heads are fully brown and crisp
Timing is everything when it comes to harvesting marigold seeds, and the most common mistake is cutting too soon. A flower head that has simply faded or lost its color is not the same as one that is ready.
The signal you are waiting for is a head that is entirely brown, completely dry to the touch, and crisp enough to crumble slightly when you pinch it. Soft, pliable, or greenish heads still have seeds that have not finished developing.
Illinois Extension’s flower seed-saving advice flags both ends of the timing problem clearly: harvest too early and you risk collecting immature seeds that will not germinate; wait too long and the head may open on its own, scattering seeds onto the ground before you get to them. Check your selected heads every few days once they start browning, especially as the season shifts toward cooler weather.
Wet or cold snaps late in the season can stall the drying process on the plant. If rain is forecast or temperatures are dropping fast, do not wait for the heads to finish drying outdoors.
Cut them with a short stem attached and bring them inside. A dry, airy spot – a countertop near a window, a mesh tray, or a paper bag left open – works well for finishing the process.
Avoid plastic bags or sealed containers at this stage. Trapped moisture is the enemy of viable seed.
Give the heads space and airflow, and let them continue drying naturally indoors until they feel completely papery and crisp all the way through. That usually takes a few additional days, depending on how much moisture remained when you brought them in.
Finish drying the heads, then separate the seed
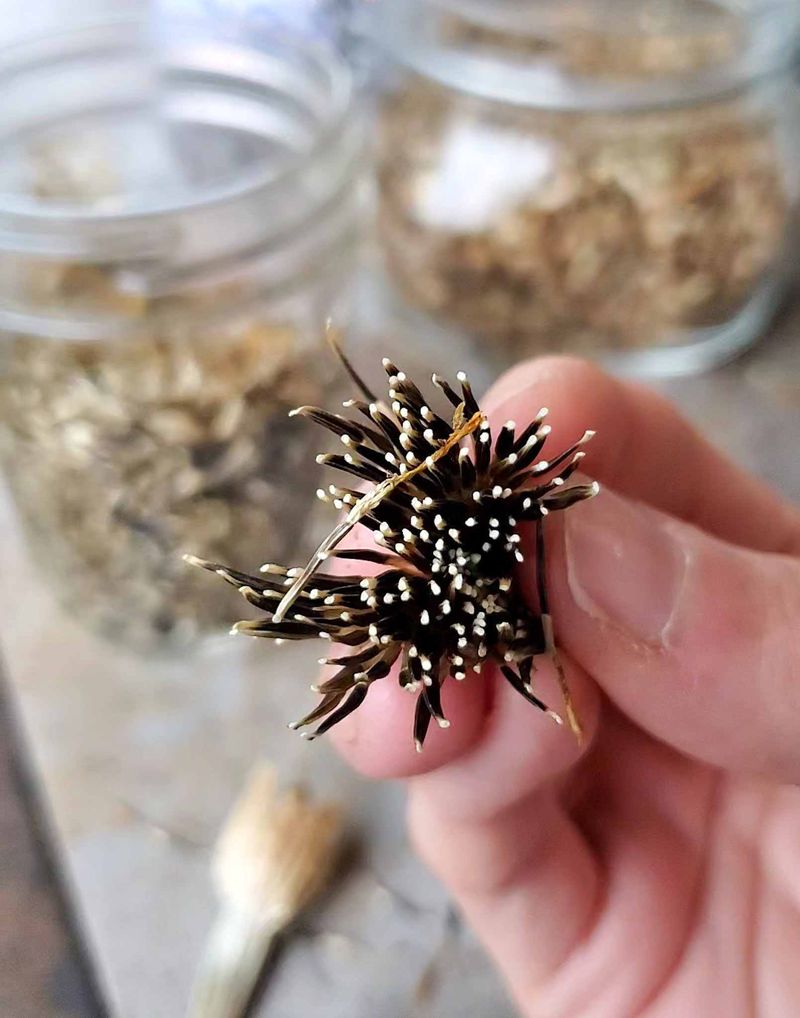
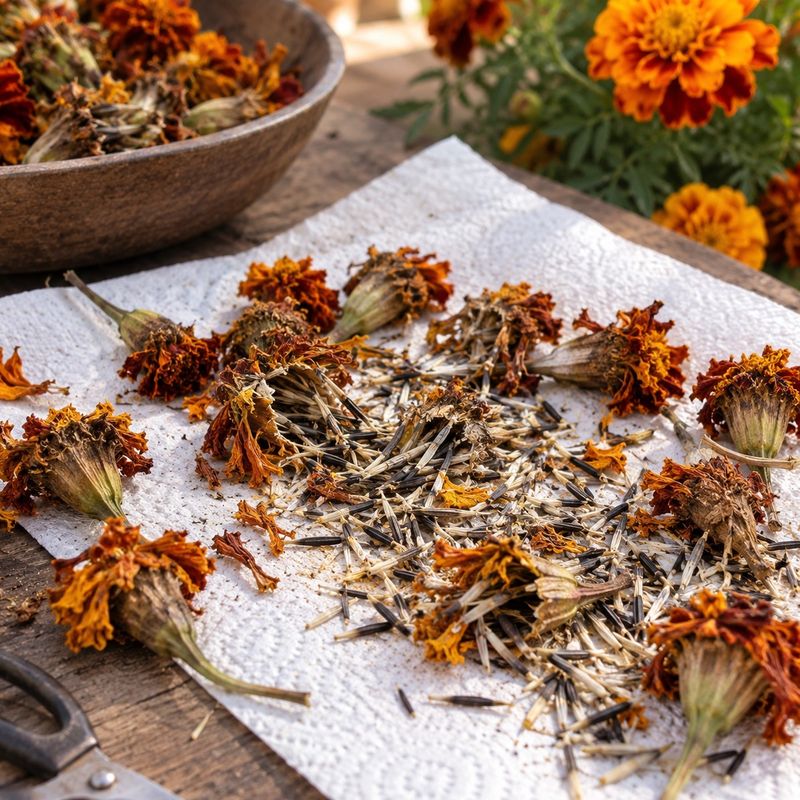
Once the heads feel completely papery and crisp, you are ready to open them up and get to the seeds. Start by snipping the dry heads into a clean bowl or onto a sheet of paper.
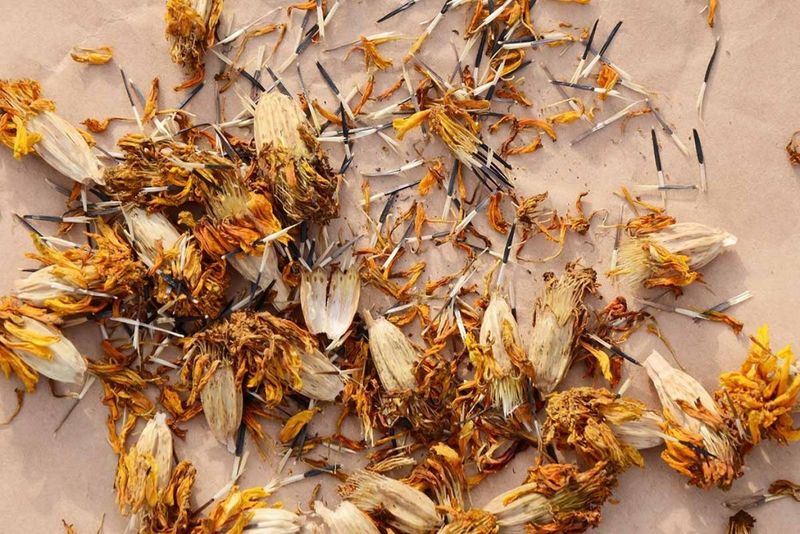
Hold each head at the base and gently crush or pull it apart with your fingers. Tagetes seeds are easy to recognize: they are slender, dark, and elongated, often with a lighter tip, and they cluster densely inside the base of the head.
Separating seeds from chaff does not require any special tools. UC Agriculture and Natural Resources seed-saving guidance recommends gently crushing the heads and then winnowing or picking the seed out from the plant material.
Winnowing is simple: take your bowl of crushed material outside on a calm day, or stand in front of a fan set on low, and slowly pour the contents from one container to another from a short height. The lighter chaff blows away; the heavier seeds fall straight down.
If you prefer to skip the fan method, just pick through the material by hand. It takes a bit longer, but it works just as well for small batches.
Remove any obvious plant debris, soft seeds, or seeds that look shriveled or hollow, since those are unlikely to germinate.
Keep in mind that even a fully brown, dry head does not guarantee every seed inside is viable. Some seeds may have been unfilled from the start, particularly in heads that were partially shaded or on plants that were stressed during the growing season.
A tidy-looking seed can still be empty inside, so plan to save more seeds than you think you will need.
Store dry, labeled seed and test uncertain lots
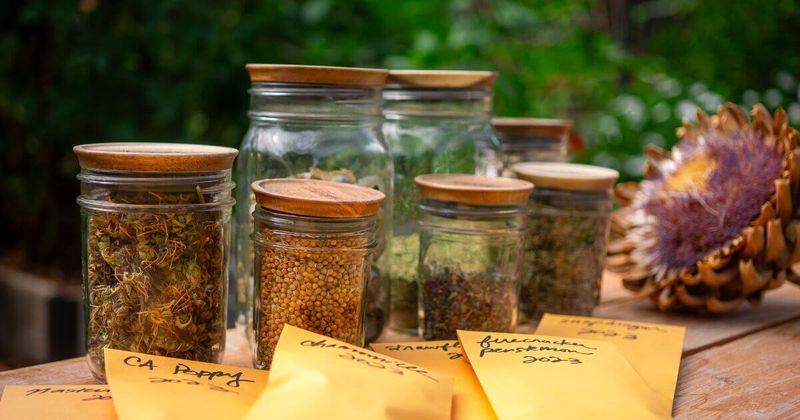
Getting the seeds out of the heads is only half the job. How you store them determines whether they are still good when you reach for them next spring.
The first rule is straightforward: the seed must be completely dry before it goes into storage. Any remaining moisture can cause mold or reduce germination rates significantly, even in a sealed container.
Iowa State University Extension’s seed storage guidance recommends placing dry seeds in labeled paper envelopes and then sealing those envelopes inside a glass jar with a tight lid. Label each envelope with the plant name or variety and the collection date – you will thank yourself next February when you have forgotten which seeds came from which plant.
Store the jar somewhere cool and consistently dry, like a basement shelf, a refrigerator drawer, or a cabinet away from heat sources.
Avoid storing seeds anywhere warm or humid, such as on top of the refrigerator, near the stove, or in a garage that gets hot in summer. Heat and humidity are the two fastest ways to kill stored seed viability.
If you are unsure whether a seed lot is still good, run a simple germination test before committing to a full planting. Place ten seeds between two damp paper towels, seal them in a plastic bag, and set them somewhere consistently warm.
University of Minnesota Extension notes that marigold seeds commonly germinate in about 5 to 8 days at 70 to 75 degrees Fahrenheit under suitable conditions. Count how many sprout and use that ratio to decide how thickly to sow when planting time arrives.
Expect variation in next year’s plants
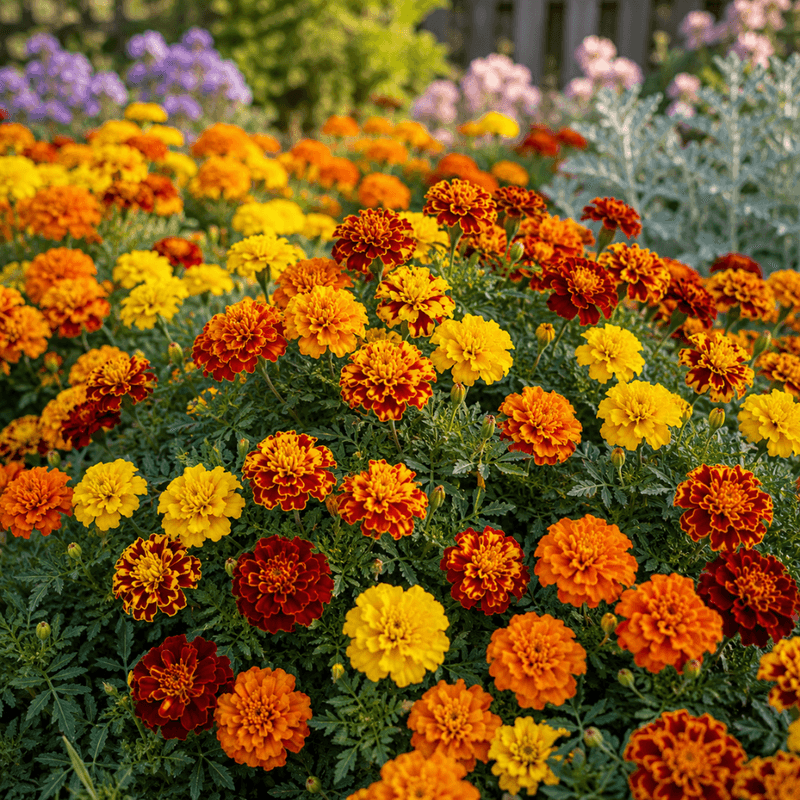
Saving seeds carefully does not mean next year’s plants will look just like this year’s. Whether your saved seeds produce flowers that match the parent depends heavily on the type of marigold you grew.
Open-pollinated varieties tend to pass their traits along more reliably, so seeds saved from those plants have a reasonable chance of producing similar flowers. Hybrid varieties are a different story.
Most marigolds sold at garden centers and in seed packets are F1 hybrids, bred for uniform color, size, and performance. University of Florida IFAS Extension’s beginner’s guide to seed saving explains that seed collected from F1 hybrids may germinate successfully but is not expected to reliably reproduce the parent’s flower color, size, or other visible traits.
The offspring can look quite different, sometimes smaller, sometimes a different color, sometimes less uniform than what you planted this year.
Cross-pollination adds another layer of variation. If different Tagetes varieties were growing near each other in your yard or a neighbor’s garden, bees and other pollinators may have moved pollen between them.
Even seeds from an open-pollinated variety can produce some variation if cross-pollination occurred during the growing season.
None of this means saved seeds are not worth keeping. Many gardeners enjoy the surprise of seeing what comes up, and some variations turn out to be genuinely appealing.
The practical takeaway is to check your seed packet before saving: if it says F1 or hybrid, go in knowing the offspring may differ. If it says open-pollinated or heirloom, you have a better shot at flowers that resemble what you grew.
Seed saving is a skill that builds over seasons, and the plants you end up with are always yours in a way that a store-bought annual never quite is.