
Toilet Paper Tubes as a Carbon-Rich Brown for Your Compost Pile
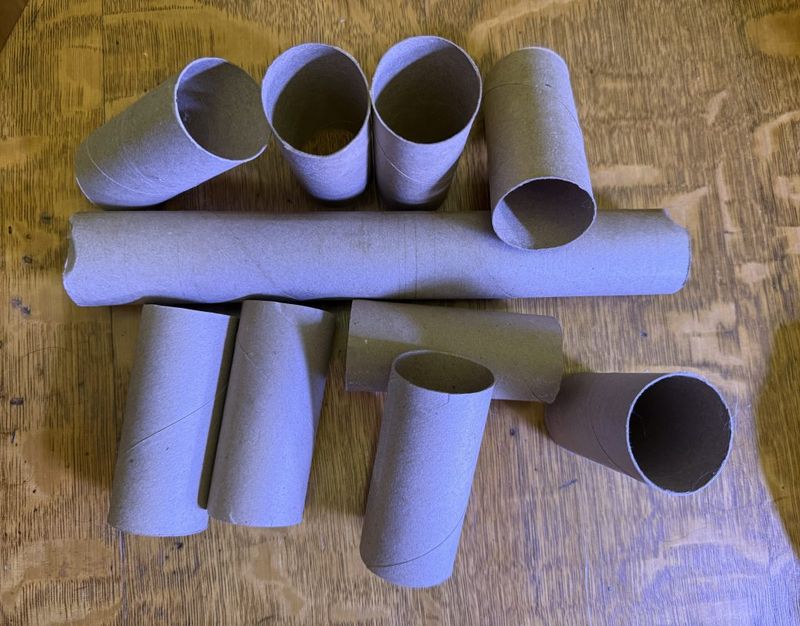
Got a compost pile that is slimy, stinky, or just sitting there doing nothing? Before you worry that you ruined it, take a look at your recycling bin.
Empty toilet paper tubes are cardboard, and cardboard can be a useful dry ingredient for the right pile. Here is what tubes can and cannot do, and how to tell whether your pile needs them at all.
A tube adds brown material, not a compost shortcut
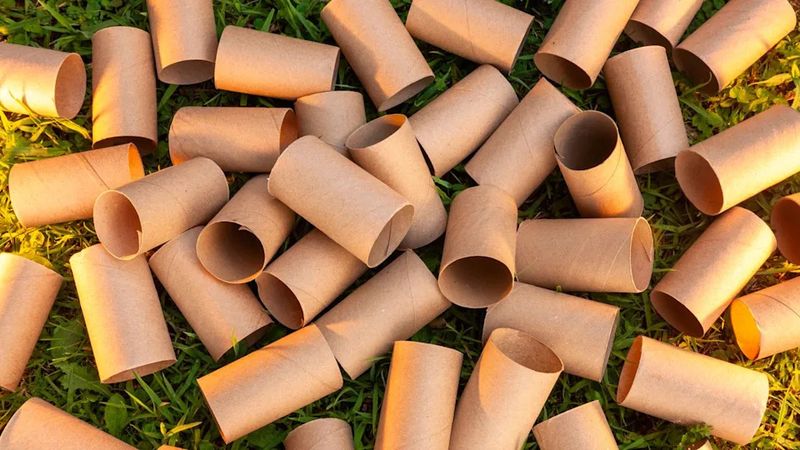
Picture a compost pile as a mix of two kinds of ingredients. Greens are wet and nitrogen-rich, like vegetable scraps and fresh grass.
Browns are dry and carbon-rich, like dead leaves, straw, and cardboard. An empty toilet paper tube is cardboard, so it counts as a small brown.
That is its whole job. EPA home composting guidance lists shredded cardboard as a brown and says a healthy pile needs browns and greens balanced with moisture and air.
A tube is a reasonable cardboard-type addition. It is not a special ingredient with magic powers.
You may have seen claims that tubes make compost heat up fast or finish in weeks. A single tube weighs very little, and a handful will not change a big pile much.
Heat and speed depend on the whole recipe: how wet the pile is, how much air gets in, how big it is, and what you put in it.
So think of tubes as a free, handy way to use something you would otherwise toss. If your pile has too many wet greens, a few torn-up tubes can help soak up extra moisture and add dry bulk.
If your pile is already full of dry material, more cardboard will not help, and the next sections show how to check before you add anything.
Good news if your pile has not behaved: stalled or smelly piles are common, and most can be corrected with a few adjustments rather than a restart.
What a balanced pile actually means
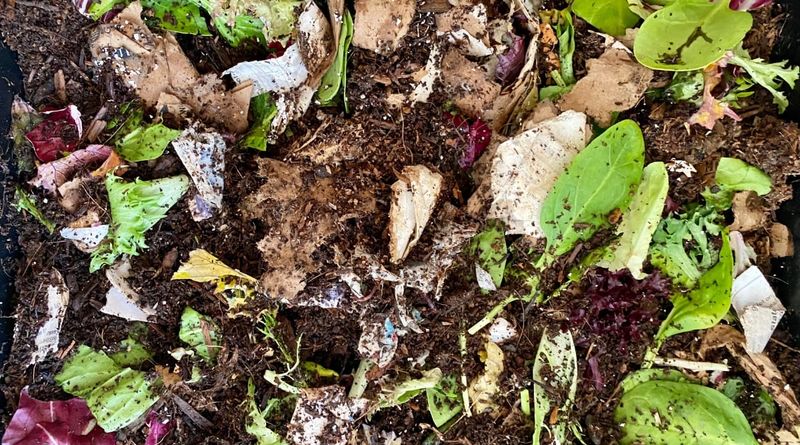
When composters talk about balance, they often mention a carbon-to-nitrogen ratio of roughly 25:1 to 30:1. That number compares the carbon and nitrogen inside your ingredients.
It is not a count of how many brown items and green items you toss in.
Gardeners also hear a simpler rule of thumb. EPA’s overview of composting approaches gives a rough guideline of about three parts browns to one part greens by volume.
That is a handy way to measure with a bucket, but it is a different kind of ratio from the carbon-to-nitrogen target. The two are related, yet they are not interchangeable.
Here is why no one can give a tube an exact ratio. Cardboard is very carbon-heavy, and published numbers vary a lot.
Cornell’s compost chemistry table lists corrugated cardboard at about 560:1, while NC State Extension gives a broad range of 200:1 to 500:1. Neither figure describes a specific toilet paper tube.
Notice that cardboard sits far above the 25:1 to 30:1 target. That is fine, because you mix it with nitrogen-rich greens that sit far below it.
The blend lands in a workable zone. A tube is one carbon-heavy ingredient among many, so you balance by eyeballing the volume, watching how the pile behaves, and adjusting.
A slimy pile and a stalled pile need different checks
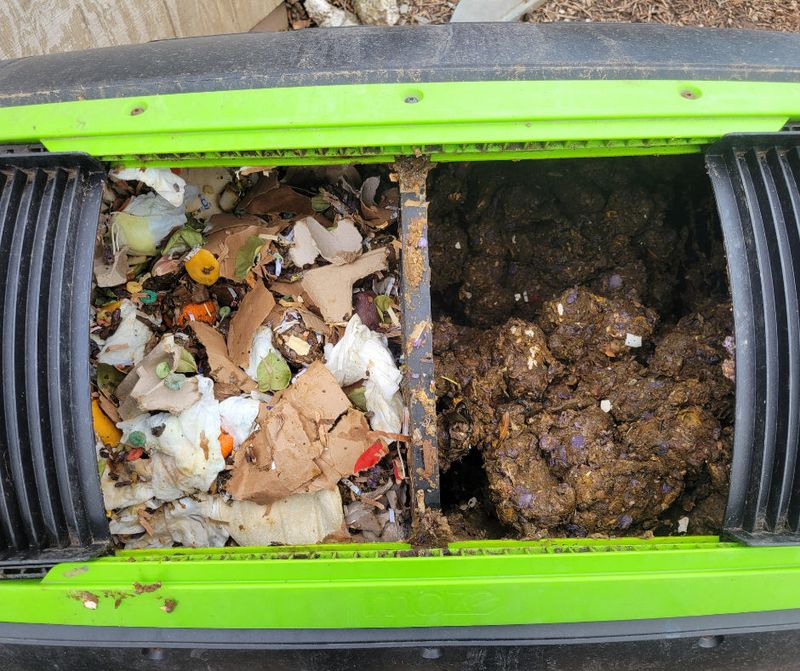
Two problems get mixed up all the time. One pile is wet, slimy, and sour-smelling.
Another looks fine but never warms up or breaks down. They can look like the same failure, yet the causes are often opposites.
Start with the slimy pile. Too much moisture and too little air are the usual suspects, often after a thick layer of fresh grass or food scraps.
UConn Extension’s home composting guide suggests adding dry browns such as dry leaves, loosening or turning the pile, and holding off on thick layers of fresh greens. A tube can be one small dry brown in that mix, but leaves and other dry material are the usual advice.
Now the stalled pile. CalRecycle’s home composting page notes that a pile that will not heat may be too small, too dry, poorly aerated, or short on nitrogen.
Adding cardboard alone to a carbon-heavy mix could make things worse.
Try these quick checks before you add a single tube:
Squeeze a handful. Dripping water means too wet.
Dusty and crumbly means too dry. Next, sniff it.
A sour or rotten smell points to wetness and poor airflow. Last, look at size and ingredients.
A pile that is a thin layer of scraps or mostly dry leaves and cardboard may need more greens, not more browns.
Match the fix to the clue, and you will waste less effort.
Add tubes as part of a broader correction
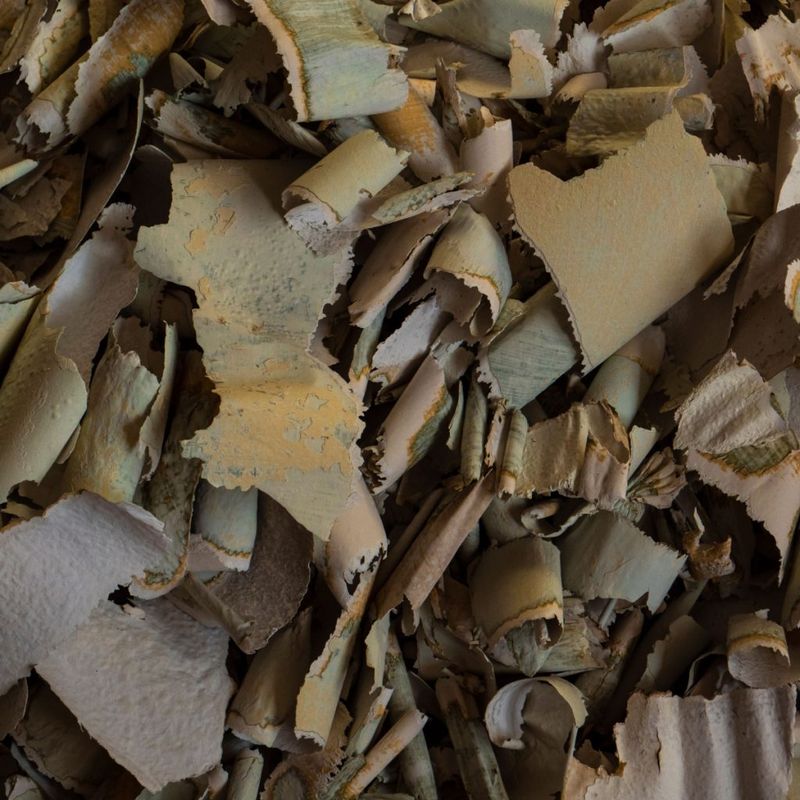
If your check shows a wet pile that could use more dry material, tubes can pitch in. Start by choosing the right ones.
EPA advises against wax-coated cardboard and says to remove tape and glue. Plain tubes, with any sticky labels or glue strips peeled off, are the ones to use.
Next, break them down. Tear or cut each tube into small strips, or flatten and shred it.
Smaller pieces mix in more easily and break down faster than whole rolls, and they will not form a dense mat that blocks air.
Then mix, do not layer. Fold the strips into the pile along with dry leaves or other dry browns, using a fork or shovel to loosen things up as you go.
Turning the pile adds air, which helps a soggy, smelly heap recover.
Moisture still matters. EPA’s test is to aim for the feel of a wrung-out sponge: damp, but not dripping.
Shredded cardboard soaks up water, so after mixing, check again. If it is now dry, sprinkle in a little water.
Finally, go easy on fresh greens while the pile is wet. UConn Extension recommends avoiding thick layers of fresh grass or food scraps, so bury small amounts of scraps in the center instead of piling them on top.
Tubes are one part of the fix. Dry leaves, turning, and moisture control do most of the heavy lifting.
Heating is not the same as finished compost
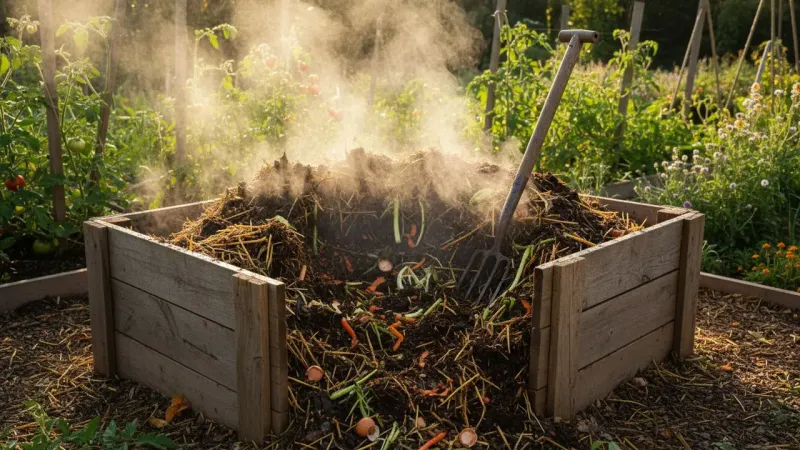
A warm pile feels like success, and it is a good sign. But heat only tells you that microbes are busy.
Finished compost is something else: dark, loose, crumbly material with an earthy smell, as EPA describes it.
For ordinary backyard piles, expect months. EPA estimates about three to five months for a well-maintained pile.
Washington State University Extension describes several weeks in the hot phase, followed by another two to three months of curing, and says a carefully tended pile is ready after at least three months.
Faster results exist, but they take work. A UC Master Gardener guide describes a 6 to 8 week method using a pile about 3 by 3 by 3 feet, finely chopped materials, frequent temperature checks, and repeated turning and watering.
That is an intensive routine, and tubes alone cannot deliver it.
Heat also is not a guarantee of safety. Backyard piles do not always heat evenly, and EPA cautions that they may not get hot enough for some materials.
Do not count on a home pile to reliably kill every weed seed or pathogen.
One more note on wording. Compost is a soil amendment, not soil.
You mix it into garden beds or use it as a top dressing to improve the soil you already have, so aim for finished compost, not a quick finish line.
Match the fix to the pile’s actual needs
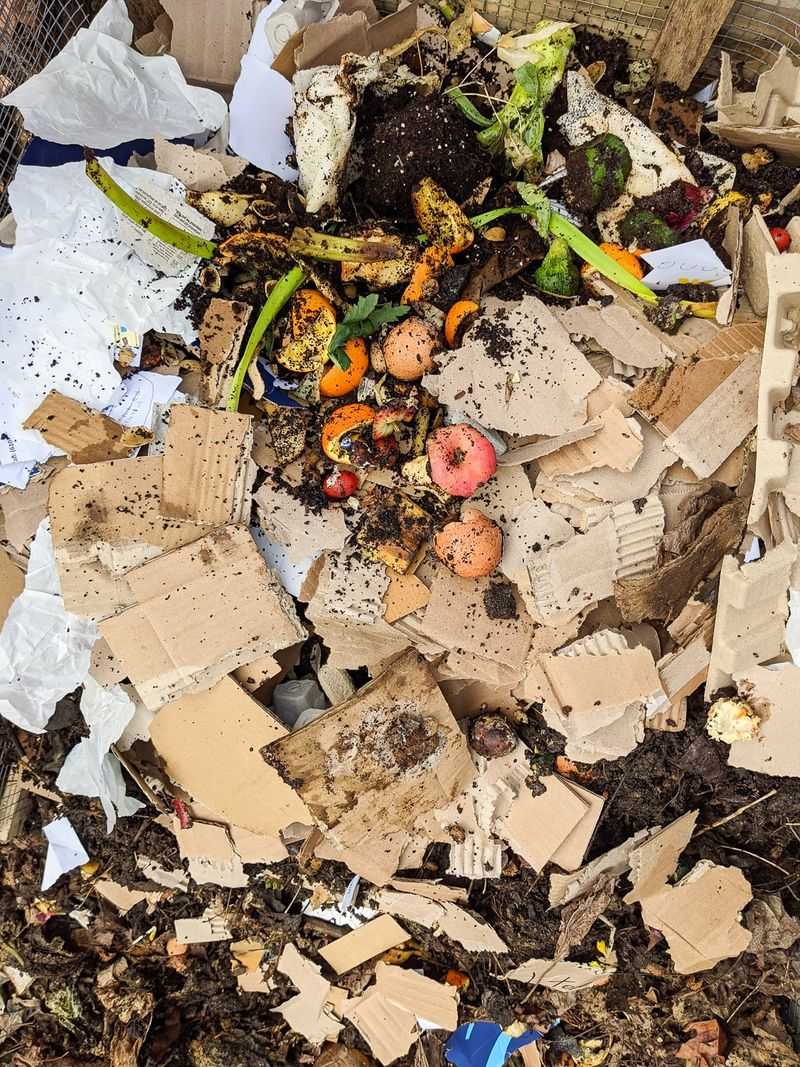
Before you reach for the recycling bin, check the pile. Squeeze it, smell it, and think about its size and what went in.
EPA’s home composting advice keeps coming back to the same basics: browns, greens, moisture, and air.
If the pile is wet and heavy on greens, tear up a few clean tubes and mix them in with dry leaves, then turn it. If it is dry or already full of browns, skip the cardboard and add moisture or greens instead.
A tube is a small helper, not a clock. Compost finishes when the pile is ready, not when the cardboard goes in.