
Brown Tips On Your Snake Plant Are a Clue Worth Investigating, Here’s How To Read Them
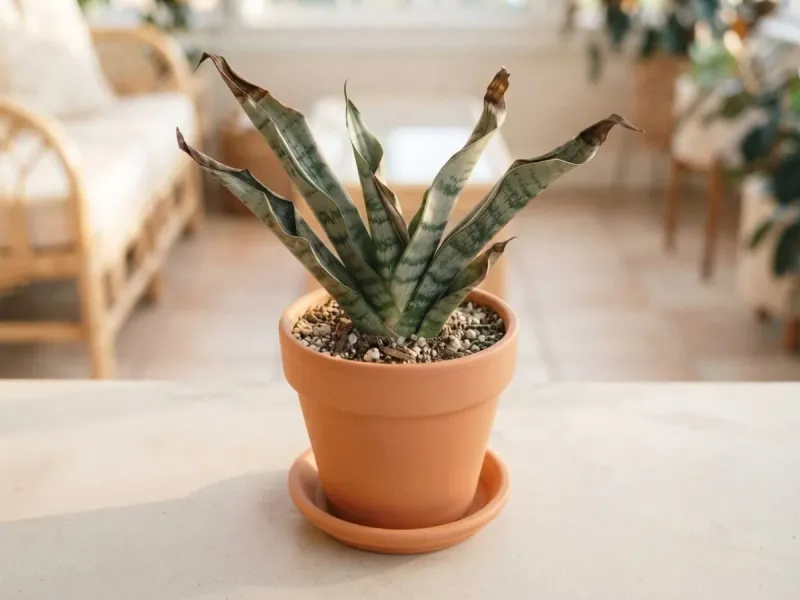
Spotting brown tips on your snake plant can make your stomach drop, especially if you thought this plant was nearly impossible to kill. Take a breath, because those tips are a clue, not a verdict.
Several different things can cause them, and the right fix depends on what is going on in your pot and your room. Here is a simple order of checks to help you figure out what your plant may be telling you.
Brown tips are clues, not a diagnosis
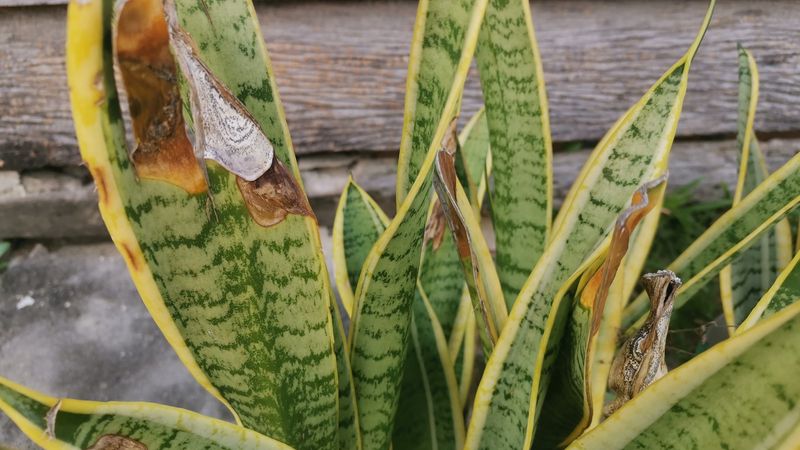
Crispy brown tips on your snake plant are easy to panic over. Here is the calming part: the symptom itself does not point to one single mistake.
For houseplants in general, University of California IPM guidance lists several possible causes of brown tips, including too much or too little water, fertilizer or mineral-salt buildup, low humidity, strong sun or heat, and drafts.
That list matters because the same brown tip can come from very different problems. A tip that browned after a soggy winter and a tip that browned after a week in hot afternoon sun can look nearly identical.
Even worse, more than one cause can be at work at the same time, such as a slightly overwatered plant that also gets fertilized too often.
So the smart move is to become a plant detective before you change anything. Reaching for a universal remedy, like more water or a spray bottle, can backfire if it does not match what is happening in your pot.
A wrong guess may add stress to a plant that was only mildly bothered.
The rest of this article walks through a simple order of checks. You will start with the soil and your watering history, then look at root trouble, salt buildup, and the plant’s surroundings.
At each step, you will get a clear next action that depends on what you find.
Before you begin, grab your plant and look at it in good light. Note which leaves have brown tips, whether they are older or newer ones, and whether the browning is dry and crisp or soft and mushy.
Those small details will make every later step easier to read.
Start with the soil and watering history
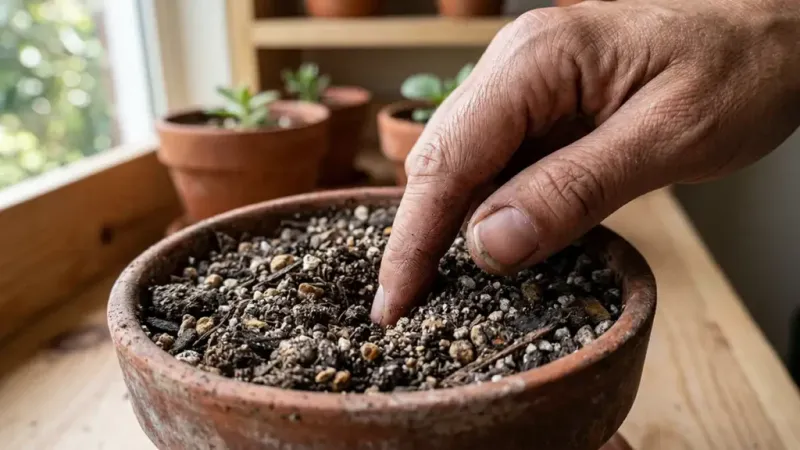
Your finger is the best tool you own for this step. Push it a couple of inches into the mix and see how it feels.
Dry and crumbly tells you something very different from cool and damp, and that difference decides what you do next.
Then think back over your habits. How often have you watered lately, and how much goes in each time?
Snake plants need a draining container and a well-drained mix, and North Carolina State Extension notes they should dry out between waterings. Tip the pot and check that water actually runs out of the bottom instead of pooling.
A calendar is a poor guide here. How fast the mix dries changes with the season, the light, the pot size, and the temperature of your room.
Houseplant diagnosis guidance from Iowa State University Extension also points readers toward culture problems like watering habits as a starting place, so your own care history is real evidence.
Now let the soil decide your next move. If the mix is dry all the way through and has been for a while, water thoroughly until it drains, then let it dry again.
If it is still damp, wait and check again in a few days. If it is soggy, do not add water, and move on to the next section.
If the pot has no drainage hole, or the mix stays heavy and wet, that is a clue too. Moving the plant to a container that drains, with a well-drained mix, may be the most helpful change you can make.
Soggy soil can point to root trouble
Wet soil that never seems to dry changes the whole picture. If the mix stays soggy and you also notice yellowing leaves, wilting, or a soft base on the plant, more water is the last thing it needs.
Hold off, let the container drain, and give the mix time to dry out.
Keep in mind that brown tips by themselves do not prove root rot. They are one clue among several, and many plants with brown tips have perfectly healthy roots.
The signs that raise concern are the combination of wet soil and a plant that keeps declining.
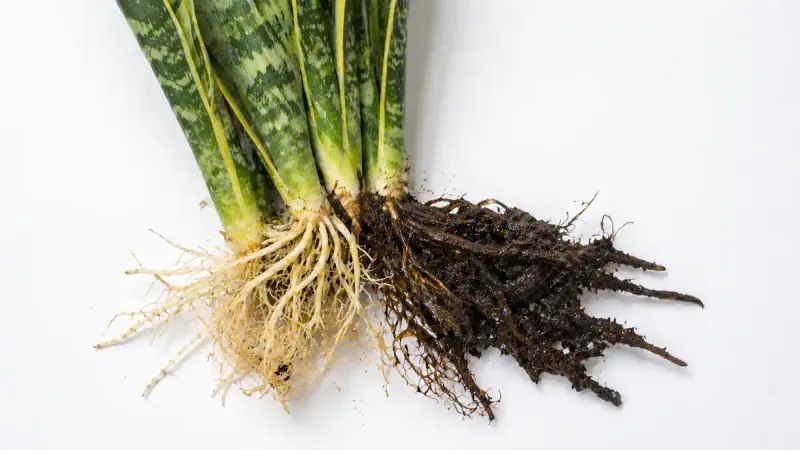
If the decline continues after you have stopped watering and let things dry, it is reasonable to look at the roots. Slide the plant out of its pot and rinse away some of the mix.
According to Iowa State University Extension, healthy roots are firm and light-colored, while rotted roots are mushy and brown or reddish.
If everything looks firm and pale, you can put the plant back in a draining pot with fresh, well-drained mix and keep watching it. If you find mushy, discolored roots, trim away the damaged ones with clean scissors and repot into a pot with drainage and fresh mix.
Then water sparingly, only after the mix has dried.
Either way, you have learned something real about your plant instead of guessing from the leaf tips alone.
White crust can signal excess salts
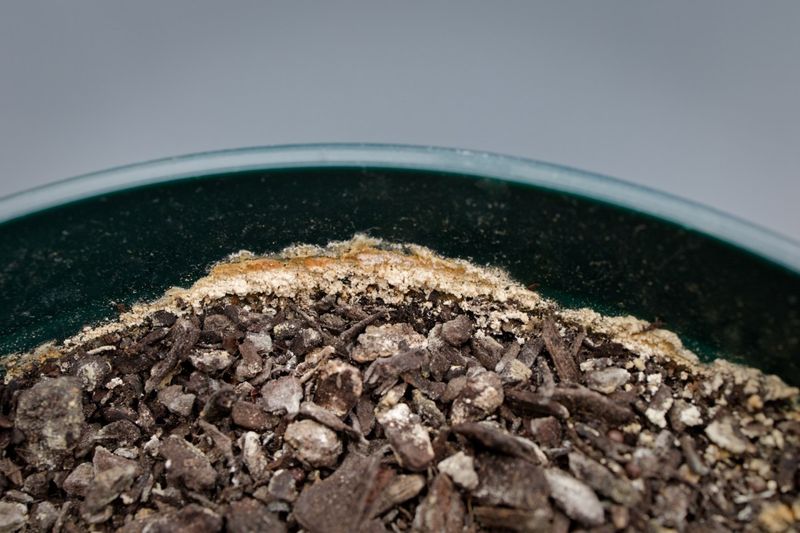
Take a good look at the soil surface and the outside of the pot, especially near the rim. A white, crusty film is a hint that fertilizer or mineral salts may be piling up.
If you also feed your plant often, that hint gets stronger.
Keep the wording careful, though. White crust and brown tips together do not prove that salts are the problem, since the tips could have another cause or several at once.
Think of the crust as a reason to adjust, not a final answer. University of Maryland Extension explains how soluble salts from fertilizer and water can collect in potting mix and on containers.
If your pot has a drainage hole and the mix drains freely, you can flush it. Slowly run clear water through the soil and let it drain out the bottom, then empty the saucer so the pot does not sit in the runoff.
This can wash out some of the built-up salts. Culture guidance from Iowa State University Extension also includes fertilizer problems among houseplant issues to consider.
Next, ease up on feeding. Cut back on how often you fertilize and follow the label directions for amount and timing.
Snake plants do not need heavy feeding.
If the crust is thick and keeps coming back, repotting into fresh mix may be the better option. Skip flushing if the pot lacks drainage, because the water would just sit around the roots.
Check exposure before blaming humidity
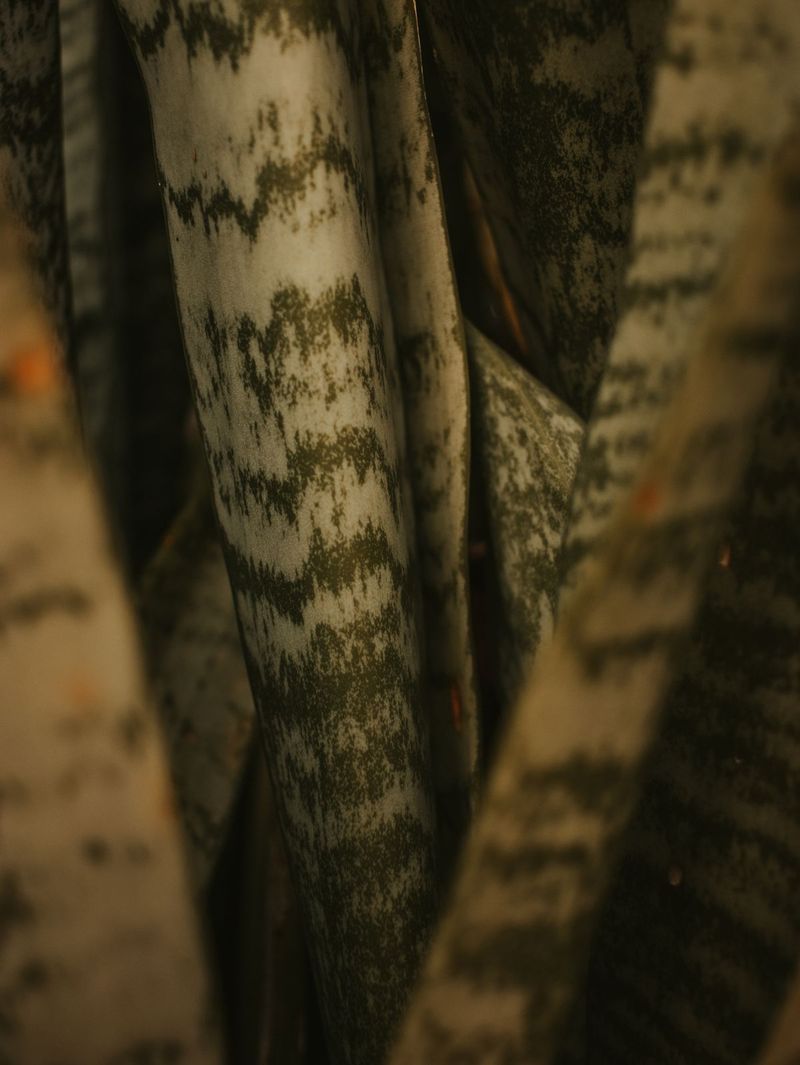
Many owners hear “brown tips” and immediately grab a mister. Hold that thought.
Snake plants tolerate low humidity, so adding moisture to the air should not be your automatic fix, and frequent misting or a humidifier is not a default answer for this plant.
Look instead at where your plant lives. Has it moved recently, perhaps from a dim corner to a sunny sill, or from indoors to a porch?
For houseplants in general, UC IPM guidance lists strong sun, heat, and drafts among the possible causes of brown tips. Those are houseplant-wide possibilities, not proven common causes for snake plants specifically, so treat them as things to rule in or out.
Check for hot spots and moving air. A pot pressed against a sunny pane, sitting above a heating vent, or beside a drafty door might be getting more stress than you realized.
Moving it a few feet can be a simple test.
On light, aim for a reasonable middle. Bright indirect light is a good general target, and North Carolina State Extension describes how adaptable the plant is.
Colorado State University PlantTalk also covers its light needs, and sources differ on how much direct sun it handles.
The takeaway is not a rigid rule. If your plant had a sudden jump into intense sun, ease it back to brighter, gentler light and watch how new growth looks over the coming weeks.
Brown tissue stays brown, so trim only for appearance
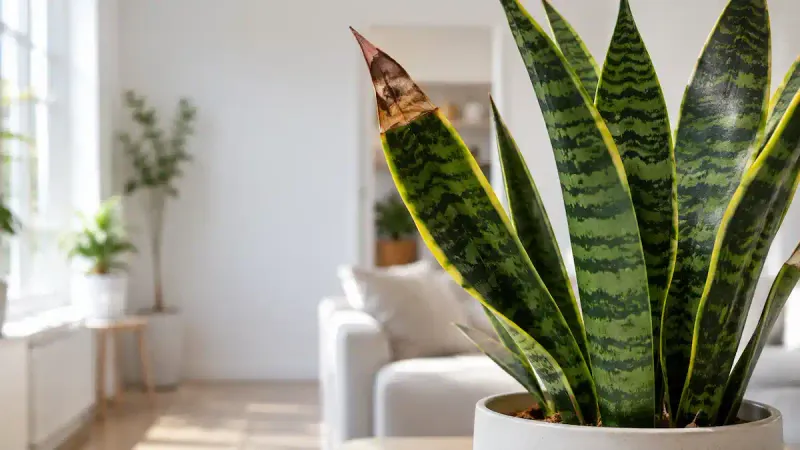
Once a leaf tip turns brown, that tissue will not turn green again. No watering change, fertilizer tweak, or move to a new window will bring it back.
What those changes can do is protect the new growth coming in.
That makes trimming a matter of looks. If the brown tips bother you, clean scissors can neaten them up, but it is optional and it will not cure anything.
Cutting also will not solve the cause behind the browning.
As for older leaves that are partly green, a University of Maryland Extension response advises leaving them in place unless they become badly withered or brown-edged. They are still working for the plant.
If you do trim, follow the natural shape of the leaf rather than cutting straight across. Leave a thin brown edge if you want to avoid a fresh cut line.
Then go back to the sequence: soil and drainage, signs of root trouble, salt clues, and light and drafts. Watch the next few leaves that emerge, because they will tell you more than any trimmed tip can.