
Before You Prune Your Apple Tree This Winter, Skip These 19 Cuts That Cost You Next Fall’s Apples
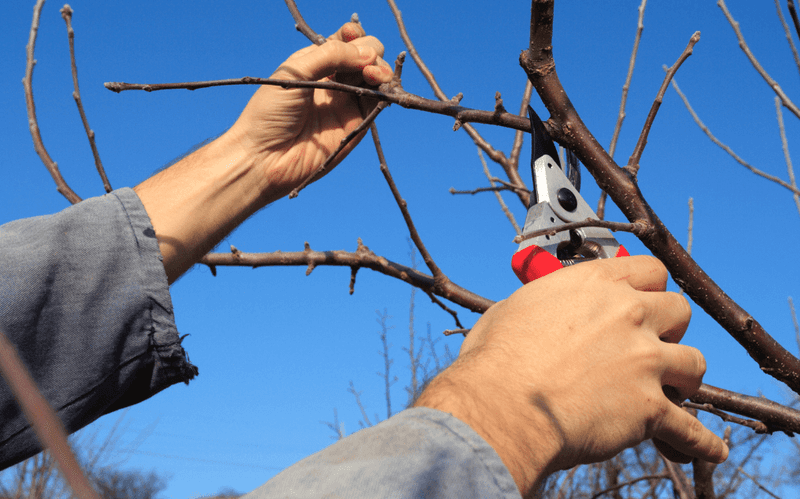
Your apple tree is resting right now, but the cuts you make this winter decide how many apples you pick next fall. One wrong snip can remove the very buds that would have turned into fruit.
The good news is that most of these mistakes are easy to spot and even easier to skip. Grab your pruners, but read this list first so your tree rewards you instead of punishing you.
1. Cutting Too Early in Winter
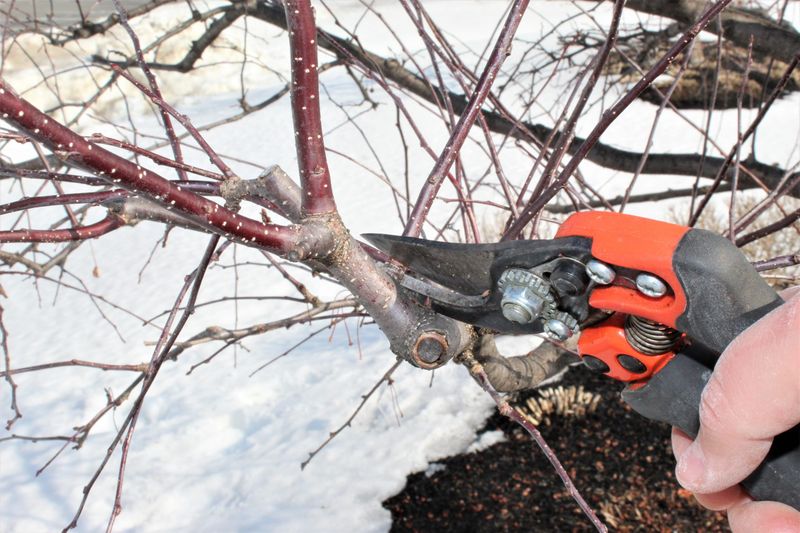
A warm December afternoon feels like the perfect pruning day. The trouble is that winter is not done with your tree yet.
Fresh cuts made before the hardest cold can lose cold hardiness, and the tissue around the wound may get frost injury. That damage can creep into the branch and weaken buds nearby.
Wait for late winter, after the worst cold snaps pass but before buds swell. In most of the US, that lands somewhere between February and early March, depending on where you live.
2. Removing More Than a Third of the Canopy
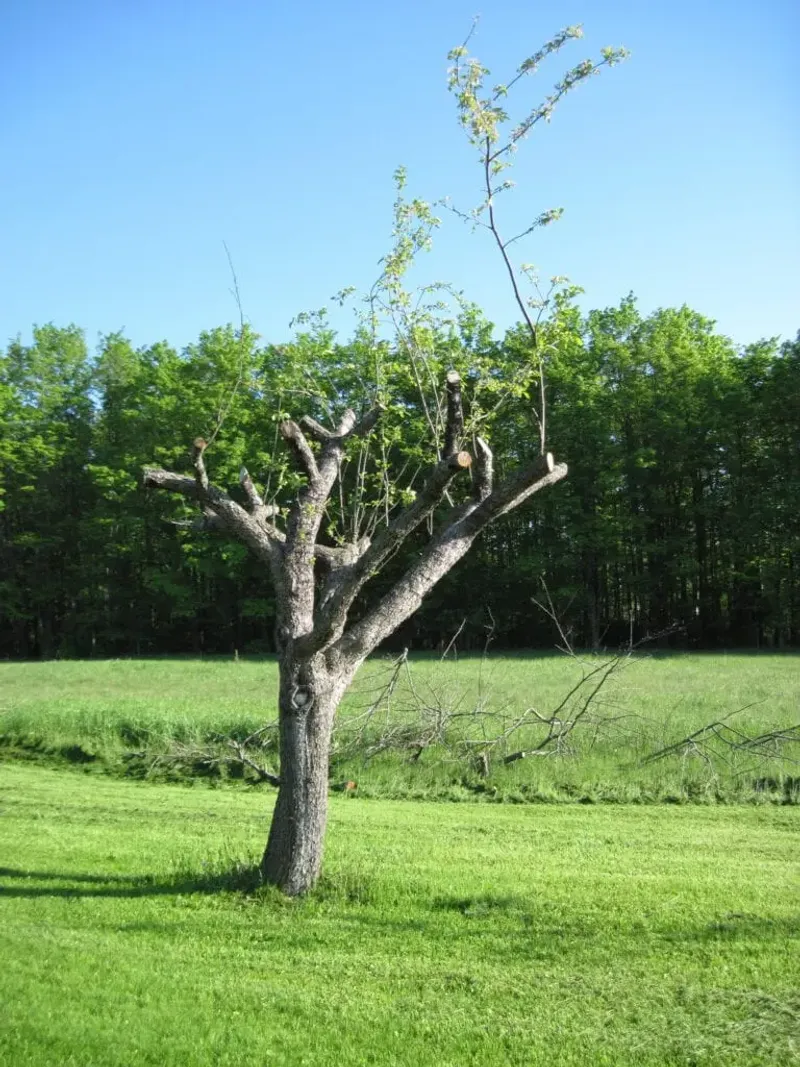
Picture a haircut that went way too short. Your apple tree feels the same way when you take off too much at once.
Removing more than about 25 to 33 percent of the canopy in one year can shock the tree. It responds by pushing out leafy new shoots instead of flowers, which means fewer apples.
Less canopy also means less energy from the leaves for the whole season.
Set a limit before you start. Step back after every few cuts and ask whether you are near that one-third mark.
3. Fixing a Neglected Tree in One Winter
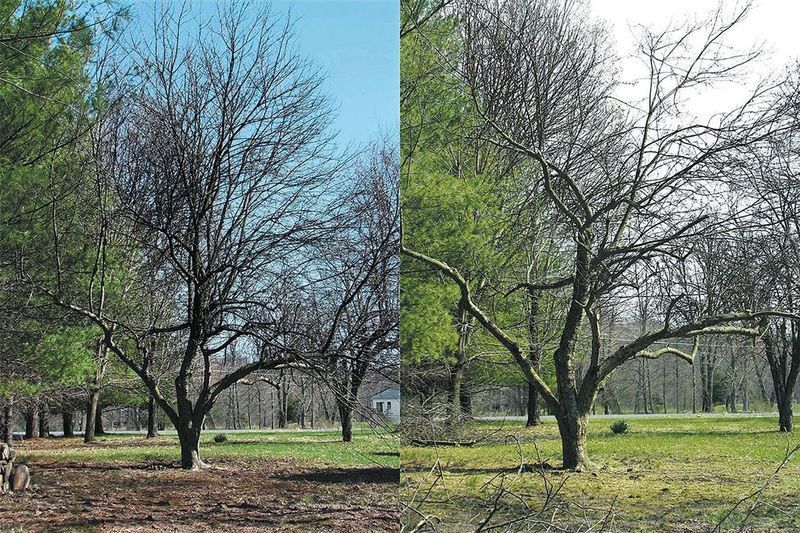
Inherited an overgrown apple tree with a new house? Lots of folks do, and the urge to tame it all at once is strong.
Resist it. A neglected tree needs a two or three winter plan.
Take out the dead wood and the worst crowding the first year, then keep shaping in the following years.
Going slow keeps the tree calm and fruiting while it gets back into shape. Patience here pays off in actual bushels.
4. Snipping Off Fruit Spurs
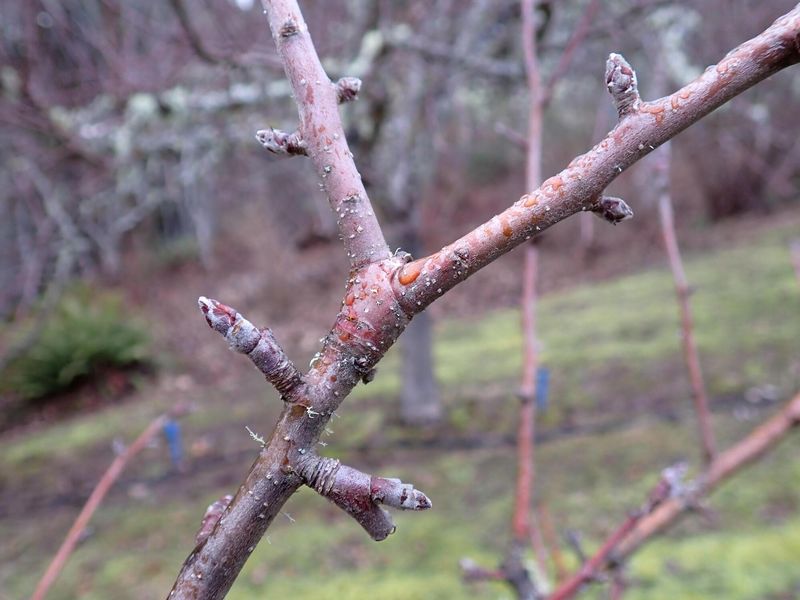
Those short, knobby twigs that look like little fists? They are your apples waiting to happen.
Many popular apple varieties are spur-bearing, meaning fruit forms on these stubby growths along older wood. Spurs can stay productive for years.
Cut them off and you have erased future harvests in a single snip.
Learn to recognize them before you prune. Flower buds on spurs are plump and fuzzy, while leaf buds are slim and pointed.
5. Tipping Back a Tip-Bearing Variety
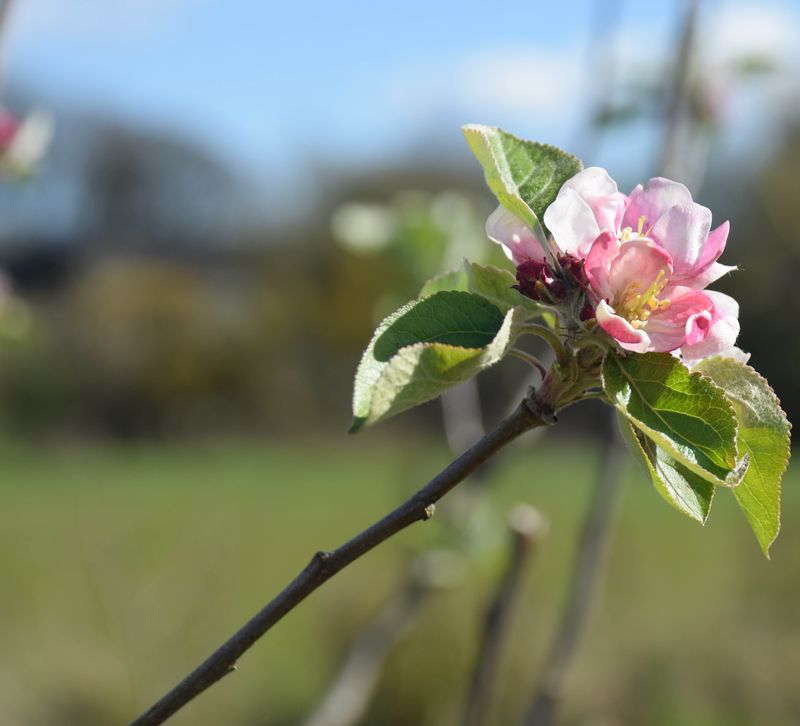
Here is a sneaky one. Some apples, often older heritage types, bear fruit right at the ends of last year’s shoots.
If you trim every branch tip on these trees, you remove most of the fruit buds. Gardeners then wonder why the tree flowered beautifully the year before and sat bare after pruning.
Check your variety name. If it is tip-bearing, use thinning cuts to remove whole branches and leave plenty of shoot tips alone.
6. Leaving Stubs Behind
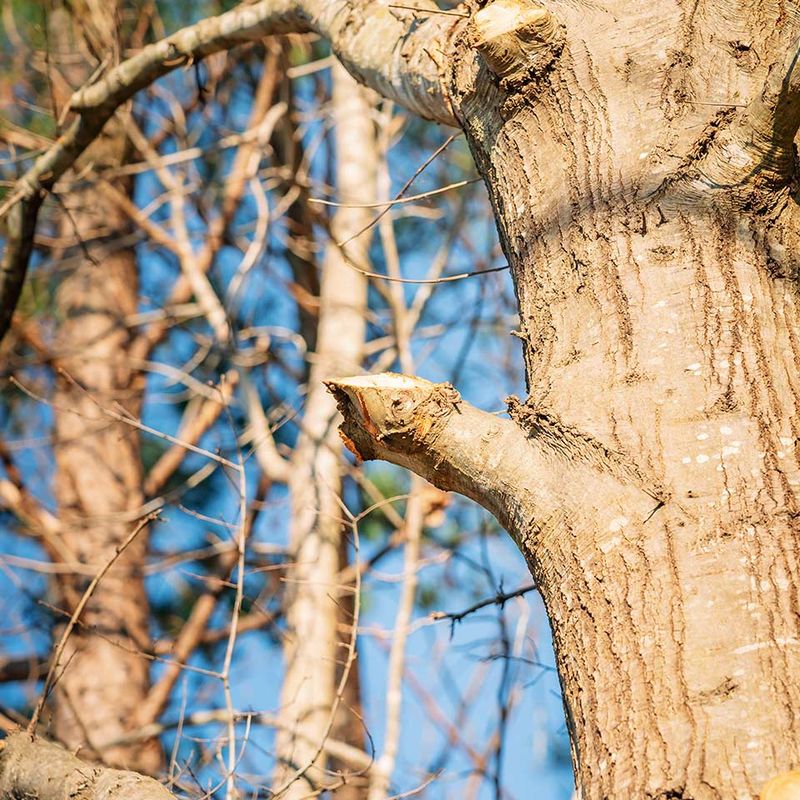
A stub might look harmless, even tidy. In reality it is a little dead end the tree cannot seal over.
Without living tissue to grow over the wound, stubs often rot. Decay and disease can travel from that stub into the main limb, and a weakened limb holds fewer apples.
Always cut back to a bud, a side branch, or the branch collar. No in-between leftovers.
7. Making Flush Cuts Against the Trunk
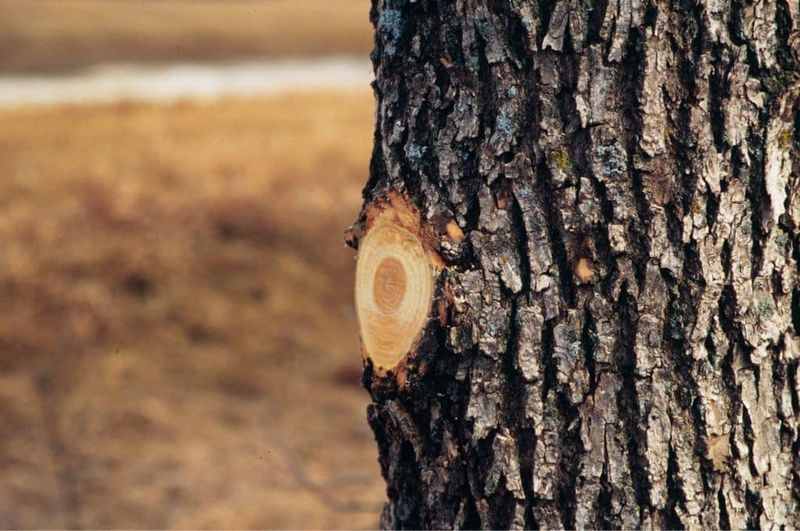
Slicing a branch perfectly even with the trunk feels neat and professional. Sadly, it is one of the most damaging cuts you can make.
The branch collar is that slightly swollen, wrinkled ring of bark where branch meets trunk. It holds the cells that help the tree close the wound.
Shave it off and healing slows down a lot. Cut just outside the collar, and the tree can form a clean ring of callus over time.
8. Cutting Too Far From a Bud
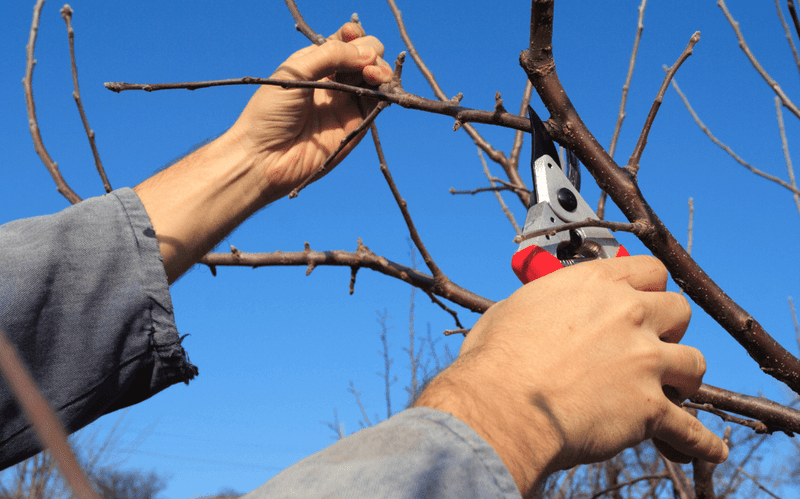
Quarter inch. That small gap is the sweet spot above a bud.
Cut much higher and the wood above the bud dies back, leaving a brown tip that can invite disease. Cut too close or at a steep wrong angle and the bud itself may dry out.
Aim for a slight slant about a quarter inch above an outward-facing bud. The new shoot will then grow out into open space instead of into the tree.
9. Relying on Heading Cuts
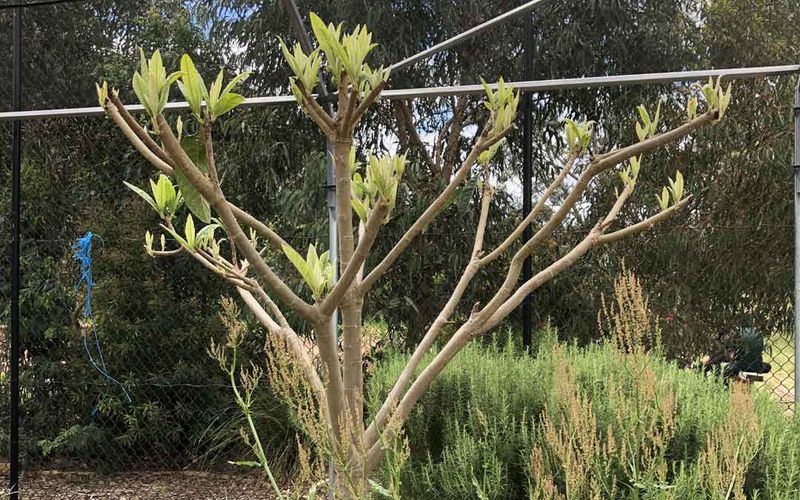
Ever trimmed a branch back halfway and come back in June to a broom of new shoots? That is the heading cut effect.
Shortening a branch in the middle tells the tree to sprout like crazy just below the cut. On a mature apple, that means crowded, leafy growth instead of fruit.
Favor thinning cuts that remove a whole branch at its origin. Save heading cuts for young trees you are training, and use them lightly.
10. Ignoring Water Sprouts
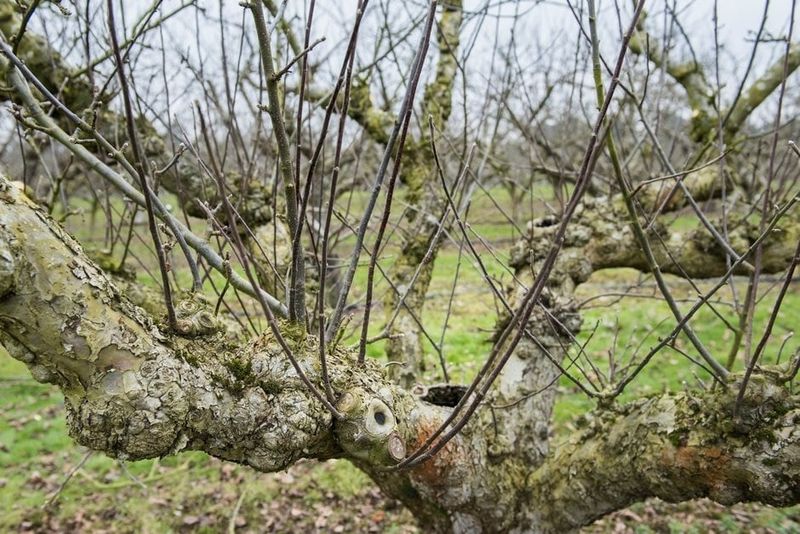
Water sprouts are the teenagers of the apple tree. They shoot straight up, eat everything, and contribute almost nothing.
These vigorous vertical shoots rarely bear good fruit, but they pull energy and shade the branches that do. Leaving them means a darker, less productive canopy.
Remove most of them at the base. If a spot truly needs a new branch, you can keep one and bend it toward horizontal to encourage fruiting.
11. Letting Root Suckers Stay
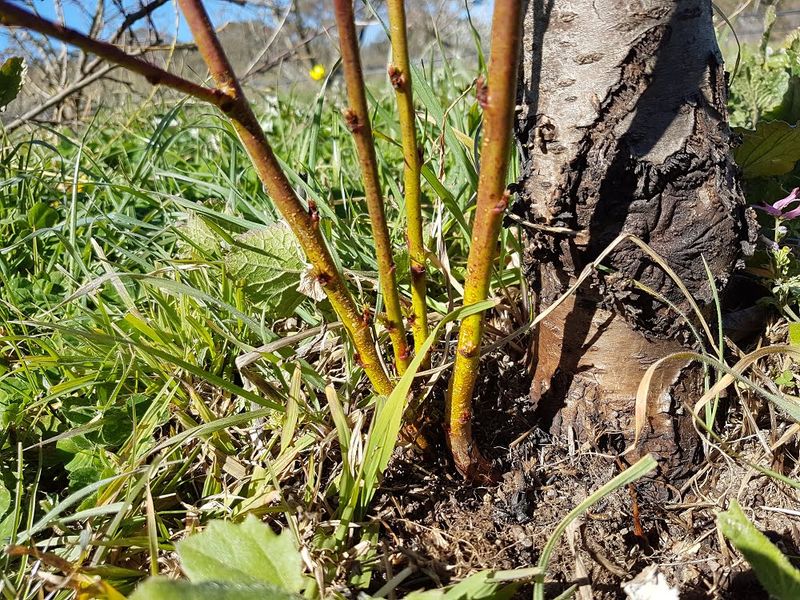
Suckers pop up from the base or roots, and they can be sneakier than they look. Many grow from the rootstock, not your chosen variety.
That means any fruit they make will not match the apples you planted, and they steal energy all season long.
Clip them off as close to the source as you can, pulling back soil if needed. Check again in summer, since they love to return.
12. Skipping Branches That Grow Inward
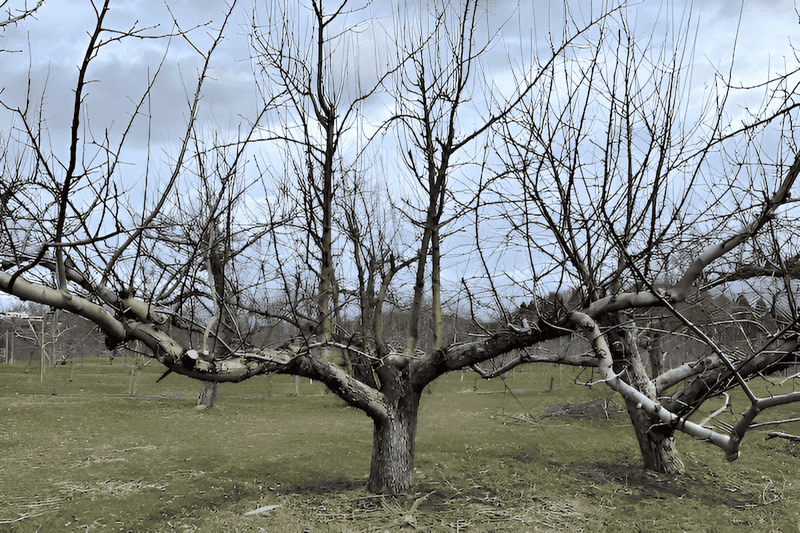
Sunlight is the secret ingredient in a sweet, colorful apple. Branches heading into the middle of the tree block it.
A crowded center also traps moisture, which can raise the risk of fungal problems like apple scab. Apples in deep shade often stay small, pale, and bland.
Remove branches pointed toward the trunk. Gardeners like to say a bird should be able to fly through a well-pruned apple tree.
13. Overlooking Crossing Branches
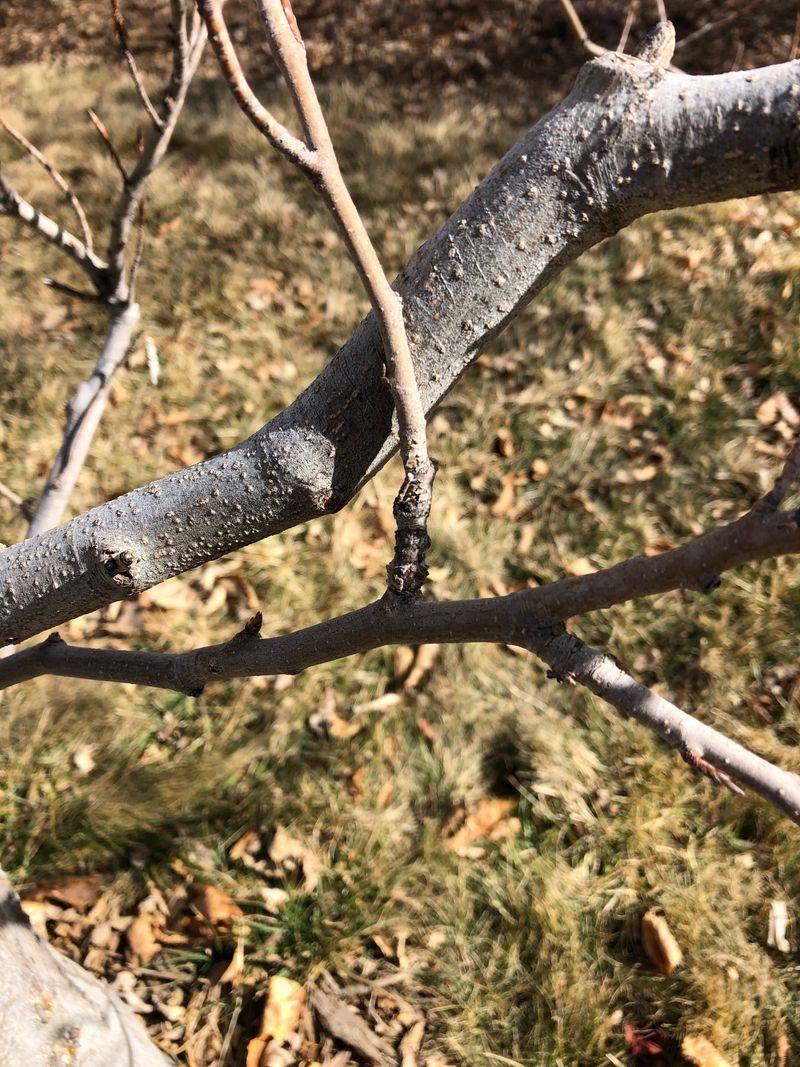
Two branches rubbing together all winter in the wind wear through bark like sandpaper. Those open wounds can let in pests and disease.
Pick the weaker, worse-placed branch and remove it. Keep the one with better angle and more fruit spurs.
Catching these early, while branches are small, is much easier on both you and the tree.
14. Keeping Droopy, Shaded Limbs
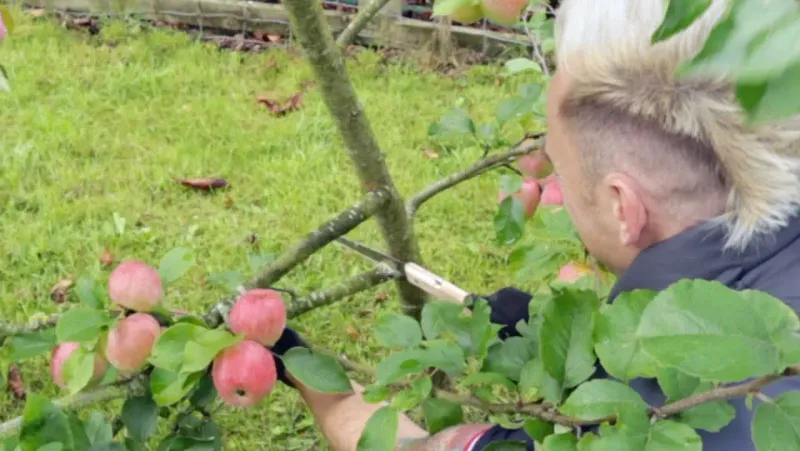
Low, drooping limbs feel like bonus branches. Most of the time they are just shade dwellers.
Branches that hang down or sit deep under the canopy get little light. Fruit there tends to be poor quality and often ends up on the ground for the deer.
Trim them back to a healthy upward or outward side branch. The remaining limbs will get more energy and better light.
15. Keeping Narrow-Angled Limbs
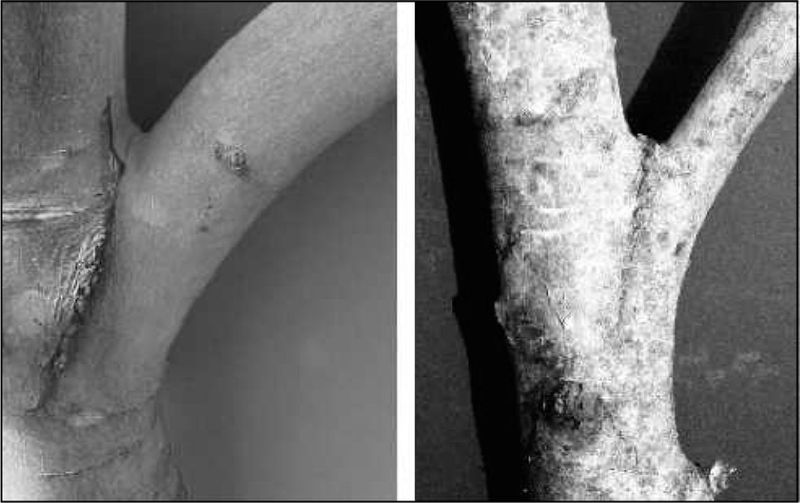
Tight V-shaped crotches look sturdy but are actually weak spots. Bark gets pinched inside the joint, and the limb can split under a heavy crop.
Losing a whole loaded branch in August is heartbreaking. Wide angles near 60 degrees from the trunk hold weight best and tend to fruit well.
Remove narrow-angled limbs while young, or use spreaders on young trees to open them up.
16. Using Dull Pruners
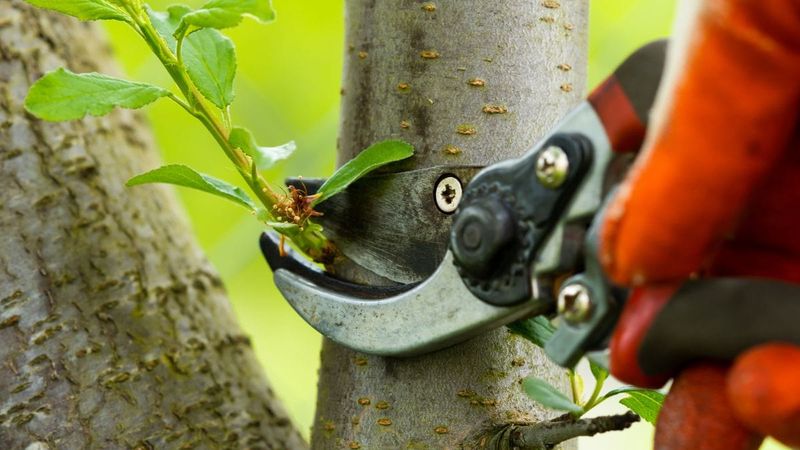
Dull blades do not cut, they crush. The result is ragged, torn bark that heals slowly.
Those messy wounds can be easier targets for disease and insects. Sharpening takes only a few minutes with a simple file or stone.
Bypass pruners, loppers, and a pruning saw cover nearly every cut on a home apple tree.
17. Spreading Disease With Dirty Tools
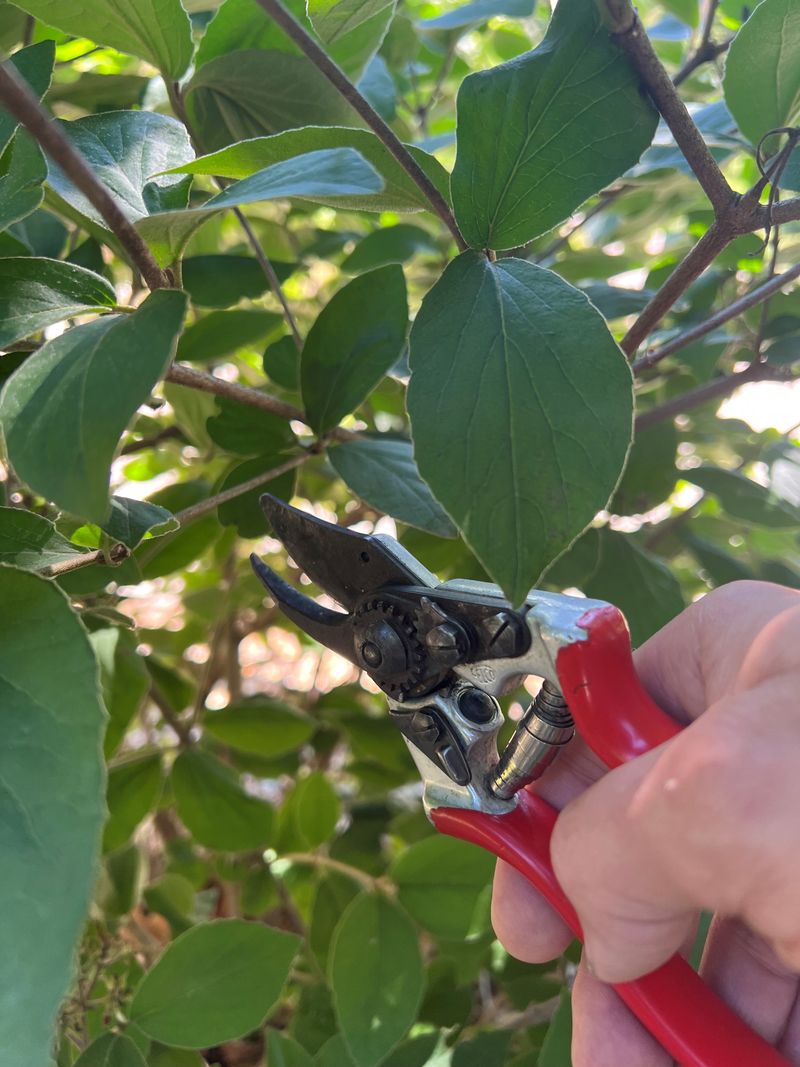
Fire blight and canker do not need wings to travel. Your pruners can carry them from branch to branch.
Wipe blades with rubbing alcohol or a disinfectant between trees, and after every cut on diseased wood. It is a tiny habit that may prevent a big problem.
Bag and toss diseased branches instead of leaving them near the tree.
18. Pruning in Wet Weather
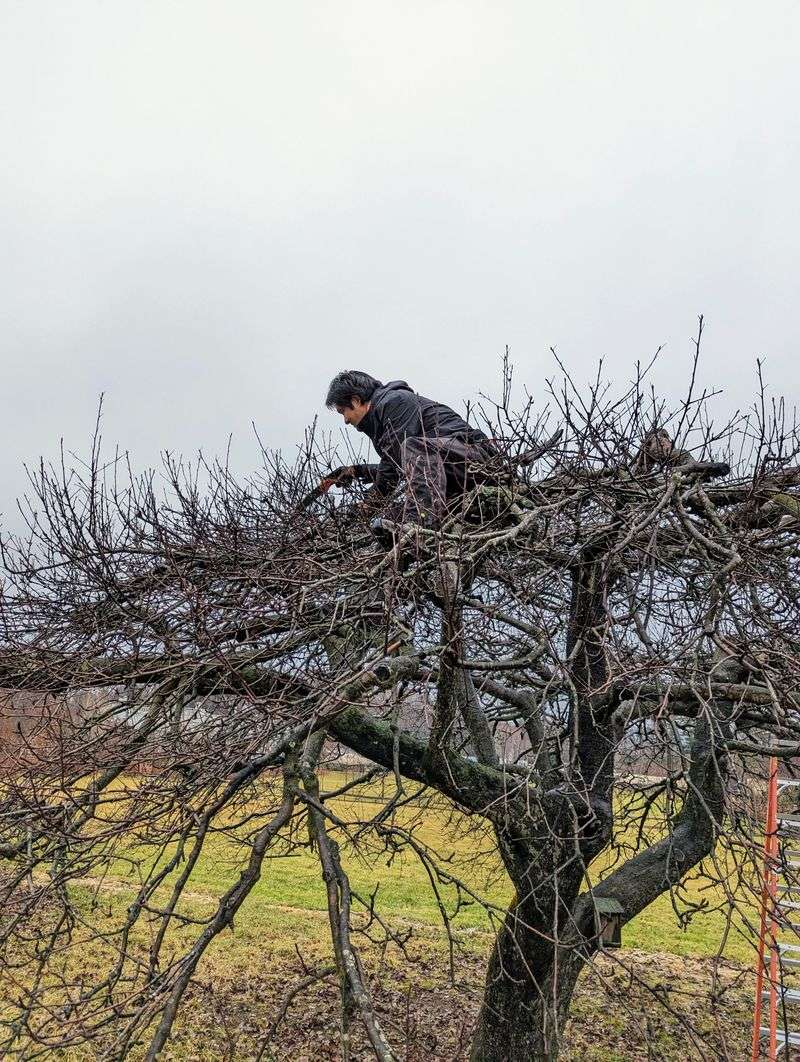
Rainy days seem like quiet time for chores. For apple trees, damp weather can be a door for trouble.
Moisture helps bacteria and fungal spores move into fresh cuts. Pick a dry stretch, ideally with a couple dry days ahead.
Very frigid days are also poor choices, since wood can be brittle and crack.
19. Starting Without a Plan
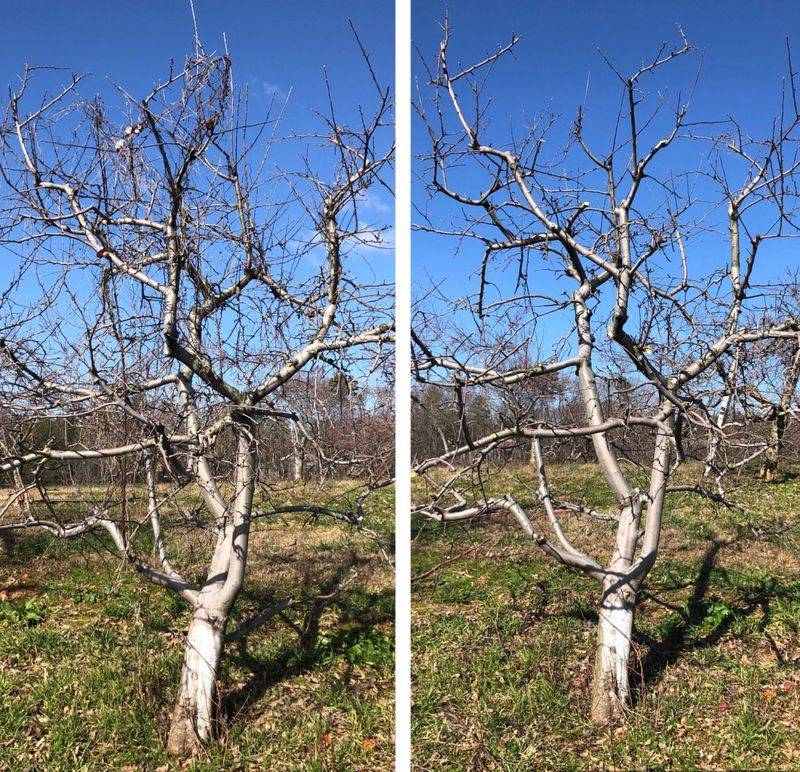
Walk around the tree before you make a single cut. Seriously, a full lap or two.
Decide your goals first: an open center, lower height, or removing problem limbs. Start with dead, damaged, and diseased wood, then crossers and sprouts, then shaping.
A plan keeps random snipping from stealing your harvest. Next fall, you will taste the difference.