
19 Spider Plant Watering Mistakes That Leave You With Brown Tips (And How To Keep It Lush For Years)
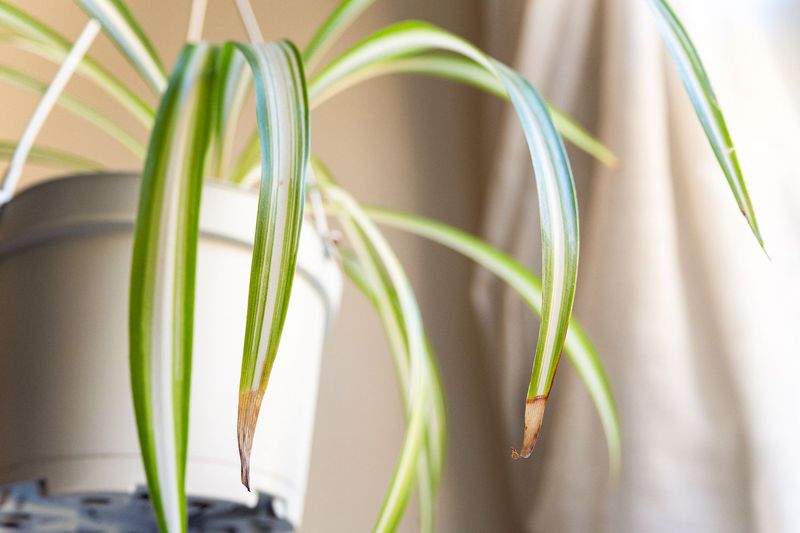
Your spider plant is supposed to be the easy one, so those crispy brown leaf tips can feel like a personal insult. The good news is that most brown tips come from a handful of small watering habits that are simple to change.
Spider plants are tough, forgiving, and quick to bounce back once you stop the mistake that is stressing them. Here are 19 common slip-ups, plus easy fixes that can keep your plant green and full for years.
1. Watering on a Strict Calendar
Plenty of plant parents set a phone reminder for every Sunday and call it a day. It feels responsible, but your spider plant does not read calendars.
Some weeks it drinks fast, and other weeks the soil stays damp for days.
Watering by the date instead of by need often leads to soggy roots one month and dry ones the next. Both swings can show up as brown tips on new leaves.
Try the finger test instead. Push a finger into the soil, and water only when the top 1 to 2 inches feel dry.
Keep the reminder if you like, but use it as a cue to check, not a cue to pour.
2. Drowning the Roots With Too Much Love
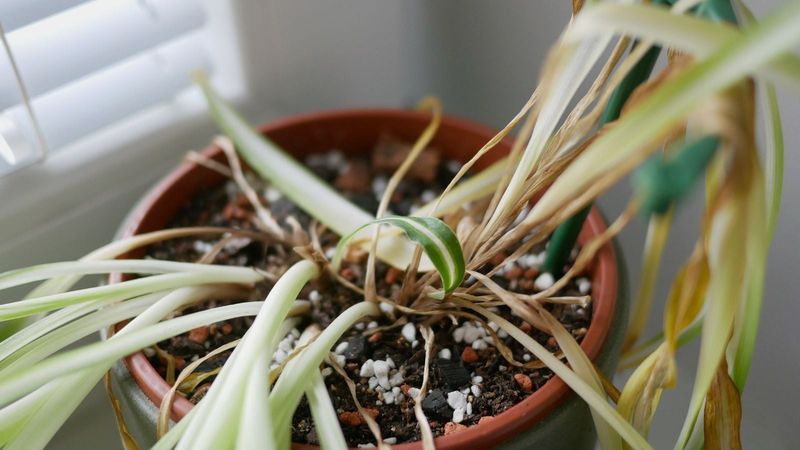
Here is the strange twist: too much water can make a spider plant look thirsty. Soggy soil squeezes out air, roots start to rot, and rotting roots cannot move water up to the leaves.
The result is brown tips, often paired with yellow, limp leaves near the soil line. Mushy stems, a sour smell, or fuzzy mold on the surface are all warning signs.
If you suspect overwatering, stop watering and let the soil dry well. Slide the plant out of its pot and check the roots.
Healthy ones are firm and white, while rotted ones are brown and squishy and should be snipped away before repotting in fresh, dry mix.
3. Letting the Soil Go Bone Dry
Spider plants store water in their thick, white roots, which is why they forgive a missed week. That toughness tricks people into stretching the gaps way too long.
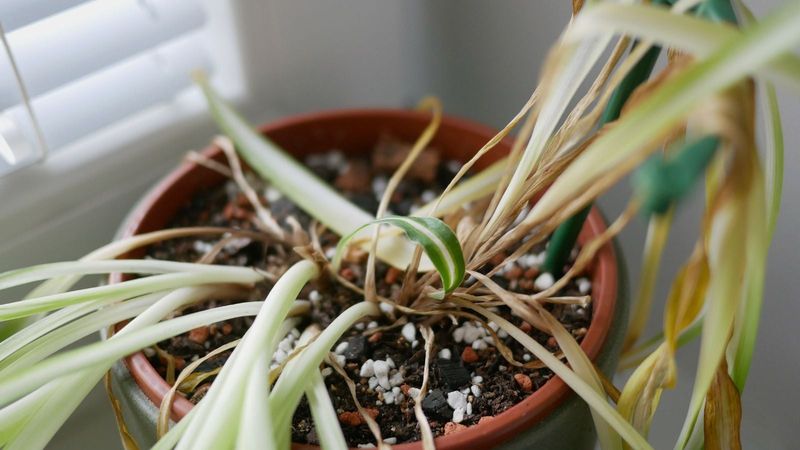
When the whole pot dries out over and over, leaf tips crisp up first. You might also see soil shrinking away from the sides of the pot and leaves that look faded or droopy.
Aim for a rhythm where the top inch or two dries, but the deeper soil stays lightly moist. If the pot feels feather-light when you lift it, you waited too long.
Give it a slow, deep drink and plan to check a few days sooner next time.
4. Swinging Between Flood and Drought
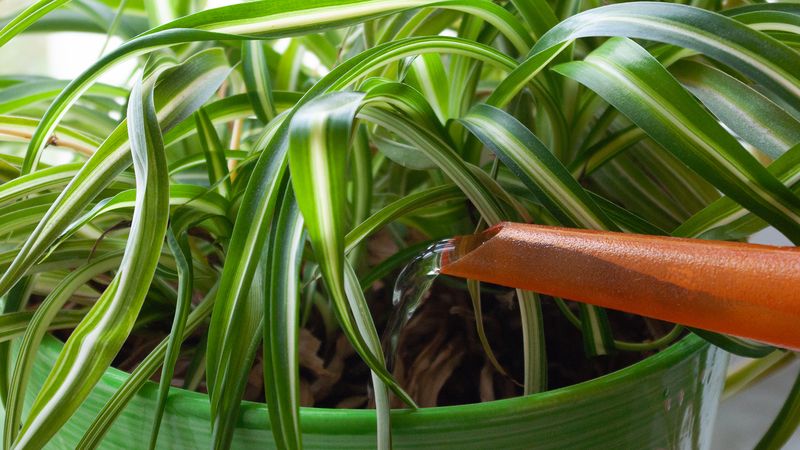
Picture a plant that gets soaked after you feel guilty, then ignored during a busy two weeks. That roller coaster is one of the most common reasons for brown tips.
Roots that keep adjusting to extremes never fully settle in. The fine root hairs that absorb water get damaged during dry spells, then struggle when the flood arrives.
Steady beats perfect. Even if you water a little less often than ideal, doing it in a consistent pattern helps your spider plant grow evenly, with fewer browned ends on fresh leaves.
5. Giving Only Shallow Sips
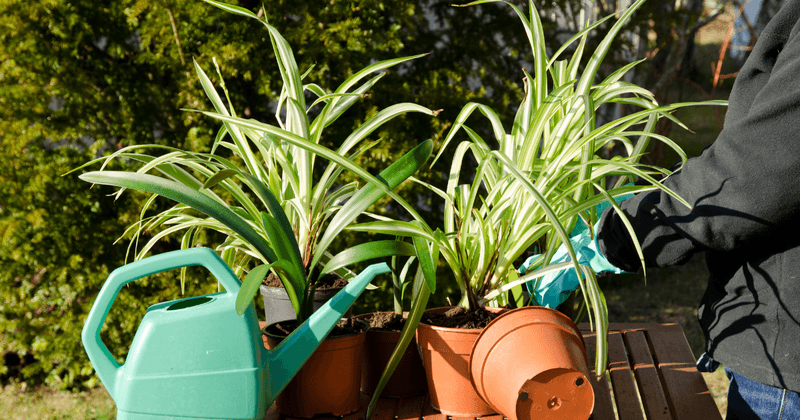
A quick splash from your water glass on the way out the door feels helpful. Sadly, it only wets the top layer while the deeper roots stay parched.
Shallow watering trains roots to cluster near the surface, where they dry out fastest. Over time, the plant gets less water than you think, and the tips show it.
When you water, go all in. Pour slowly until water runs out of the drainage holes, so the entire root ball gets soaked.
Then let it drain and wait until the top soil dries again.
6. Using Fluoridated Tap Water
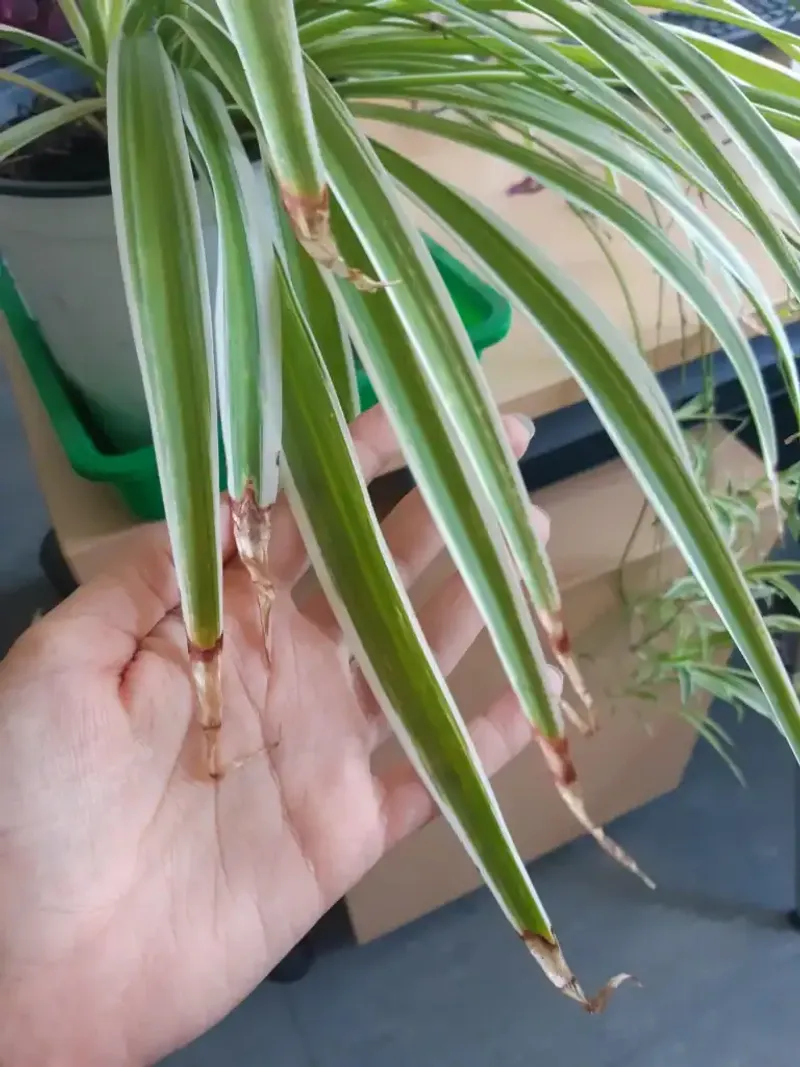
Spider plants have a famous weak spot, and it comes right out of the kitchen faucet. Many US cities add fluoride to tap water, and spider plants are unusually sensitive to it.
Fluoride slowly builds up in the leaves and collects at the tips, where it can disrupt normal leaf function. That is why the browning often starts at the very ends and creeps back.
Switching to distilled water, rainwater, or water from a filter rated to reduce fluoride may cut down on new brown tips. Old damage will not reverse, but fresh leaves often come in cleaner within a few months.
7. Believing Sitting Water Fixes Everything
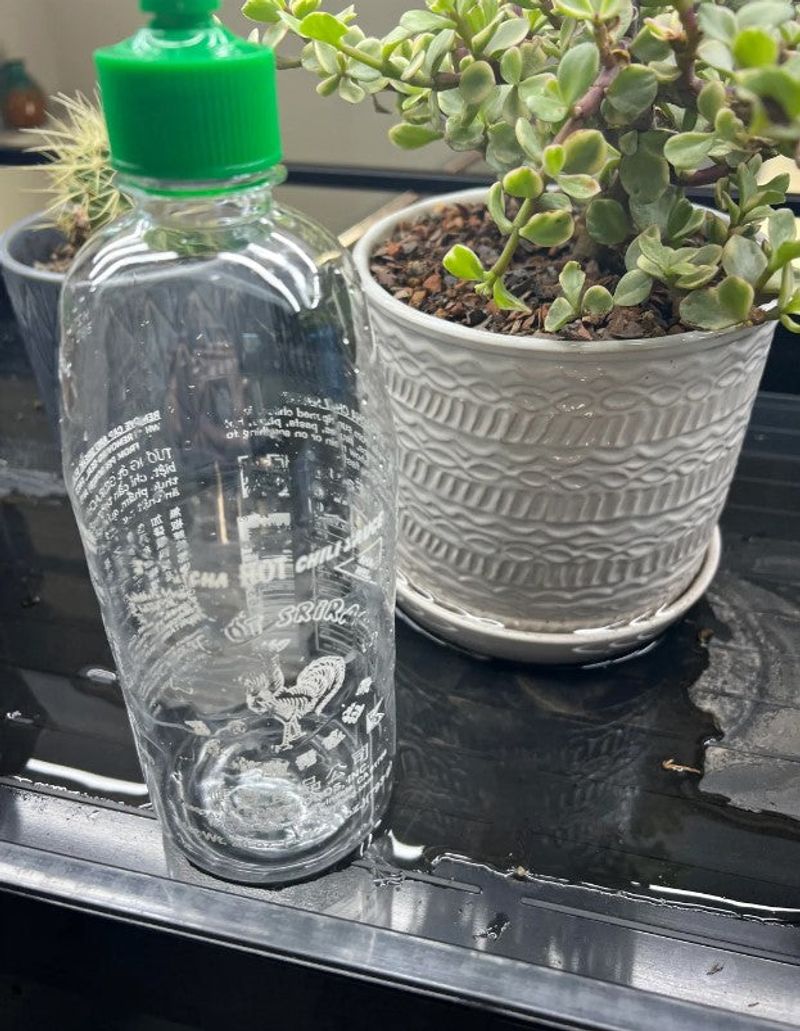
You may have heard the old trick: leave tap water out overnight before watering. It is not useless, since much of the chlorine can escape into the air within a day.
The catch is that fluoride does not evaporate. Neither do the dissolved minerals in hard water, so the jug on the counter only solves part of the problem.
Keep using the sit-out trick if your tap water is low in fluoride. If brown tips keep appearing, though, it is a sign you may need a different water source altogether.
8. Ignoring Hard Water Buildup
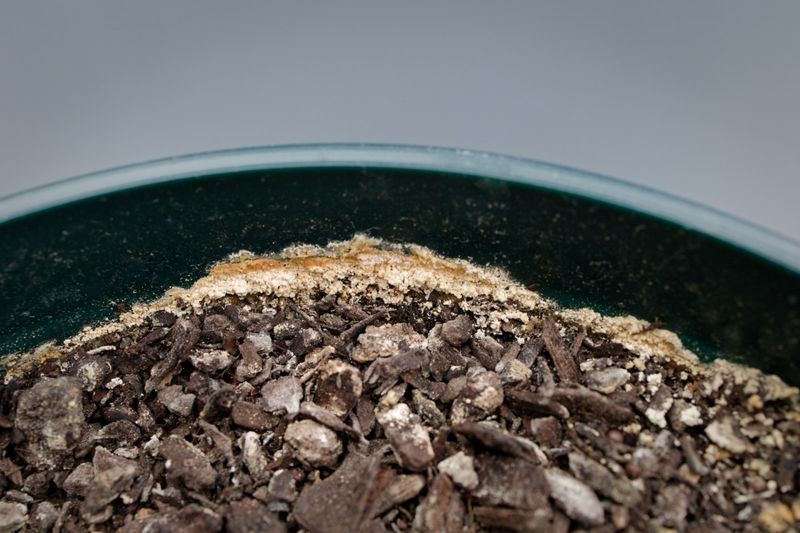
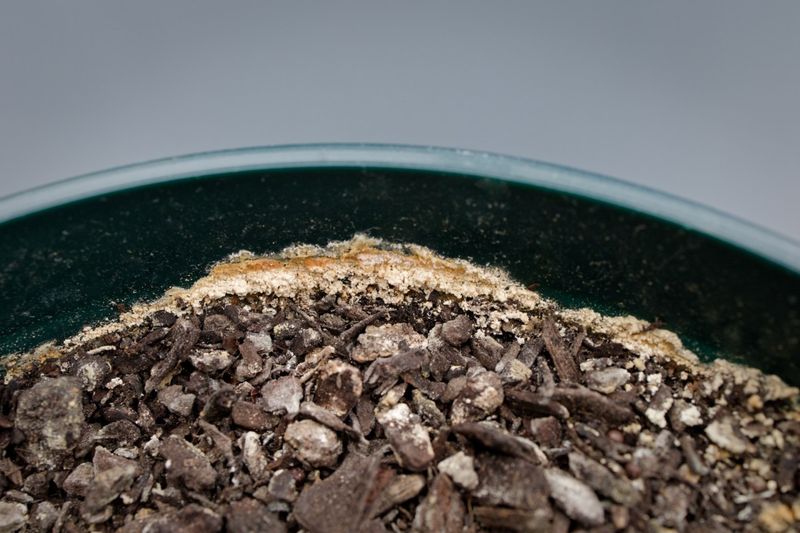
Notice a white, crusty ring on the rim of your pot or the top of the soil? That chalky stuff is mineral salt from hard water, and it is a big clue.
As salts pile up, they make it harder for roots to pull in moisture. The plant acts thirsty even when the soil is wet, and the tips brown first.
Scrape off visible crust and switch to softer water when you can. Avoid water run through a salt-based softener, since that adds sodium, which spider plants dislike even more.
9. Never Flushing the Soil
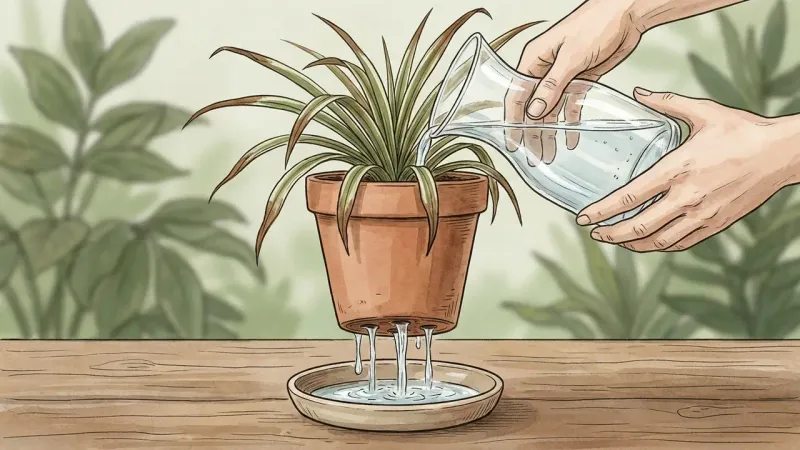
Think of flushing as a deep clean for the pot. Even with careful watering, salts and minerals slowly collect in the soil over months.
Every few months, take your spider plant to the sink or tub. Slowly pour distilled water or rainwater through the soil, using about two to three times the pot’s volume, and let it all drain away.
This rinse carries out the buildup that can burn leaf tips. Let the pot drain fully afterward, and do not water again until the top soil dries.
10. Choosing a Pot Without Drainage Holes
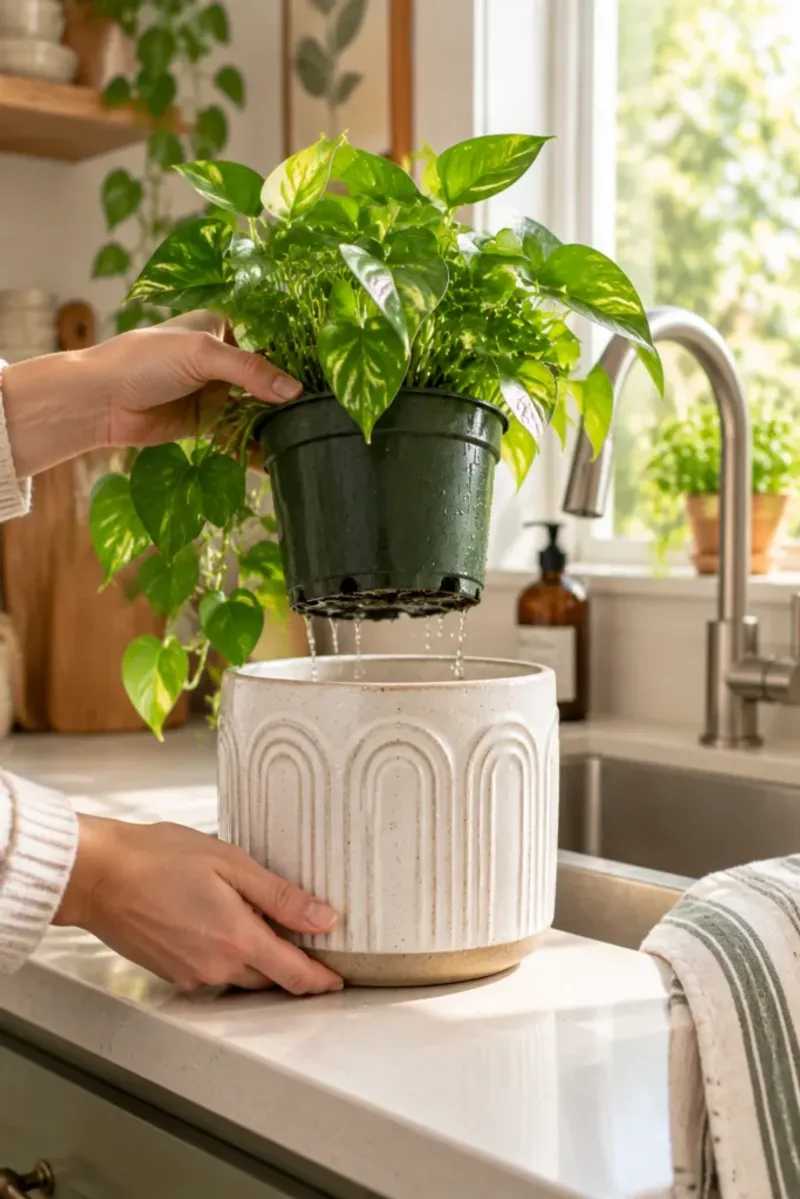
That gorgeous glazed pot from the home store might be quietly hurting your plant. Without a drainage hole, extra water has nowhere to go.
Water pools at the bottom, roots sit in it, and rot can follow. Adding pebbles to the bottom does not really solve it, because the soggy zone just moves higher.
Keep your spider plant in a plain nursery pot with holes, then set that inside the decorative pot. You get the look you love, and the roots get the airflow they need.
11. Leaving Water in the Saucer
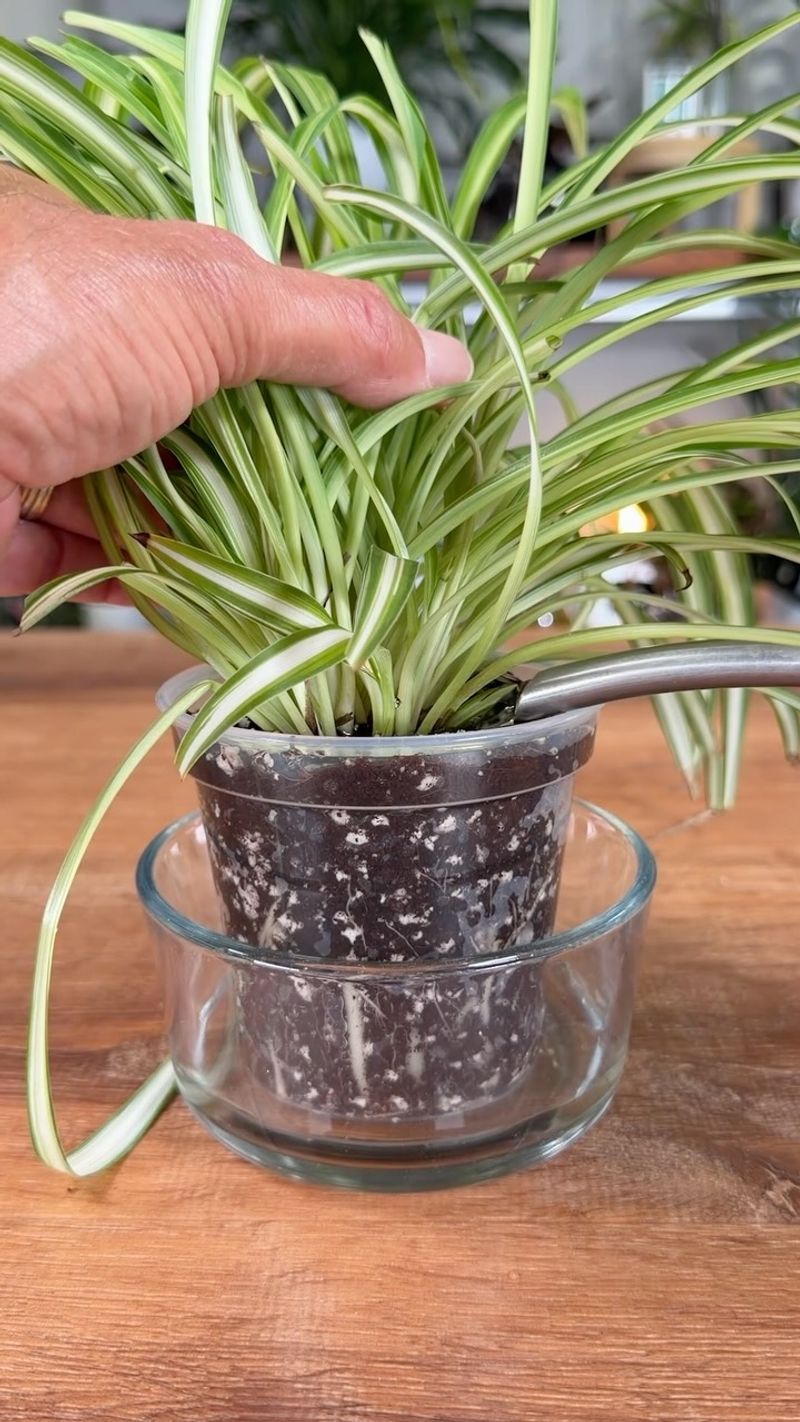
You did everything right, watered deeply, and watched it drain. Then the saucer sat full for three days.
Standing water wicks back up into the soil and keeps the bottom roots soaked. That is a sneaky path to root rot, even in a pot with perfect holes.
Give it 15 to 30 minutes after watering, then dump the saucer. If the plant is too heavy to lift, use a turkey baster or paper towel to soak up the excess.
12. Watering the Same in Winter as in Summer
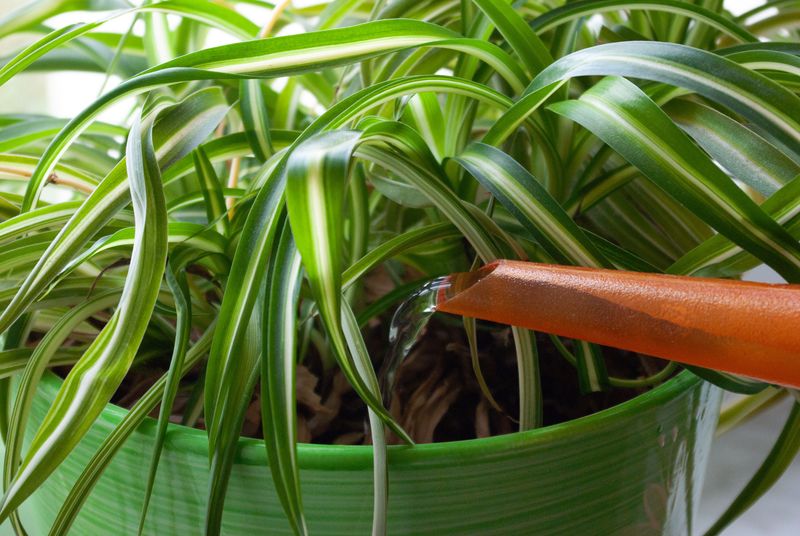
Summer spider plants are hungry growers, pushing out leaves and baby plantlets. By late fall, growth slows way down across most of the US.
If you keep the summer pace in winter, the soil stays wet longer and roots can suffer. On the flip side, dry heated air can dry the top layer fast while deeper soil stays damp.
Check more often but water less in fall and winter. Let the soil dry a bit deeper before each drink, then ramp back up in spring when new growth appears.
13. Forgetting Hanging Baskets Dry Out Fast
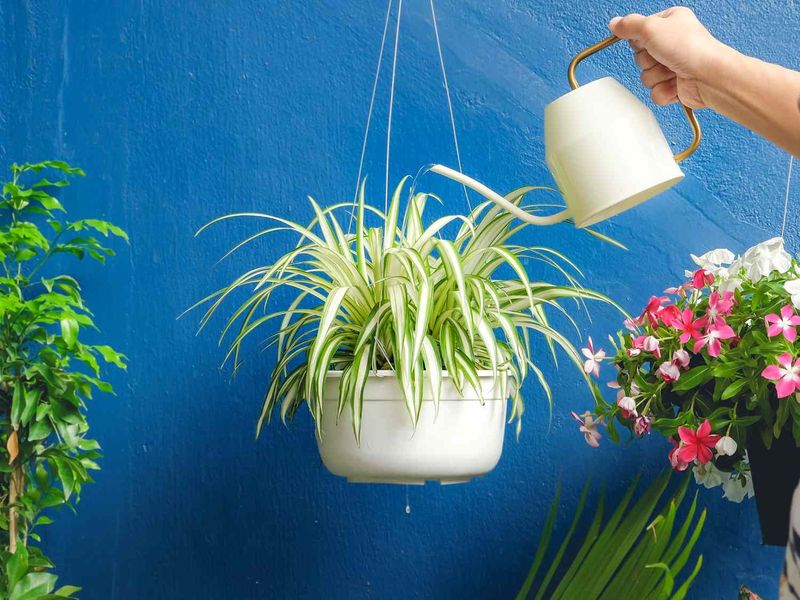
Hanging baskets show off a spider plant’s dangling babies like nothing else. They also dry out faster than almost any other container.
Warm air rises, breezes move around them, and baskets are often small or made of porous material. On a hot summer porch, one can go from moist to crispy in a day or two.
Lift the basket from below to feel its weight, since a light basket means it is thirsty. During heat waves, check daily and give a full soak when needed.
14. Overlooking a Root-Bound Plant
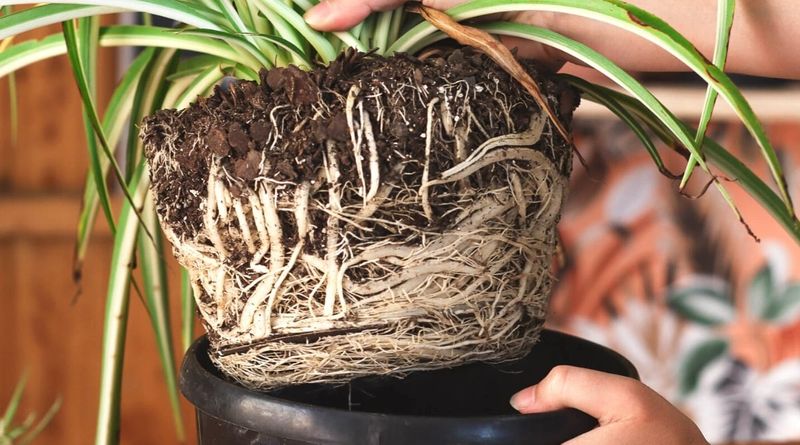
Fun fact: spider plants actually bloom and make more babies when slightly snug. That is why many folks wait too long to repot.
Once thick roots fill the entire pot, there is barely any soil left to hold water. You water, it runs straight through, and the plant still goes thirsty.
Roots poking out the drainage holes or pushing the plant up are clear signals.
Repot into a container just 1 to 2 inches wider with fresh, well-draining mix. Watering will suddenly work again.
15. Using Heavy, Soggy Potting Mix
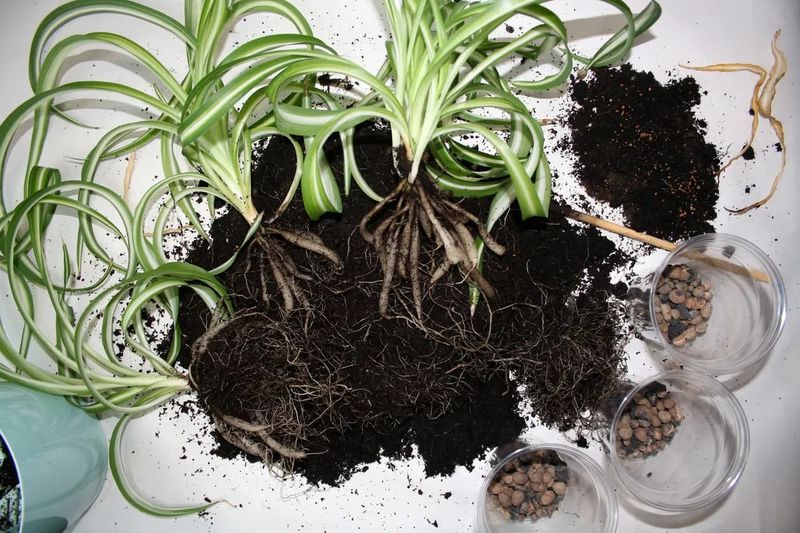
Old garden dirt or dense, cheap mix can turn into a wet brick inside a pot. Water lingers, air disappears, and roots struggle.
Spider plants want soil that holds some moisture but drains freely. A standard indoor potting mix with a handful or two of perlite works well for most homes.
If your soil stays wet for more than a week after watering, the mix may be the culprit. Refreshing it can make your watering routine much more forgiving.
16. Feeding Fertilizer With Every Watering
Mixing plant food into the watering can every time might seem generous. For a spider plant, it is more like serving dessert at every meal.
These plants are light feeders, and extra fertilizer leaves salts behind in the soil. Those salts can burn roots and show up as brown, crispy tips.
Feed only in spring and summer, roughly every couple of months or so, with a balanced fertilizer diluted to half strength. Skip it entirely in fall and winter.
17. Ignoring Dry Indoor Air
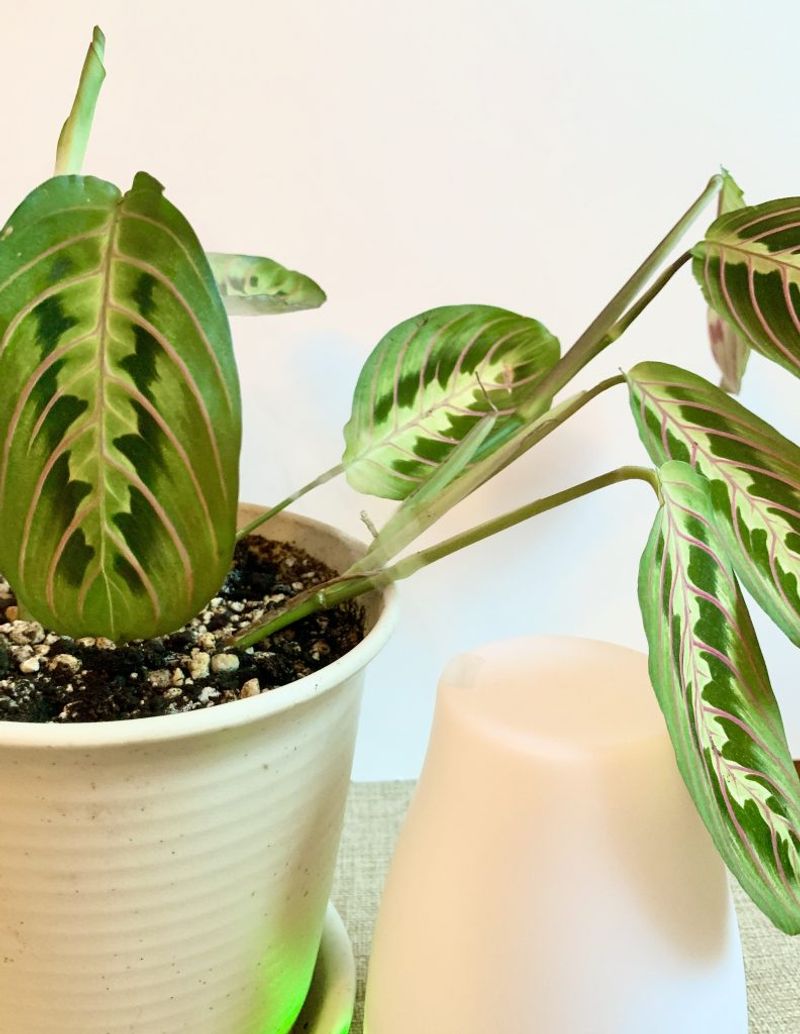
Sometimes the water problem is in the air, not the pot. Spider plants are happiest around 40 to 60 percent humidity, and heated winter homes can drop far below that.
Dry air pulls moisture from leaf tips faster than roots can replace it. Even perfectly watered plants can brown in a stuffy, heated room.
Group plants together, set the pot on a tray of pebbles and water, or run a small humidifier nearby. Misting feels nice but fades in minutes, so it rarely solves the problem alone.
18. Parking It in Harsh Direct Sun
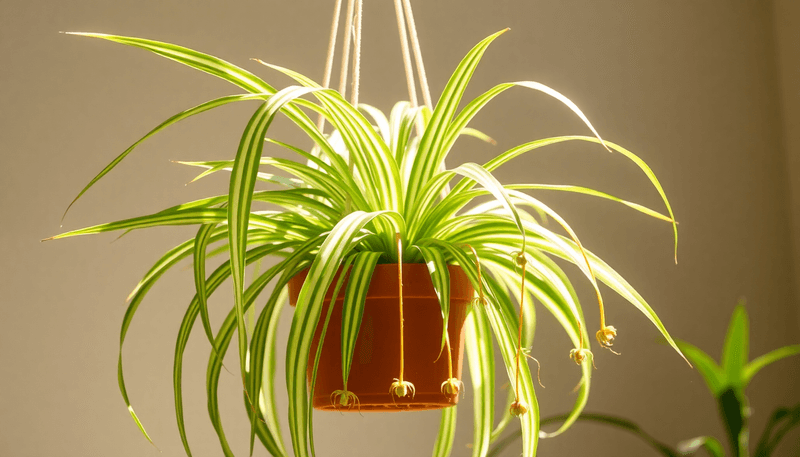
A sunny windowsill seems like a gift. For a spider plant, hours of hot afternoon sun can feel more like a sunburn.
Strong direct light scorches leaves and dries soil much faster than you expect, which throws off your watering rhythm. Washed-out color and brown patches often follow.
Move it a few feet back from a bright window or behind a sheer curtain. Bright, indirect light keeps leaves striped and vivid without baking the pot.
19. Expecting Brown Tips to Turn Green Again
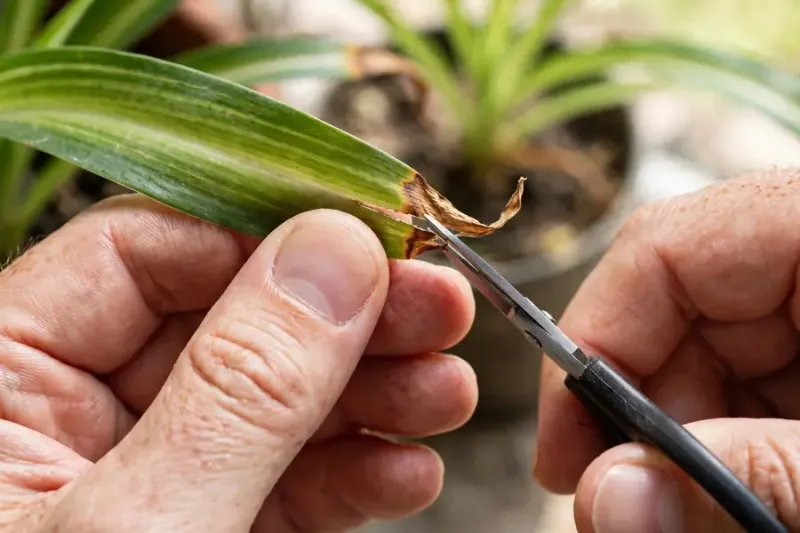
Once a tip turns brown, that tissue is done for good. No amount of perfect watering will bring the green back.
That is okay, because the real win is new growth. Fix the cause, and fresh leaves will come in clean.
For looks, trim the brown ends with clean, sharp scissors. Cut at a slight angle to mimic the natural pointed tip, and leave a hair of brown so you do not wound healthy tissue.