
Rosemary, Thyme, And Sage Cuttings You Snip Before Frost Turn Into Free Windowsill Plants By Spring – 11 Tips For Rooting Them Right
Your rosemary, thyme, and sage may look tough, but one hard freeze can turn a lush herb patch into brown sticks. The good news is that a few snips before frost can give you brand new plants for free.
Small cuttings rooted on a sunny windowsill can grow into full herb pots by spring. Here are 11 simple tips to help those cuttings root instead of rot.
1. Time Your Cuttings Before Frost
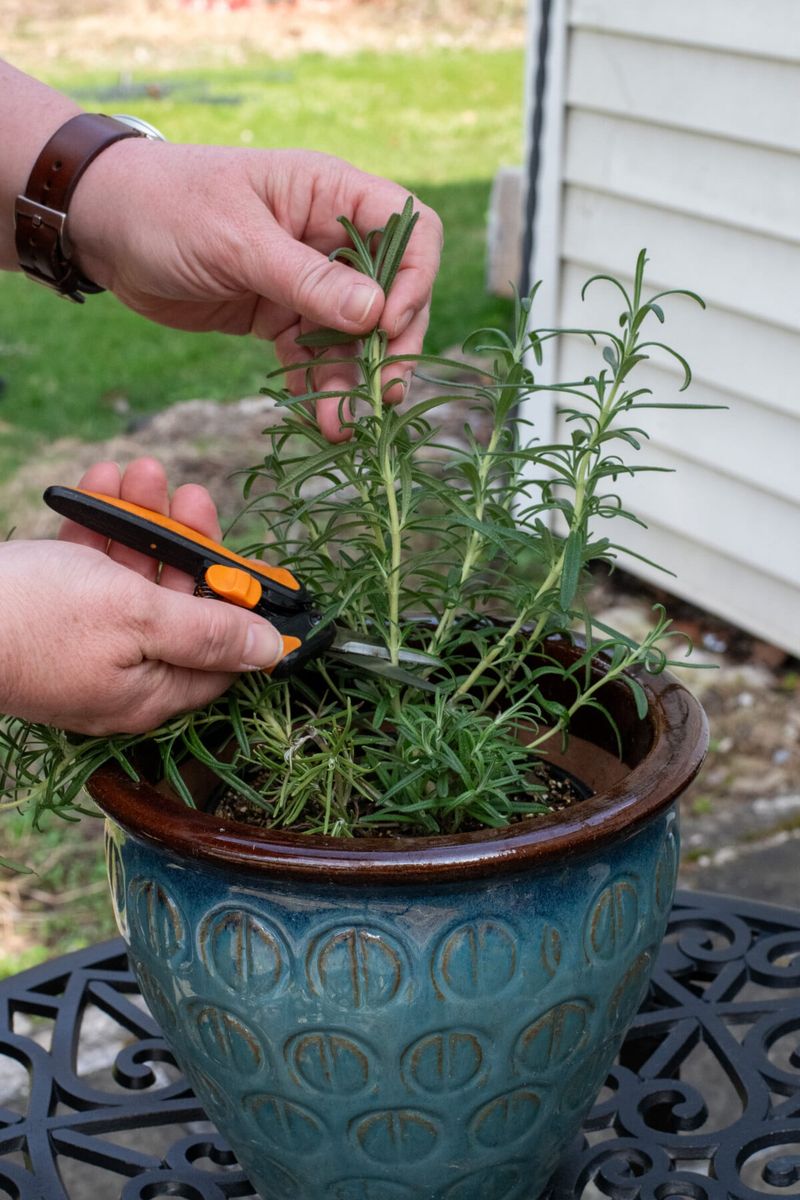
Last October, a neighbor waited one weekend too long, and a surprise freeze turned her rosemary crispy overnight. Timing really is everything with herb cuttings.
Aim for late summer through early fall, a few weeks before your area’s average first frost date.
Plants that are still growing actively have the energy to push out new roots. Stems that have already been nipped by cold are stressed and slow to respond.
You can look up your local frost date online by zip code in seconds.
Try to cut in the morning, when stems are full of water and leaves are crisp. Afternoon heat can leave cuttings limp before you even get them indoors.
2. Choose the Right Stems
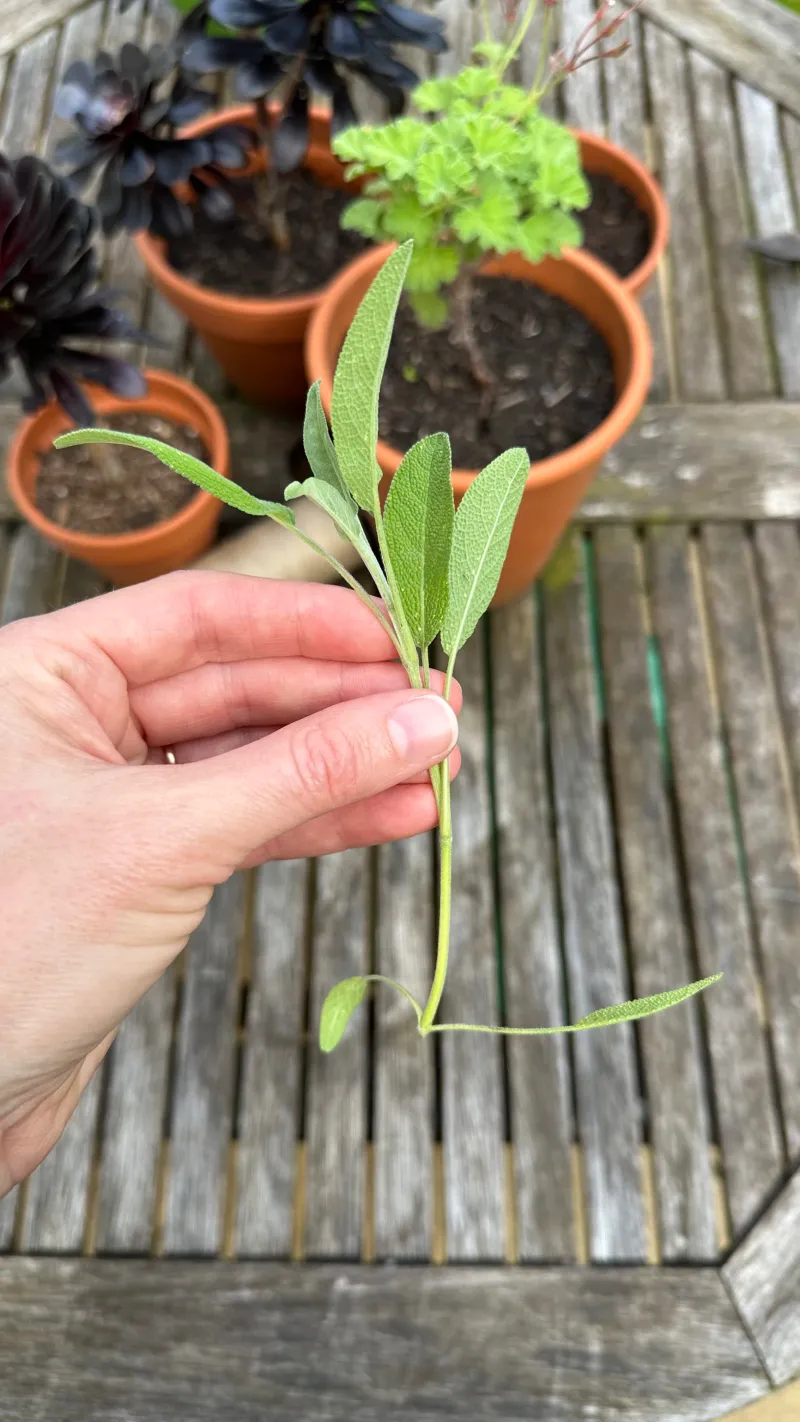
Not every stem is a winner. Picture a Goldilocks test: too soft, too hard, and just right.
The just-right stem is what you want.
Look for healthy, non-flowering pieces about 3 to 6 inches long. Super soft new shoots tend to wilt and rot before they root.
Old, thick, woody sections can take ages to wake up.
For rosemary, choose tips that feel somewhat firm but still bend without snapping. Thyme stems are thin, so pick the sturdiest green sprigs you can find.
With sage, skip any stem that is trying to bloom, since flowering pulls energy away from root growth.
3. Use Clean, Sharp Tools
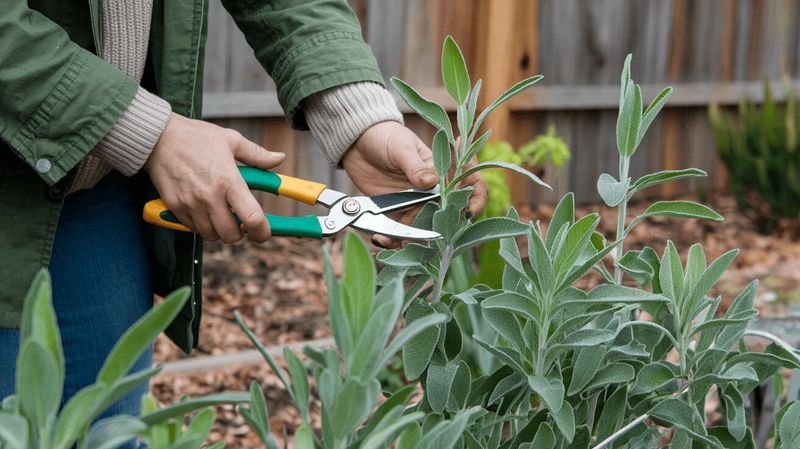
Dull scissors crush stems like a garlic press. A crushed end struggles to take up water and makes an easy doorway for rot.
Grab sharp scissors or pruning snips and wipe the blades with rubbing alcohol before you start. Doing so may help reduce the chance of spreading disease from one plant to another.
Wipe again if you move between different herbs.
Make each cut just below a leaf node, the small bump where leaves attach to the stem. Roots are most likely to form right at that spot.
A clean, slightly angled cut gives your cutting the best possible start.
4. Strip the Lower Leaves
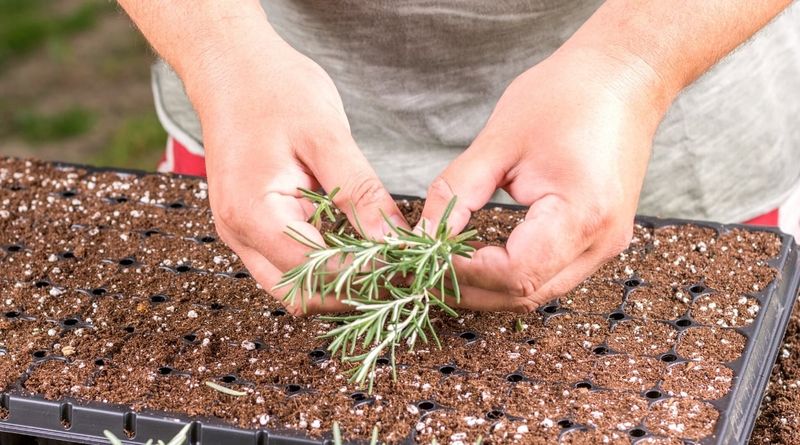
Here’s a quick job that saves a lot of heartbreak. Remove every leaf from the bottom 2 to 3 inches of each cutting.
Leaves sitting underwater or buried in soil start to break down fast. That mushy mess can spread rot up the stem and take the whole cutting with it.
Bare stems stay clean and ready to grow roots.
Rosemary needles strip off easily if you run your fingers gently downward. Sage leaves are bigger, so pinch them off one at a time to avoid tearing the stem.
Save the stripped leaves for dinner, since nothing has to go to waste.
5. Pick the Best Rooting Medium for Each Herb
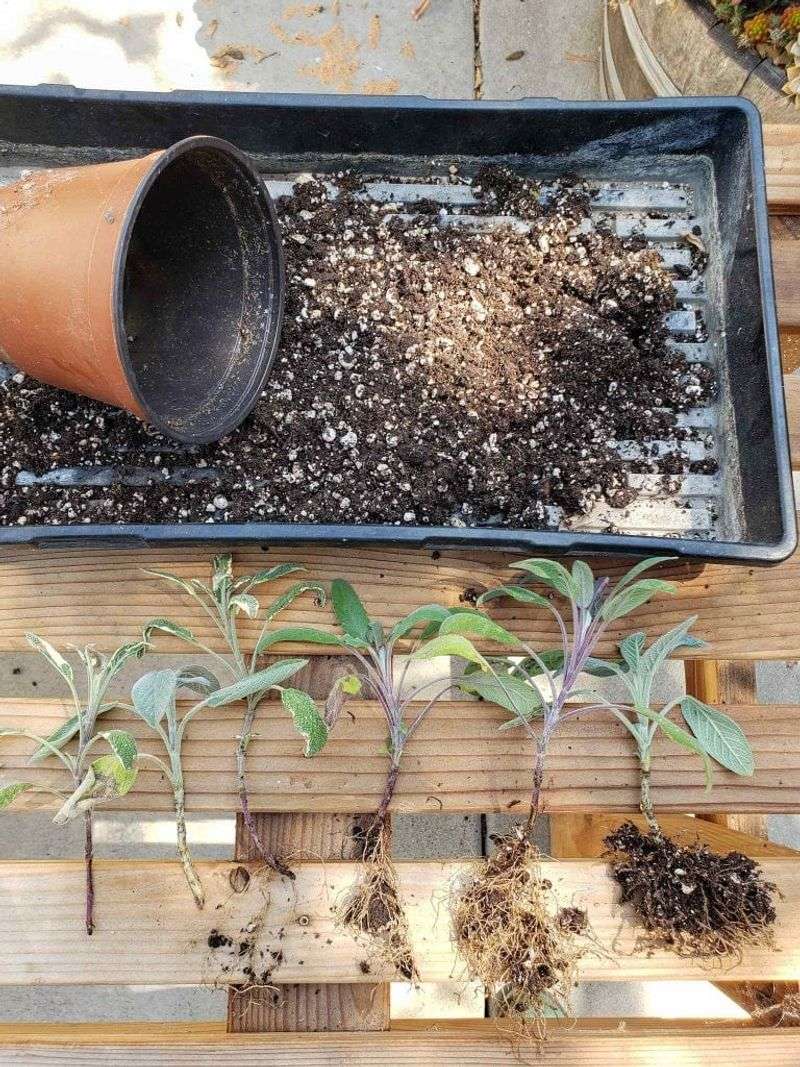
Water or soil? Both work, but each herb has its own quirks.
Rosemary roots in water or a coarse sand and soilless mix. Water often shows roots faster, while sand tends to grow tougher roots that handle transplanting better.
Thyme does fine in water or light soil, and sage roots well in water or a well-draining potting mix.
If you go with soil, use something airy like seed-starting mix, perlite, vermiculite, or coconut coir. Skip heavy garden soil, which stays wet and invites rot.
A glass jar on the counter is fun to watch, but the soil route can mean fewer shocks later.
6. Consider Rooting Hormone or Cinnamon
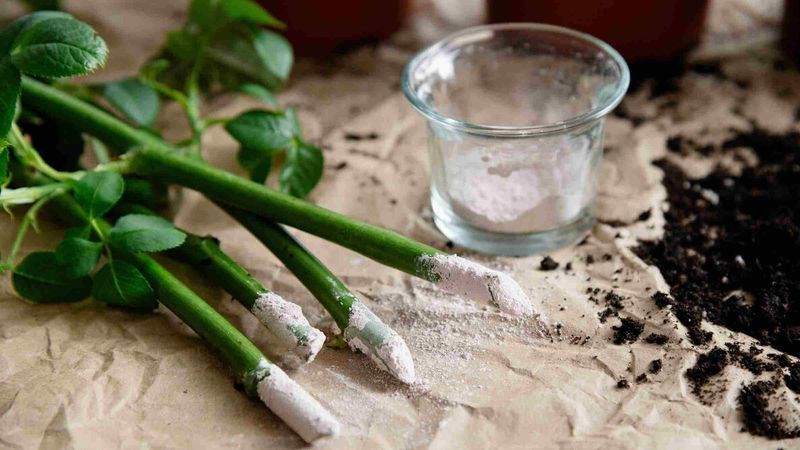
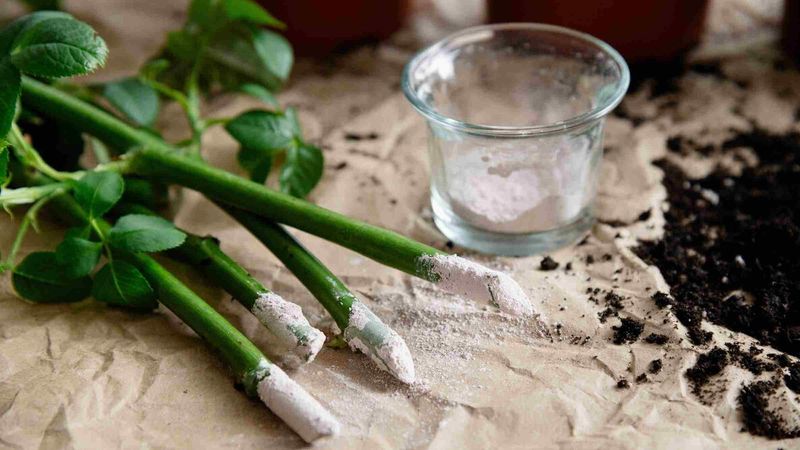
Think of rooting hormone as a little pep talk for your stem. It isn’t required, since many herbs root on their own, but it can speed things along.
Dip the cut end in powder or gel and tap off the extra. Woody herbs like rosemary and older sage stems often benefit most.
Folks who have lost cuttings to rot before may see better results too.
Fun fact: plenty of gardeners reach for ground cinnamon from the spice rack. It doesn’t add growth hormones, but it may help discourage rot and mold at the cut.
It’s a cheap, easy trick worth trying on a few stems.
7. Build a Mini Greenhouse for Humidity
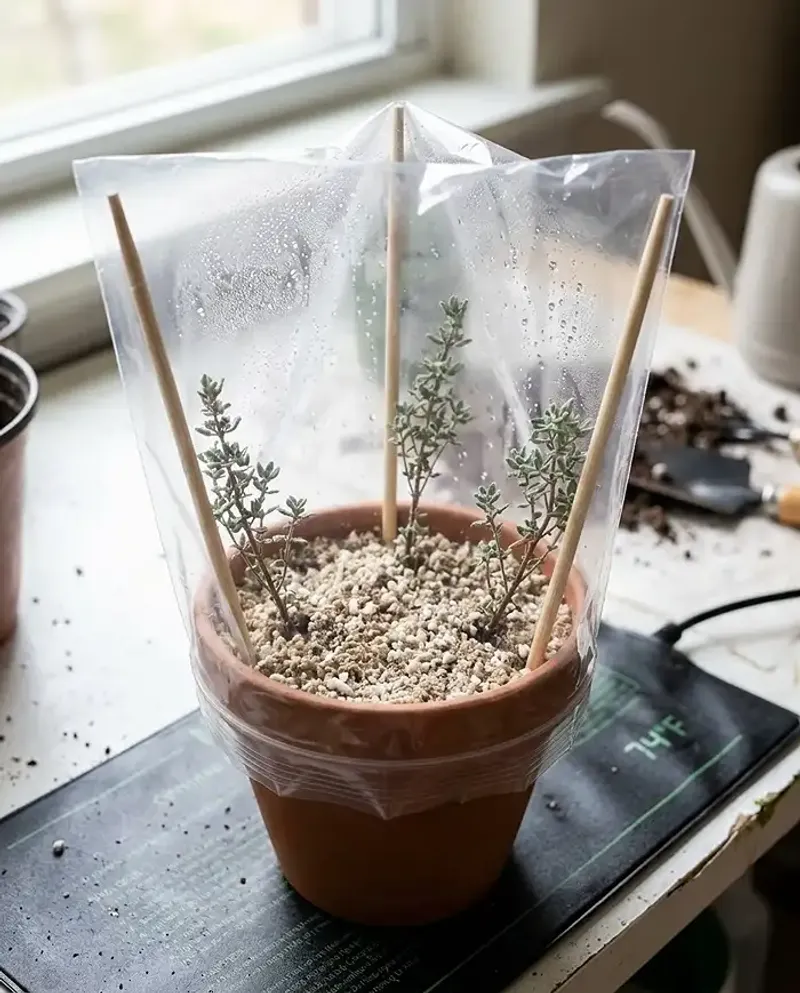
Cuttings have no roots, yet their leaves keep losing water. A humid bubble helps them hang on until roots catch up.
After planting in soil, cover the pot with a clear plastic bag or humidity dome. Use chopsticks or skewers to keep the plastic from touching the leaves.
A cut-off soda bottle works great too.
Open the cover every few days to let fresh air in. Doing so may help prevent mold and fuzzy gray growth.
If you spot heavy droplets dripping down the sides, leave it open a little longer.
8. Give Them Bright, Indirect Light
Sunshine sounds helpful, right? Too much of it can actually cook a tender cutting, especially under plastic.
Place your cuttings where they get bright, indirect light. An east-facing window or a spot a foot back from a sunny south window usually works well.
A sheer curtain can soften harsh afternoon rays.
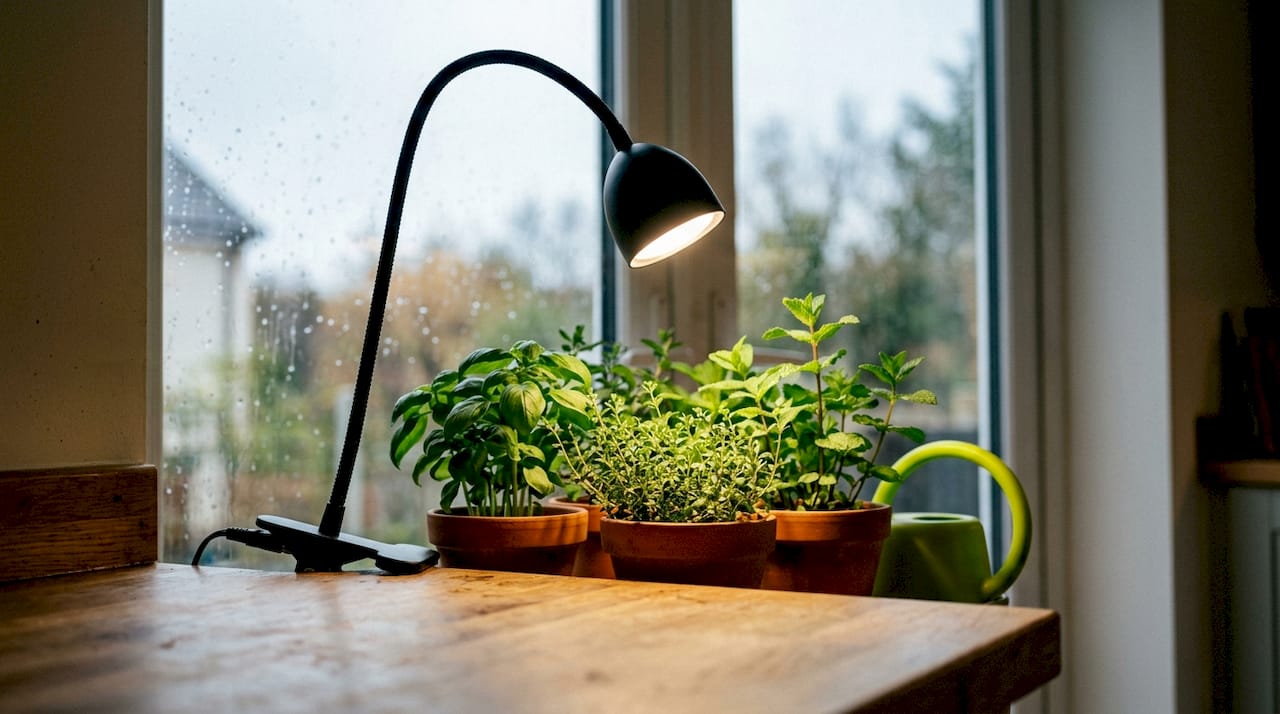
Winter days get short and gray in much of the US. A small LED grow light set for 12 to 14 hours a day can keep cuttings from turning pale and stretchy.
You don’t need a fancy setup, as a simple clip-on light does the job.
9. Manage Moisture Like a Wrung-Out Sponge
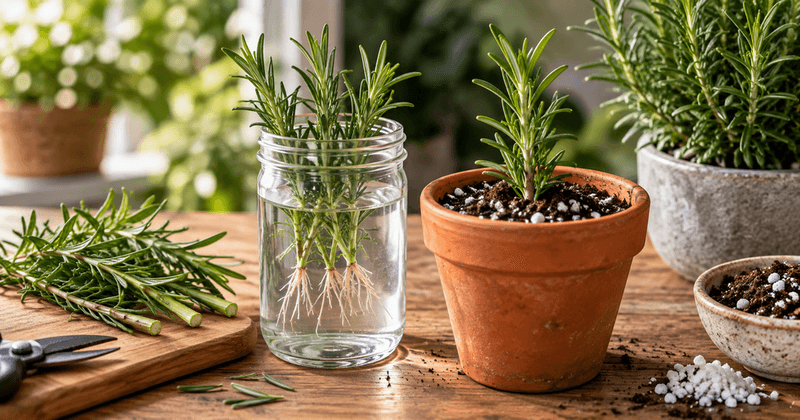
Overwatering kills more rosemary cuttings than almost anything else. Rosemary comes from dry Mediterranean hillsides, so soggy feet are its worst enemy.
For soil cuttings, keep the mix evenly damp but never wet. It should feel like a wrung-out sponge when you press a fingertip in.
If water pools or the pot feels heavy, hold off.
For water cuttings, swap in fresh water every few days. Cloudy or smelly water is a warning sign of rot.
Rinse the jar while you’re at it to keep things clean.
10. Be Patient and Watch for Roots
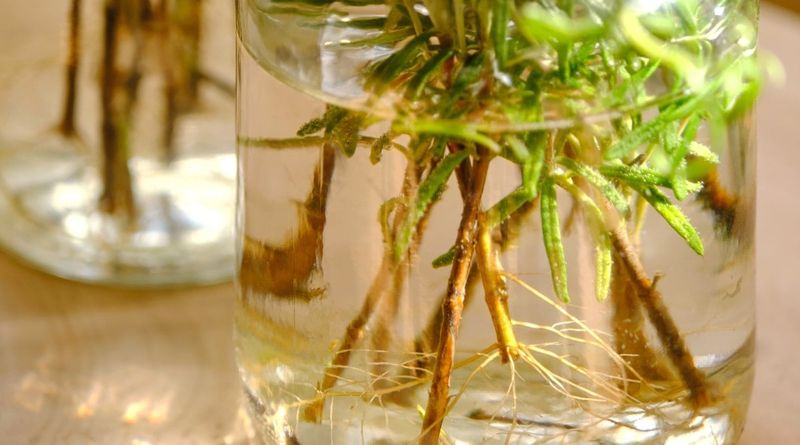
Waiting is the hardest part. Most herb cuttings take anywhere from 2 to 8 weeks to root, depending on warmth, light, and the herb itself.
In water, you’ll spot tiny white roots poking out near the bottom. In soil, fresh green growth at the tips is your best clue that roots are forming below.
Thyme can be quick, while rosemary often takes its sweet time.
Still unsure? Give a cutting a very gentle tug.
If you feel resistance, roots are holding on. If it slides right out, tuck it back in and give it more time.
11. Pot Up and Transition Slowly
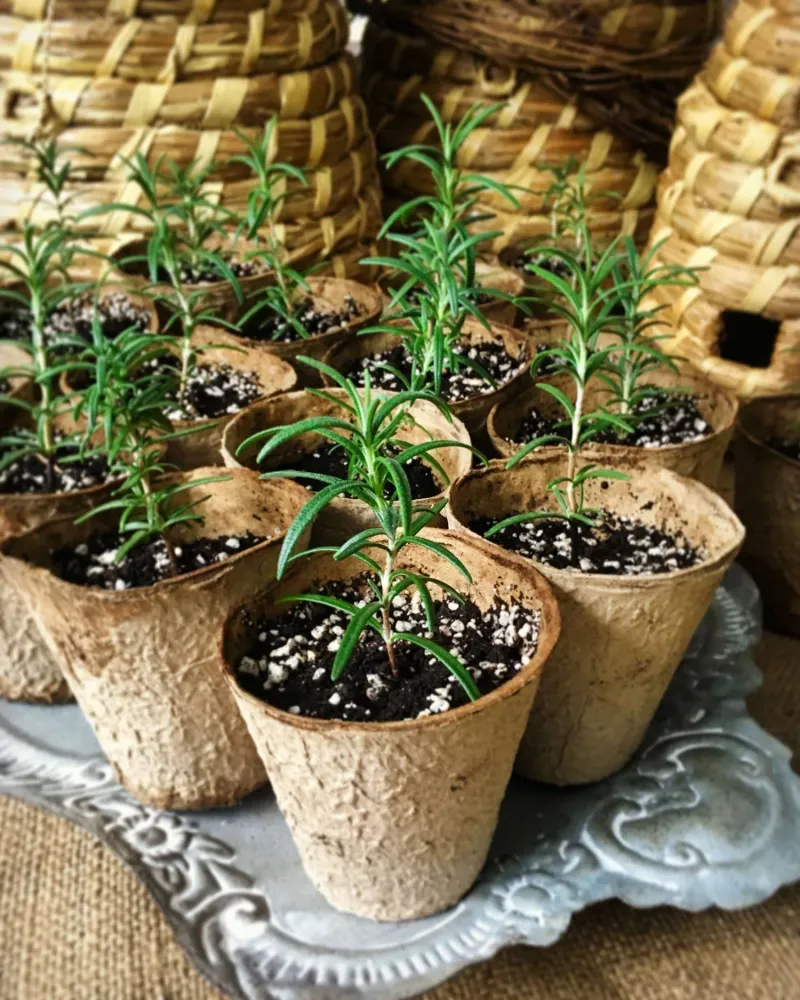
Congratulations, your free plants are ready for real homes. A little care now helps them settle in without sulking.
Wait until roots are well established, around an inch long for water-rooted rosemary. Then move each cutting into a small pot with quality, well-draining indoor potting mix.
Terracotta pots help extra moisture escape, which herbs love.
If your cuttings lived under plastic, remove the cover gradually over several days. Keep them in bright light and water only when the top inch of soil feels dry.
By spring, you could have a windowsill full of fragrant herbs ready to snip or plant back outside.