
How to Try Rooting Dormant Fig Cuttings Indoors and What to Expect by Spring
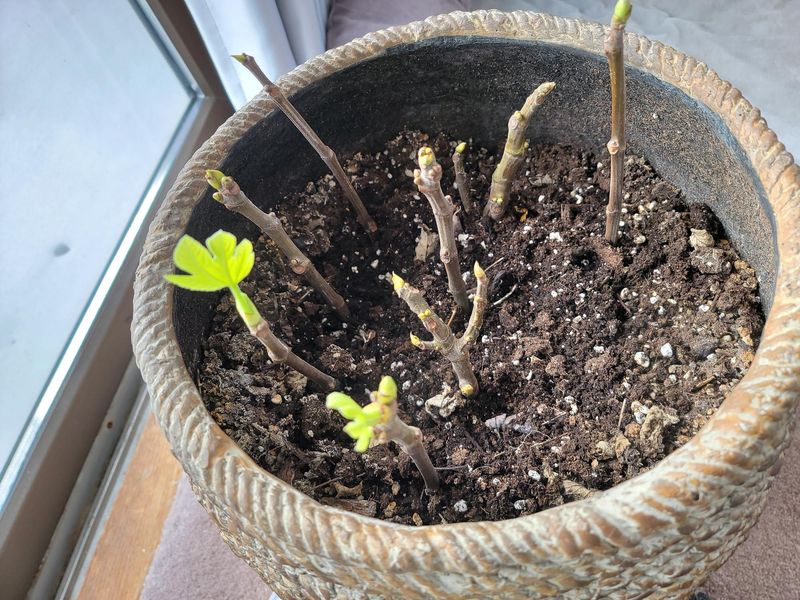
If you already have a fig tree you love, you may be able to turn a few of its bare winter twigs into new plants. The method is simple and costs little, but it does not work every time.
Here is how to give your cuttings a fair shot, and what a good result really looks like by spring.
Dormant hardwood cuttings can make new fig starts
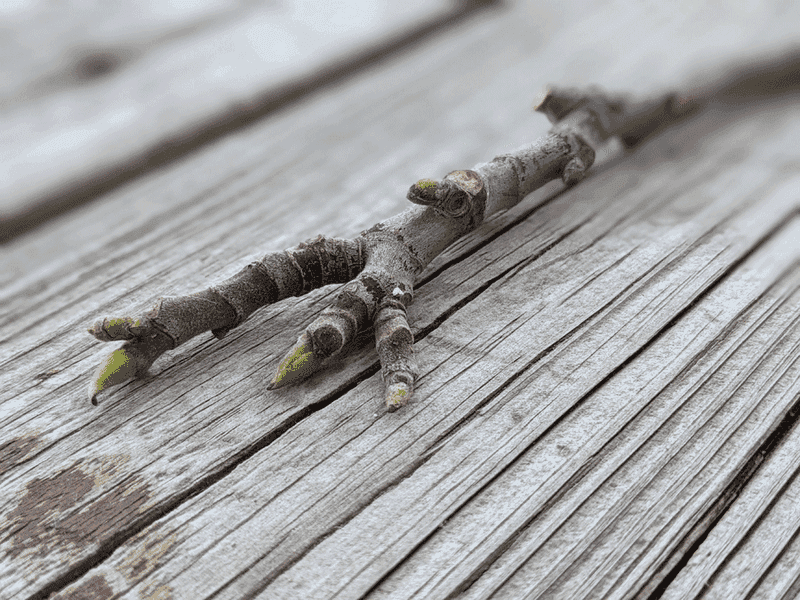
Figs are one of the friendlier fruit plants to copy. University of Georgia Extension lists dormant hardwood cuttings as a standard way to propagate figs.
That means you snip leafless wood from last season’s growth, give it the right conditions, and wait for roots.
The big question is what you end up with. A cutting that roots gives you a small young plant, often called a start.
It is not a finished tree, and it is not guaranteed to be ready for the garden by spring.
Schedules and settings also differ from source to source. Georgia’s nursery-row method sets cuttings out in late February or March and digs the rooted plants the following winter.
Rutgers Cooperative Extension allows dormant-season rooting in containers or outdoors, and says cuttings may root in a few months.
Rooting indoors over winter is one reasonable home option. A North Carolina Cooperative Extension account describes it with potted cuttings, though its cuttings start from January through April.
So treat a fall try as an experiment, not a promise.
The next sections walk through choosing wood, planting, light, patience, and what to do with any cutting that does take root.
Choose healthy, dormant wood from a clean parent tree
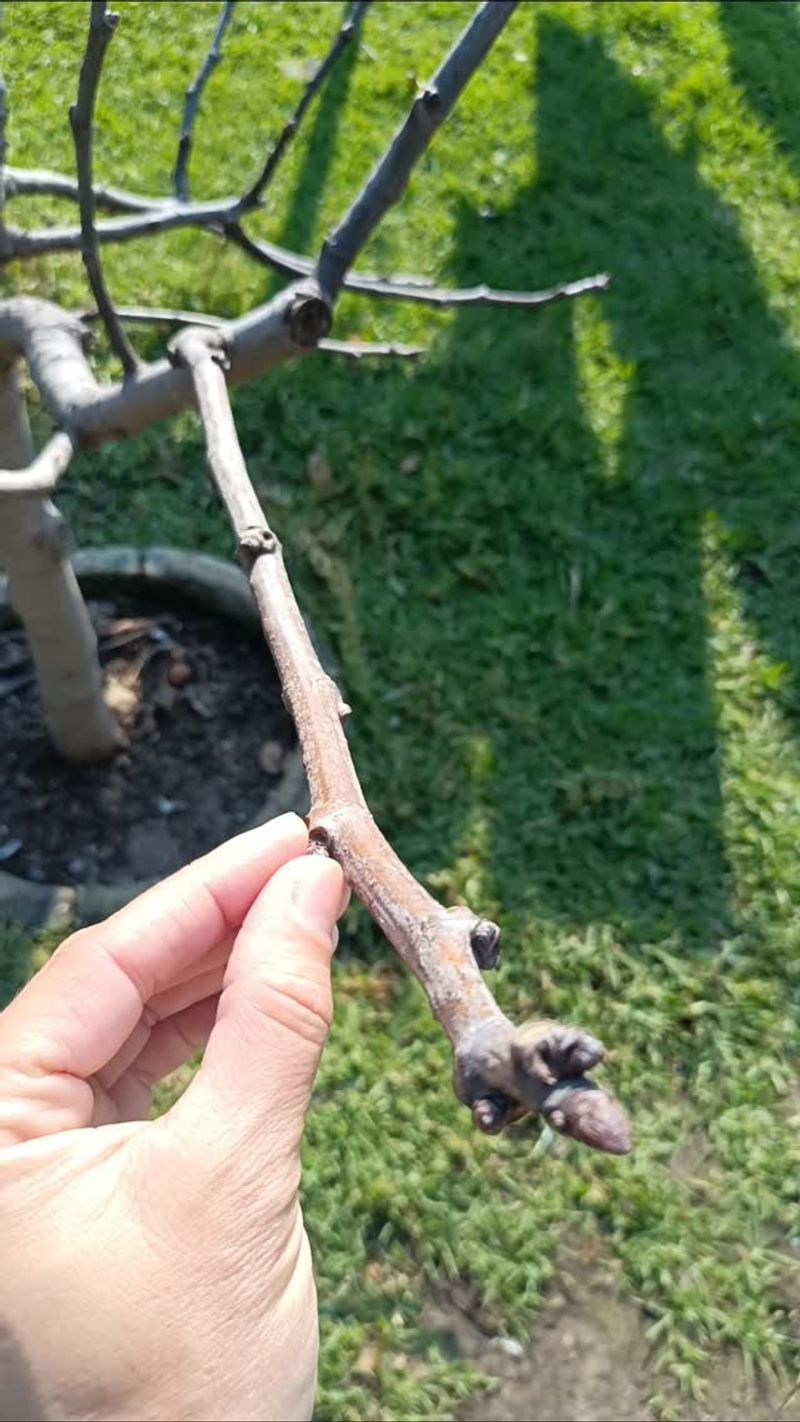
Start with wood from the previous year’s growth, taken once the tree has dropped its leaves. Pick pieces that look vigorous and straight, with no cracks, dark spots, or shriveled bark.
Skip anything that looks weak or damaged.
Length is flexible. UGA recommends 8 to 10 inch cuttings, and Rutgers describes pieces of about 9 inches.
Aim for roughly that range, and do not worry if one is a little shorter.
Make the bottom cut just below a node, the bump where a leaf or bud grew. Each cutting should have a few buds along its length.
A handy trick is to cut the top end straight across and the bottom at a slant, so you never plant one upside down.
Now think about the parent. A cutting copies the parent tree’s traits, and it can also copy its problems.
The Texas A&M plant disease handbook says fig mosaic virus can spread through vegetative cuttings and recommends clean propagating stock.
In practice, avoid taking wood from a tree with oddly mottled, distorted, or yellow-patterned leaves. Wipe your pruners clean between trees.
If you are unsure about your tree’s health, ask a local extension office before you start.
Prepare and plant each cutting
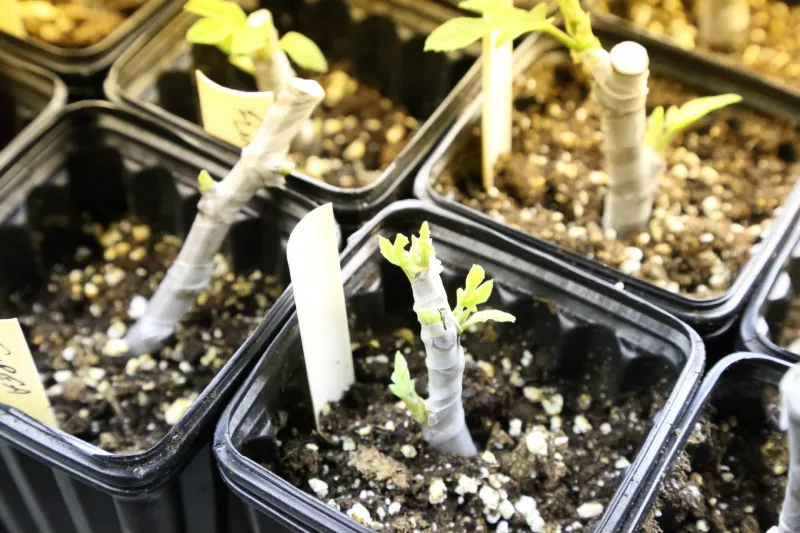
Gather a pot with drainage holes for each cutting, or a deeper tray if you are trying several. Plain household containers work fine as long as water can escape.
You do not need specialty gear.
Fill the pot with a mix that holds some moisture but drains freely, such as potting mix lightened with perlite or coarse sand. Rutgers advises a moist, well-drained medium.
Wet it ahead of time so it feels like a wrung-out sponge.
Push the cutting in so most of its length is buried, leaving the top bud or two above the surface. Firm the mix gently around it.
Label each pot with the date and the tree it came from.
Moisture is the balancing act. New Mexico State University Extension cautions that overly wet media can rot cuttings, while dry media can dry out new roots.
Check by touch every few days, and water lightly when the top starts to feel dry.
Rooting hormone is optional. UF/IFAS says hardwood cuttings do not require it, though it can improve rooting.
If you already own some, a light dip is fine, but skipping it is a reasonable choice.
Bright light is not the same as direct heat

Cuttings like brightness, but a closed, sunny spot can turn into an oven. A clear cover traps humidity, and it also traps heat.
That is where unrooted cuttings can get into trouble.
The North Carolina method uses a covered container in a sunny indoor location. That works for that gardener’s setup, but your window may be stronger or weaker.
Direction, season, and glass all change how much heat builds up.
UF/IFAS propagation guidance notes that shading can protect unrooted cuttings from radiant heat. So pick a bright spot, then soften the light with a sheer curtain or a bit of distance from the glass if needed.
Here are some clues to watch. If the cover is dripping heavily and the cuttings feel warm, move them back or open the cover.
If the medium dries fast, the spot may be too bright or too breezy.
Crack the cover open for a few minutes every day or two to refresh the air. A cover is helpful but not required.
If you skip it, check moisture a bit more often.
Rooting takes weeks or months, and some cuttings fail
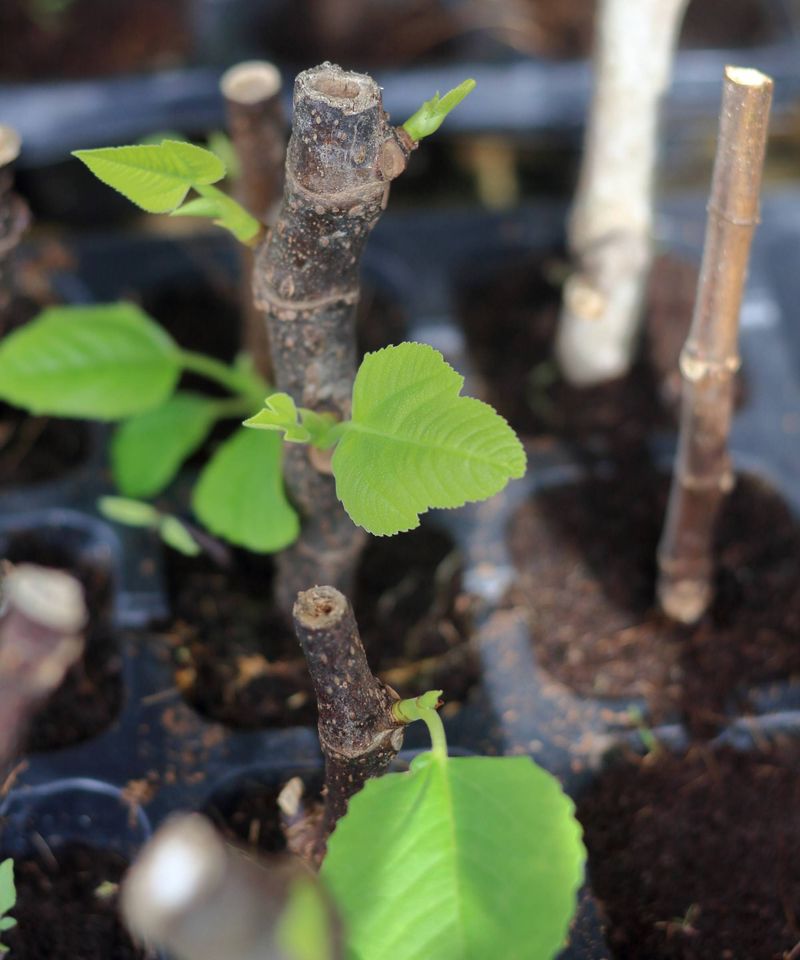
Patience is the hardest supply to find. The North Carolina account reports roughly 3 to 6 weeks before roots appear or pots can be moved up.
That figure belongs to that particular method.
Rutgers describes a broader window, saying dormant cuttings should root in a few months. Neither source promises a schedule for your kitchen or spare room, so give yours time.
Leaves can mislead you. A cutting may sprout leaves from stored energy before it has any roots, then wilt.
Look for steady new growth that keeps going, or roots peeking from the drainage holes, before you decide it has rooted.
Some cuttings will fail, and that is normal. A shriveled, dark, or mushy stem usually means it dried out, rotted, or was weak to begin with.
Do not borrow anyone else’s success rate, because results shift with cultivar, wood condition, and your setup.
A good habit is to plant several more cuttings than you want trees. Gently tug a cutting after a couple of months, and if it resists, roots are probably forming.
Skip constant digging, which can snap fragile new roots.
Pot up rooted starts and protect them from cold
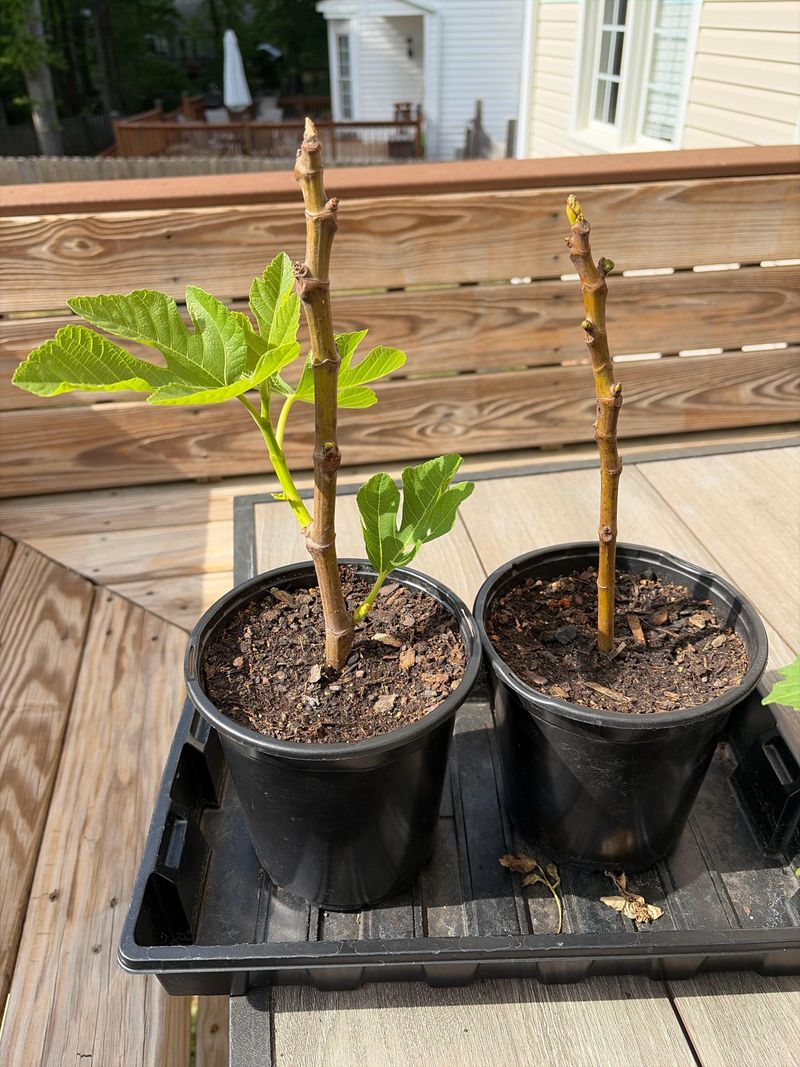
Once a cutting has roots or steady new leaves, treat it as an actively growing baby plant. It will want more room, regular water, and good light.
Move it into a larger pot with the same kind of well-drained mix.
The North Carolina method moves rooted cuttings to larger pots and then to shade outdoors before any permanent planting. That gradual step helps tender growth adjust to wind and brighter light.
Begin with an hour or two outside on a mild day and lengthen the time over a week or so.
Cold is the main threat. Rutgers advises protecting young plants from cold injury.
Keep them indoors or sheltered until nights are reliably mild in your area, and bring pots in when a late chill is forecast.
Spring does not automatically mean planting time. A small start with a thin root system may do better staying in its pot through a first season.
Plant it out only when it looks sturdy and the weather has settled.
If a plant is sulking, check the basics first. Soggy soil, a dim spot, or a sudden move outdoors are common causes.
A rooted start is not a mature tree
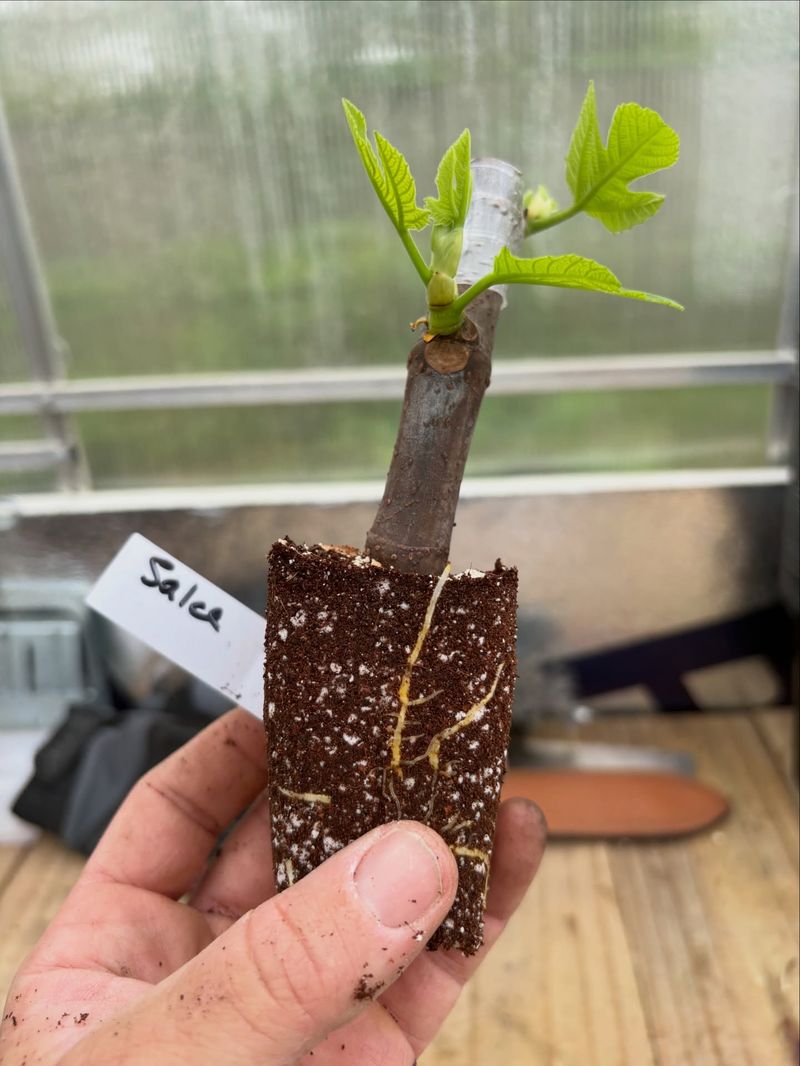
A cutting that roots gives you a new fig plant, and that is a real win. It is still a baby.
Rutgers says own-root fig trees begin bearing fruit at 3 to 4 years, so do not expect figs from this first season.
The word free deserves a footnote too. You need access to a suitable, healthy parent tree, and you may still need pots, rooting medium, and perhaps a humidity cover.
The New Mexico State guidance and the North Carolina method both rely on containers and media. Most of it can come from your own shelf, but not all.
Think of spring as a possible checkpoint. You might have a leafy young start, a few that are still thinking about it, and some that did not make it.
Each one teaches you something about your light, your watering, and your tree.
Fig propagation rewards the gardener who keeps trying, one small stick at a time.