
Grabbing A Hose Or Clippers Won’t Save Your Hydrangea Now, But These 13 Late-Fall Moves Protect Every Bud
Your hydrangea already made next summer’s flowers, and they are sitting on the stems right now as tiny buds. One wrong snip or a bitter winter wind can wipe them out before spring ever arrives.
The good news is that saving them takes a few simple, cheap steps you can do this weekend. Here are 13 late-fall moves that give every bud its best shot at blooming.
1. Figure Out Which Hydrangea You Actually Have
Picture two neighbors with hydrangeas. One cuts hers to the ground every fall and gets huge blooms, while the other does the same thing and gets nothing but leaves.
The difference is not luck, it is the type of plant.
Bigleaf (mophead and lacecap), oakleaf, mountain, and climbing hydrangeas bloom on old wood. That means the flower buds for next year are already on this year’s stems.
Smooth types like ‘Annabelle’ and panicle types like ‘Limelight’ bloom on new wood, so they grow fresh flowering stems each spring.
Rebloomers such as ‘Endless Summer’ do both, which makes them a little more forgiving. If you lost the plant tag, look at the leaves and flowers.
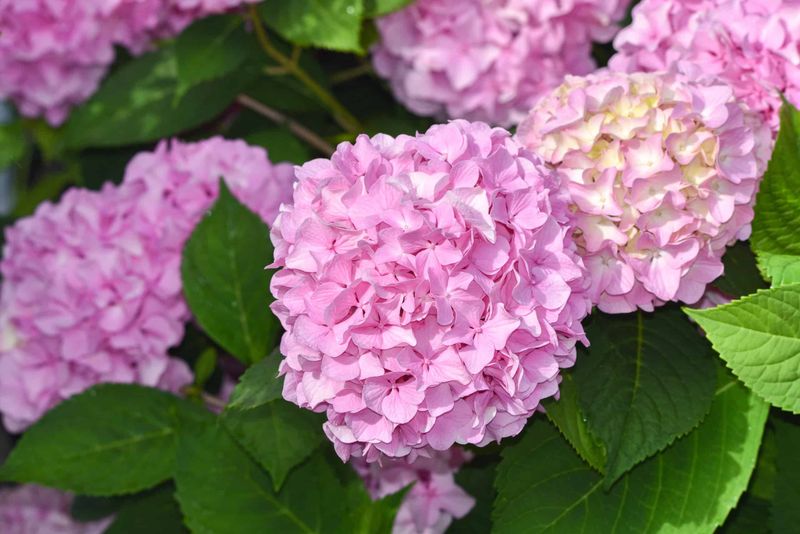
Big, glossy leaves with round blue or pink heads usually point to bigleaf, while cone-shaped white blooms often mean panicle.
Every other move on this list depends on knowing your type, so spend five minutes figuring it out first.
2. Put the Pruners Away for Old-Wood Bloomers
Fall cleanup fever is real. The garden looks messy, the shears are handy, and cutting everything back feels productive.
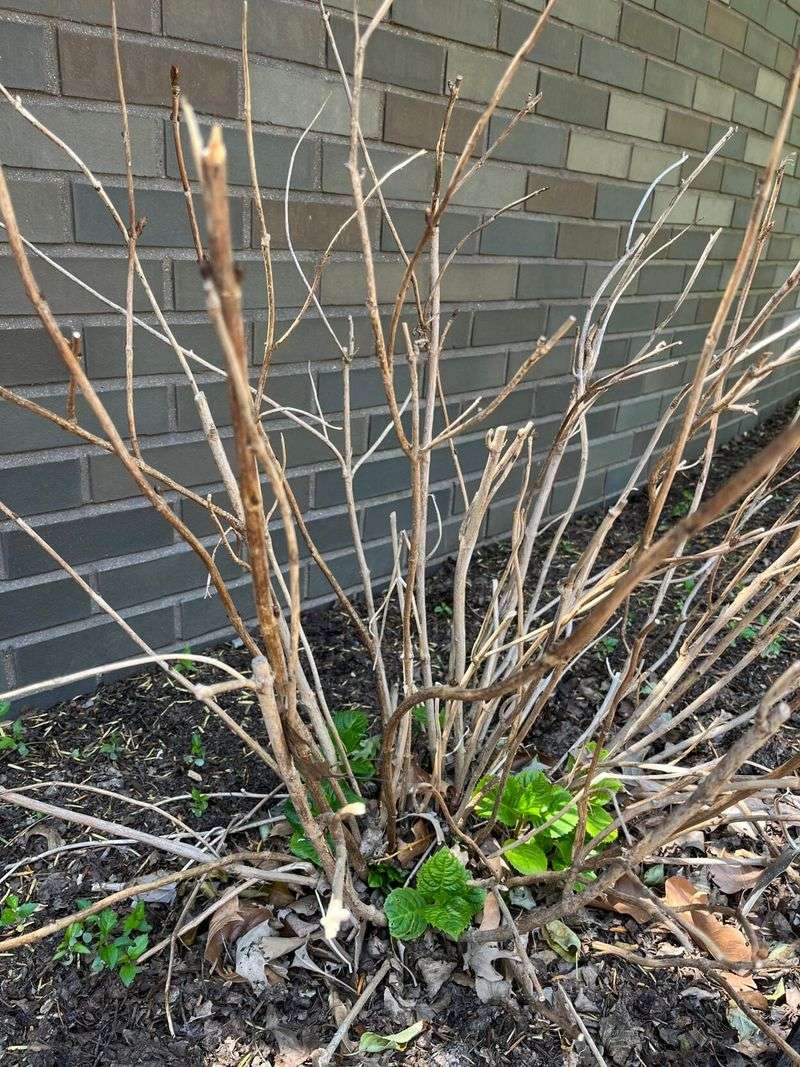
For bigleaf, oakleaf, and other old-wood hydrangeas, that urge is the number one reason plants fail to bloom. The buds formed in late summer and early fall, and they sit at the tips and along the upper stems.
Cut those stems now and you have cut off next June’s flowers.
So what can you trim? Only stems that are clearly dead, broken, or badly crossing and rubbing.
A dead stem snaps crisply and looks gray or brown inside when you scratch it. Anything with green under the bark stays put.
3. Deadhead Lightly or Leave the Blooms Alone
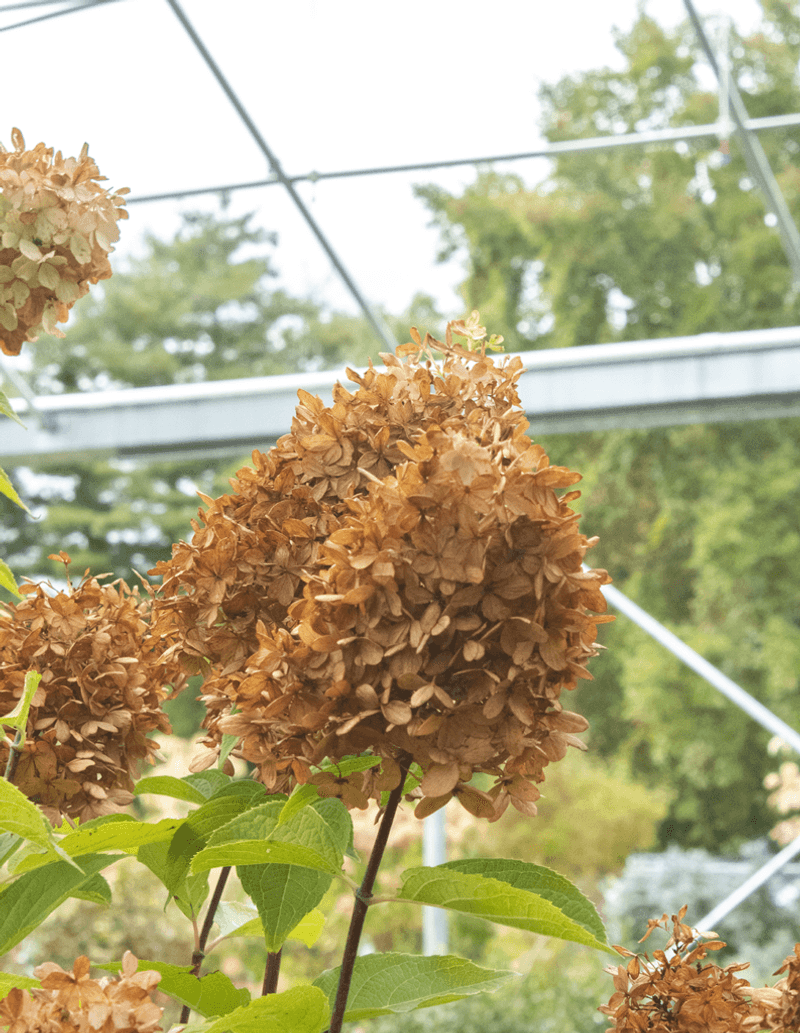
Those faded, papery flower heads might look tired, but they are doing quiet work. Many gardeners leave them on all winter because they add texture and catch a pretty dusting of snow.
If tidiness wins, be careful where you cut. On bigleaf hydrangeas, the next buds often sit just below the old bloom.
Snip only the flower head, right above the first pair of healthy leaves or plump buds.
Timing matters too. For old-wood types, skip deadheading after about August 1, since it can push soft new growth that will not toughen up before frost.
A little shaggy look in November is a small price for a full bloom show.
4. Wait Until Late Winter to Prune New-Wood Types
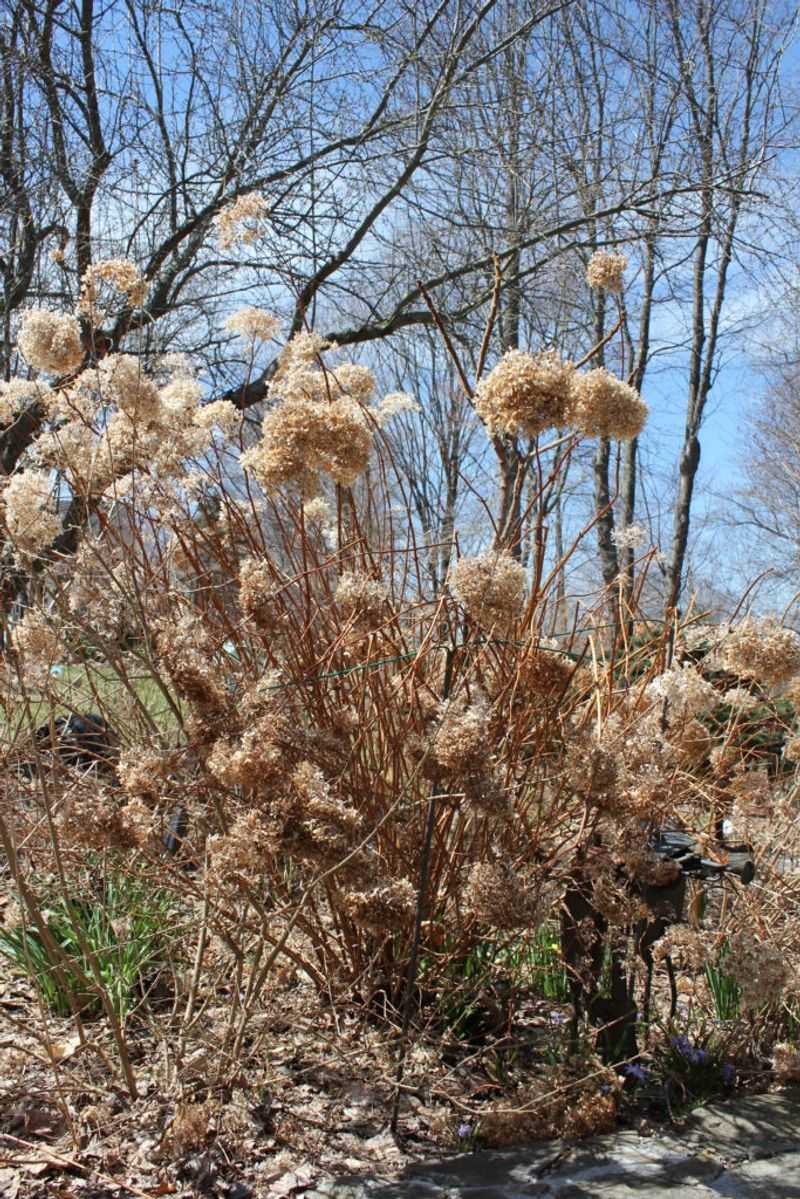
Panicle and smooth hydrangeas are the easygoing cousins of the family. They flower on new growth, so a hard spring cut will not cost you blooms.
Fall pruning is still a gamble, though. A warm spell after you cut can wake up buds and send out tender shoots.
When the first hard freeze hits, those shoots turn to mush and the plant wastes energy.
Wait until late winter or early spring, just before leaves start to open. You will also see which stems survived winter, which makes choosing cuts easier.
Bonus: the dried cones on ‘Limelight’ or ‘Annabelle’ look lovely standing in the snow.
5. Keep Deep Watering Until the Ground Freezes
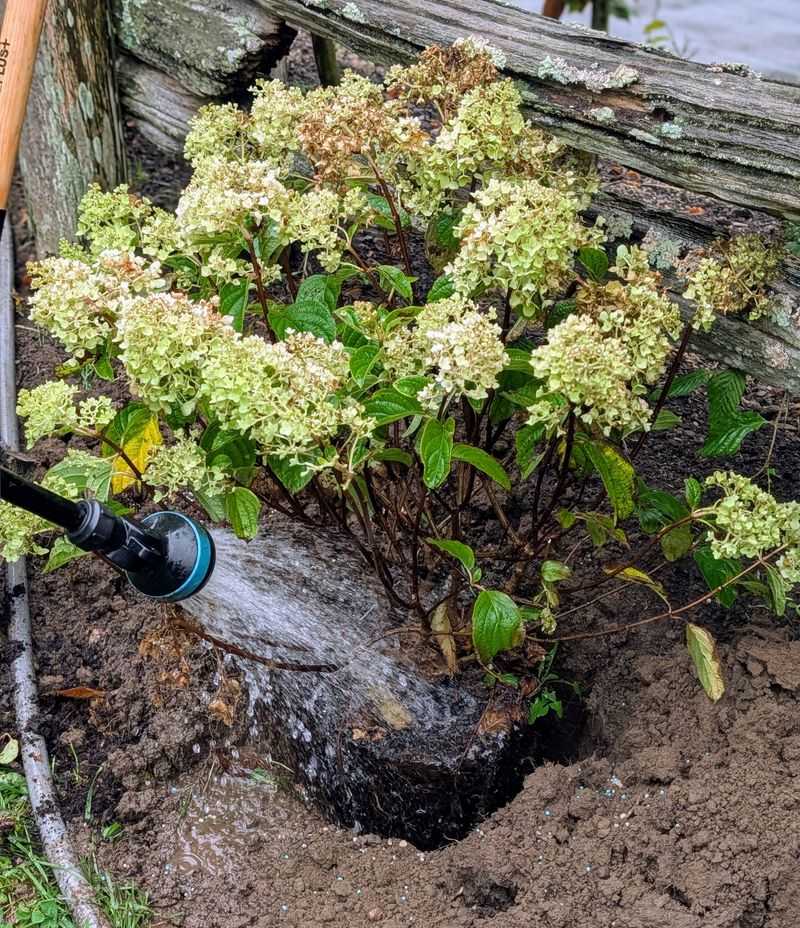
Yes, the title says a hose will not save your plant on its own. But skipping water completely in fall is a mistake plenty of people make.
Hydrangeas are thirsty, even as they slip into dormancy. Dry winter winds pull moisture from stems and buds, and a plant that goes into winter dehydrated is more likely to lose those buds.
Keep giving a slow, deep soak about once a week when rain is scarce.
Continue until the ground freezes solid. A deep drink the day before a predicted frost can also help, since moist soil holds heat better than dry soil.
Water the roots, not the leaves, and do it in the morning.
6. Pile On a Thick Blanket of Mulch
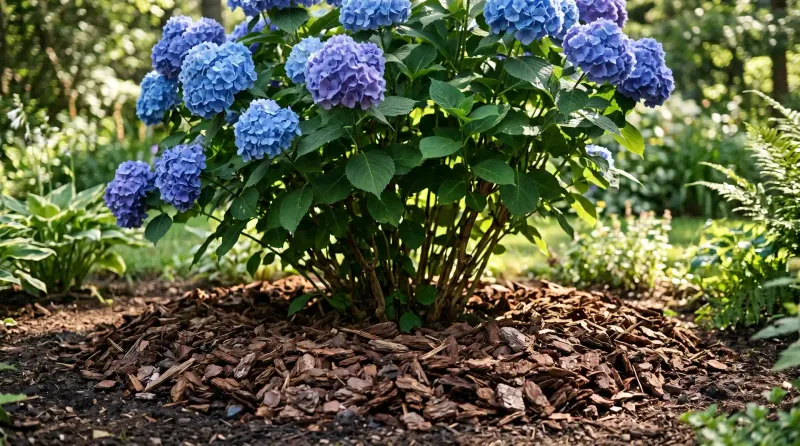
Think of mulch as a cozy comforter for the roots. A 6 to 8 inch layer of chunky organic material keeps soil temperatures steadier through the cold months.
Straw, marsh hay, pine straw, or shredded fall leaves all work and cost little or nothing. Spread it once the ground starts to freeze in colder zones, or in late fall where winters are mild.
It also helps prevent frost heave, when freeze and thaw cycles push young plants right out of the soil.
Leave a small gap around the stems. Mulch packed against the crown can trap moisture and invite rot or hungry rodents.
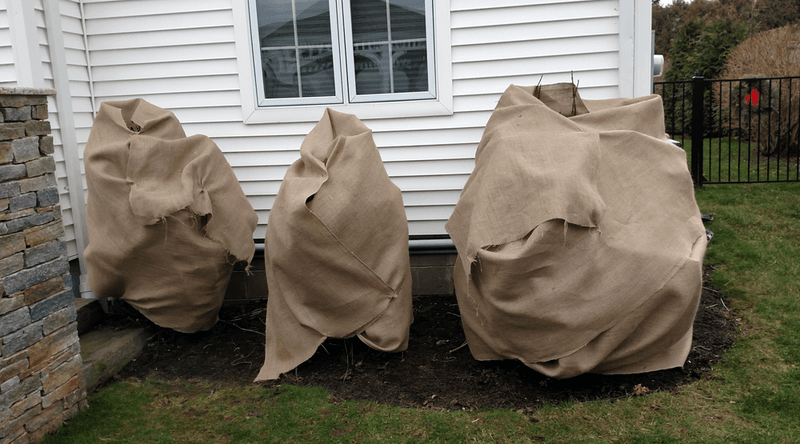
7. Wrap Tender Bigleaf Hydrangeas in Burlap
Gardeners in USDA Zone 7 and colder know the heartbreak. The bigleaf hydrangea leafs out beautifully in spring, then produces zero flowers because winter killed the buds.
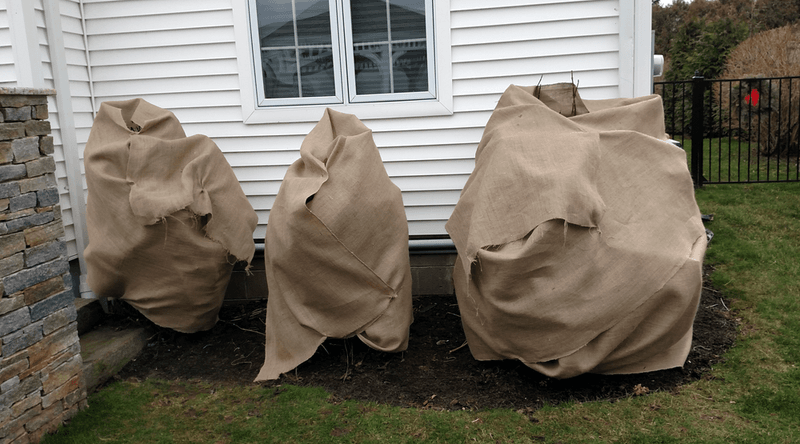
A couple of loose layers of burlap can help block drying winds and soften extreme cold. Drive three or four stakes around the plant and wrap the burlap around the stakes instead of squeezing the stems.
Wait until after the ground freezes to wrap.
Panicle and smooth types are tough and usually skip this step. Save the burlap for the bigleaf plants that need it most.
8. Build a Leaf-Filled Chicken Wire Cage
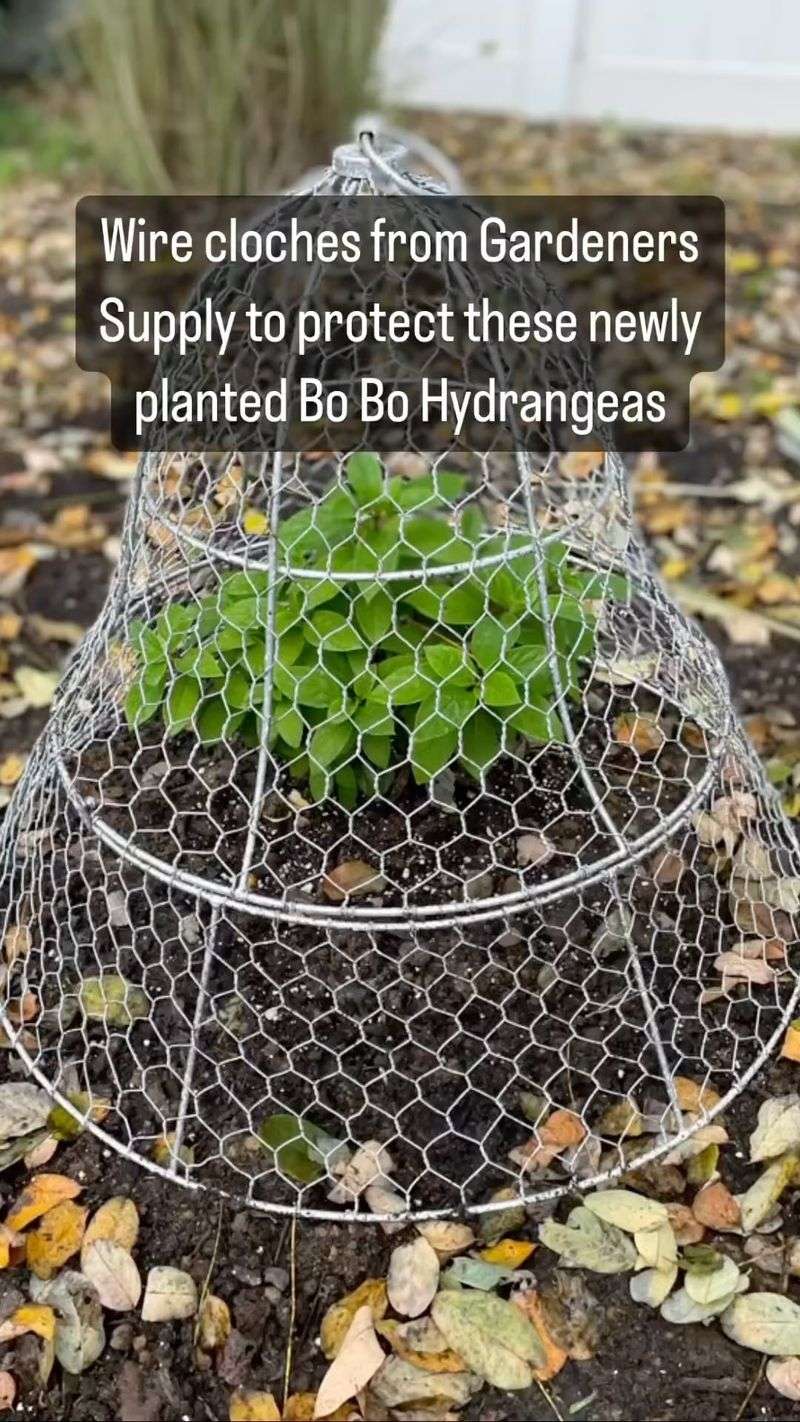
Here is an old-school trick that grandparents in cold states swear by. Circle the hydrangea with chicken wire, a bit wider and taller than the plant, and stuff it with dry leaves.
The leaves trap air and insulate the stems where buds wait. Make sure the leaves settle down around the lower stems, not just on top.
Oak leaves are great because they stay fluffy and do not mat down.
Got heavy snow where you live? Lay a piece of plywood or foam board over the top to stop snow from crushing the branches.
Pull it all off in spring once hard freezes are done.
9. Move Potted Hydrangeas to Shelter
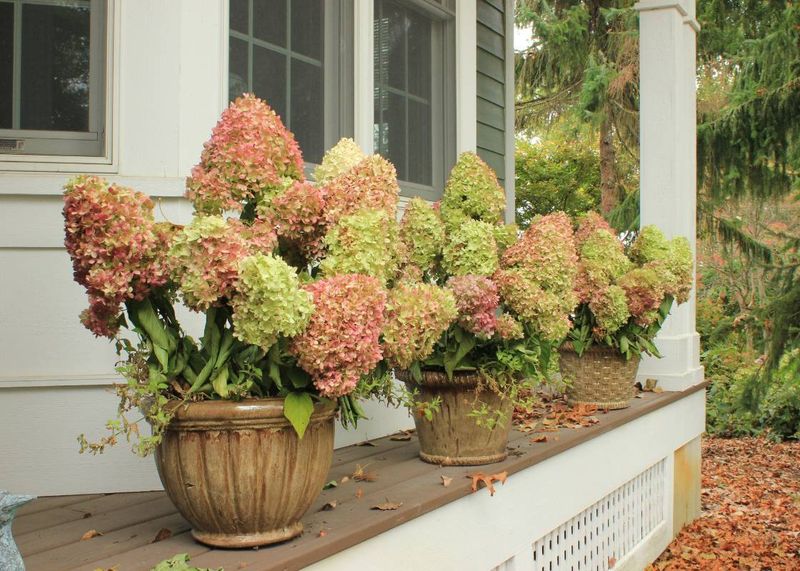
Roots in a pot face the cold with only a thin wall of plastic or clay for protection. A plant that is hardy in the ground can struggle badly in a container.
Start by moving pots next to the house, away from wind and heavy snow. In colder regions, shift them into a cool, dark, unheated spot such as a garage, shed, or basement.
Do not forget them out there. Check the soil and water roughly once a month so it never dries out completely.
Bring them back outside gradually in spring once the danger of hard frost passes.
10. Skip the Fertilizer Until Spring
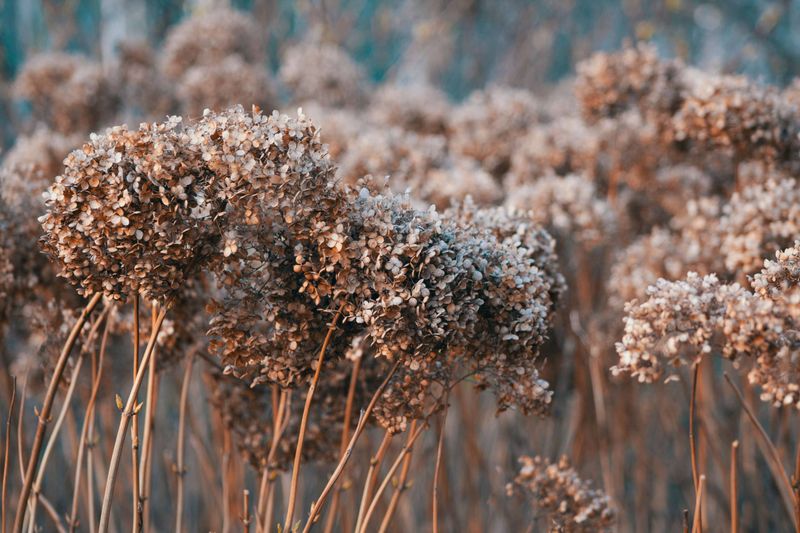
Feeding a plant sounds like kindness. In fall, it can backfire on your hydrangea.
Fertilizer tells the plant to grow, and new soft growth in October or November has no time to harden before frost. Those tender shoots get damaged, and the plant ends up weaker heading into winter.
Stop feeding by early September at the latest, or after midsummer if you prefer to play it safe. Save the fertilizer for spring, when new leaves are opening and the plant can actually use it.
11. Rake Up Fallen Hydrangea Leaves
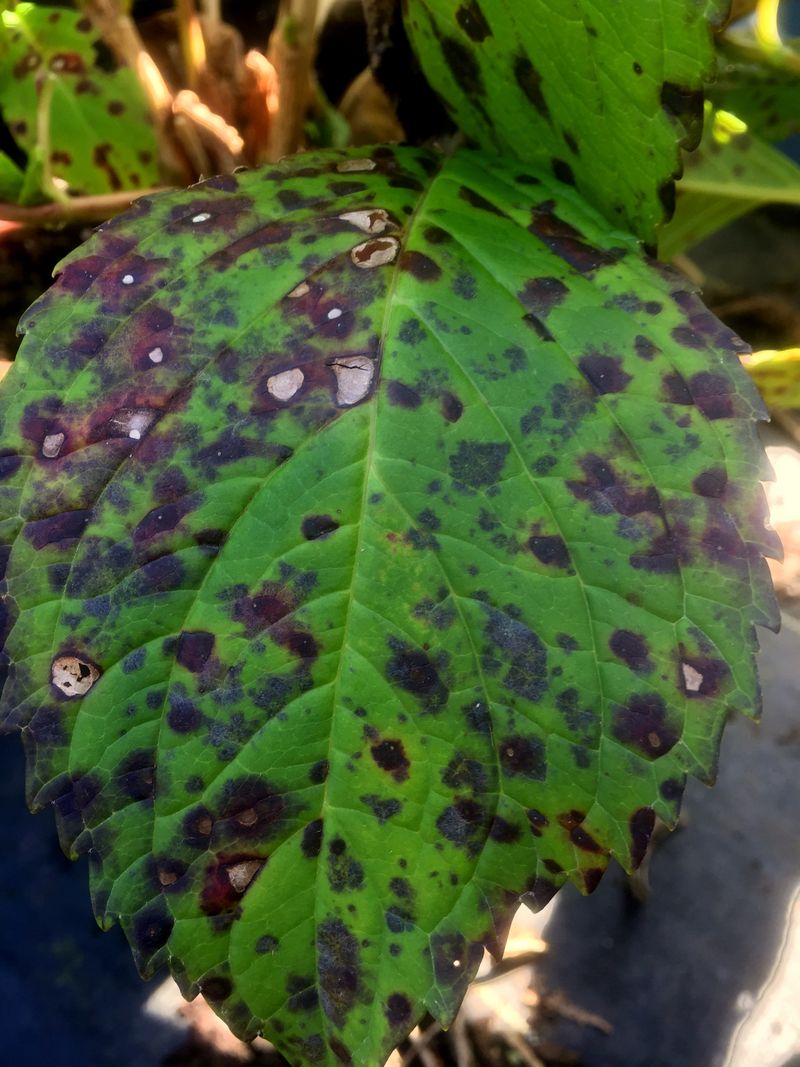
Spotted leaves this summer? Those brown or purple spots are often fungal leaf spot, and the spores love to spend winter in the litter under your plant.
Once the leaves drop naturally, rake them out from under the hydrangea. Bag diseased leaves rather than tossing them in the compost.
Cleanup can reduce the fungus and pests that would otherwise be waiting in spring.
Healthy leaves from other trees are fine to use as mulch. It is the hydrangea’s own sick leaves you want gone.
12. Try an Anti-Desiccant Spray on Exposed Plants
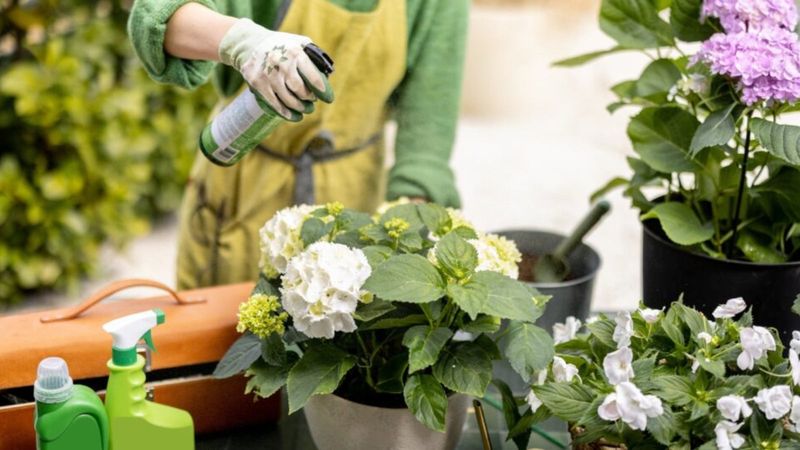
Winter sun and wind are sneaky thieves. They pull moisture from stems even when the ground is frozen and roots cannot replace it.
An anti-desiccant spray coats stems with a thin film that may help reduce that water loss. It is most useful on newly planted hydrangeas or ones sitting in windy, open spots.
Spray on a dry day when temps are above freezing, and follow the label. Some products need a second coat in midwinter.
It is not a magic shield, but it can give vulnerable buds a little extra help.
13. Plan Smarter Placement for Next Season
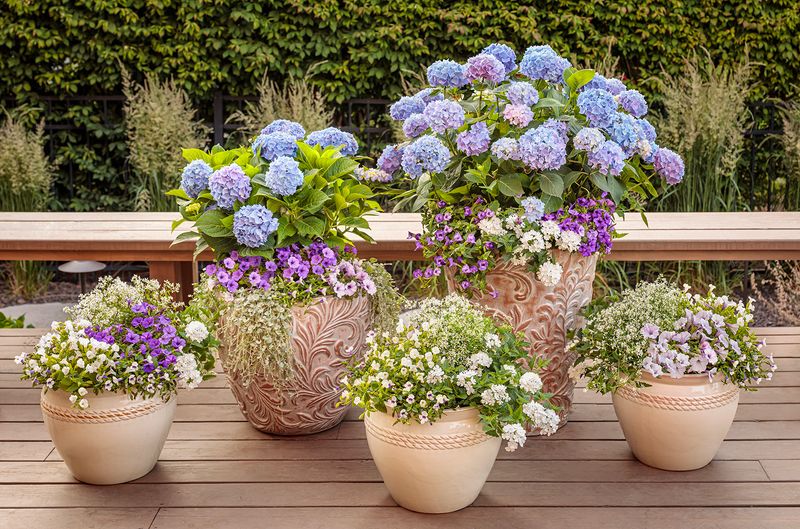
Sometimes the plant is not the problem, the spot is. A bigleaf hydrangea on a windy open corner may lose its buds every winter no matter how much you fuss.
Fall is a good time to plant or move hydrangeas while soil is still workable. Choose a site sheltered by a house wall, fence, or row of evergreens.
These act as windbreaks and can make a big difference in how many buds survive.
Morning sun with afternoon shade keeps most types happy in summer too. Get the location right once, and every winter after becomes easier.