Before You Rip Out That Half-Dead Clematis Vine, Check These Hidden Causes
Your clematis looks thin, brown, and tired, and the shovel is starting to sound tempting. Hold off for a bit.
A browning vine can have many different causes, and some of them affect only part of the plant. This guide groups the possible explanations into simple checks so you can look before you dig.
Start with the pattern of decline
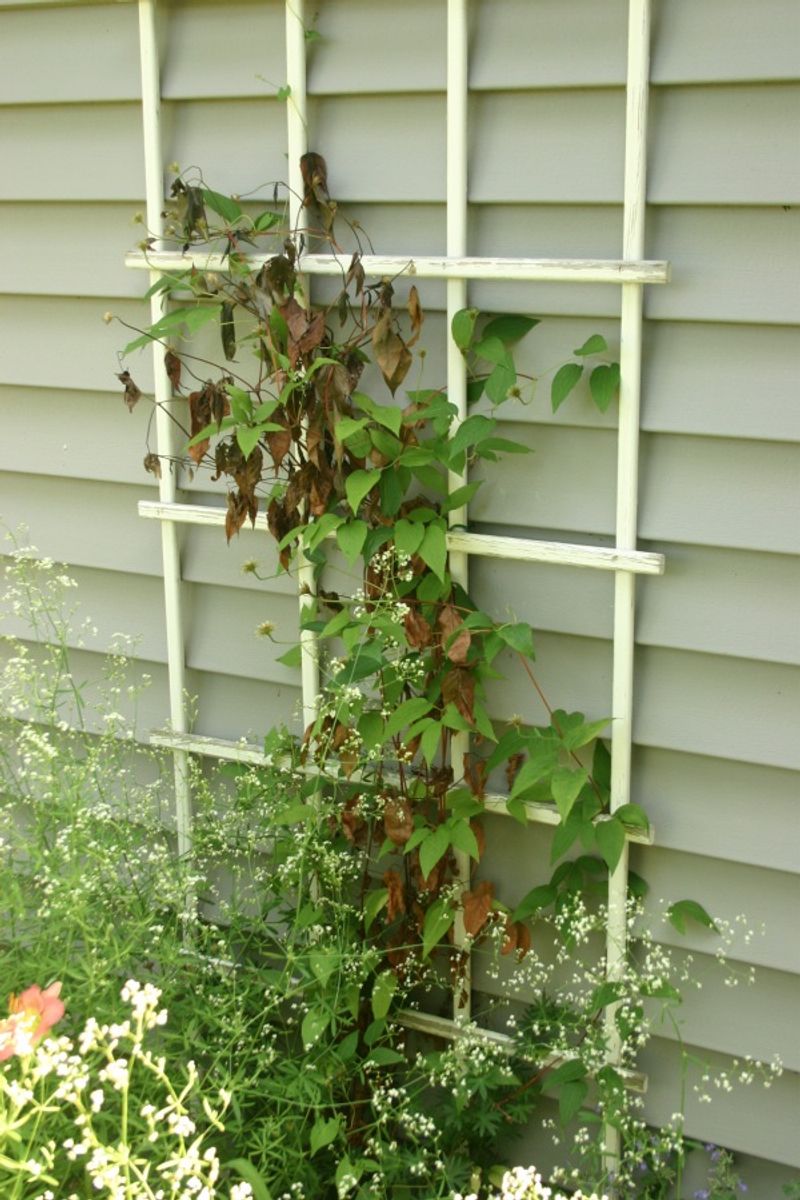
Take a slow walk around the vine and notice how the trouble is showing up. Did one or more stems collapse fast, or has the whole plant been thinning out over weeks?
That difference is a useful first clue, though it is a way to sort your options and not a diagnosis.
Sudden wilting and blackening of stems, especially on a large-flowered hybrid around the time buds open, fits the pattern of clematis wilt. Missouri Botanical Garden describes this disease as one that can strike stems quickly.
Still, plenty of other things can make a clematis droop.
Check the base of the affected stems for dark lesions or sunken spots. If you find them, that is a helpful clue.
If you do not, wilt is still possible, so a clean stem base does not clear the plant.
The Royal Horticultural Society cautions that many cases of wilting are not clematis wilt. Dry soil, soggy soil, root trouble, and damaged stems can all look similar from a few feet away.
A slow, general decline points you somewhere else. Think about drainage, root injury, and growing conditions, which Oregon State Extension covers in its clematis guidance.
Write down what you see, because the next sections walk through each possibility.
The root zone may be too hot, too dry, or too wet
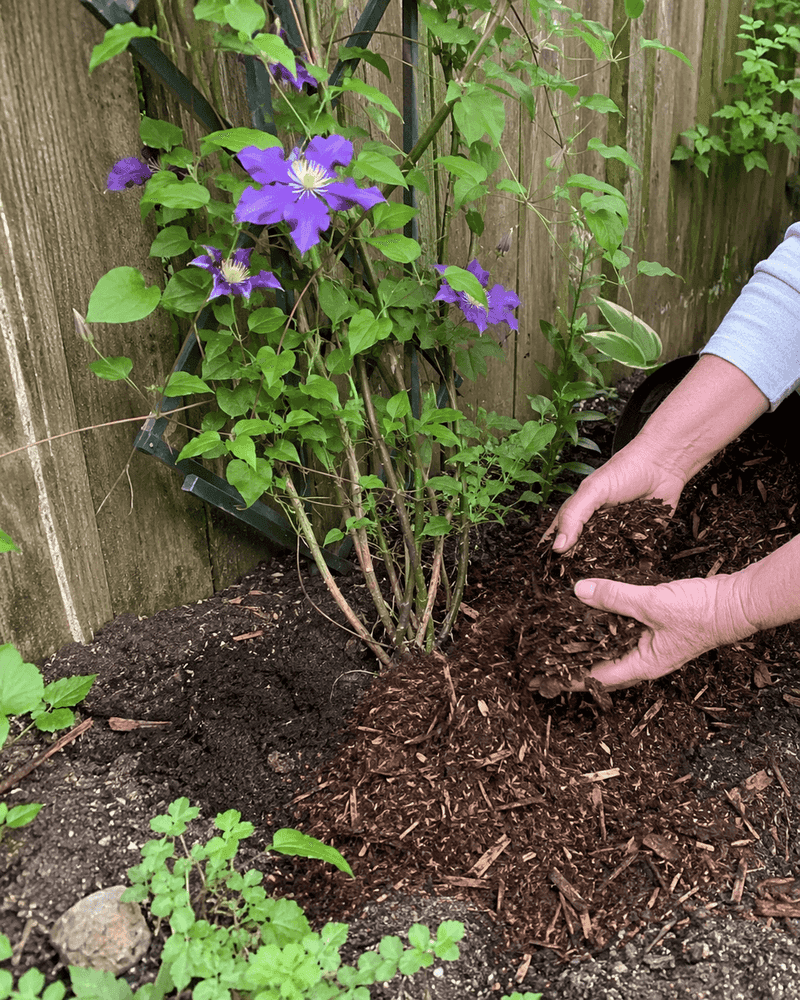
Clematis has a famous preference: sun on the leaves and flowers, and a cool root zone below. Roots baking in hot, bare soil can leave the vine stressed and sparse.
That does not mean planting the whole vine in deep shade, since the top still needs light to bloom.
Iowa State Extension recommends around six or more hours of sun, steady moisture, good drainage, and mulch or low plants to shade the soil. Its watering guideline is about 1 inch per week.
Treat that as a starting point and adjust for rain, heat, and your soil.
Try a simple soil check. Push a finger or trowel several inches down near the base.
Soil that is dusty and dry needs water, while soil that is muddy and smells sour may be holding too much.
Wet feet can be just as harmful as dry ones. A spot where water pools after rain, or heavy clay that stays soggy, may stress roots and cause decline.
Root disease is a possibility to look into, but browning leaves alone cannot confirm it.
Yellowing is another place to be careful. A University of Maine Extension answer suggests considering wet soil and testing before assuming a nutrient problem.
Aim for soil that is cool and evenly moist but drains well, never soupy. Guidance from the Royal Horticultural Society and Oregon State points the same direction.
A young vine may still be establishing
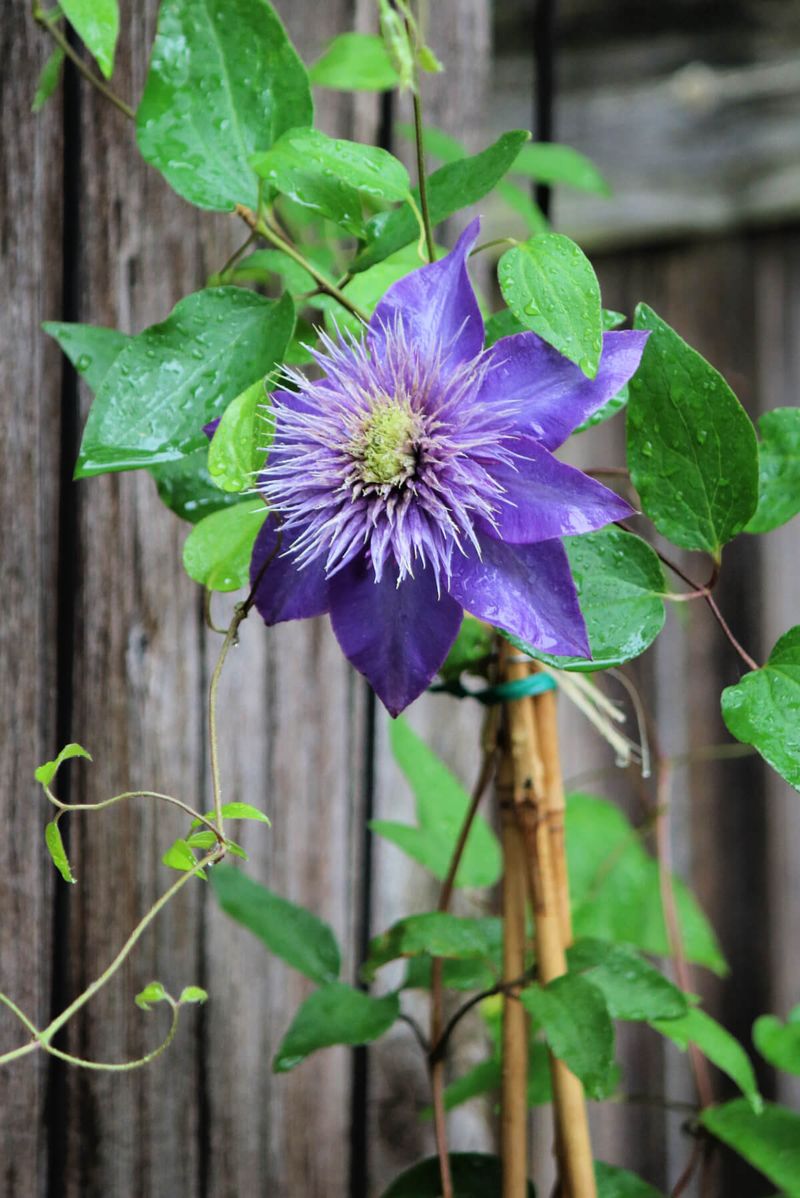
Patience is easy to lose when a vine you bought last year still looks skimpy. Clematis often put their early energy underground, so there may be little to see above the soil in the first year or two while roots settle in.
Iowa State Extension says a clematis can take up to three years to become established enough to bloom. A thin, slow vine in its first seasons may simply be on that schedule.
Ask yourself when you planted it. If it is new, look for steady new shoots, even small ones, and keep the root zone evenly moist and shaded by mulch.
Age is only one piece of the puzzle, though. A young plant can still suffer from wilt, poor drainage, or damaged stems, so slow growth does not rule out other trouble.
Browning or sudden collapse deserves the same checks you would give an older vine.
If your clematis has been in the ground for several years and still looks poor, the other sections in this guide are a better place to look. If it is brand new, a little time may be the most useful tool you have.
Could pruning explain the sparse growth?
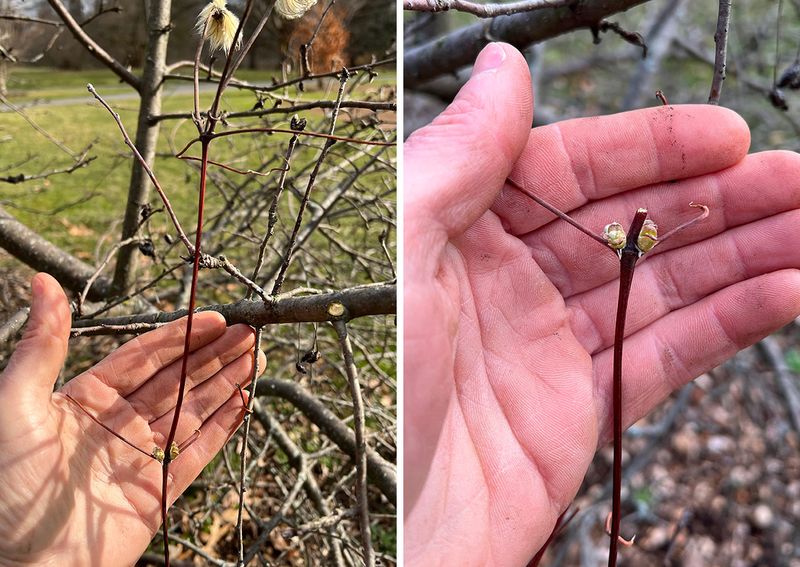
Clematis are sorted into three pruning groups, and each group blooms on a different age of wood. Group 1 flowers on old growth, Group 2 on both old and new growth, and Group 3 on current-year growth.
Cut at the wrong time and you can snip off the buds before they ever open.
Sources such as University of Illinois Extension and Iowa State Extension lay out these groups. Pruning mistakes mainly explain lost blooms or a thin, sparse shape.
Here is the key point: a pruning error does not explain brown, dying foliage. If leaves are crisping or stems are turning black, look to the other causes in this article.
One pruning pattern is easy to spot. A Group 3 vine that is never cut back can end up bare at the base, with leaves and flowers far up the trellis.
Before any major cut, figure out which group you have. If you lost the plant tag, watch when it blooms.
Flowers in early spring on last year’s stems suggest an earlier group, while midsummer or later bloom on fresh stems fits Group 3.
When in doubt, hold back. Waiting a season to learn the bloom timing costs less than cutting off the flowers you were hoping for.
Weather can damage growth without ending the plant
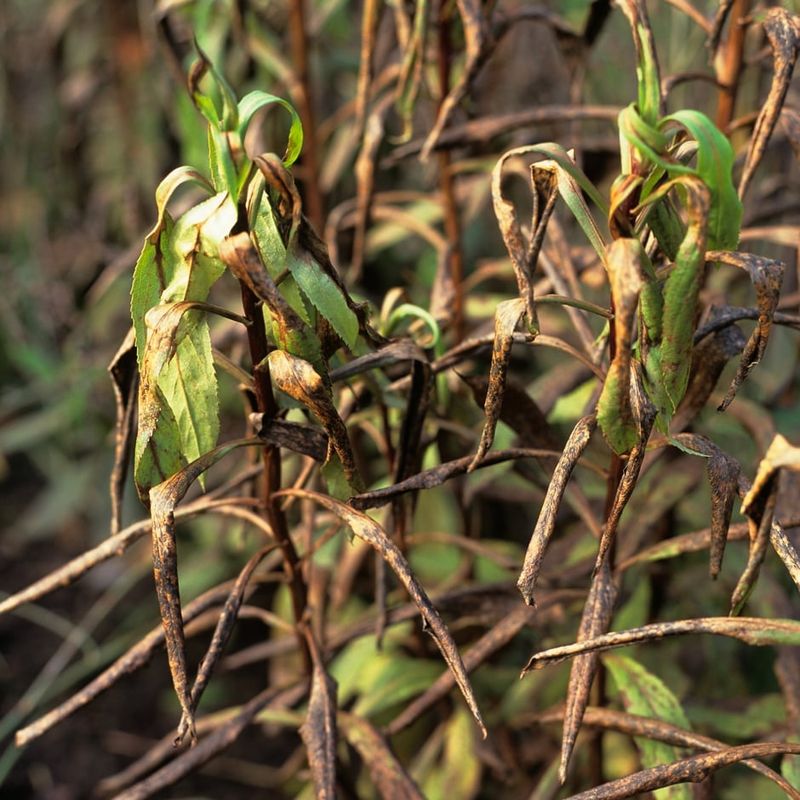
Think back to last winter and spring. A hard freeze or a surprise late frost can leave a clematis looking terrible even though the plant is alive underneath.
Winter dieback can remove buds on Group 1 and Group 2 clematis, which can mean fewer flowers and a thin look, as Iowa State Extension notes. Cold exposure of this kind is about lost buds and damaged stems, which is different from the pruning mistakes covered earlier.
Late frost tends to hit tender new growth. According to University of Maryland Extension, frost-damaged growth can turn limp or blackish-brown.
Timing is your best clue. If the browning showed up right after a cold snap and affected only the newest shoots, frost is a reasonable suspect.
If decline started in the middle of a warm summer, weather from months ago may not be the whole story.
Wait for the plant to show you what survived. Scratch-free observation works best: look for green buds lower on the stems or fresh shoots coming from the base before removing anything.
Weather is one possible explanation, not a catch-all. Keep checking the roots, stems, and soil too.
Broken stems and feeding damage can mimic disease
Clematis stems are brittle. A tug while tying them up, a bump from a mower, or a gust that whips the vine against a fence can crack a stem, and everything above the break can wilt and brown.
Run your fingers gently along the stems and look for kinks, splits, or crushed spots. Oregon State Extension notes that stems can die back after breakage or rough handling.
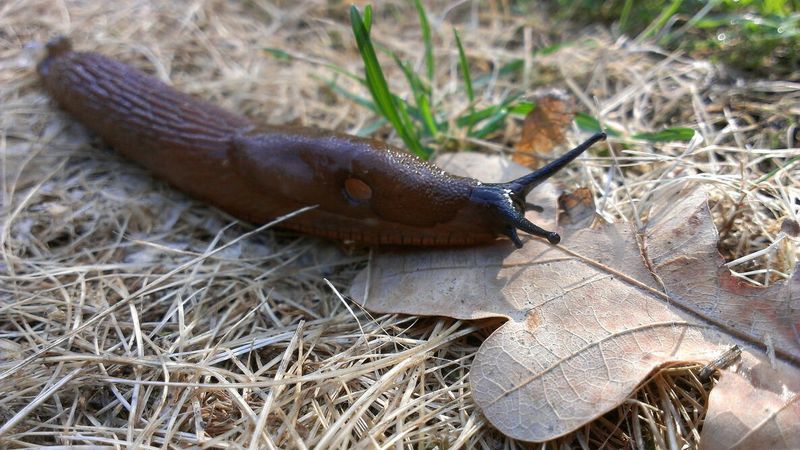
Next, look closely at young growth. Slugs and snails may graze tender shoots, leaving ragged edges, chewed tips, or silvery trails.
The Royal Horticultural Society lists this kind of feeding among the lookalikes for clematis problems.
An injured or grazed section can die back without any fungal disease being involved. That is why evidence matters.
Look for the break, the chewed edge, or the slime trail before you decide what you are facing.
A flashlight check after dark can be revealing, since slugs feed at night. If you find damage, protecting the plant from further harm is a calmer first step than assuming the worst.
Clematis wilt may kill stems, not roots
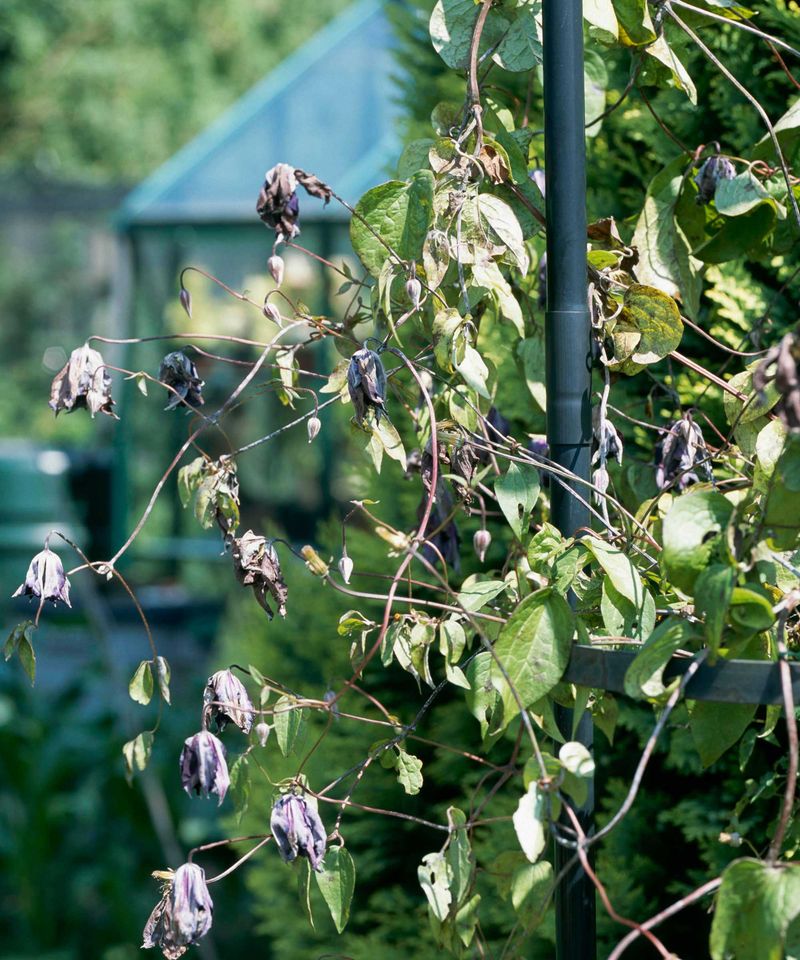
Clematis wilt gets blamed for a lot, so it helps to know what it really looks like. Stems and leaves collapse, often fast, and turn dark or black.
Large-flowered hybrids are commonly affected, sometimes just as buds are opening.
The encouraging part is below ground. Missouri Botanical Garden reports that the disease often does not kill the whole plant, and new shoots may emerge.
Iowa State Extension describes the same thing.
Clearly affected stems can be removed and thrown away. Work carefully so you do not injure the remaining stems or the roots.
Leave questionable growth alone for now.
Wilt is a leaf-and-stem-spot fungal disease, and the name of the fungus differs by source. The Pacific Northwest Plant Disease Management Handbook uses Calophoma clematidina, while older references use Ascochyta or Phoma clematidina.
You do not need to memorize any of them.
Remember that wilting alone is not proof. The Royal Horticultural Society warns that many wilting cases are something else, such as dry or waterlogged soil, root problems, or damaged stems.
If stems do turn out to be wilt-killed, the roots may still be alive and ready to try again.
Check first, then make the smallest safe intervention
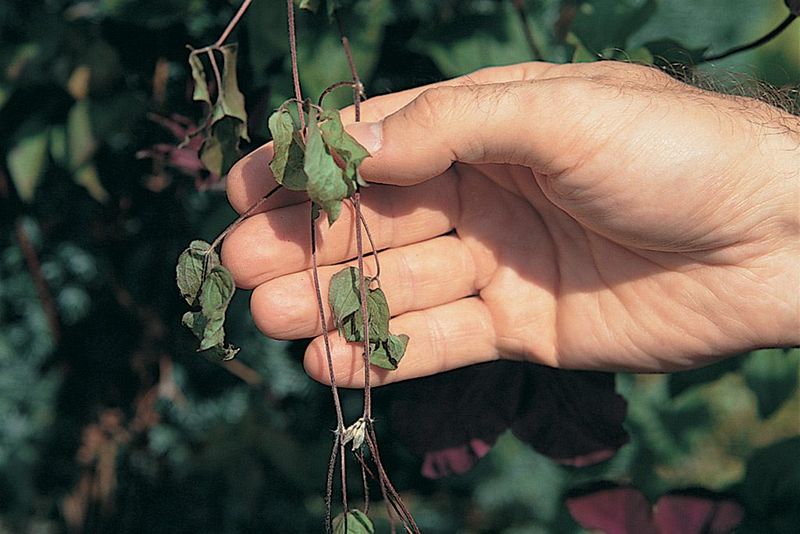
Work through the checks in order. Look at the decline pattern and stem bases, test soil moisture and drainage, think about the vine’s age and pruning group, recall recent weather, and search for broken stems or feeding damage.
Then do the smallest thing that helps. Cut out stems that are clearly dead or wilted, and leave the plant in the ground.
Missouri Botanical Garden notes that wilt often does not kill the whole plant.
Resist the urge to add fertilizer right away. Yellow leaves have several causes, and a University of Maine Extension response suggests considering wet soil and testing first.
Skip the fungicide as a cure too, since a University of Maryland Extension answer says it will not cure an existing clematis-wilt infection.
Recovery is never guaranteed, but a calm look often shows the vine has more life than it first seemed.