
Rosemary, Thyme, And Sage Cuttings Taken Before The First Frost Give You Free Herb Plants All Winter
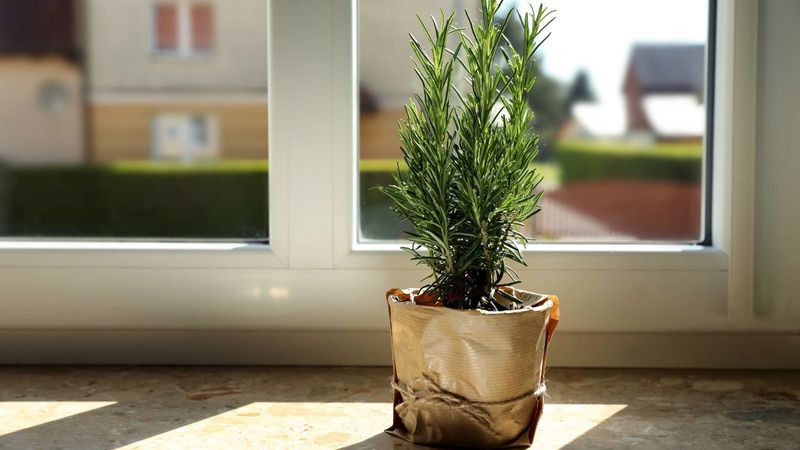
That first cold night can wipe out a rosemary bush you babied all summer. The good news is that a few snips taken now can turn your rosemary, thyme, and sage into brand new plants for free.
These little cuttings root on a windowsill and keep fresh herbs in your kitchen until spring. All you need is a sharp pair of scissors, a few pots or glasses, and a couple of weeks before frost.
1. Watch the Calendar, Not the Thermometer
Most gardeners wait until the forecast says frost, and by then it is often too late. Herb stems that have been chilled or stressed root slowly, if they root at all.
The sweet spot is late summer to early fall, a few weeks before your average first frost date.
Look up that date for your zip code and count back about four to six weeks. During that window, rosemary, thyme, and sage are still growing actively, which means their stems are ready to push out roots.
Plan to snip in the morning. Stems are full of water then, and the leaves stay crisp instead of wilting on the way to the kitchen counter.
2. Rosemary Cuttings That Bend Without Snapping
Ever tried to root a rosemary stick so woody it felt like a twig from an old tree? It just sits there.
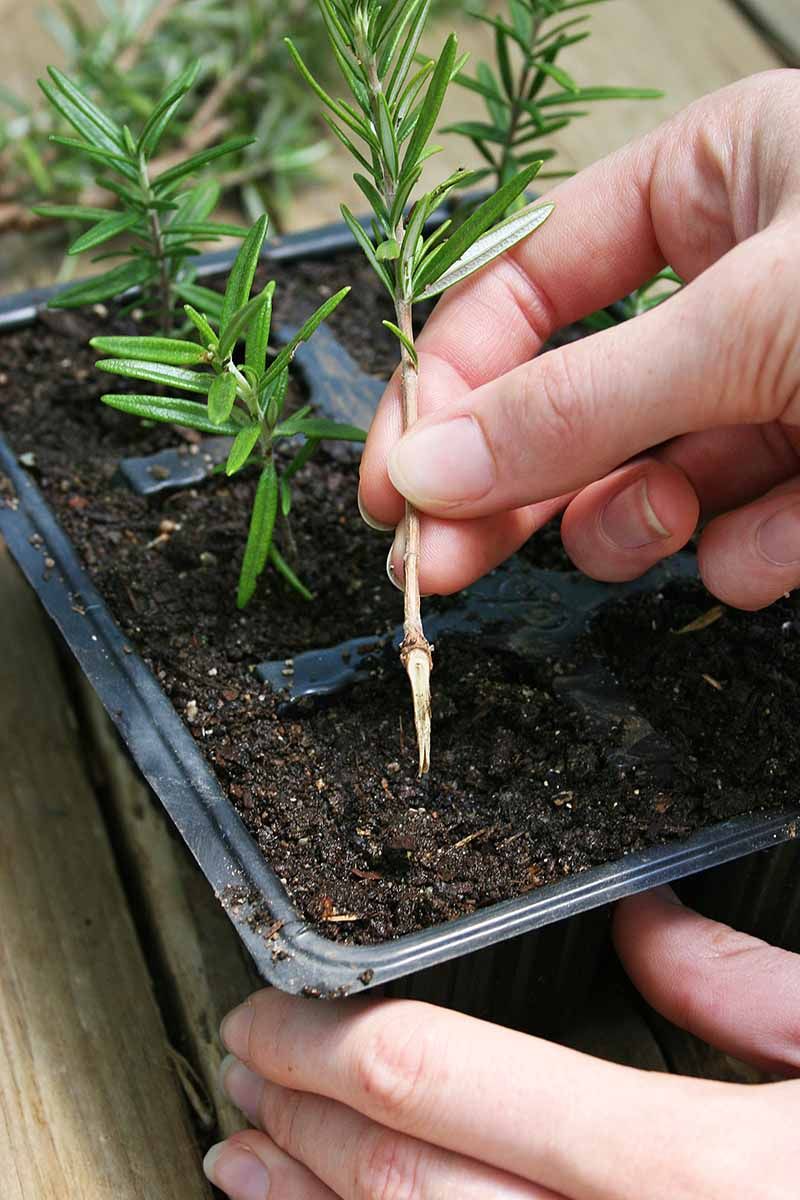
Rosemary roots best from tips that are firm but still flexible, the in-between stage gardeners call semi-ripe.
Choose healthy shoots 3 to 6 inches long with no flowers. Give one a gentle bend.
If it flexes and springs back, you found a winner, and if it snaps or flops, move on.
Rosemary is the slowpoke of the group. Expect roots to take several weeks, sometimes up to eight, so take a few extra cuttings in case one or two give up.
Fun fact: the name comes from Latin words meaning dew of the sea, since it grows wild near Mediterranean coasts.
3. Thyme Sprigs for the Quickest Win
If you want a confidence boost, start with thyme. It is often the fastest of the three to show roots, which makes it a great first project.
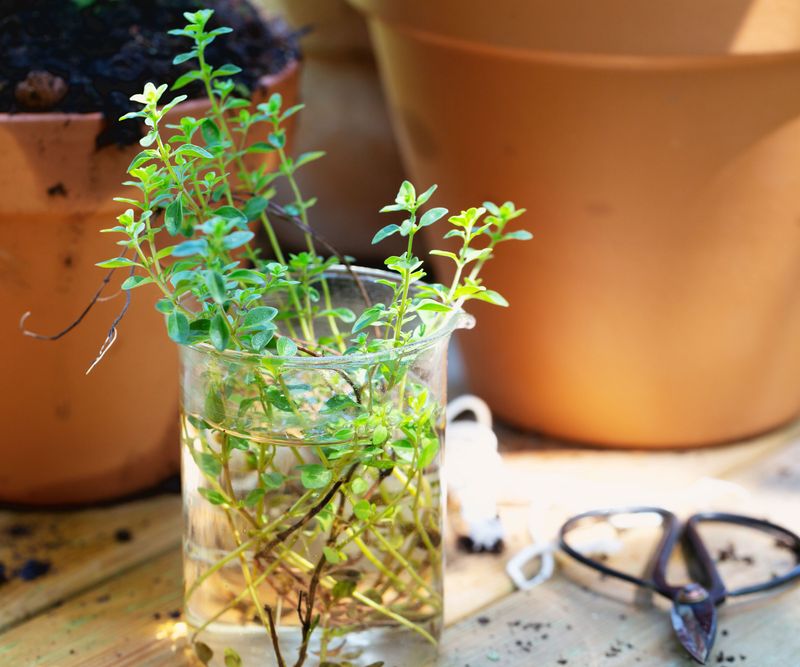
Pick the sturdiest green sprigs you can find instead of thin, wiry ones. Those tiny stems dry out fast, while thicker growth holds enough moisture to keep going until roots form.
Thyme cuttings are short, so aim for about 3 to 4 inches. Strip leaves off the bottom inch or two and you are ready to plant.
A single creeping or English thyme plant can give you a whole tray of new starts.
4. Sage Stems With No Flowers in Sight
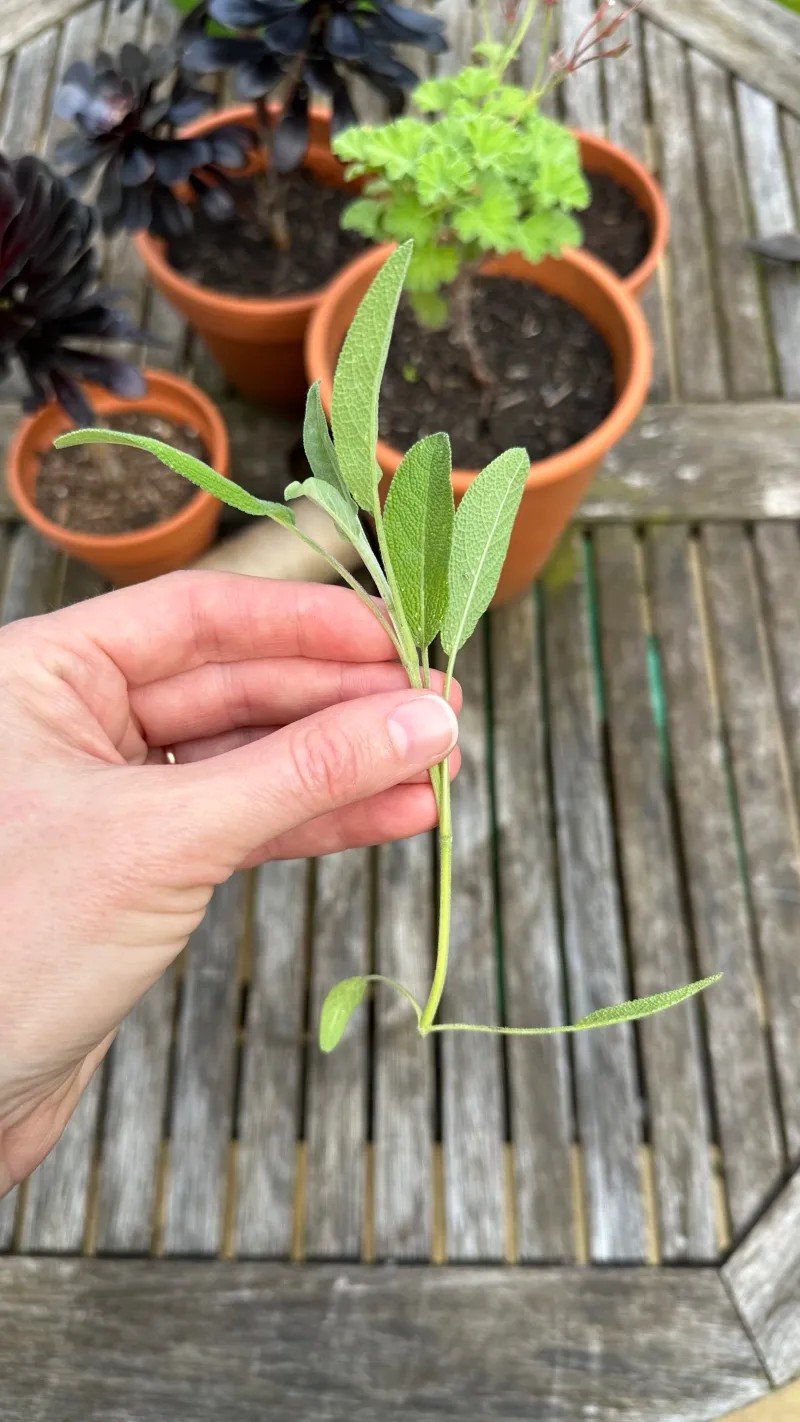
Here is a mistake nearly everyone makes once. You grab the prettiest sage stem, the one with purple buds, and it never roots.
Flowering pulls energy away from root growth, so skip any stem that is starting to bloom.
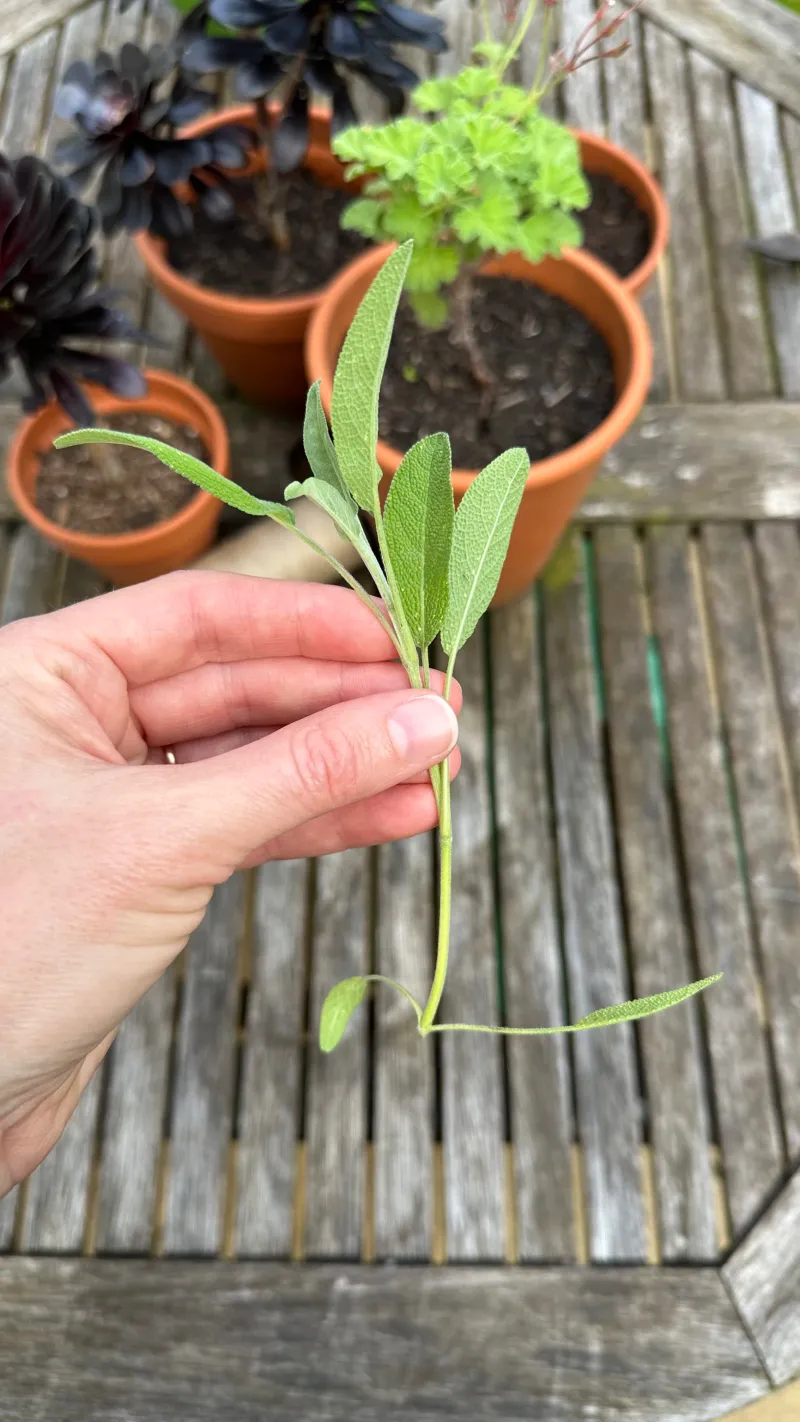
Sage leaves are big and fuzzy, and they lose water quickly. A handy trick is to remove all but the top two leaves, then trim those in half.
Less leaf means less wilting while the cutting works on roots.
Keep sage cuttings in bright light but away from harsh direct sun. Within a few weeks, small new leaves at the tip tell you things are happening below.
5. Clean Snips and a Smart Angled Cut
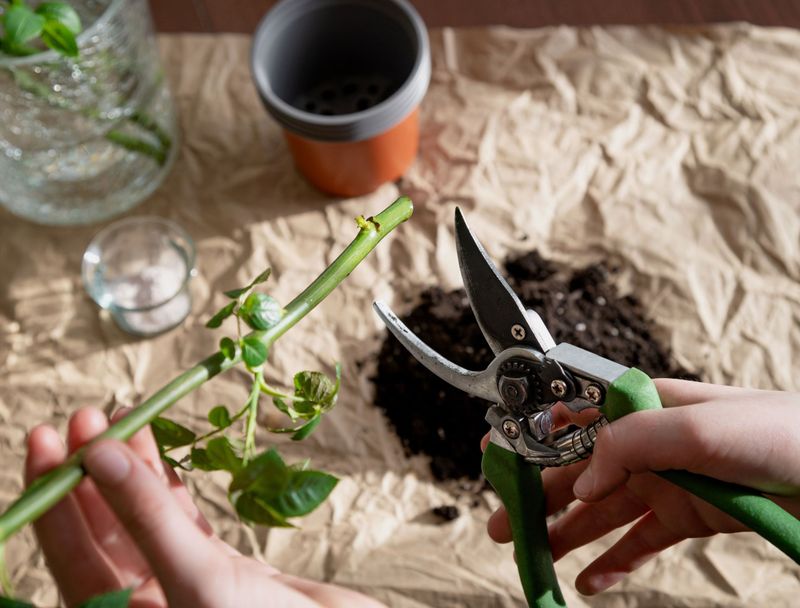
Dull scissors crush stems. That crushed tissue can rot before a single root appears, and you might never figure out why your cutting turned black.
Wipe your snips with rubbing alcohol first. It takes ten seconds and can reduce the chance of spreading disease from plant to plant.
Make a clean 45-degree cut at the bottom of each stem. Then strip leaves from the lower 2 to 3 inches, since those bare spots, called nodes, are where roots will sprout.
Leaves left below the water or soil line tend to rot, so be thorough.
6. Rooting in a Simple Glass of Water
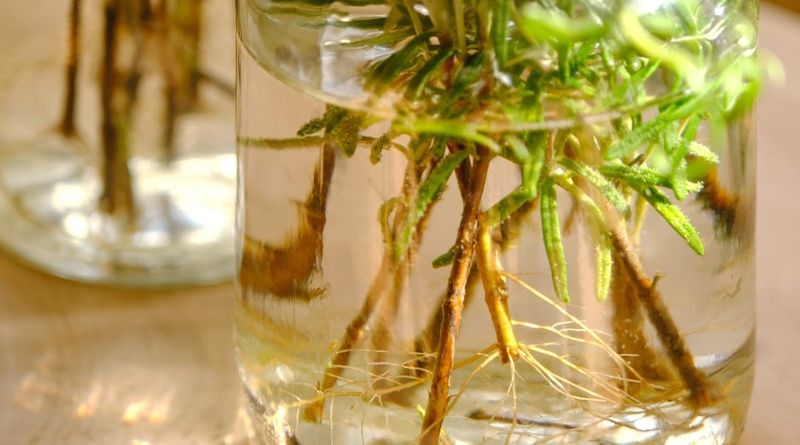
Nothing beats watching roots appear. A glass of water on the windowsill lets you see every little white thread as it grows, and kids love checking on it.
Set your prepared cuttings in fresh or distilled water, with no leaves under the surface. Place the glass somewhere bright but not baking in direct sun.
Change the water every few days so it stays clear. Roots usually show up in two to eight weeks.
Once they reach about an inch long, move each cutting into a small pot of potting mix so it can adjust to soil before winter really sets in.
7. Soil Pots and a Homemade Mini Greenhouse
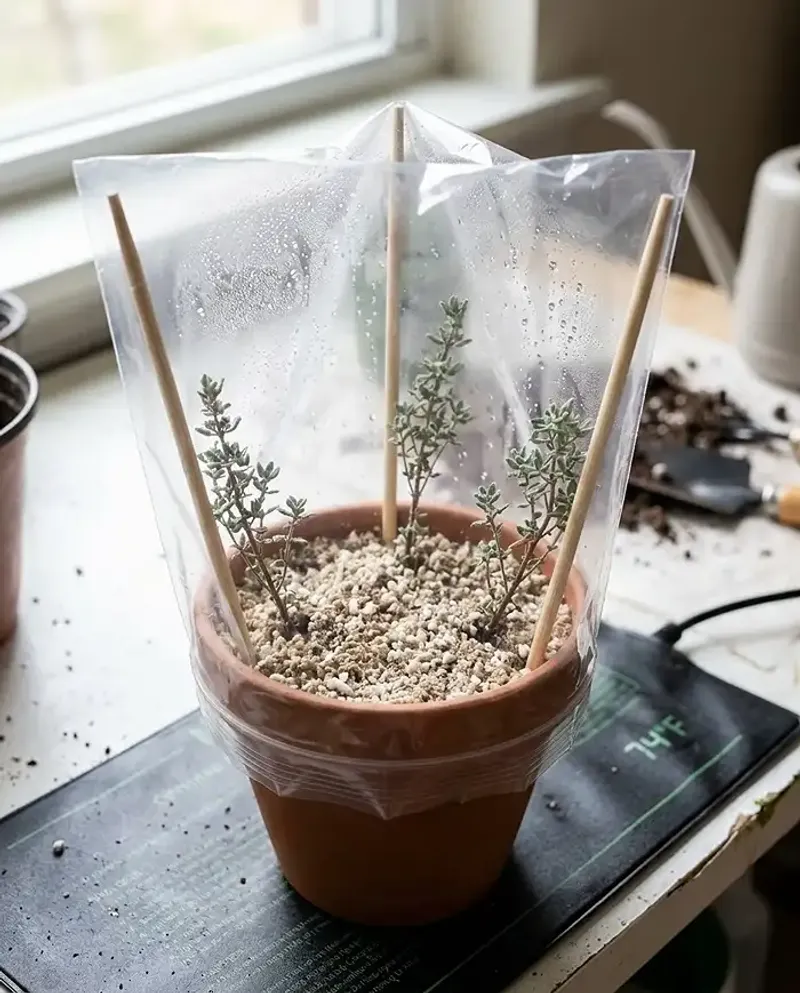
Prefer to skip the water step? Rooting straight in soil works beautifully, and the plants never have to adjust later.
Fill small pots with a light, sterile mix like seed-starting soil with perlite or sand. Heavy garden dirt holds too much water.
Poke a hole with a pencil, slide in the cutting, and firm the soil around it.
Keep the mix moist but never soggy. A clear plastic bag over the pot traps humidity like a tiny greenhouse, but open it every few days for fresh air so mold does not move in.
Rooting hormone is optional, though it may speed things up. A gentle tug that meets resistance means roots have taken hold.
8. Keeping Your New Herbs Happy Indoors
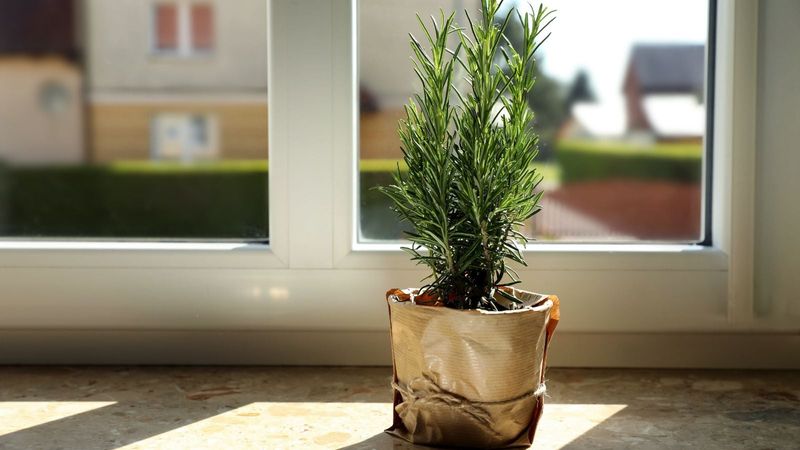
Picture this: snow outside, and you are pinching fresh thyme for soup. Getting there mostly comes down to light, cool temps, and a light hand with the watering can.
Give your herbs your brightest window, ideally south-facing. If stems start stretching and looking spindly, a grow light for 12 to 16 hours a day can help.
These Mediterranean plants like it cool, around 40 to 60 degrees, so keep them away from heaters and vents.
Overwatering kills more indoor rosemary than cold ever does. Let the top inch or two of soil dry out between drinks, and use pots with drainage holes.
Skip misting rosemary, since wet leaves can invite powdery mildew. Come spring, you will have a windowsill full of free plants ready for the garden.