
Avoid These 11 Tomato Pruning Mistakes That Quietly Wreck The Whole Plant
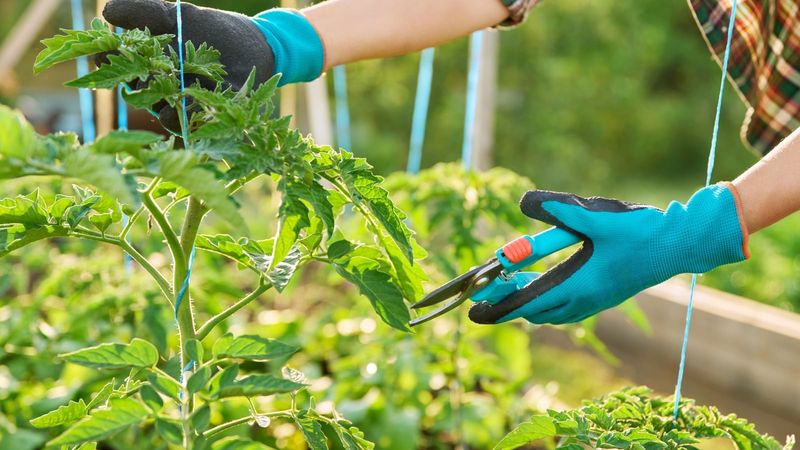
Pruning tomatoes feels simple until you notice your plant looking sad and giving you way fewer fruits than you hoped. A few wrong snips at the wrong time can slow growth, invite disease, or even sunburn your tomatoes right on the vine. The tricky part is that these mistakes rarely announce themselves; the damage builds up quietly over weeks. Learn the eleven slip-ups below and you will keep your plants strong all season long.
1. Removing Every Single Sucker
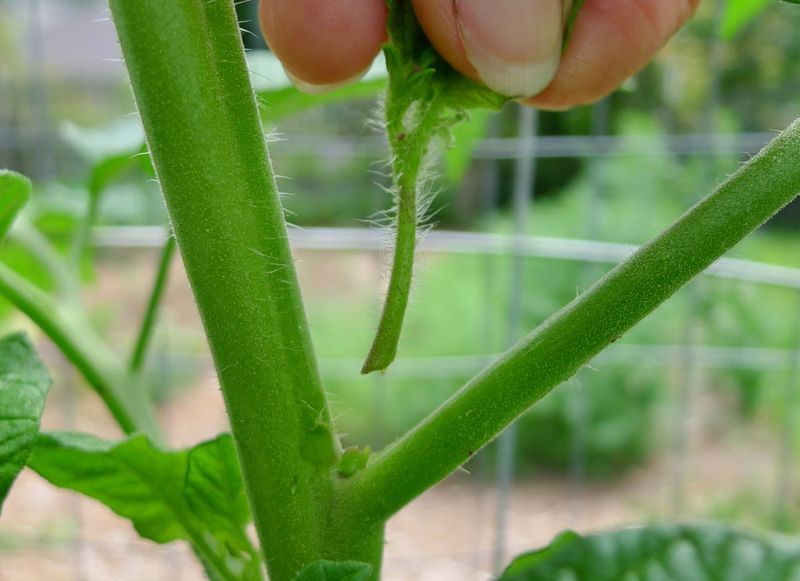
Somewhere along the way, gardeners got the idea that every sucker is the enemy. Suckers are those little shoots that pop out where a branch meets the main stem, and yes, they can crowd a plant if left completely wild.
Stripping off all of them, though, is a classic overcorrection. Those shoots grow leaves, and leaves make the sugar that feeds your fruit. Take too many and you end up with a skinny stem holding tomatoes it cannot properly ripen.
The smarter move is to thin selectively. Pinch the lowest suckers near the ground and leave a healthy amount up top, especially on indeterminate types that keep climbing all summer. Your plant needs enough foliage to power through the long US growing season, not a bare pole.
2. Pruning Determinate Varieties Like They Are Vines
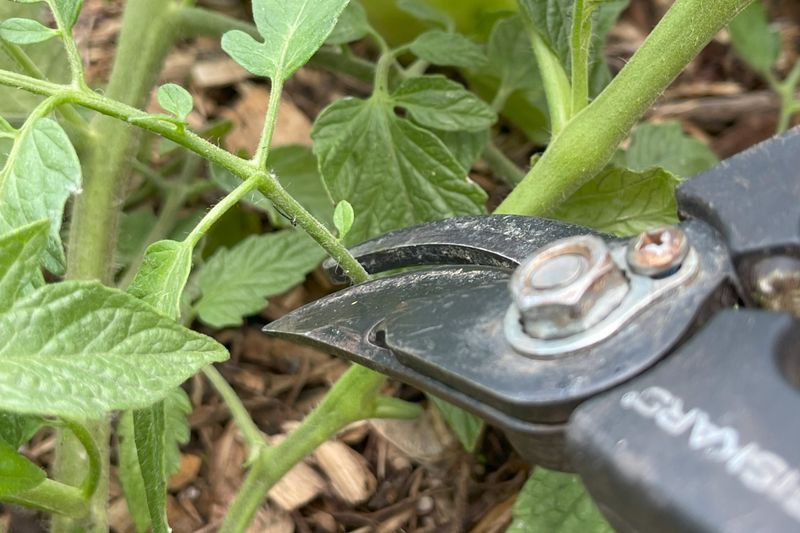
Here is a mix-up that trips up even careful growers: treating a bush tomato like a climbing one. Determinate varieties, the compact kinds often labeled for containers or paste tomatoes, set all their fruit in one concentrated flush and then stop.
When you prune those heavy, you are literally cutting off the branches that were about to produce your harvest. The plant will not grow replacement shoots the way an indeterminate would, so the loss is permanent.
Check your seed packet or plant tag before you snip. If it says determinate, keep pruning to a minimum, mostly just the leaves touching the soil. Save the aggressive shaping for indeterminate favorites like Cherokee Purple or Sungold that keep stretching until frost.
3. Cutting With Dirty or Dull Tools
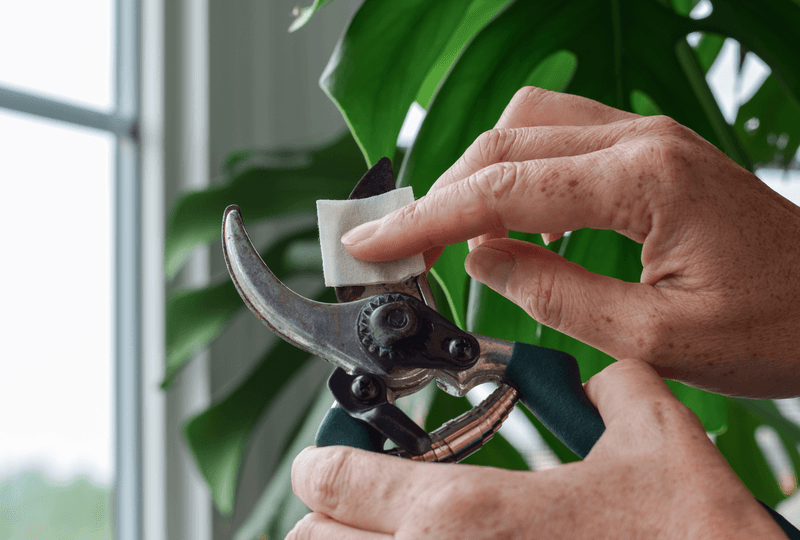
Grabbing whatever scissors happen to be in the shed can quietly spread trouble from one plant to the next. Tomato diseases like early blight and mosaic virus hitchhike on blades, and a single contaminated cut can infect a whole row.
Dull tools cause their own harm. Instead of a clean slice, they crush and tear the stem, leaving a ragged wound that heals slowly and invites rot.
Wipe your pruners with a little rubbing alcohol or a diluted bleach solution between plants, and keep the blades sharp. It takes ten extra seconds and can save you an entire bed. Think of it the same way a barber never reuses tools without cleaning them first.
4. Pruning During the Hottest Part of the Day
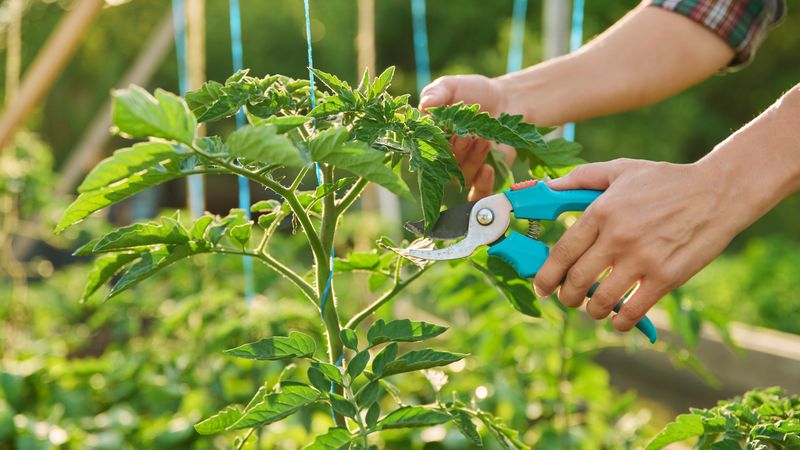
Timing matters more than most folks realize. Snipping away foliage at high noon in July exposes fruit and stems that were shaded just moments before, and the sudden blast of sun can scorch them.
Open wounds also lose moisture faster when the air is baking, which stresses a plant already working hard to stay hydrated in summer heat.
Early morning is your window. The plant is fully hydrated from the cooler night, cuts dry over before the afternoon sun peaks, and you avoid shocking tender tissue. Across most US zones, a quick pruning session with your coffee beats an afternoon one every time.
5. Stripping Too Many Leaves at Once
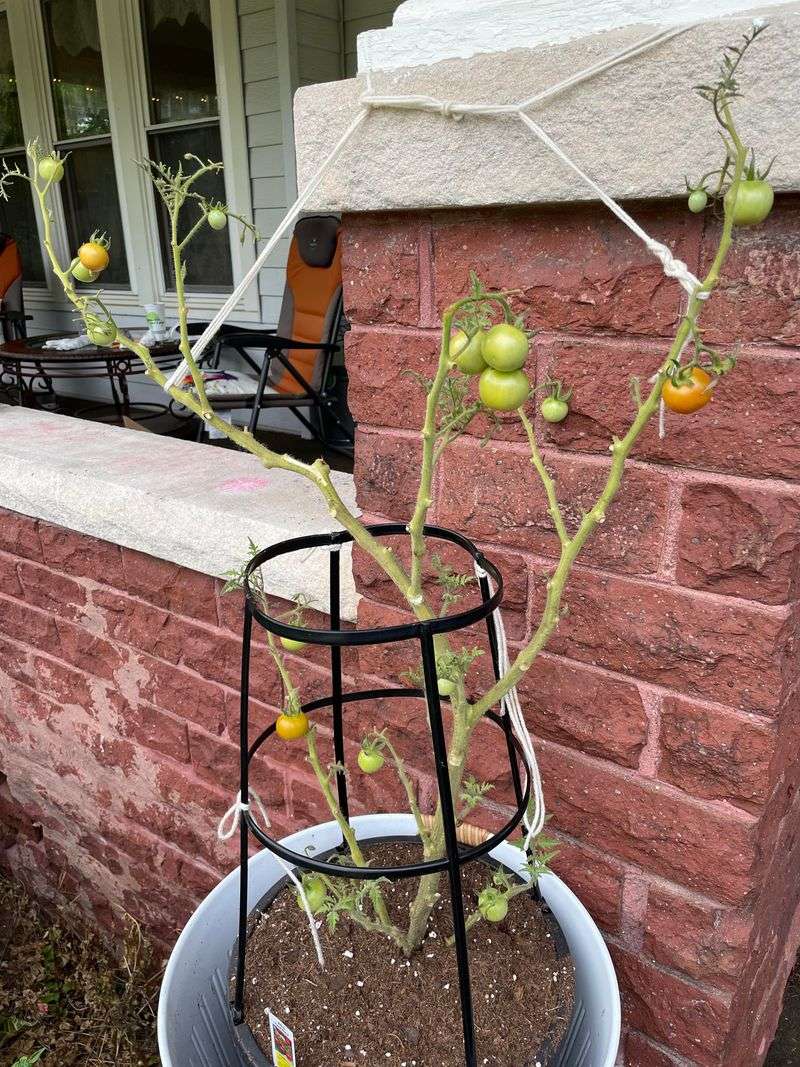
Enthusiasm can backfire fast here. A tomato plant that suddenly loses half its leaves has to scramble, redirecting energy into regrowing foliage instead of plumping up the fruit you have been waiting on.
Leaves are the plant’s solar panels. Yank a big batch and you dim the whole operation, which shows up as slower ripening and smaller tomatoes weeks later.
A good rule is to remove no more than about a third of the foliage in any single session. Spread your cleanup across several days if the plant is really overgrown. Slow and steady keeps the plant from going into panic mode.
6. Ignoring the Lower Leaves Touching the Soil
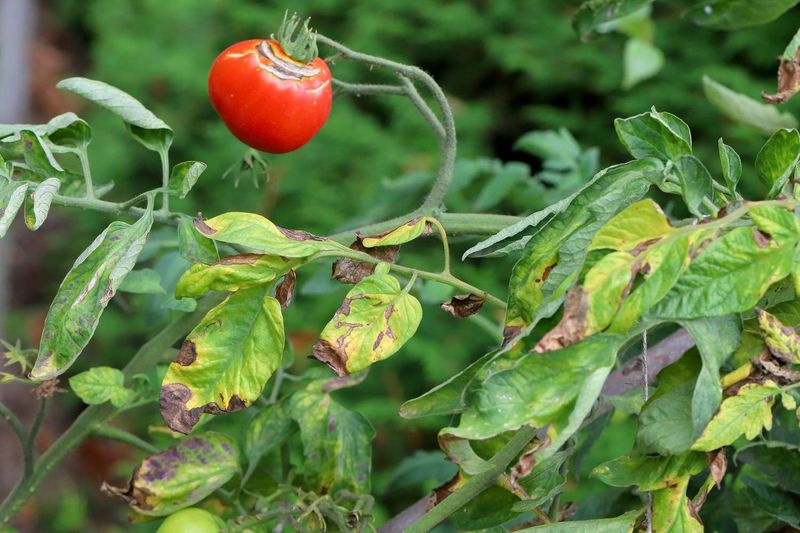
Now flip the coin. While over-pruning up top hurts, leaving those bottom leaves flopped on the dirt is its own slow disaster.
Soil harbors fungal spores, and every time you water or it rains, those spores splash up onto low-hanging foliage. Yellow spots, brown edges, and creeping blight often start right there at ankle height.
Clear off the leaves within the bottom eight to twelve inches of the stem once your plant is established. That open gap breaks the splash pathway and lets air move freely around the base. Pair it with a layer of mulch and you build a real barrier against soilborne disease.
7. Tearing Instead of Cutting
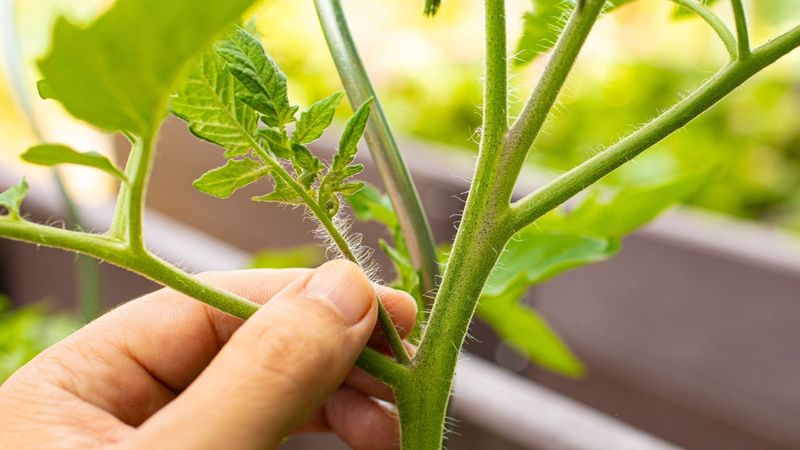
Ever ripped a sucker off with your fingers because it was quicker? We have all done it, but that yank can peel a strip of bark right down the main stem.
A torn wound is wide, jagged, and slow to seal, giving fungi and bacteria an easy door in. Small suckers snap off cleanly, sure, but larger shoots deserve better.
For anything thicker than a pencil, reach for clean pruners and make one tidy cut. If you do pinch by hand, do it while the sucker is tiny and bend it sideways so it pops rather than drags. Your plant heals a neat cut far faster than a shredded one.
8. Pruning Right Before Rain or Watering
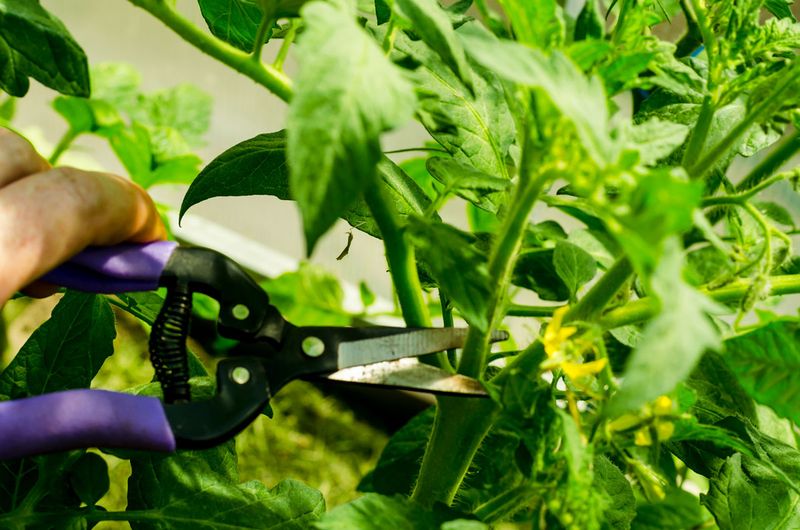
Moisture and fresh cuts make a risky pair. A wound needs a little time to callus over, and if you drench the plant right after pruning, you keep that opening wet and welcoming for disease.
Wet foliage in general is a fungal playground, so adding brand-new entry points into the mix stacks the odds against you.
Check the forecast before you start, and hold off if a storm is rolling in within a few hours. When you hand-water, aim at the roots and skip the freshly pruned areas until they have had a dry spell to seal. A little patience here prevents a lot of heartbreak later.
9. Topping the Plant Too Early
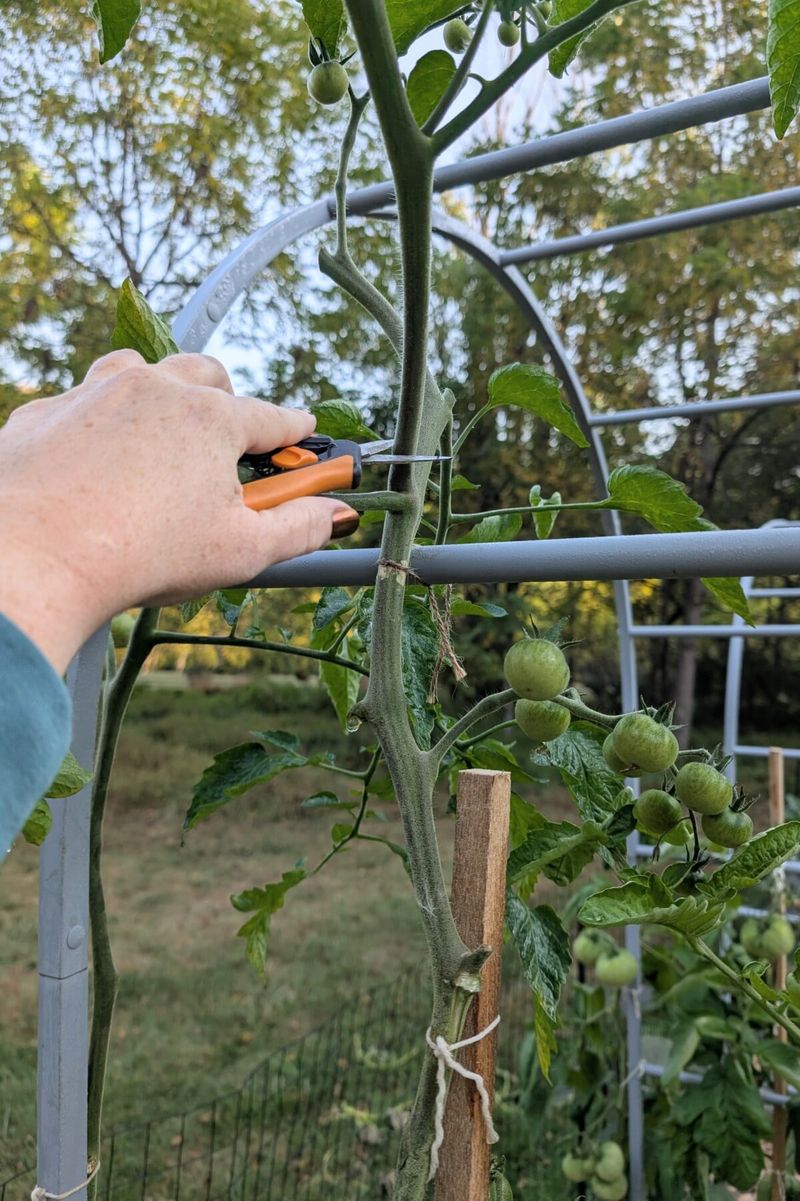
Cutting off the growing tip, called topping, is a real technique gardeners use near the end of the season to push a plant toward ripening what it already has. The problem shows up when people do it in June or July.
Top an indeterminate variety too soon and you cap its height and its future fruit at the same time, right when it should be climbing and setting more clusters.
Hold that cut until roughly four to six weeks before your area’s first expected frost. In much of the US that lands in late summer or early fall. Done at the right moment, topping tells the plant to finish the tomatoes on hand instead of chasing new growth it will never ripen.
10. Forgetting to Prune the Interior for Airflow
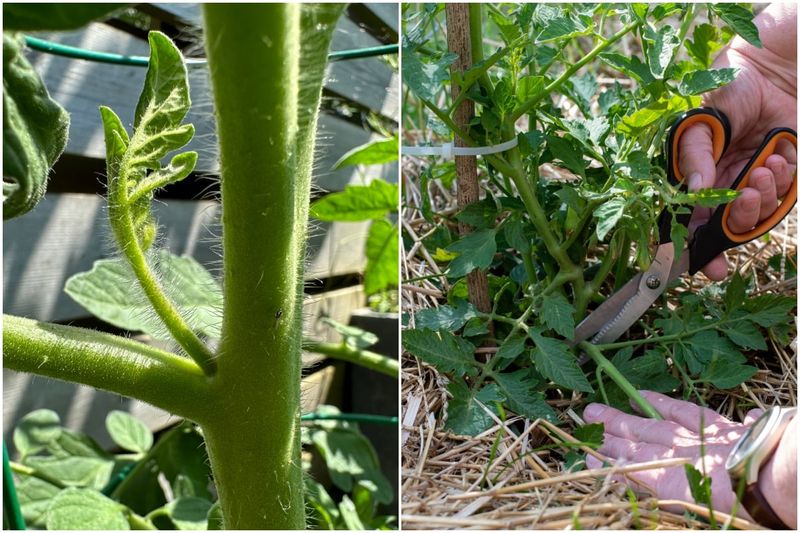
A tomato plant can look perfectly fine on the outside while turning into a damp jungle within. Dense inner growth traps humid air, and stagnant, muggy pockets are exactly where fungal problems thrive.
Gardeners often fuss over the outer branches and never peek inside the canopy, so the crowded center goes unchecked until leaves start spotting.
Reach in and thin a few of the crossing, crowded stems so a light breeze can pass straight through the plant. You are not trying to hollow it out, just open up breathing room. Good airflow may help reduce the muggy conditions that early blight and septoria love, especially during humid stretches common across the eastern and southern US.
11. Never Sanitizing After a Sick Plant
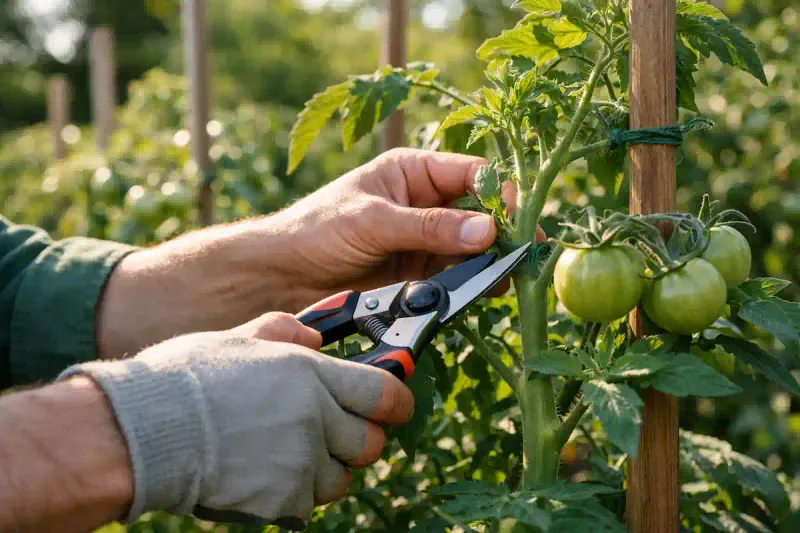
Picture this: one plant in your bed has curling, spotted leaves, and you prune it, then move straight to the healthy neighbor with the same blade. You just gave the disease a free ride.
Plenty of tomato troubles spread through contaminated cuts, and skipping the cleanup step between a sick plant and a healthy one can undo all your careful work.
Whenever you touch a plant that looks off, stop and disinfect your tools before continuing. Prune the sickest plants dead last so you are not carrying anything to the strong ones first. Toss the diseased trimmings in the trash rather than the compost, since many pathogens survive to haunt next year’s crop.