
Could a Water Bottle Help You Build an Egg Incubator? What to Check First
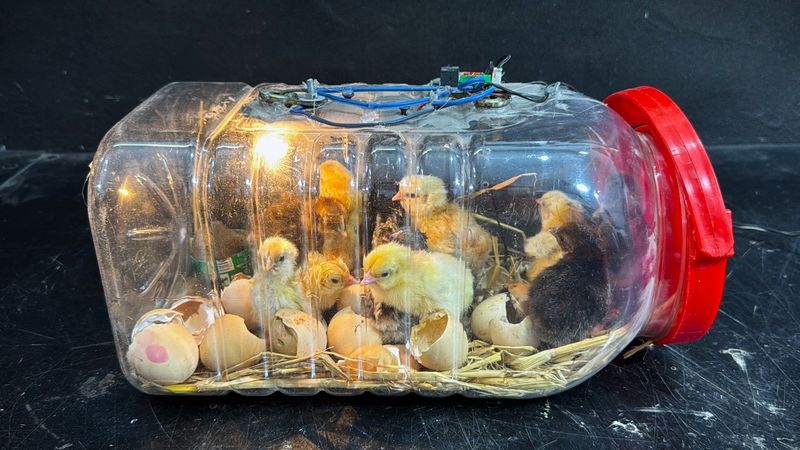
Plastic bottles pile up fast, and some online videos show them turned into homemade egg incubators. It is a fun idea for backyard chicken keepers who like to reuse things.
But hatching chicks takes more than a clever container. Here is what a bottle project would have to measure up against before you ever set an egg.
A water bottle alone is not a proven incubator
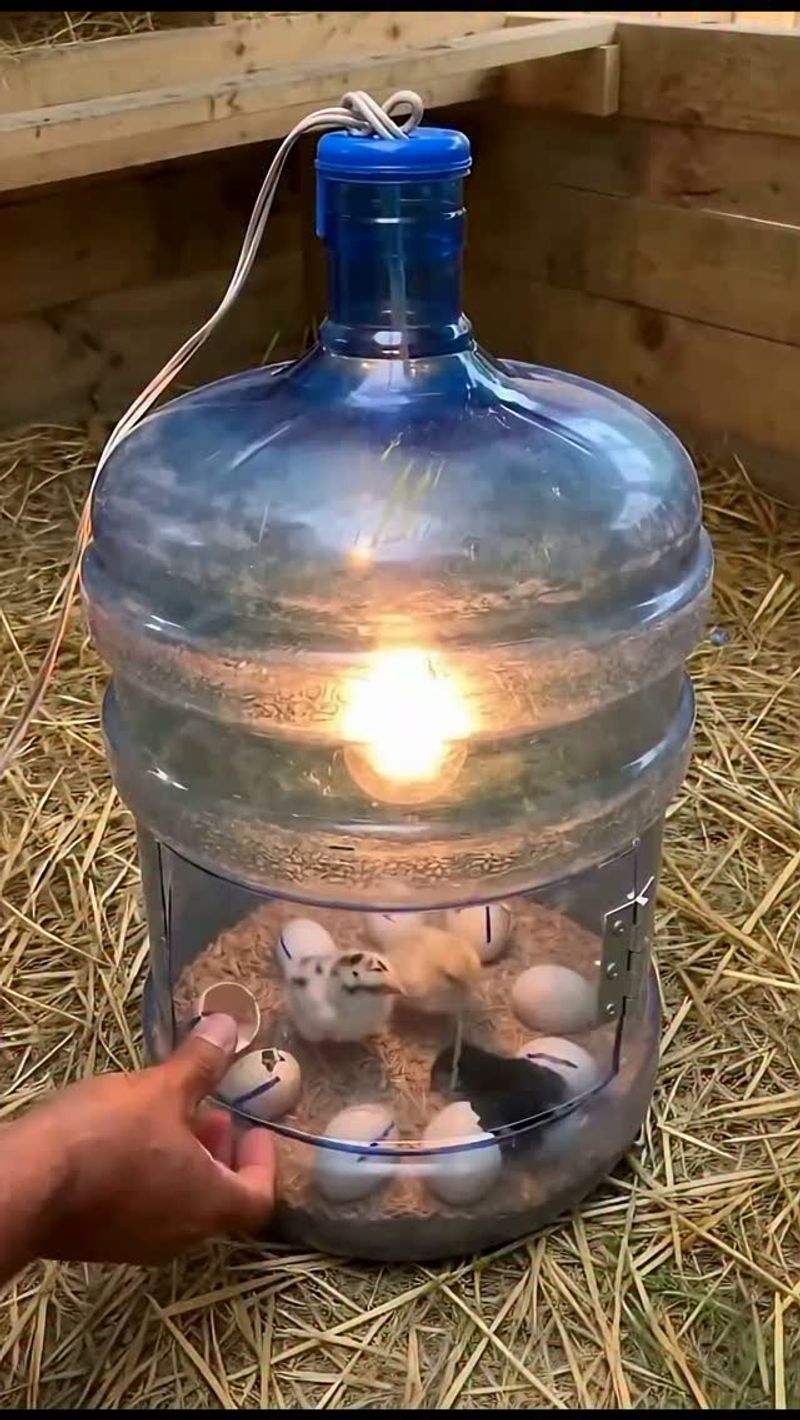
Plenty of people like the idea of turning trash into a hatching machine, and the idea is worth looking at. Still, the title’s big promise needs a reality check.
An empty bottle by itself is not a proven chicken egg incubator.
An online video called Water bottle Egg incubator #2 shows that someone has tried the idea. That is all it shows.
It gives no independent performance data, no verified hatch rate, and no proof that the setup is safe or repeatable.
Compare that with Texas A&M’s Make Your Own Incubator guide. That homemade design uses a cooler, a thermostat, a thermometer and hygrometer, a fan, ventilation openings, and a water pan.
The bottle is not the star of that build.
So think of a bottle as a possible part of a project, not a finished answer. The rest of this guide holds the idea up against what extension sources say eggs need.
You will not find bottle-cutting steps here, because no reviewed source backs a bottle-only design. A hatch is never guaranteed, even with careful work.
Build around a controlled, ventilated chamber
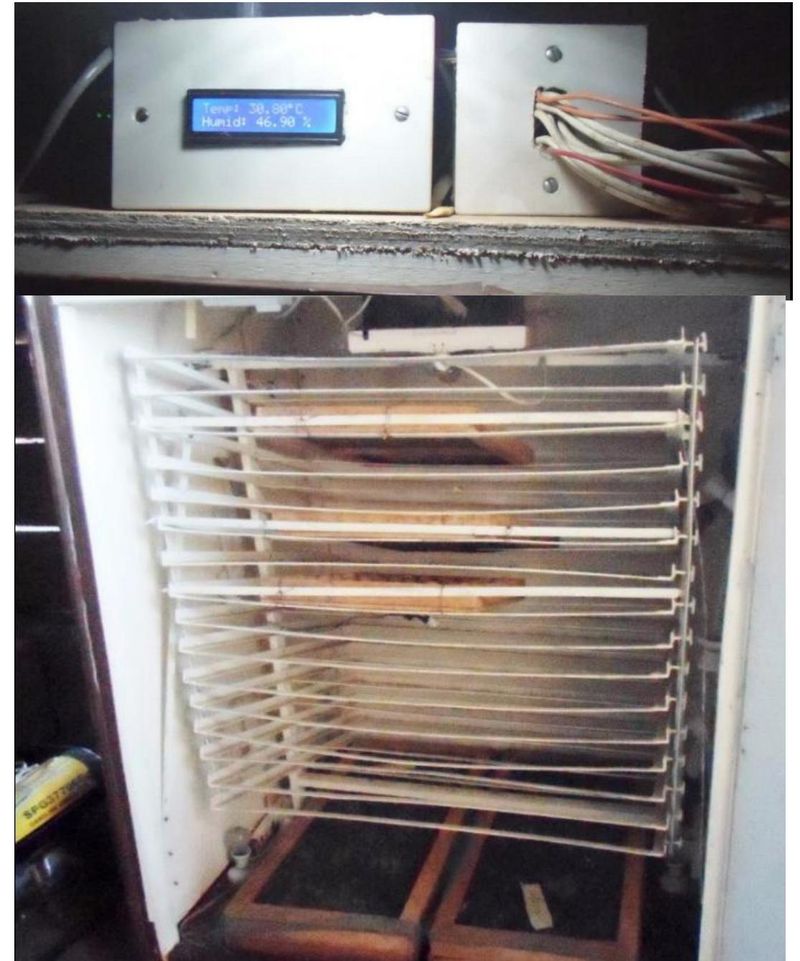
Real homemade incubators are built around control. The Texas A&M DIY guide describes a cooler-based setup, and it lists the parts that do the work: a thermostat, a thermometer and hygrometer, a fan, ventilation openings, and a water pan.
Each part has a job. The thermostat keeps heat steady, the gauges let you see what is happening, the fan moves air, and the water pan supports humidity.
The vents let fresh air in and stale air out.
Now picture a bottle in that list. Nothing in the reviewed sources shows a bottle doing any of those jobs well on its own.
That gap is why this stays an idea to evaluate. Any bottle plan would need a way to hold steady heat, show readings, and breathe.
Heat deserves extra care. The National Fire Protection Association advises securing heat lamps and keeping them away from combustible materials.
Plastic bottles are combustible. Never prop a lamp against or near one, and have any electrical or heat parts checked for safety before plugging in.
Which conditions must the incubator maintain?
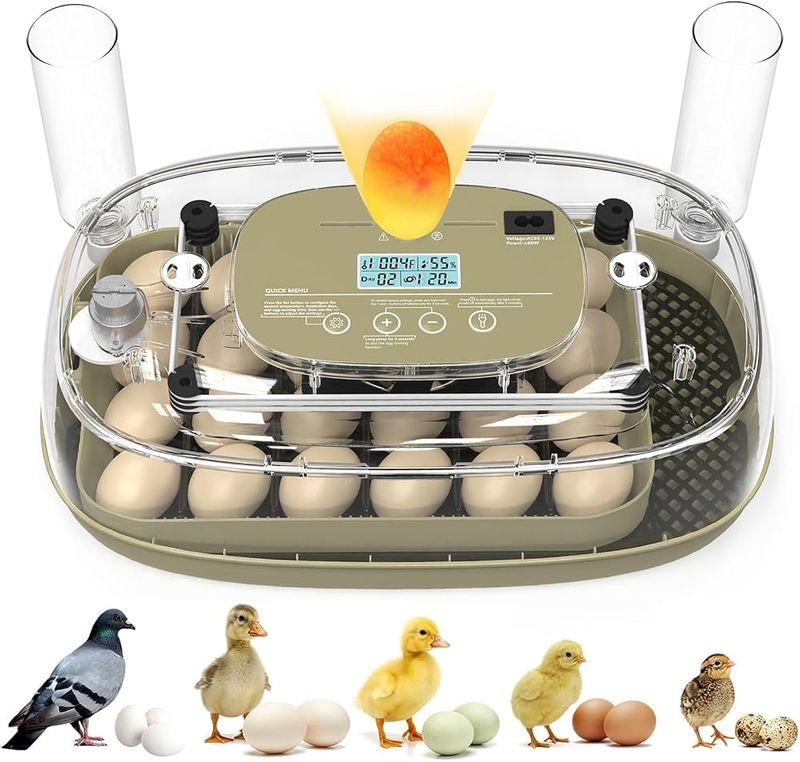
Chicken eggs take about 21 days to incubate. During that time the incubator has to hold the right warmth and moisture and keep fresh air moving.
Numbers depend on the equipment. For a forced-air incubator, Texas A&M AgriLife recommends about 99.5 to 100 degrees F and 55 to 60 percent relative humidity during the set stage.
Those figures belong to that incubator type and to relative humidity readings.
Other sources differ. A University of Kentucky-authored poultry resource gives a range of 99 to 100 degrees F.
Mississippi State lists 100 degrees F and reports humidity as wet-bulb readings. Still-air units may need different settings than forced-air ones.
Because of this, do not grab one number and treat it as universal. Do not mix relative humidity with wet-bulb figures either.
Pick the guidance that matches your equipment and measuring tool, then follow it.
Air matters just as much. Mississippi State calls ventilation holes above and below the eggs essential, and Virginia Tech warns that eggs and chicks can suffocate in an airtight container.
A sealed bottle is the wrong choice.
Only fertile eggs can produce chicks
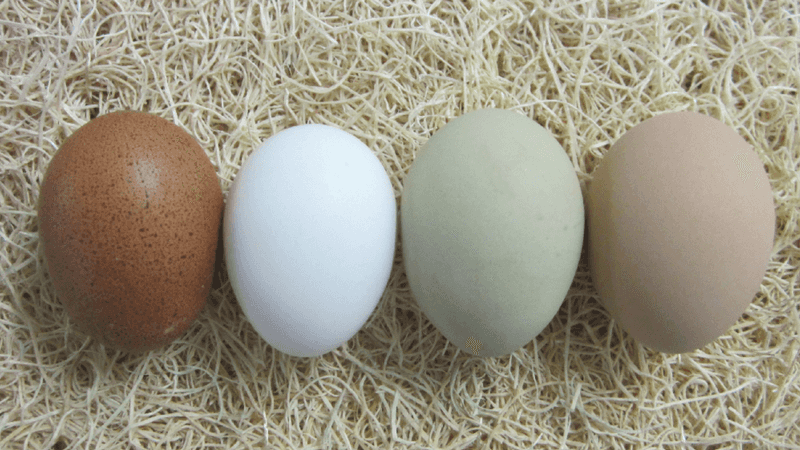
Even a perfect incubator cannot hatch an egg that was never fertilized. A hen lays eggs with or without a rooster, according to the University of Kentucky-authored poultry resource, but only fertile ones can grow into chicks.
That means the carton from the store is out. Maryland Extension says grocery-store eggs are not fertile and will not hatch, so a bottle experiment with them would only be a science demo that ends in spoiled eggs.
Fertile hatching eggs usually come from your own flock if you keep a rooster with your hens, or from a breeder or hatchery that sells them. Ask where they came from and how they were stored.
Handling counts too. Clean, uncracked, fresh eggs give you a better shot than dirty or damaged ones.
Choose your eggs first, and only then worry about the container.
Test the setup before adding eggs
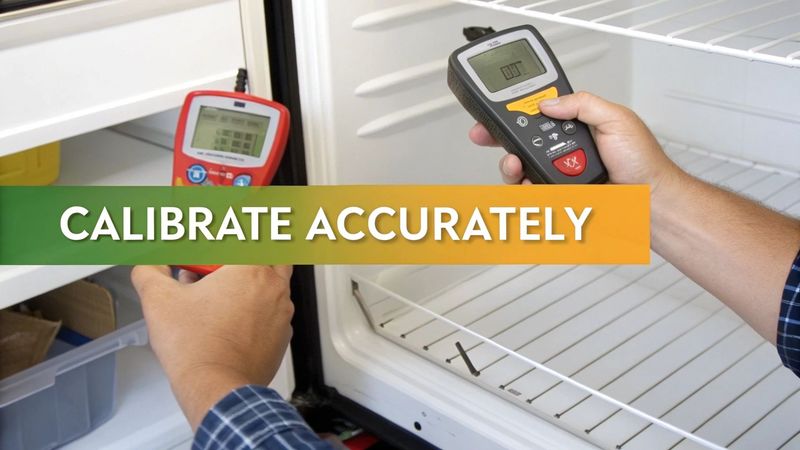
Never let the first run be the one with eggs in it. Illinois Extension recommends regulating an incubator for two to seven days before you set anything inside.
Put a reliable thermometer at egg level, since the temperature near the lid or floor can differ from what the eggs feel. Check it at several times of day and write the numbers down.
Watch for drift. Does the temperature climb in the afternoon sun?
Does it dip when the house cools at night? Does the reading wobble each time the heater switches on?
Those clues tell you whether the setup holds its target.
If readings bounce around, fix the problem and test again. If you cannot make it steady, a bottle project may not be ready for eggs.
A calm test run is useful, but it is not proof. Passing it does not mean the design will hatch eggs reliably.
It only shows the setup held its conditions for those days, so keep monitoring once eggs are in.
Turn eggs during incubation, then stop near hatch
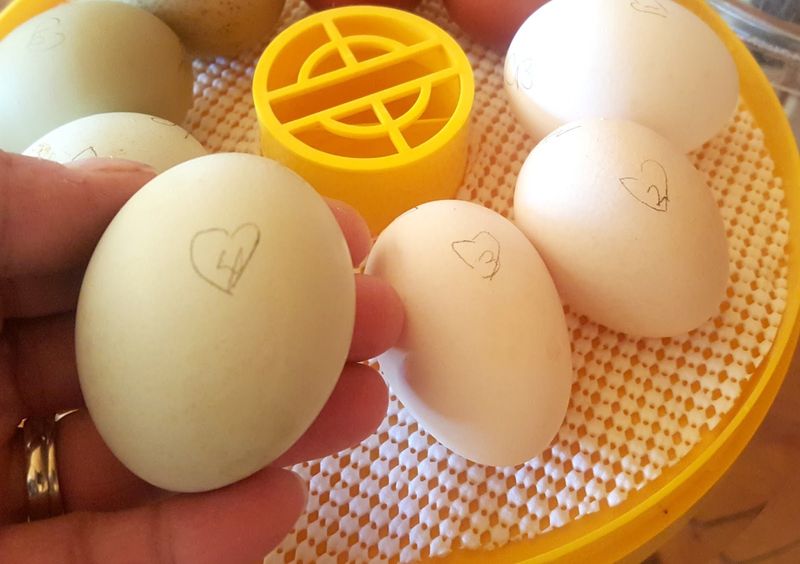
Developing eggs need regular turning. Texas A&M AgriLife says to turn eggs at least five times a day during the set stage.
The same guide says to stop turning three days before hatch. Those last days are different from the weeks before them, so mark the calendar when you set the eggs and count forward.
A simple habit helps. Many keepers pencil a small mark on each egg so they can see which ones have been moved.
Wash and dry your hands first, and handle eggs gently.
Notice what is missing here: a bottle-based turning method. No reviewed source supports one, so there is no trick to offer.
Any homemade turning plan would need to be checked against the same schedule, and it has to work without cracking eggs or letting heat and air readings slip.
Prepare the brooder before the chicks arrive
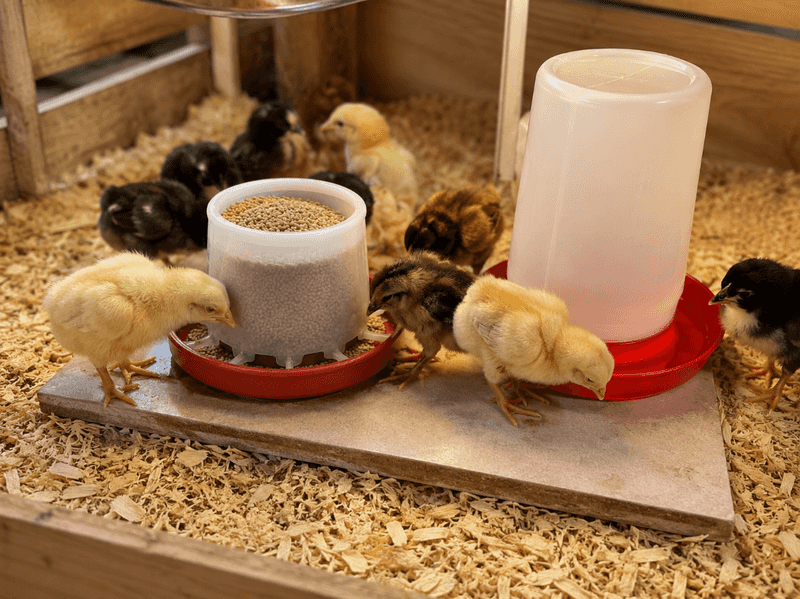
Hatching is not the finish line. Incubation ends when the chicks emerge, and the incubator is not a home for growing birds.
The University of Kentucky-authored brooding guide recommends preparing and warming the brooding area in advance. Newly hatched chicks need suitable heat, bedding, feed, and clean water waiting for them.
Set up the brooder a day or two ahead and run the heat so you know it works. Put down fresh bedding, fill a shallow waterer, and have chick feed on hand.
Keep this separate from your incubator build. A brooder has its own heat source, and the same fire cautions apply: secure it and keep it away from anything that can burn.
If the brooder is not ready, hold off on setting eggs. Fuzzy chicks show up on a schedule, and they cannot wait for you to shop.
Treat the bottle as a starting point, not a guarantee
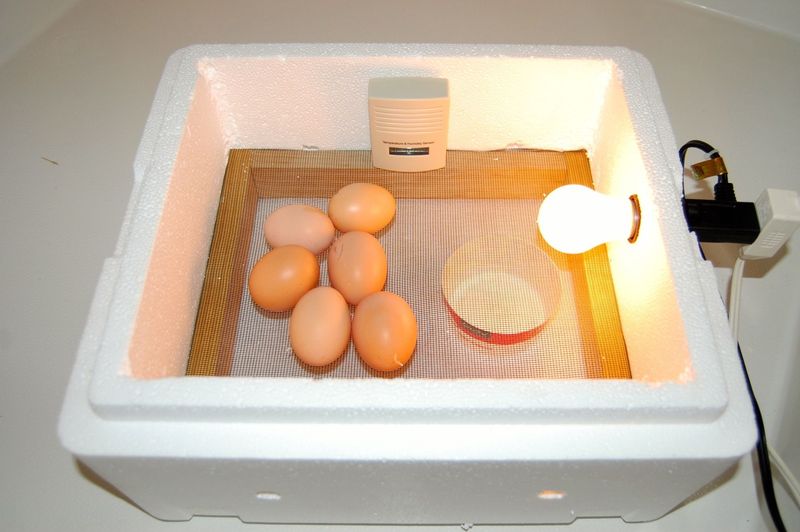
A bottle can spark a reuse project, but nothing reviewed shows it working as a reliable incubator on its own. The online demonstration proves only that someone tried, while Texas A&M’s guide shows what a documented build looks like.
What counts is a controlled, ventilated, tested setup, fertile eggs, and a brooder ready for the chicks.
Recycling is great, but a chick is counting on more than a clever container.