
Here’s How and When to Prune Clematis So It Rewards You With More Flowers
Clematis can be one of the most rewarding climbers in a backyard garden, but cut it at the wrong time and you might accidentally remove the very buds that were about to bloom. The secret to a better display is simpler than most gardeners expect: it comes down to knowing your plant’s pruning group.
Get that one detail right, and you’ll stop second-guessing yourself every spring and start making cuts that actually help the vine thrive.
Identify the pruning group before you reach for the shears
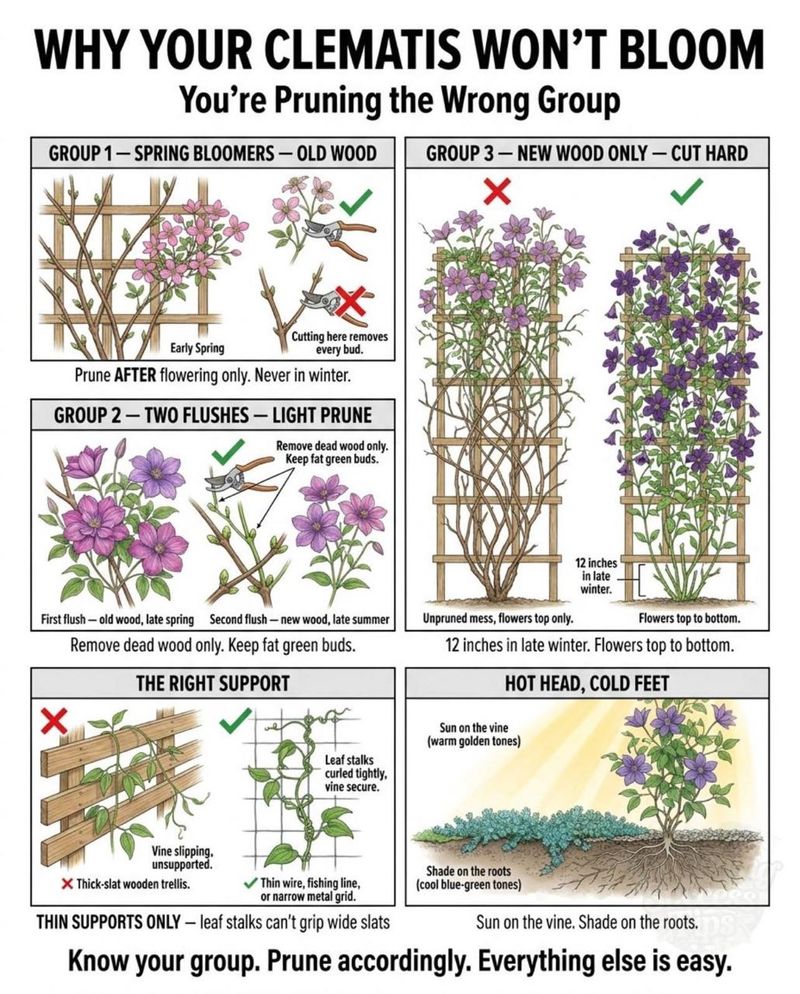
Pruning clematis without knowing its group is a bit like following directions without knowing your starting point. The Royal Horticultural Society’s clematis pruning guide explains that the three groups describe when and on what type of wood a clematis flowers, and that distinction controls everything about when and how hard you should prune.
No single calendar date applies to every clematis on every property across the country.
Group 1 plants bloom mainly on growth produced the previous season, so pruning before their spring display can cut off the flower buds that were already set. Group 2 plants, which include many large-flowered hybrids, typically open their first flush on old wood and may follow with a second round on new growth later in the season.
Group 3 plants flower entirely on the current season’s new shoots, which means old stems can be cleared away without touching a single upcoming bud.
You may also see these groups labeled A, B, and C. Those letters describe the same pruning behavior, not flower color, bloom size, or cold hardiness.
Knowing a plant is a deep purple Group 2 tells you nothing about whether it will survive a Minnesota winter.
University of Illinois Extension specifically warns that correct pruning depends on knowing the variety, and that flowering time alone is only a fallback clue when the cultivar is genuinely unknown. Check the plant tag, look up the cultivar name online, or ask the nursery before assuming a group from bloom timing.
If a spring-flowering vine blooms before late June, it is more likely to be an old-wood type, but that observation is a starting point for investigation, not a final answer.
Pruning can protect existing buds, clear away weak or tangled growth, and give a vine better structure and light exposure. Whether that translates into noticeably more flowers also depends on cultivar, plant age, sun, moisture, nutrition, and overall health.
Correct pruning is a meaningful part of the picture, but it is not the whole picture.
Prune Group 1 after its spring flowers fade
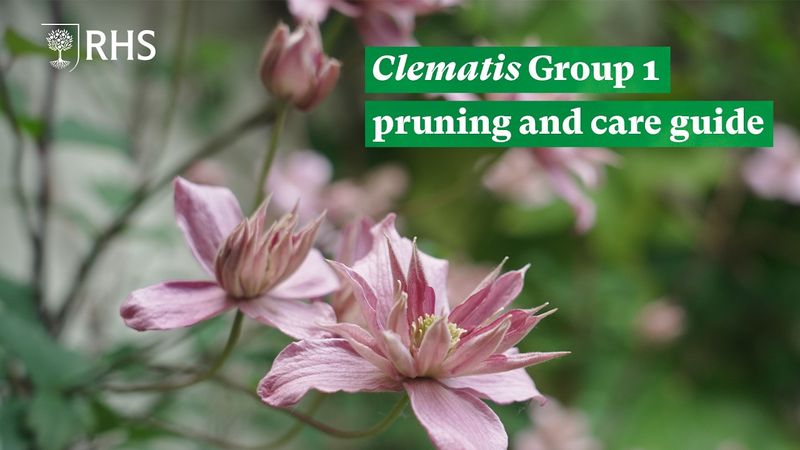
Restraint is the defining skill for anyone tending a Group 1 clematis. These plants, which include early-blooming species such as Clematis montana and Clematis alpina relatives, set their flower buds on wood grown during the previous growing season.
By the time late winter arrives, those buds are already sitting on the vine, waiting for warmer weather to open them.
A hard cut in late winter or early spring on a Group 1 plant is not a pruning strategy. RHS guidance is clear that removing significant old wood before the spring display removes the flower buds along with it.
If you have been puzzled by a Group 1 clematis that blooms sparsely or skips a year, an untimely spring cut may be the reason.
The practical approach for Group 1 is to watch the vine bloom, enjoy the display, and then pick up your pruners after the flowers fade. At that point, remove any stems that are clearly dead, diseased, or damaged.
If the vine has grown into a tangled mass or is crowding a window or a neighboring plant, that post-bloom window is the right time to shape it back. The plant will then spend the rest of the growing season putting energy into the new growth that will carry next spring’s flowers.
Group 1 plants can become very large over time, and some gardeners are tempted to cut them back hard to manage the size. If corrective pruning is truly necessary, do it right after flowering and accept that some flower-producing wood will be lost in the process.
Spreading a heavy renovation over two or three seasons is gentler on the plant than a single drastic cut. Dead or diseased stems, however, should come out whenever you spot them regardless of season.
Give Group 2 a conservative cleanup
Group 2 clematis sit in the middle of the pruning spectrum, and that middle position is exactly what makes them worth handling carefully. Large-flowered cultivars like ‘Nelly Moser’ and ‘The President’ typically open their first big flush on old wood, meaning the stems that survived winter are carrying the early-season buds.
Cutting those stems down in late winter removes the flowers before they ever open.
The right approach in late winter or early spring is a cleanup rather than a reset. RHS pruning guidance recommends removing dead or weak stems and shortening the remaining growth conservatively to a strong, healthy bud.
That means looking closely at each stem, identifying where live tissue begins, and cutting just above a plump bud rather than dropping the whole vine to ankle height. If a stem is clearly dead all the way to the base, remove it.
If it is alive and carrying buds, leave as much of it as the plant’s overall shape allows.
After the first flush of flowers fades in late spring or early summer, some Group 2 cultivars will push a second round of blooms on the new growth they produce through summer. Removing spent flowers by cutting back to a healthy bud can tidy the vine and may support that later display on cultivars that are inclined to rebloom.
Not every Group 2 plant will cooperate with a second flush, though, so treat that outcome as a possibility rather than a guarantee.
One common mistake with Group 2 plants is applying the hard annual cut that suits a Group 3 vine. The logic seems reasonable – cut it back, get new growth, get flowers – but the early-season flowers are on the old wood that a hard cut removes.
A Group 2 vine that has been cut back hard every spring may bloom well later in the season but will likely miss its showy early display entirely.
Cut Group 3 back before fresh growth starts
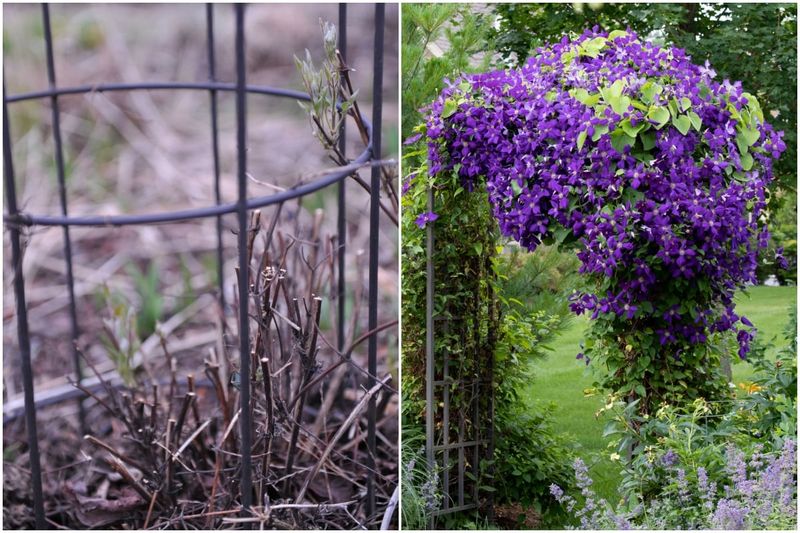
Among the three groups, Group 3 clematis give gardeners the most straightforward annual pruning job. Late-blooming species and cultivars, including Clematis viticella types and many of the sweet autumn clematis relatives, produce all of their flowers on the new shoots they push out each spring and summer.
Because no flower buds are hiding on the old stems, those stems can be removed without any risk to the upcoming display.
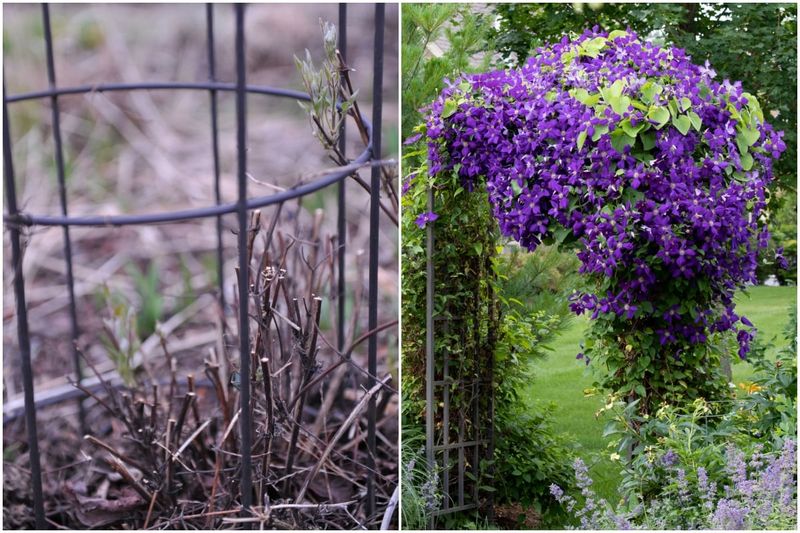
RHS guidance directs Group 3 growers to cut back hard in late winter or early spring, before vigorous new growth begins. The recommended target is the lowest pair of strong, healthy buds on each stem, which typically puts the cut at roughly 8 to 12 inches above the ground, though the exact height varies with the plant and local conditions.
The goal is to clear away the previous season’s tangled growth and give the emerging new shoots open space, good light, and a clean framework to climb from.
Timing matters here in a practical way. Cutting too early in winter, when the ground is still frozen and temperatures are erratic, can expose fresh cut ends to cold damage.
Waiting until you can see the lowest buds swelling and beginning to show green makes it easier to confirm where live tissue is and where to place each cut. In most of the continental United States, that window falls somewhere between late February and early April depending on the region and the season’s weather.
The payoff for a well-timed Group 3 cut is a vine that climbs from a tidy base rather than layering new growth on top of a thickening mass of old stems. That better structure lets more of the plant receive sunlight and air circulation, which supports healthier growth.
Whether the vine ultimately produces a dramatically larger number of flowers depends on cultivar, growing conditions, and plant health, but clearing the old framework is a sound annual investment.
Treat a newly planted clematis differently
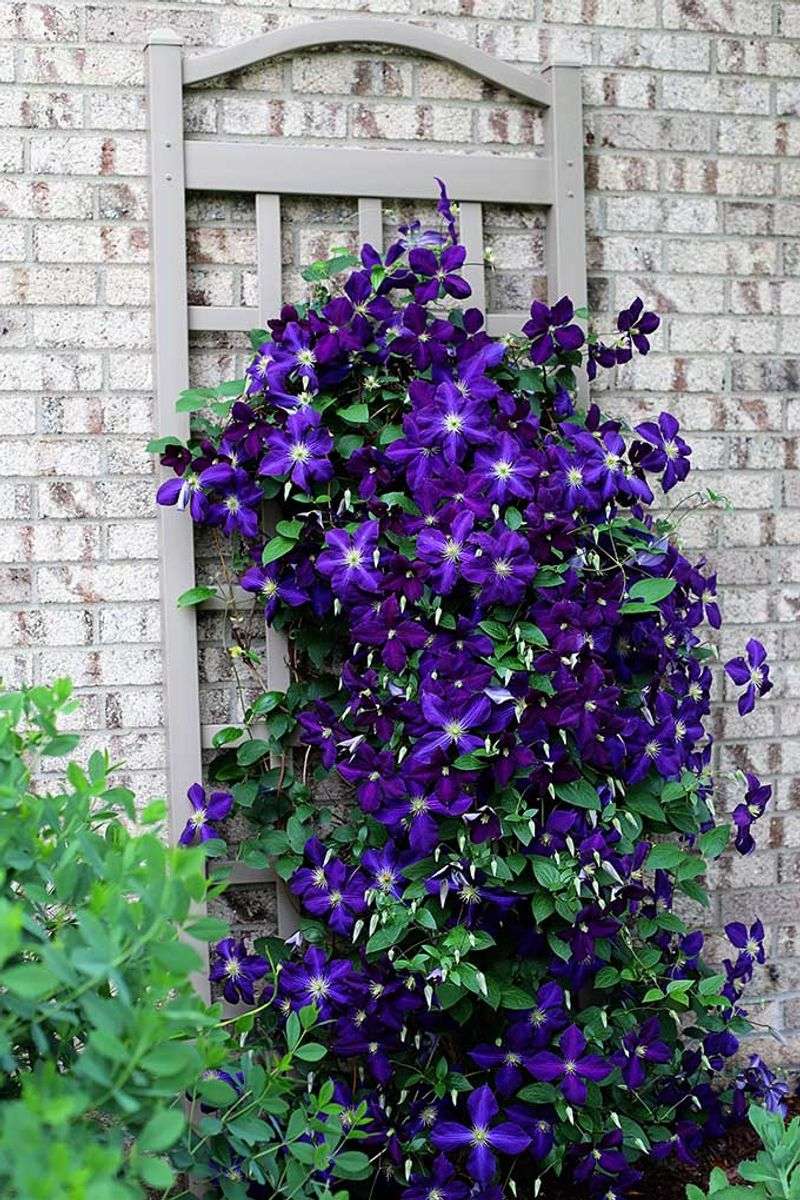
A clematis in its first spring at your home has a different priority than an established vine. University of Illinois Extension notes that newly planted clematis are commonly cut back to about 12 inches in the first spring to encourage branching from low on the plant and to build a fuller base over time.
A vine that branches early tends to cover its support more evenly and produce growth from multiple points rather than sending up one or two tall, bare stems.
That first-spring cut comes with a real trade-off. For Group 1 and Group 2 plants especially, cutting back to 12 inches removes stems that may already be carrying flower buds.
You may lose the first season’s bloom, or at least part of it, in exchange for a stronger long-term structure. That trade is generally worth making for a plant you intend to grow for years, but it is worth knowing the cost before you cut.
The first-year recommendation does not automatically transfer to an established vine. An older, well-rooted Group 2 clematis that has been growing on a fence for five years should not be cut to 12 inches in spring just because a neighbor did it to their new plant.
Establishment pruning and routine annual pruning serve different purposes, and mixing them up can set a mature vine back significantly.
When you bring a new clematis home, look for the cultivar name on the tag and make a note of the pruning group before you plant it. That information will guide every pruning decision for the life of the plant, and the tag is much easier to read in the nursery than to track down two years later when the vine is already climbing.
Make clean cuts above healthy, live growth
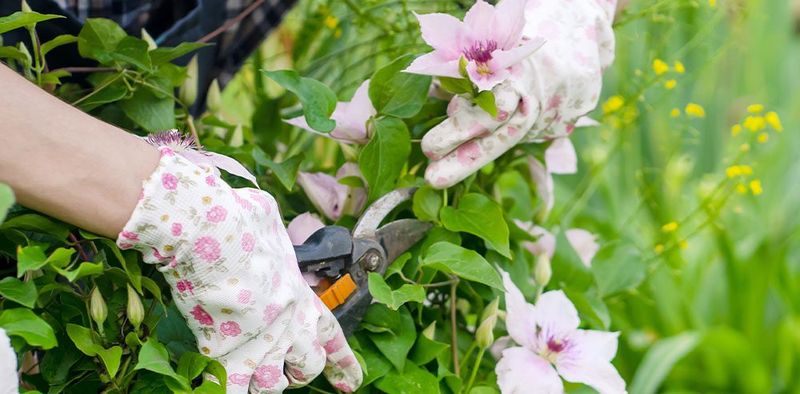
Sharp, clean tools make a real difference when pruning clematis. Ragged cuts from dull blades leave more wounded tissue exposed, which takes longer to seal and can invite disease.
Before you start, wipe your pruner blades with a clean cloth and make sure they are opening and closing smoothly.
University of Minnesota Extension pruning guidance supports cutting just above a healthy, outward-facing bud where possible. For clematis, that means finding a plump, clearly alive bud on the stem and placing your cut a short distance above it at a slight angle so water sheds away from the bud.
Cutting too far above the bud leaves a stub that will die back anyway; cutting too close risks nicking the bud itself.
Winter damage can make it hard to tell live wood from dead wood while the vine is still dormant. Illinois Extension’s clematis fact sheet advises waiting for signs of renewed growth before removing apparently dead wood wholesale.
Once buds begin to swell and new shoots start to emerge, the boundary between live and dead tissue becomes much easier to see. Scratch the bark lightly with a fingernail; green or white tissue underneath means the stem is alive, while dry brown tissue suggests it is not.
Clematis sap and plant material can irritate skin and are harmful if ingested. University of Vermont Extension recommends wearing gloves whenever you handle clematis, washing your hands thoroughly after pruning, and disposing of clippings where children and pets cannot reach them.
Bag the cut stems and put them in the trash rather than leaving a pile on the ground near the base of the plant.
Support flowering with the right growing conditions
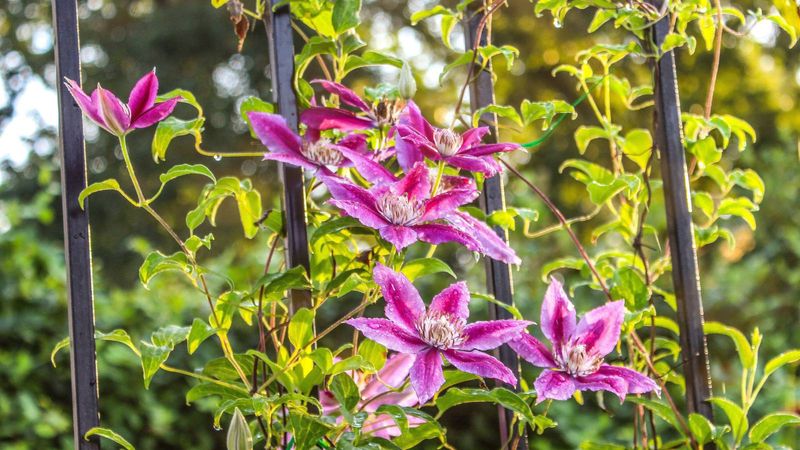
Pruning is one tool in a larger set, and a well-timed cut on a struggling plant will not produce the same results as the same cut on a healthy, well-sited one. Clematis generally perform best when the foliage receives plenty of direct sun while the roots stay cool, moist, and protected from temperature extremes.
That combination is worth working toward before attributing a disappointing bloom to pruning choices alone.
Oregon State University Extension’s guide to growing clematis highlights that clematis roots prefer moisture but are sensitive to poor drainage and winter-wet soil. A layer of mulch or a planting of shallow-rooted ground cover around the base of the vine can shade the root zone and help moderate soil temperature through summer.
Keep the mulch a few inches away from the main stems so it does not trap moisture against the crown, which can invite rot and disease.
Reliable support matters more than many gardeners expect. A vine that cannot find something to grip will bunch up, shade itself, and produce fewer well-exposed shoots.
Check that the trellis, fence, or arbor is secure and that the vine’s tendrils have something to latch onto as new growth extends. Tying in loose stems early in the season takes only a few minutes and prevents the tangling that makes later pruning more complicated.
Extra water is not a universal fix for a clematis that looks unhappy. Roots that sit in poorly drained or consistently waterlogged soil are under stress even when the top of the plant looks dry.
If a vine wilts despite regular watering, check the drainage around the root zone before adding more water. Bloom quantity ultimately reflects the whole growing picture: cultivar genetics, plant age, light, moisture balance, nutrition, and physical support all contribute alongside pruning.
Recognize when wilt signals a separate problem
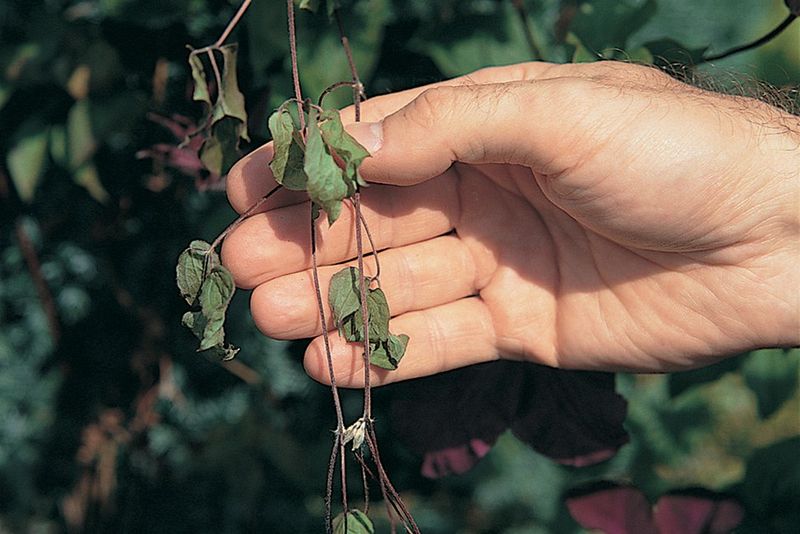
Sudden wilting in a clematis vine is alarming, especially when it appears on stems that looked healthy just days before. Before reaching for a watering can or a pruning saw, slow down and look more carefully at what the plant is showing you.
Clematis wilt is a disease syndrome, not a simple sign of thirst, and treating it as a water problem can make things worse.
Illinois Extension’s clematis fact sheet describes clematis wilt as a damaging disease that can cause rapid collapse of one or more stems, often accompanied by blackening at or near the base of the affected shoot. The recommended response is to cut the affected stems below the visibly diseased portion, remove the clippings from the garden entirely, and avoid leaving wounds on healthy stems that could serve as entry points for pathogens.
Not every wilt episode has the same cause or the same pathogen. A published disease note in Plant Disease journal identifies Calophoma clematidina as one documented cause of clematis leaf spot and wilt, while extension material uses the term more broadly for a damaging syndrome with varying presentations.
Fungicides may offer some preventive benefit but will not repair stems that are already infected and collapsing.
Good air circulation around the vine and avoiding excess moisture at the crown are practical steps that reduce the conditions wilt pathogens favor. Oregon State Extension notes that waterlogged roots create their own stress separate from foliar disease.
A vine that wilts in summer heat after a dry spell is in a different situation from one whose stems turn black at the base after wet weather. Look at the whole picture before deciding on a response, and when in doubt, contact your local cooperative extension office for a plant disease diagnosis.
Use the group as your final pruning rule
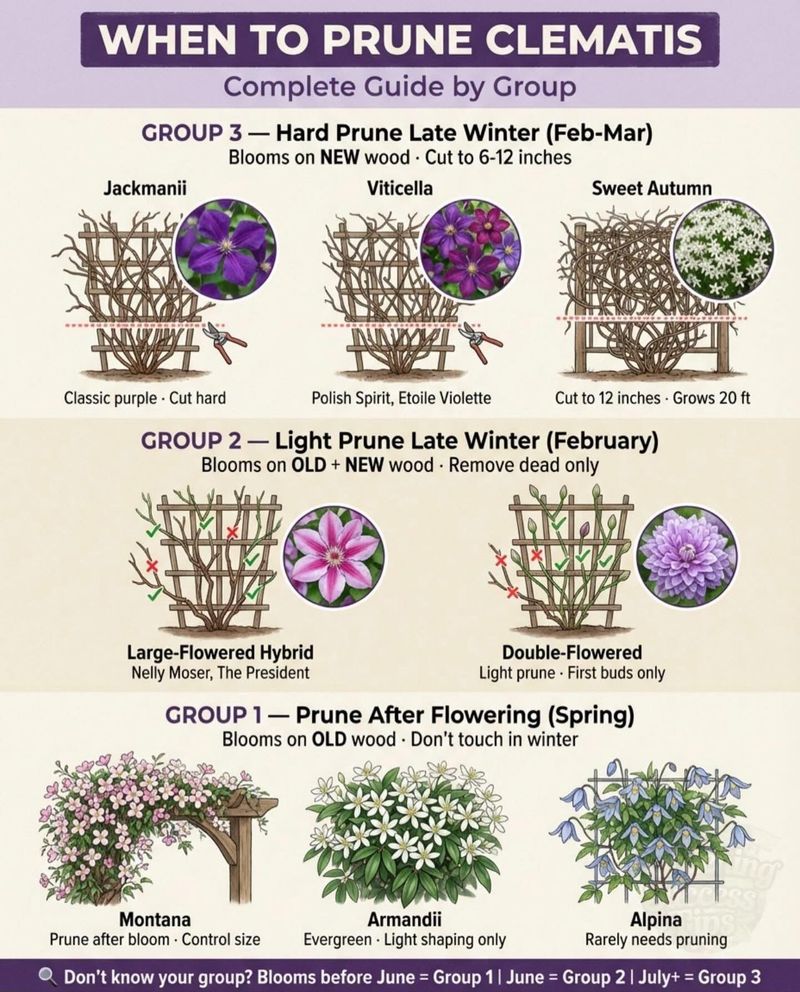
Every pruning decision for a clematis comes back to one starting question: which group does this plant belong to? From that answer, a clear sequence follows.
Protect the old wood on Group 1 and Group 2 plants by pruning only after bloom or making conservative cuts to strong buds. Clear away the previous season’s stems on Group 3 plants in late winter or early spring before new growth surges.
For any vine that shows questionable stems after winter, wait for live growth to appear before removing wood that might still be alive.
RHS guidance and University of Illinois Extension both emphasize that correct pruning can preserve flower buds, encourage useful new growth, and improve the vine’s overall structure and flowering potential. The final display will still reflect the cultivar’s genetics, the plant’s age, its light exposure, moisture balance, and general health, so pruning is a meaningful contribution rather than a complete solution.
When the group remains uncertain, consult the plant tag, search the cultivar name through a reliable extension service or horticultural database, or contact your local cooperative extension office. A vine that blooms reliably and looks healthy is a better teacher than any general rule: watch what it does across a full season before making any significant cuts.
A well-matched pruning approach, repeated consistently each year, tends to produce a cleaner, better-structured vine, and a vine in good shape gives every flower the best possible chance to open.