
If Your Clematis Sulks And Barely Blooms, Here Are 17 Easy Rescues That Bring The Vine Back To Life
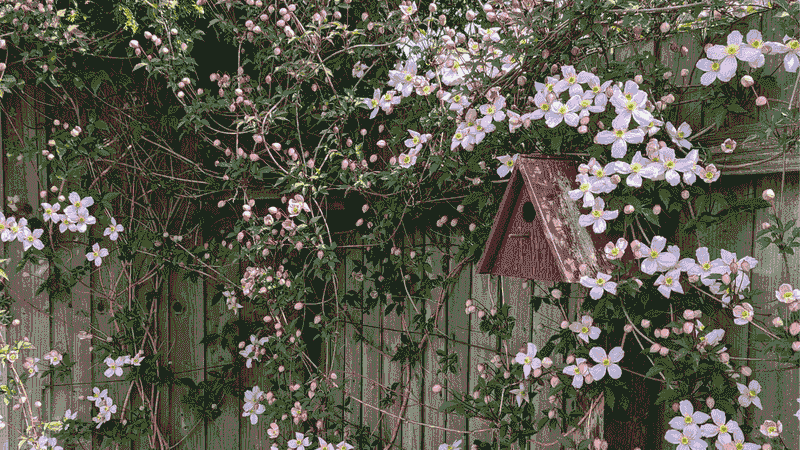
Your clematis was supposed to spill over the fence in a waterfall of flowers, but instead it just sits there looking sulky with barely a bloom in sight. The good news is that a shy clematis is almost never a lost cause, and most fixes are simple things you can do this weekend.
Below are 17 easy rescues that target the real reasons your vine is holding back. Pick the one that matches what you are seeing, and watch your clematis wake back up.
1. Ensure Adequate Sunlight Exposure
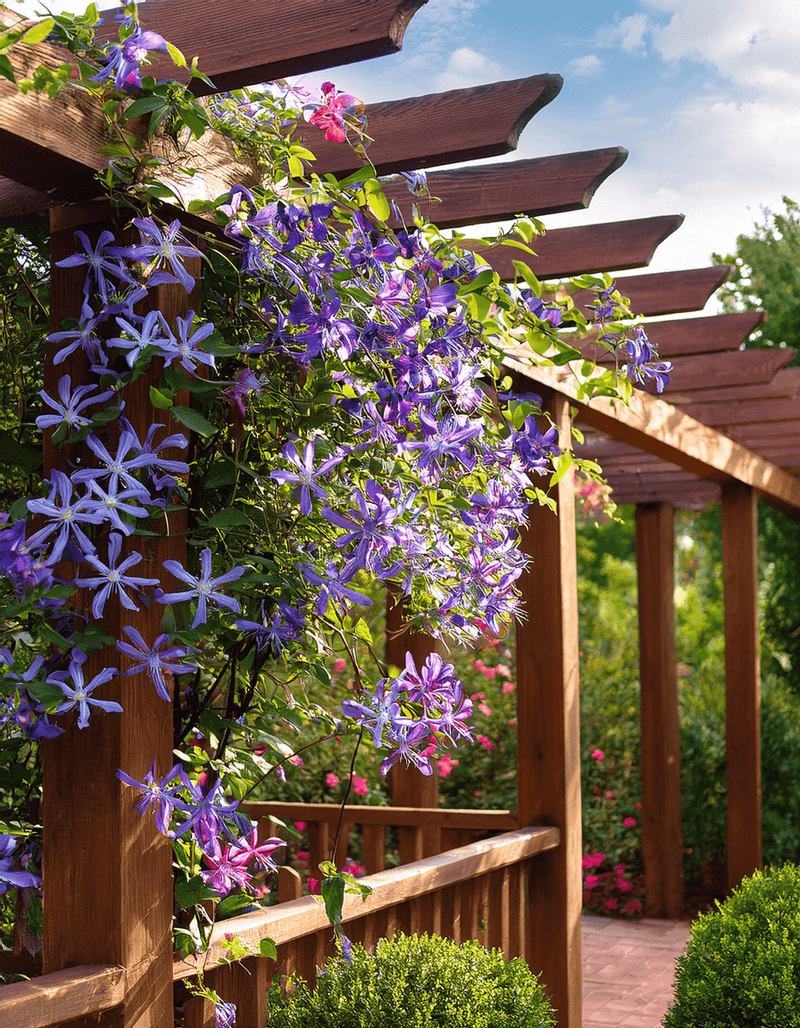
Sunlight is the fuel behind every clematis flower, and a vine sitting in too much shade will grow leaves happily while stubbornly refusing to bloom. Most varieties want at least six hours of direct sun a day, though a few forgiving types get by on four.
Walk out and watch your plant at a few different times of day. A tree that was small when you planted may now be throwing afternoon shade you never noticed.
If shade is the culprit, you can prune back overhanging branches or, in a worst case, move the vine to a sunnier spot in early spring. More light almost always translates into more buds.
2. Keep Clematis Roots Cool and Shaded
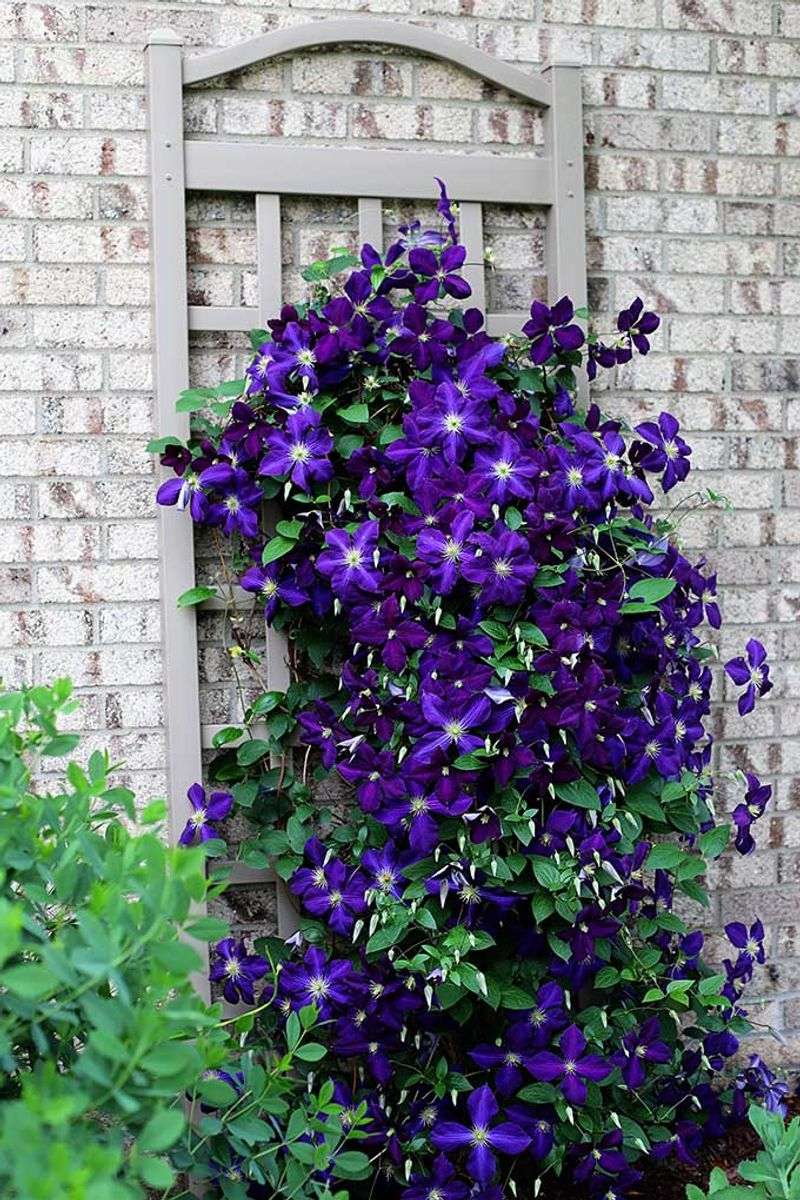
There is an old gardener’s saying that clematis likes its head in the sun and its feet in the shade, and it is spot on. Hot, baking roots stress the plant and can shut down flowering even when the top is drinking in plenty of light.
An easy trick is to tuck low perennials or a groundcover around the base so the soil stays cool and moist. A couple of inches of organic mulch like compost or leaf mold does the same job beautifully.
Just keep the mulch pulled back an inch from the stems so it doesn’t invite rot. Cool feet make for a happy, flowering vine.
3. Provide Well-Drained, Fertile Soil
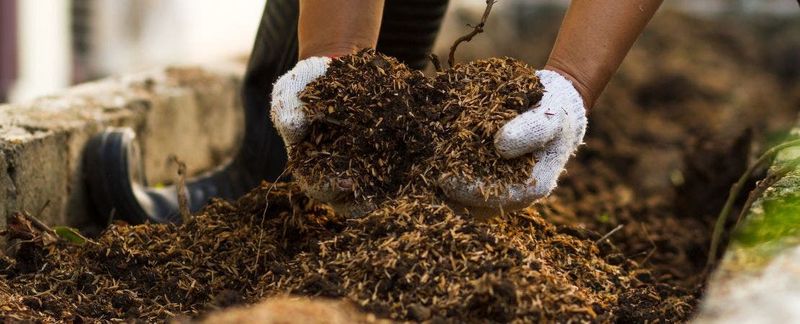
Clematis are hungry plants that reward you when their roots sit in rich, well-drained soil full of organic matter. Soggy clay or thin sandy dirt leaves them struggling, and a struggling clematis puts its energy into survival, not flowers.
Dig in a generous helping of compost or well-rotted manure before planting, or work it around an established vine each season.
Good drainage matters just as much as fertility. If water pools where your clematis grows, raising the bed or adding grit can keep the roots from suffocating and get those blooms flowing again.
4. Check and Adjust Soil pH
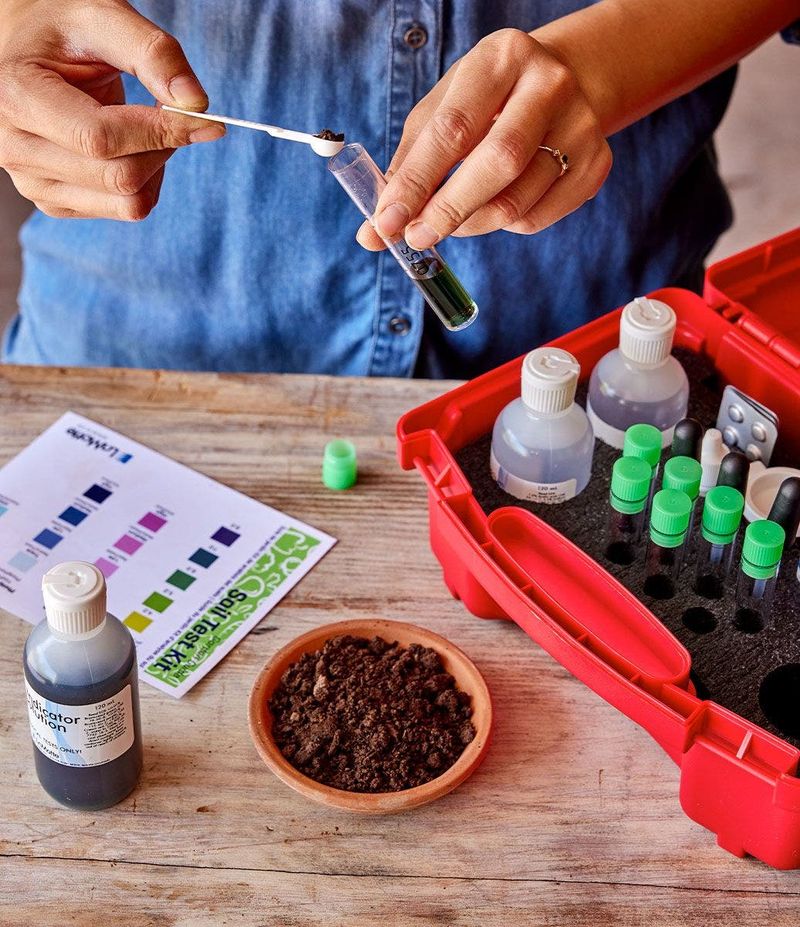
Sometimes the trouble hides right in the chemistry of your soil. Clematis prefers neutral to slightly alkaline ground, generally a pH somewhere around 5.5 to 7.0, and soil that drifts too acidic can quietly hold back blooms.
A cheap home test kit or a sample sent to your local extension office will tell you exactly where you stand. It only takes a few minutes and removes the guesswork.
If your reading comes back too acidic, a modest application of agricultural lime nudges it back into the sweet spot. Retest the following season so you don’t overdo it.
5. Water Deeply and Consistently
Thirsty roots are one of the most common reasons a clematis pouts. These vines want steady moisture, especially in their first year and during dry summer stretches when the ground bakes.
Water slowly and deeply so it soaks all the way down to the roots rather than just wetting the surface. About one inch a week keeps an established plant content, and you can check by feeling whether the top inch of soil has gone dry.
Newly planted clematis need extra attention, often two or three drinks a week for the first few weeks. Consistent watering is frequently the single fix that turns a bare vine into a blooming one.
6. Fertilize with the Right Balance of Nutrients
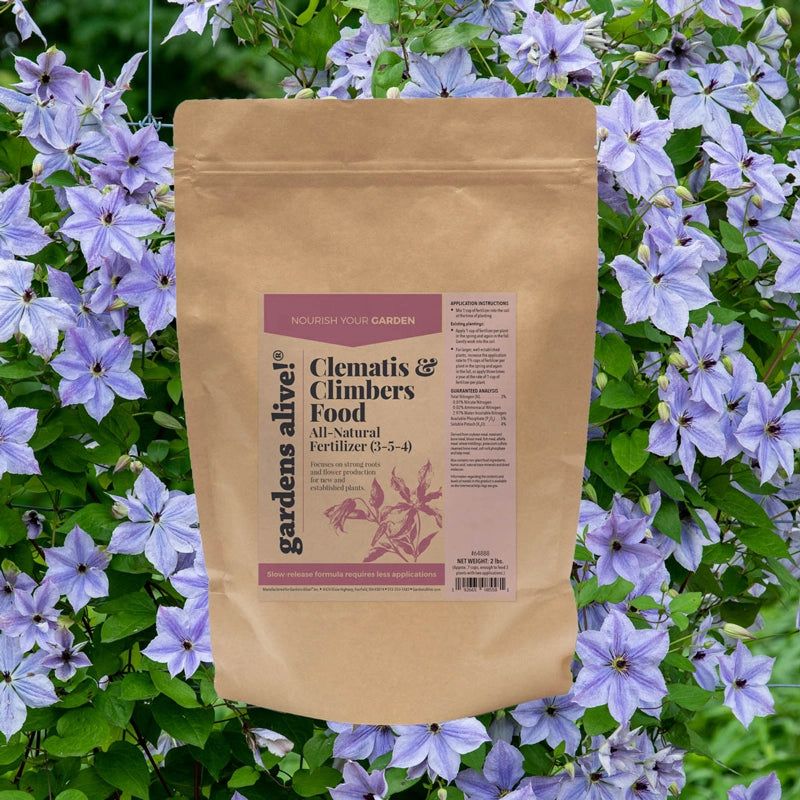
Here is a sneaky mistake: feeding your clematis too much nitrogen. All that nitrogen pushes out gorgeous leafy growth while the flowers go missing, leaving you with a green vine and empty promises.
In spring, once the buds stretch to about two inches long, reach for a low-nitrogen blend like a 5-10-10 or a rose and tomato food. The higher middle and last numbers encourage roots and blooms.
You can alternate with a balanced 10-10-10 liquid feed every four to six weeks through late summer. Feed for flowers, not foliage, and your vine will get the message.
7. Prune According to Your Clematis’s Group
Cutting at the wrong moment can snip off next season’s flowers before they ever open, and this trips up more gardeners than almost anything else. Clematis fall into three pruning groups, and knowing yours is the whole game.
Group I bloom early on old wood and need only light shaping right after they flower. Group II are the repeat bloomers on both old and new wood, so give them a gentle tidy in late winter and another trim after the first flush.
Group III bloom late on brand new wood and love a hard cutback to roughly 12 to 24 inches from the ground in late winter or early spring. Match your snips to your group and the blooms follow.
8. Rejuvenate Overgrown or Spindly Vines
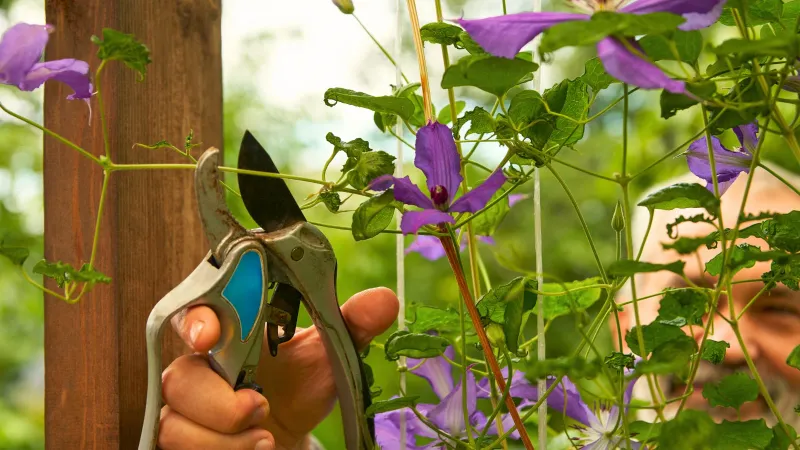
Ever notice your clematis blooming only way up top while the bottom looks like a tangle of bare sticks? Over time these vines can grow leggy, showing off their flowers where you can barely see them and leaving an ugly gap below.
The rescue is bolder than it sounds. Cut some canes back to different lengths so new growth sprouts at various heights and fills things in.
For a really tired plant, a hard renovation works wonders: cut every stem coming from the ground down to about five or six inches. It looks drastic, but it often triggers a rush of fresh vines from the root.
9. Provide Sturdy Climbing Support
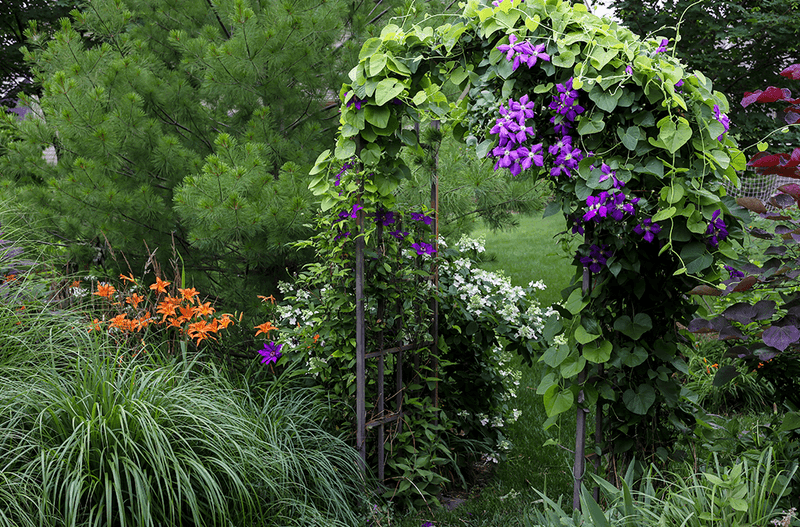
A clematis without something to grab is like a runner with nowhere to go. These are climbers by nature, and they need a solid structure to twist their way up before they will settle in and bloom well.
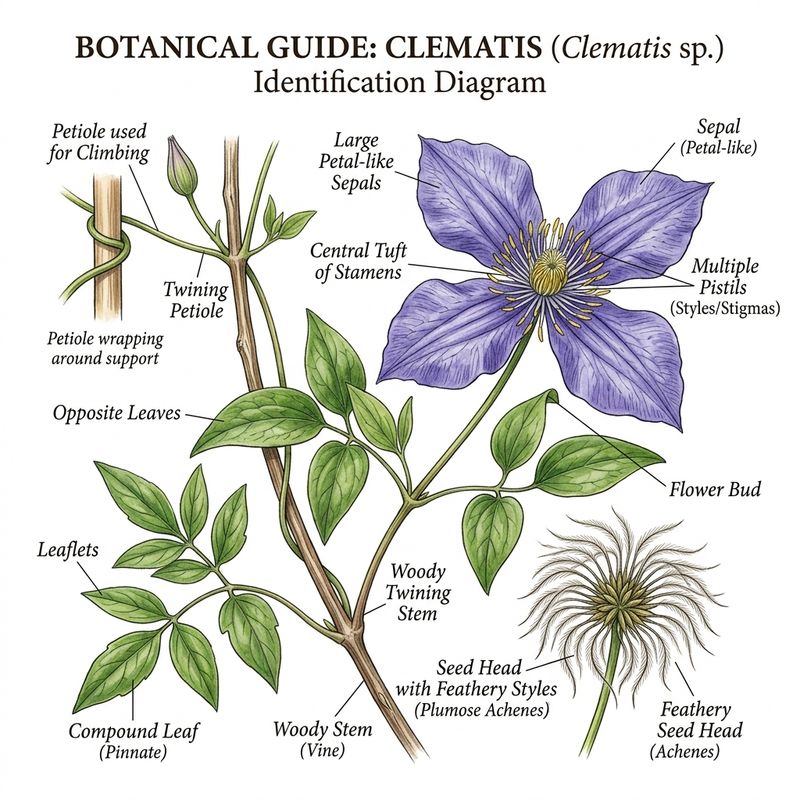
A trellis, arbor, fence, or even a rose bush all make fine hosts. The key detail people miss is that clematis climb with their leaf stems, so the support pieces need to be thin enough for those little petioles to wrap around.
Setting up the support before you plant is smart, since it saves you from disturbing the roots later. Give the vine a good grip and it will reward you by reaching for the sky.
10. Address Clematis Wilt Promptly
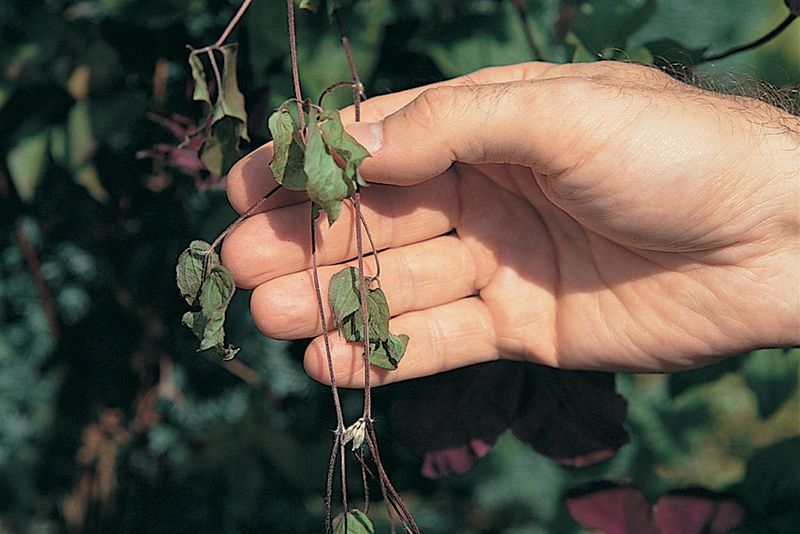
Few things are as alarming as walking out to find a healthy clematis suddenly collapsed overnight. That dramatic wilting with blackening stems is usually clematis wilt, a fungal disease that strikes fast and scary.
Do not panic, and do not give up on the plant. Cut out every affected stem back to healthy tissue, even below the soil line if you have to, and throw the trimmings in the trash rather than the compost pile.
Disinfect your pruners afterward so you don’t spread the fungus around. Many vines bounce right back from the roots once the sick growth is gone.
11. Manage Pests Affecting Foliage and Roots
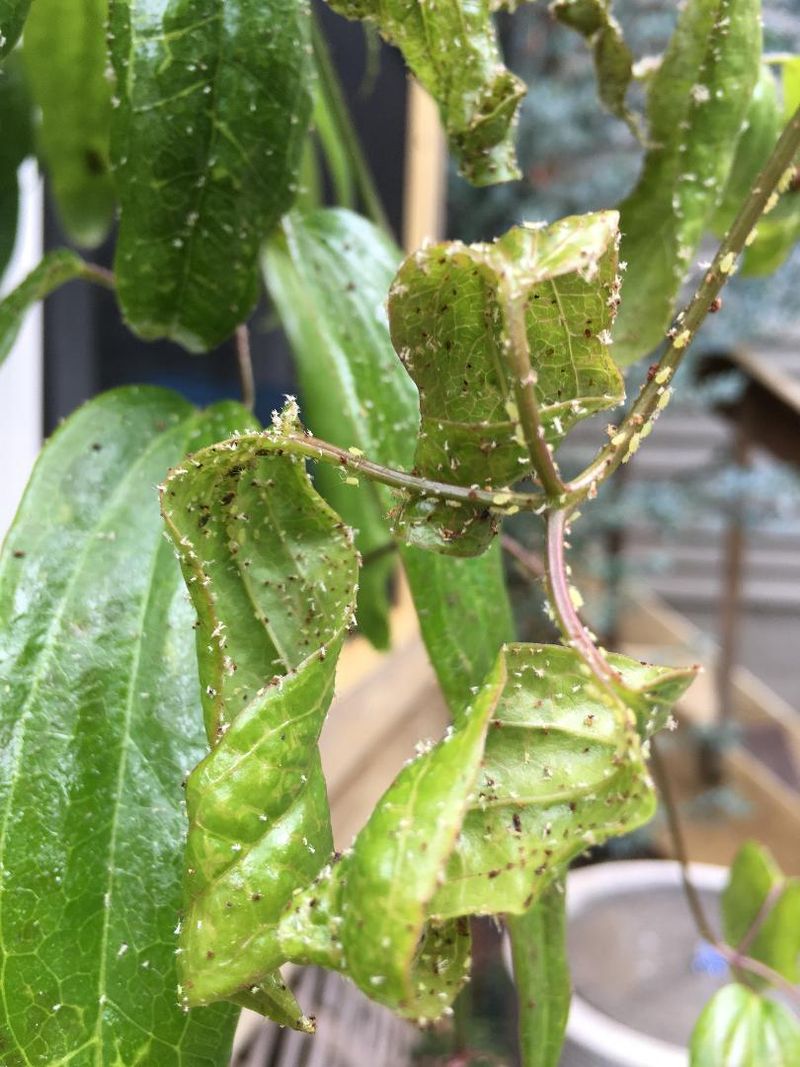
Little pests can chew away at your clematis until it simply doesn’t have the energy left to bloom. Slugs, snails, earwigs, capsid bugs, aphids, and spider mites all take their turn at the leaves and tender stems.
A regular blast of water from the hose can knock spider mites off and discourage them from settling in. For slugs and snails, old-fashioned hand picking in the evening still works surprisingly well.
Keep an eye on new growth, since that soft young foliage is where trouble usually starts. Catching pests early keeps damage minor and blooms on track.
12. Improve Air Circulation to Prevent Fungal Issues
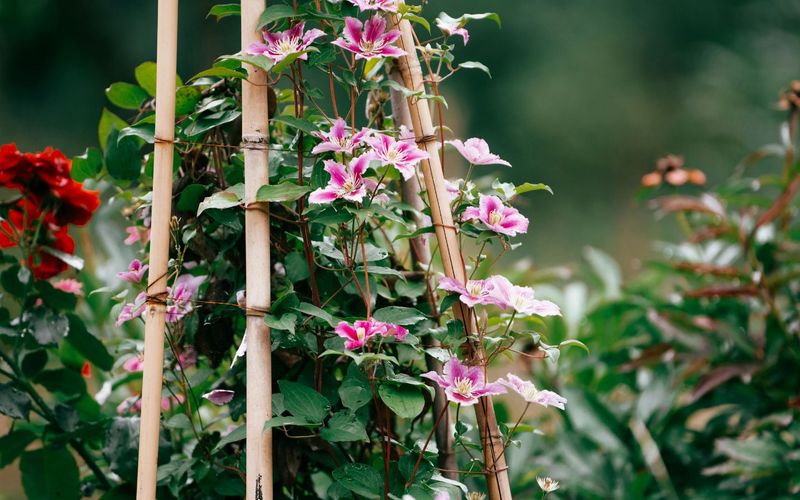
Crowded plants trap stale, damp air, and that is exactly the setting fungal troubles like powdery mildew love. If your clematis is jammed against other greenery, the lack of airflow may be working against its blooms.
Give each vine some breathing room. Space standard varieties about 12 to 18 inches apart, and stretch that to 24 to 36 inches for the vigorous, aggressive types.
Good circulation lets leaves dry quickly after rain or dew, which cuts down on disease. Sometimes better spacing is all it takes to keep a vine clean and covered in flowers.
13. Ensure Proper Planting Depth
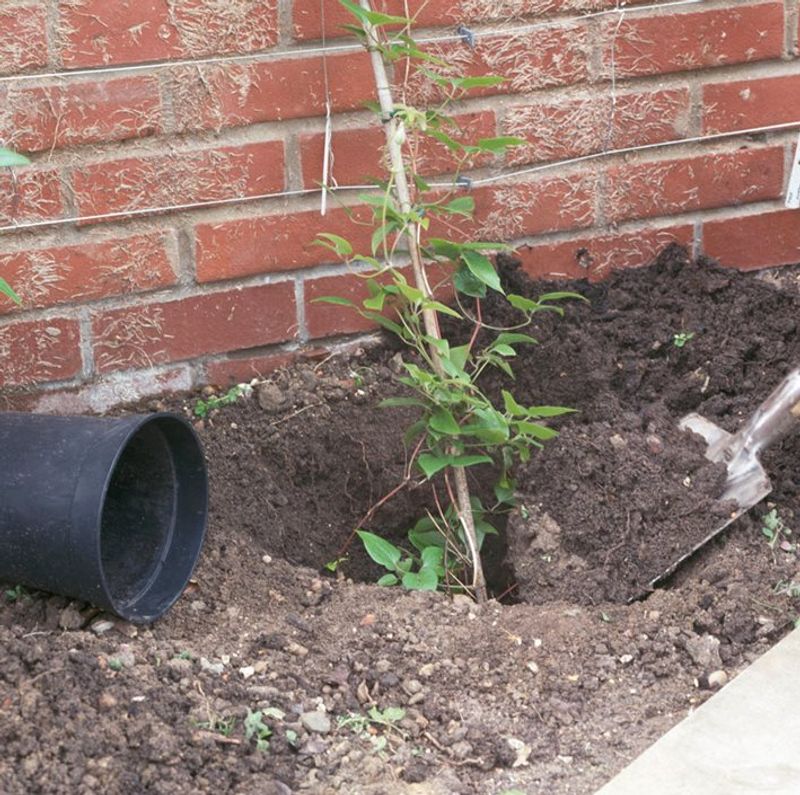
Planting depth is one of those quiet details that makes a huge difference for clematis, and it goes against what you would do with most other plants. Rather than keeping the crown at soil level, large-flowered hybrids do best buried a little deeper.
Set the crown, where the roots meet the stems, about two to three inches below the surface. That extra soil protects dormant buds tucked along the buried stem.
If clematis wilt ever knocks the plant back, those protected buds give it a reserve to resprout from. Plant deep and you build in insurance for future blooms.
14. Be Patient with Young Plants
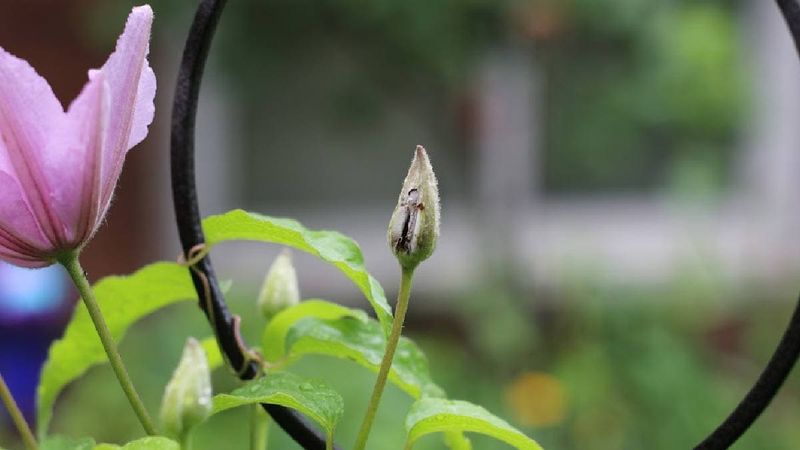
Sometimes the honest answer is that nothing is wrong at all. A young clematis often spends its first year or two building roots underground before it puts on any real show above.
Gardeners joke that clematis sleep the first year, creep the second, and leap the third, and there is truth in it. Those early seasons are quiet work you cannot see.
Keep watering, feeding, and caring for the vine even when it looks unimpressive. Give it time and a well-established clematis will eventually explode into the flowers you were hoping for.
15. Protect from Physical Damage
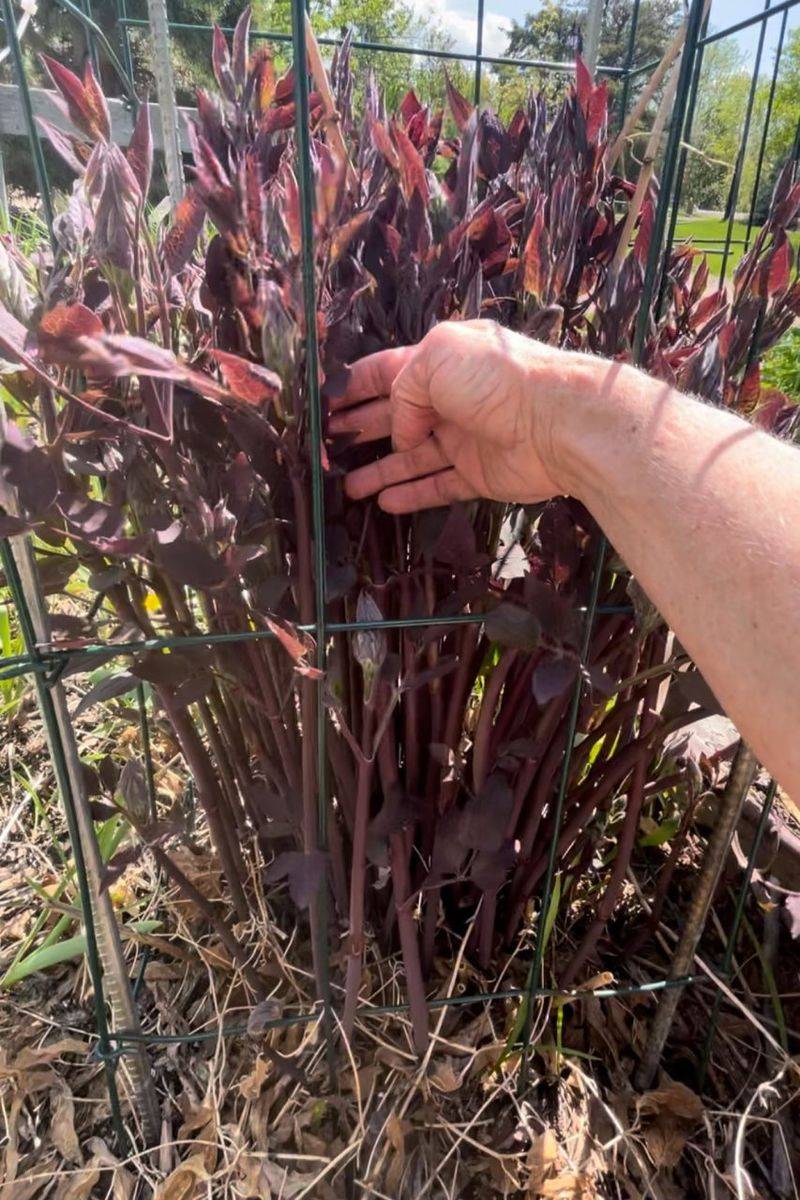
Clematis stems are famously brittle, snapping with barely a nudge when you are not paying attention. A broken cane means lost flowers, so gentle handling goes a long way.
Tie growth loosely to its support so gusty winds don’t whip and break the vines. Soft plant ties beat wire that can bite into the stems.
Don’t forget what happens underground either. Burrowing critters like moles and voles can tunnel through and disturb the roots, so protecting the base helps keep the whole plant steady and productive.
16. Control Powdery Mildew
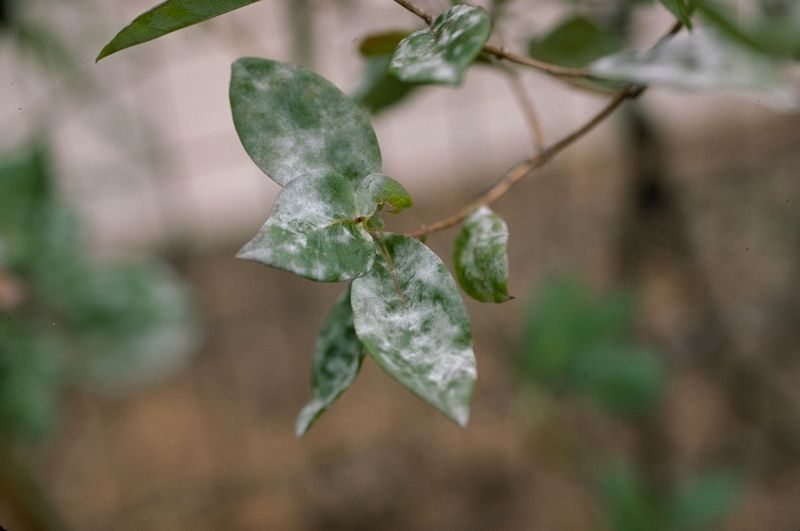
That grayish-white dusty film creeping over leaves, stems, and buds is powdery mildew, and it can sap a clematis of both looks and blooms. Once it shows up, it tends to come back unless you change a few habits.
Airflow is your first weapon, so make sure the vine isn’t crowded and stale. Watering at the base rather than over the top keeps foliage dry and far less inviting to the fungus.
For a light case, simply pluck off the affected leaves before it spreads. Stay ahead of it and your clematis keeps its clean, healthy glow.
17. Replenish Soil Organic Matter Annually
Think of clematis as guests with big appetites who come back to the table year after year. They are heavy feeders, and the fertile soil you started with slowly gets used up as the plant grows.
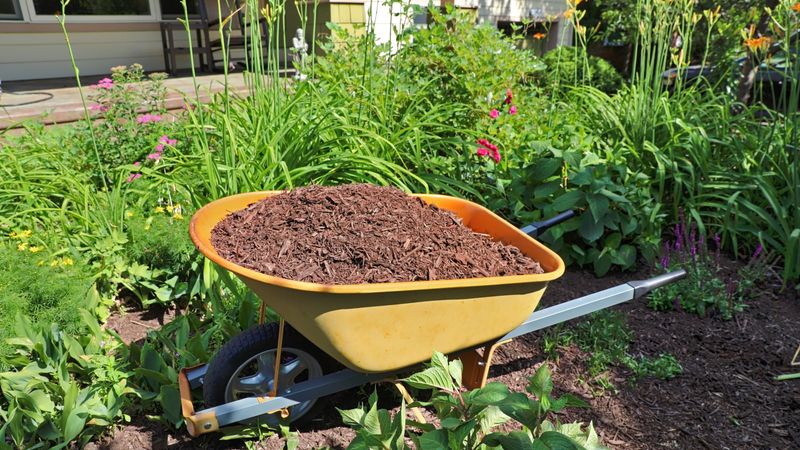
Topping off the soil each season keeps the pantry stocked. Work compost or well-rotted manure in at planting time, then mulch with fresh organic matter every year.
This yearly refresh maintains both the fertility and the structure of the soil around the roots. Steady nourishment underground shows up as steady flowering above, keeping your vine blooming season after season.