
If Your Fall Garlic Comes Up Thin And Weak Next Spring, Shallow Planting May Be Part Of The Problem
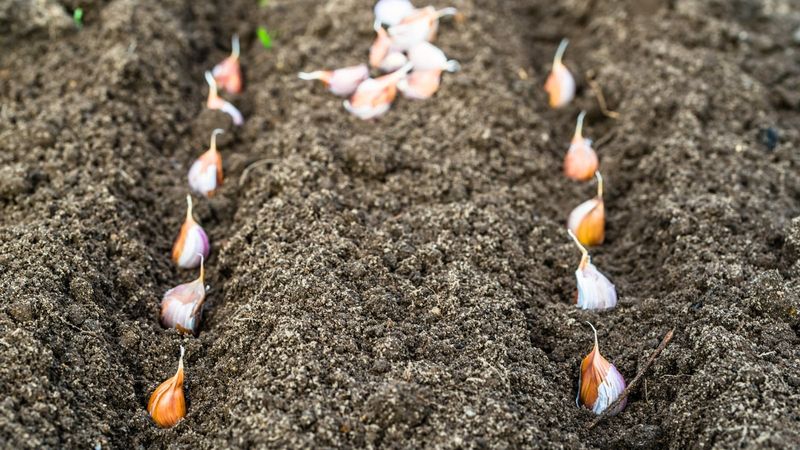
Planting garlic in fall is one of the most rewarding things a home gardener can do, but discovering thin, spindly stems poking up the following spring is genuinely discouraging. Shallow planting is a real culprit in some cases, but it is only one piece of a bigger puzzle. Getting the depth right, choosing healthy seed garlic, timing the planting to your region, and preparing the bed well are all part of what separates fat, flavorful bulbs from disappointing ones. August is the perfect moment to start making those decisions before the fall window opens.
Depth matters, but it is not the whole diagnosis
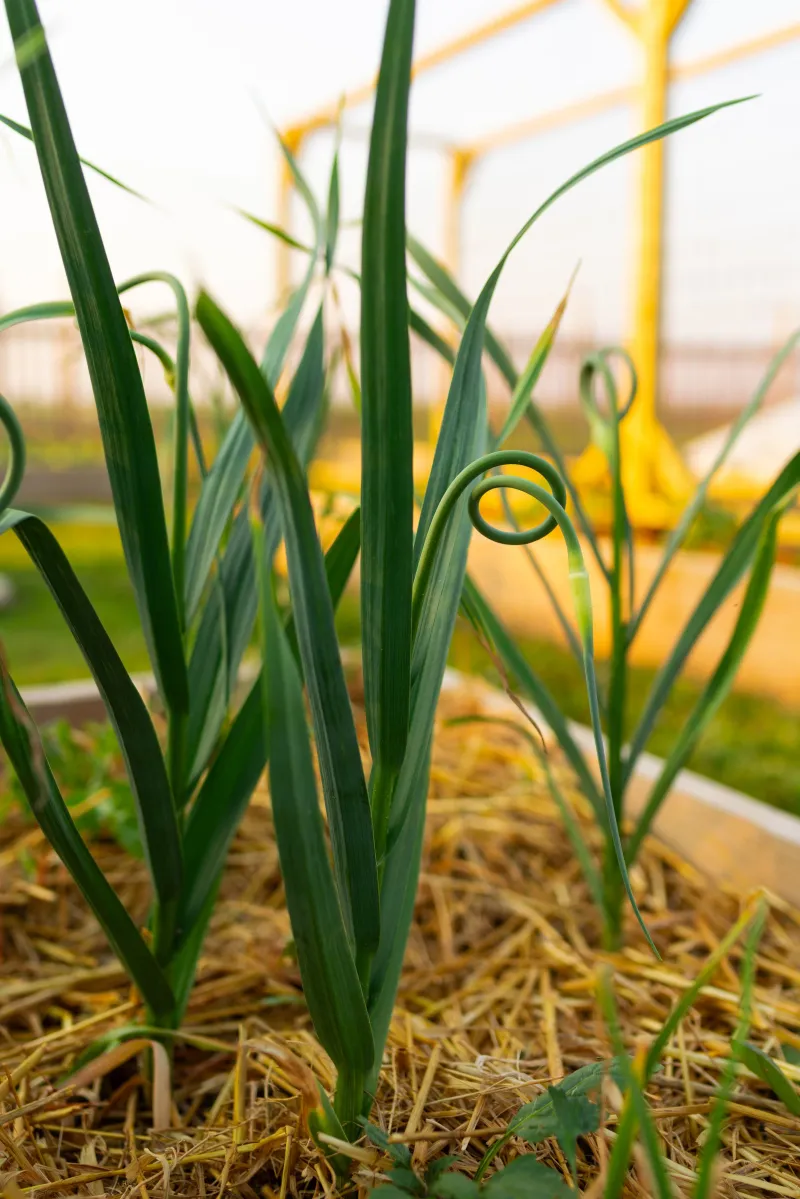
Shallow planting is a real problem, but calling it the guaranteed explanation for every case of thin, weak spring garlic is a stretch. When cloves sit too close to the soil surface, repeated freeze-thaw cycles can physically push them upward, a process called frost heaving. A heaved clove loses contact with the soil, its roots dry out, and it enters spring already stressed or dead.
That said, Cornell Small Farms guidance on common garlic planting mistakes makes clear that depth is just one of several controllable factors. A clove planted at a perfectly reasonable depth can still produce a weak stem if the seed clove was tiny to begin with, if drainage is poor, if a fungal pathogen took hold over winter, or if nitrogen ran short in early spring.
Poor drainage encourages bulb rots. Dense weed competition robs garlic of light and nutrients right when it needs them most in spring. Crowded spacing means each plant fights its neighbors for resources. An unsuitable variety for your climate can result in plants that simply never thrive.
University of Minnesota Extension’s garlic thin-stem diagnosis tool lists nitrogen deficiency and Penicillium decay among the documented causes of thin stems and small bulbs, alongside frost heaving.
Planting depth is an important, controllable decision and one worth getting right. However, treating it as the single explanation closes off the investigation too early. The sections that follow cover the full picture, starting with when to act and what depth actually means.
Early August starts the fall garlic plan
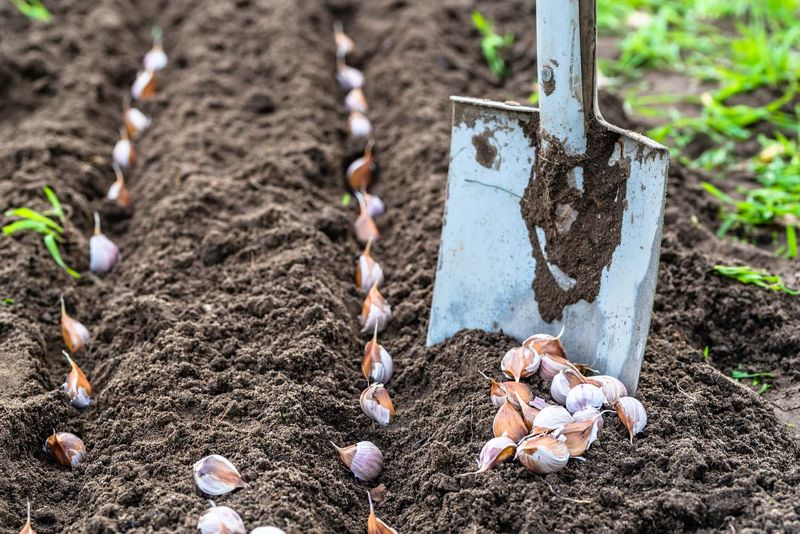
August feels early for fall planting, and for most of the country it genuinely is too early to put cloves in the ground. What it is not too early for is planning, ordering, and bed assessment. Seed garlic from reputable suppliers sells out quickly each summer, and the best variety selection disappears first.
Iowa State University Extension’s home garlic guide explains that fall planting allows garlic to develop a strong root system before the ground freezes, which supports healthier spring growth and better bulbing. That root establishment window is exactly what makes timing so important. Plant too early and the cloves may push up excessive top growth before cold sets in, making them more vulnerable to winter damage. Plant too late and the roots never get established.
Most northern and central U.S. gardens aim for a planting window roughly 4 to 6 weeks before the ground freezes hard, often October into November depending on location. South Dakota State University Extension’s garlic planting guide notes that timing varies by region and that late planting can prevent adequate root establishment. Some southeastern areas, by contrast, plant as early as August or September because their winters are milder and the soil cools later.
University of Illinois Extension points out that fall planting generally produces larger bulbs than spring planting in most U.S. regions because garlic benefits from a cold period that triggers bulbing. Use August to identify your local frost dates, choose a variety suited to your climate, and get your seed garlic ordered so the planting window does not catch you unprepared.
Measure soil cover over the clove
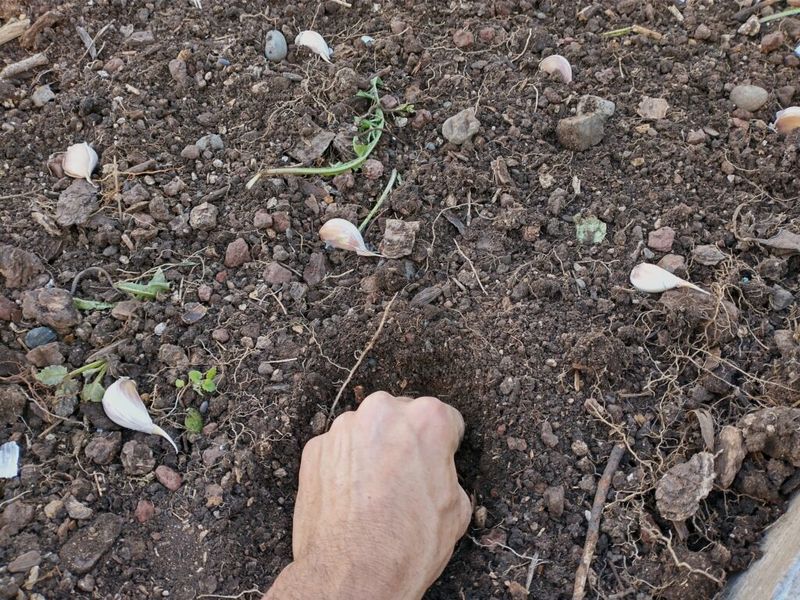
The phrase “planting depth” causes more confusion than it should, because gardeners use it to mean different things. For garlic, the number that matters most is how much soil sits above the top of the clove, not the total depth of the hole or the thickness of the mulch added later. Those are three separate measurements, and conflating them leads to cloves that are either too exposed or buried so deep they struggle to push through.
A practical starting point for many home gardens is roughly 2 inches of soil covering the top of the clove. Washington State University Extension’s home garlic guide supports this as a general home-garden target. In colder or more exposed beds, 2 to 3 inches of soil cover provides better insurance against frost heaving. In some milder climates or commercial production systems, 1 to 1.5 inches is the working recommendation.
University of Minnesota Extension recommends planting with the pointed end up and covering with 2 to 3 inches of soil in their northern climate context, while Penn State Extension’s garlic production resource acknowledges that regional recommendations vary from roughly 1 inch to 4 inches depending on conditions. There is no single depth that fits every U.S. garden.
One point that trips up many gardeners: deeper is not automatically better. The Southeast U.S. Vegetable Crop Handbook notes that excessive planting depth can delay emergence and may interfere with bulb swelling as the season progresses. The goal is enough soil cover to anchor the clove through winter and prevent heaving, without burying it so deep that emergence is sluggish and bulb expansion is constrained.
Factor in your local climate, how exposed your bed is, and how much mulch you plan to apply before settling on a target depth.
Plant each clove to emerge in the right position
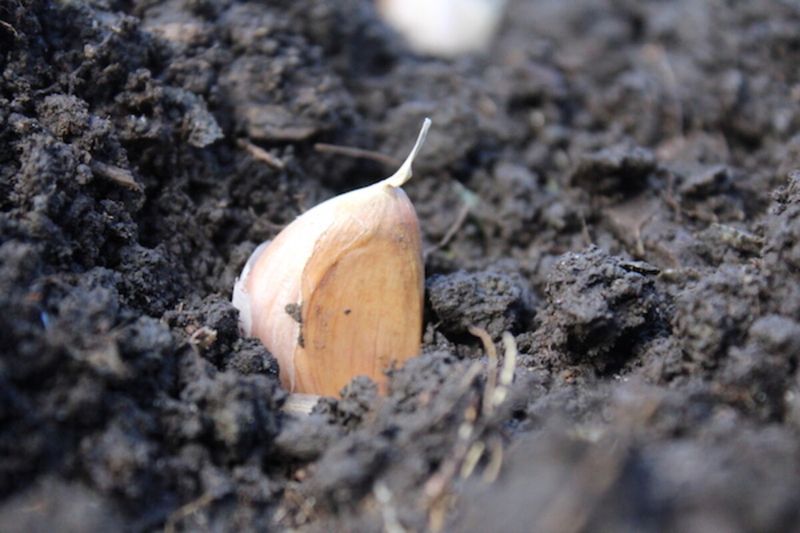
Knowing the right depth is only useful if the clove actually goes in correctly. Start by separating the bulb into individual cloves no more than a day or two before planting. University of Illinois Extension advises keeping the papery skin on each clove and leaving the basal plate, the firm flat base where roots will emerge, fully intact. Peeling cloves or damaging the basal plate increases the risk of rot and fungal problems before roots even get established.
Orientation matters more than many gardeners expect. Washington State University Extension is direct on this point: place each clove with the pointed growing tip facing up and the flat basal plate facing down. An upside-down clove can still eventually right itself, but it wastes energy doing so, and in production settings especially, incorrect orientation is associated with crooked or poorly positioned plants.
Set the clove at the bottom of the hole so that, once you fill in the soil, the top of the clove is covered by your target depth, whether that is 2 inches, 2.5 inches, or whatever your regional conditions call for. University of Minnesota Extension recommends firming the soil gently after planting to eliminate large air pockets, which can dry out roots before they get established. After that, the soil surface is ready for mulch, which goes on top as a separate protective layer and is not counted as part of the soil cover measurement.
Use mulch as a second layer of winter protection
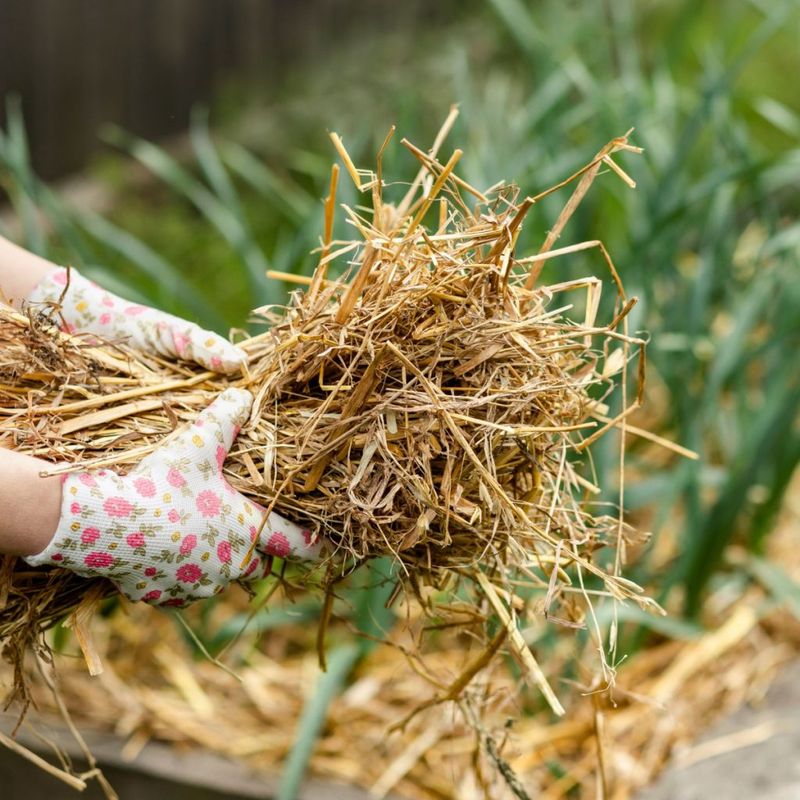
Mulch does a lot of work for overwintering garlic, but it cannot substitute for appropriate soil cover. Think of the two as partners: soil depth anchors the clove and insulates it from the ground up, while mulch moderates temperature swings from above. Together they create a more stable environment around the clove through the cold months.
University of Minnesota Extension recommends applying straw or chopped leaf mulch after planting to moderate soil temperature, reduce frost heaving, conserve moisture, and suppress early weed growth. Their guidance for northern gardens calls for roughly 4 to 6 inches of straw, while some sources in colder or more exposed areas suggest up to 6 to 8 inches. In milder climates with less freeze-thaw activity, a lighter application in the 3 to 4 inch range is often enough.
The reason climate context matters so much is that the same soil depth behaves very differently depending on exposure. A clove covered by 2 inches of soil in a sheltered raised bed with a mild-winter microclimate faces far less stress than an identical clove in an open, north-facing in-ground bed that cycles through repeated hard freezes and thaws. Cornell Small Farms points out that freeze-thaw cycles are a primary driver of frost heaving, which is the physical upward displacement of cloves that breaks root contact and exposes them to drying and cold injury.
University of Maine Extension’s garlic guide recommends mulching after planting and notes that mulch helps prevent heaving and moderates the soil environment through winter. Pull mulch back slightly in early spring as shoots emerge to avoid trapping excess moisture against the new growth, but leave some in place to continue suppressing weeds as the season gets going.
Build bulb potential with the rest of the fall setup
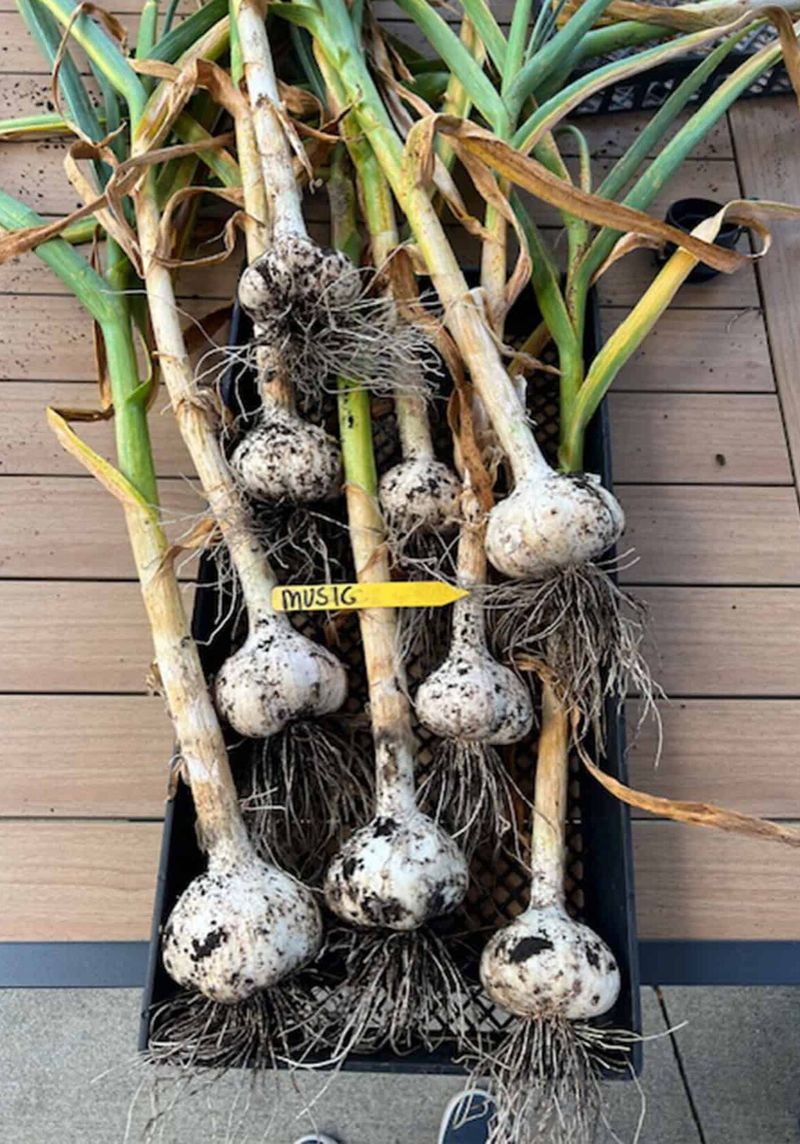
Getting the depth right is one piece of the fall setup, but several other decisions made at planting time have a direct effect on how the crop performs next summer. Starting with quality seed garlic is probably the single most underrated step. University of Illinois Extension notes that larger planting cloves generally produce stronger plants and larger harvested bulbs. Choose the biggest, healthiest cloves from clean, disease-free seed garlic sourced from a reputable supplier.
Grocery-store garlic may sprout, but it can carry disease, may be treated with sprout inhibitors, or may be poorly adapted to your region.
Spacing affects bulb size more than many gardeners realize. University of Maine Extension recommends roughly 4 to 6 inches between cloves, with wider spacing often associated with larger bulbs when water and fertility are adequate. Crowding forces plants to compete for the same resources at the exact moment when bulbing energy should be going into the clove, not into competing with a neighbor six inches away.
Soil quality matters too. Penn State Extension emphasizes that garlic performs best in full sun with fertile, well-drained soil. Compacted or waterlogged ground restricts root development and invites the bulb rots that can wipe out an otherwise well-planted crop. If your bed tends to stay wet, consider a raised bed or improve drainage before planting.
On fertility, a soil test is a better guide than automatic heavy feeding. University of Minnesota Extension recommends testing and then adjusting based on results, since over-applying nitrogen can push leafy growth at the expense of bulb development. Consistent weed control from fall through spring is also essential. Garlic competes poorly with weeds, and a weedy bed can reduce bulb size even when every other factor is managed well.
Troubleshoot spring weakness without blaming depth automatically
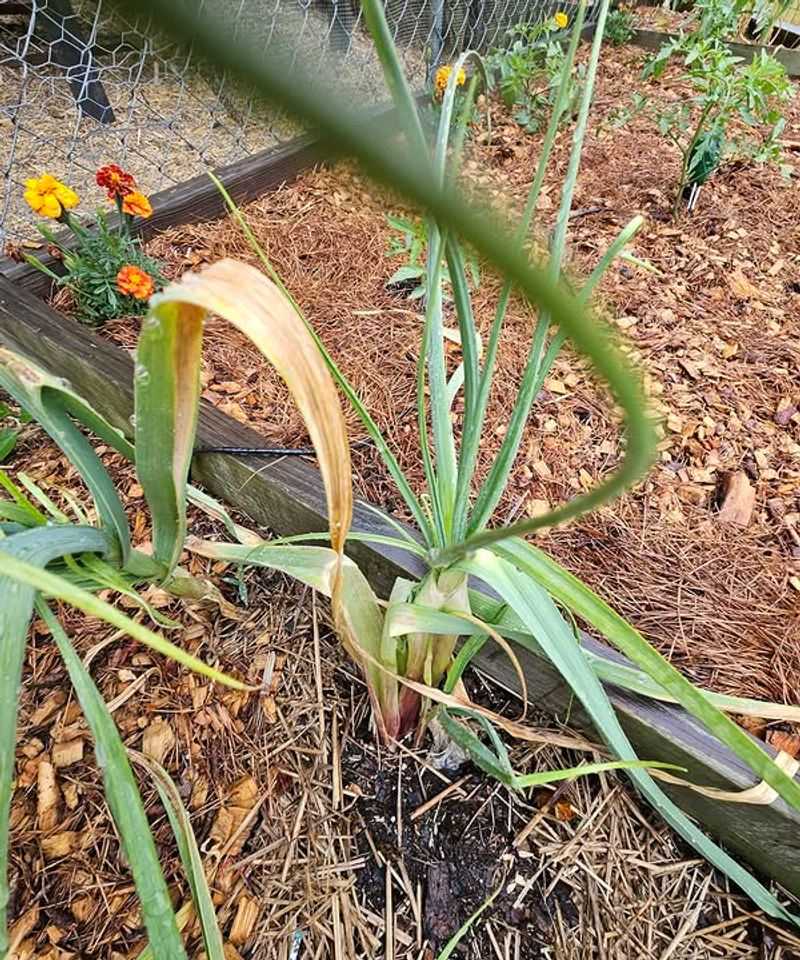
When garlic comes up thin and weak in spring, the first instinct is often to blame last fall’s planting. Sometimes that instinct is right, but a careful look at the plant and the bed usually tells a more complete story. Start by checking whether any cloves were physically heaved up by frost. If you find cloves sitting at or above the soil surface with dried-out roots, shallow planting combined with inadequate mulch is likely a contributor, and replanting or pressing them back down gently while adding mulch may help the survivors.
University of Minnesota Extension’s garlic diagnosis tool documents nitrogen deficiency and Penicillium decay as specific causes of thin stems, separate from depth issues. If the soil is showing yellowing from the tips down, nitrogen is a reasonable suspect. If cloves are soft, discolored, or smell off at the base, a rot pathogen may have moved in over winter.
University of Maine Extension lists mites, maggots, and Fusarium as documented causes of poor emergence or distorted growth, all of which look similar to depth-related problems from a distance. Penn State Extension notes that variety choice also plays a role, since hardneck types are generally better suited to cold climates while softneck types tend to perform better in milder regions.
One important distinction worth keeping clear: if bulbs turn out undersized at harvest, harvesting before the leaves are adequately dried down can be a factor in that outcome. However, premature harvest cannot cause stems to have been thin earlier in spring. Those are two separate problems with separate causes. Illinois Extension recommends recording your planting details each year, including depth, mulch thickness, spacing, seed source, and planting date, so that comparing seasons becomes a practical diagnostic tool rather than guesswork.
Choose a protected depth for your region
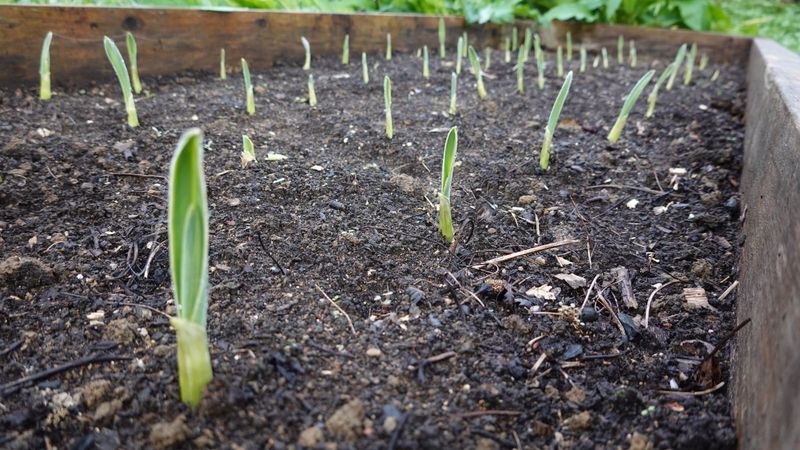
A workable fall checklist pulls everything together into a sequence you can actually follow. Use August to research local planting windows, order seed garlic, and get your bed cleared and amended based on a soil test if possible. When your local timing arrives, plant cloves pointy side up with roughly 1 to 3 inches of soil covering the top of each clove, adjusting toward the lower end for mild or sheltered conditions and toward the higher end for cold, exposed, or freeze-thaw-prone beds.
After planting, add a mulch layer appropriate to your climate, typically 3 to 4 inches in milder areas and up to 6 to 8 inches where winters are severe. Manage drainage, maintain 4 to 6 inch spacing, use the largest cloves from clean seed stock, and commit to weed control from fall through harvest. University of Minnesota Extension and Penn State Extension both frame these as the core variables that determine whether a fall-planted crop reaches its potential the following summer.
Shallow planting is a genuine risk worth avoiding, but it is one variable among many. Getting the depth right this fall improves your odds considerably. The gardener who also manages soil health, seed quality, spacing, and winter protection is the one who pulls up fat bulbs in July.