
If Your Spider Plant’s Leaf Tips Keep Browning Indoors, Here Are 12 Fixes That Bring Back Clean Green Growth
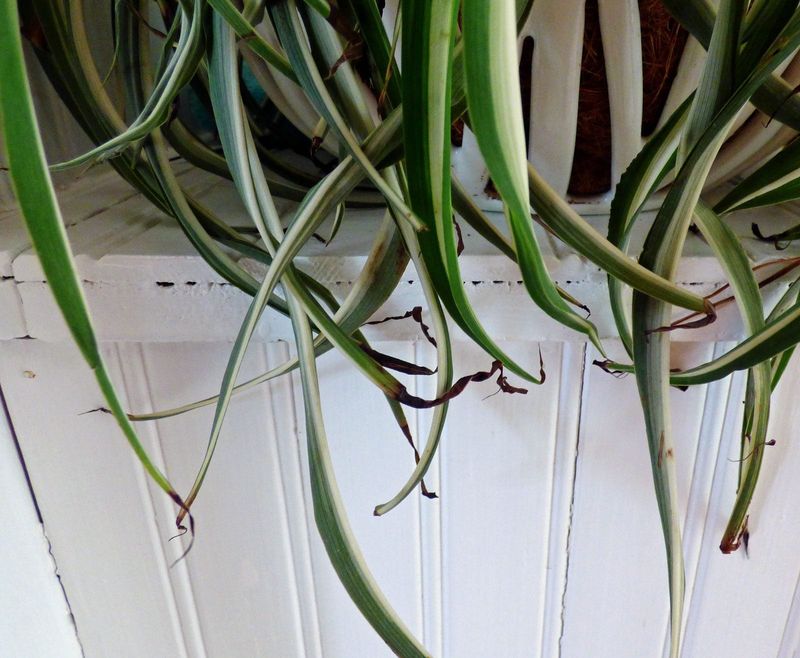
Few things worry a plant lover more than seeing crispy brown tips creep across a once-lush spider plant. The good news is that browning tips almost always point to something simple you can fix at home.
Spider plants are tough, forgiving houseplants, and small changes to how you water, light, and feed them make a big difference. Here are 12 practical fixes to get your plant back to clean, healthy green growth.
1. Adjust Your Watering Schedule
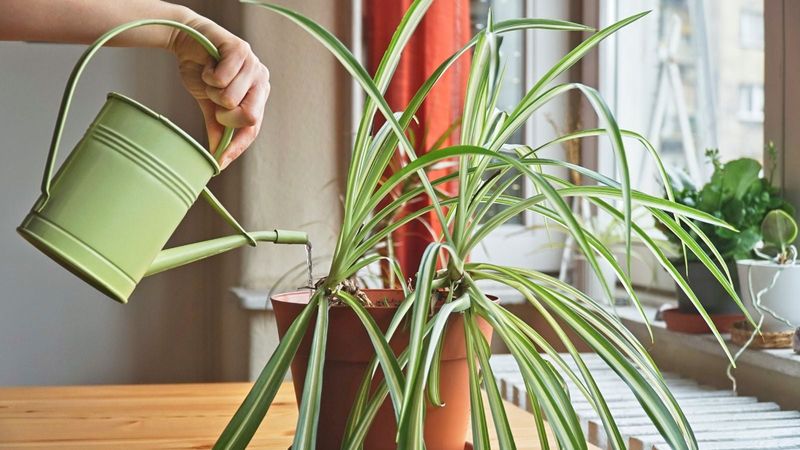
More spider plants get brown tips from watering mistakes than from anything else. Both too much and too little water leave the same crispy calling card on the leaf edges.
The trick is consistency. Stick your finger into the pot and water only when the top 1 to 2 inches of soil feel dry, then soak it until moisture runs freely.
Skip the two extremes that cause trouble. Never let the soil turn bone dry for days, and never leave the pot sitting in a saucer of standing water where roots stay soggy.
2. Improve Humidity Levels
Dry indoor air is a sneaky troublemaker, especially in winter when heaters run and moisture disappears fast. Spider plants prefer a comfortable 50 to 60 percent humidity, and anything drier can leave tips looking parched.
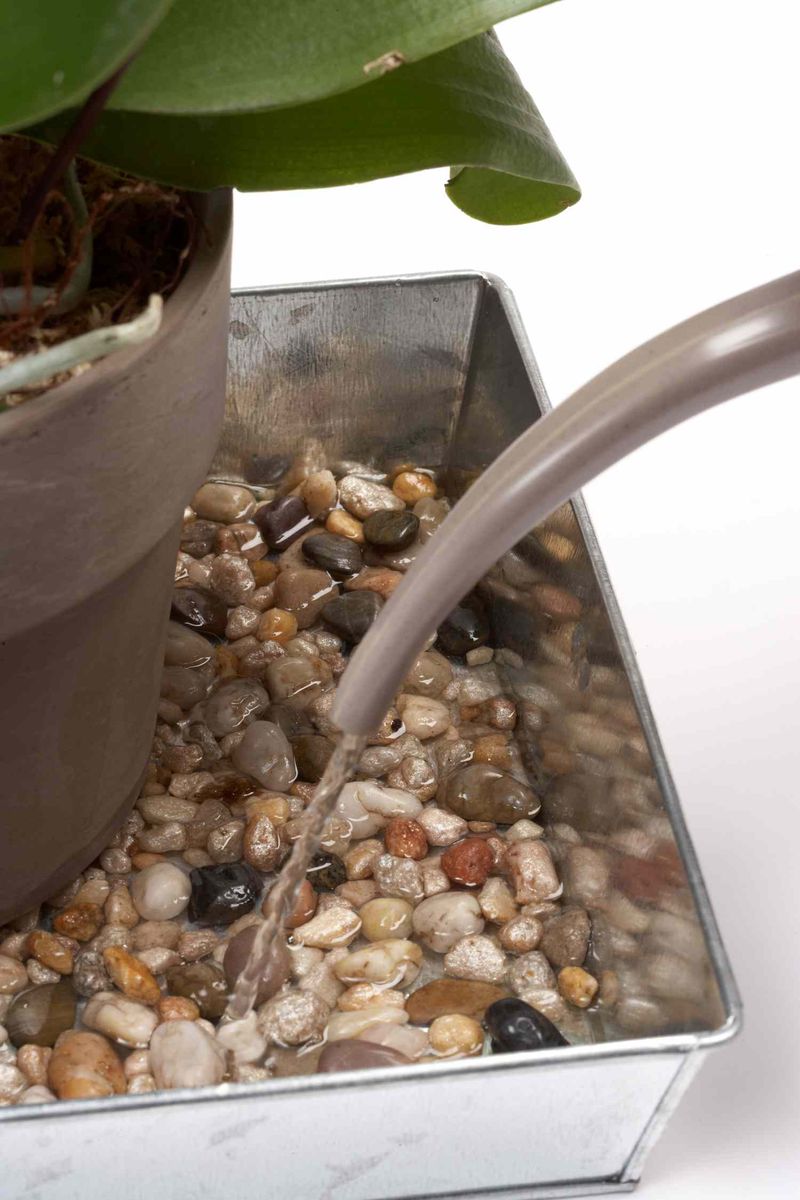
Raising humidity is easy and cheap. Mist the leaves a few times a week, set the pot on a pebble tray filled with water, or cluster it with other houseplants so they share moisture.
If your home stays especially dry, a small room humidifier can do the heavy lifting and keep several plants happy at once.
3. Use Better Quality Water
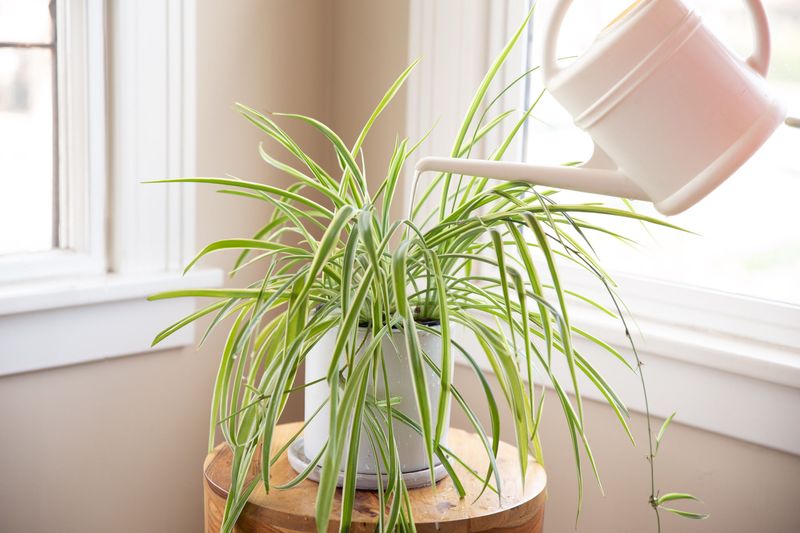
Your tap water might be the hidden culprit behind those stubborn brown tips. Many municipal supplies carry chlorine, salts, minerals, and fluoride, and spider plants are famously touchy about fluoride in particular.
Over time these chemicals build up in the soil and burn the delicate leaf edges. Switching to distilled water, collected rainwater, or filtered water can stop the damage cold.
If tap water is all you have, letting it sit out overnight helps chlorine evaporate. Keep in mind, though, that trick does nothing to remove fluoride, so filtered water is still the safer bet.
4. Flush Out Mineral Buildup
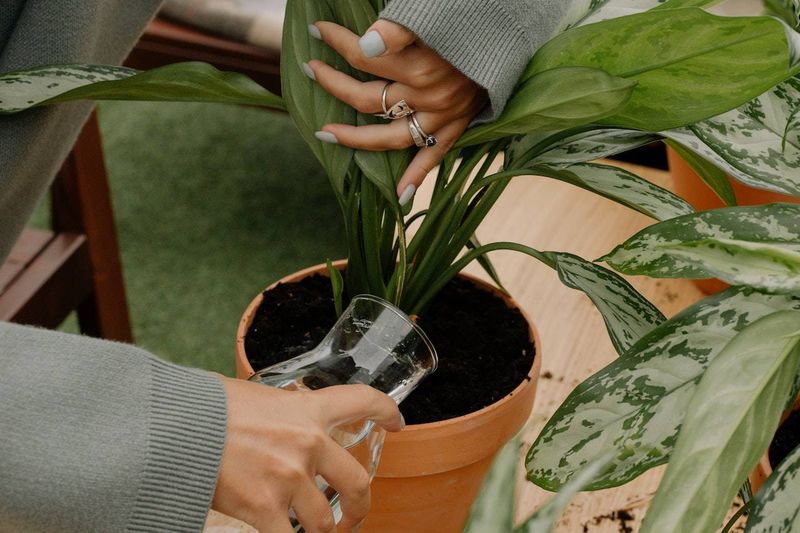
Even careful gardeners end up with salt and mineral deposits piling up in the soil after months of watering and feeding. That buildup slowly poisons the leaf tips no matter how well you do everything else.
A good flush clears it out. Carry the plant to a sink and run clean, fluoride-free water through the soil until it pours steadily from the drainage holes.
Doing this every couple of months washes away accumulated salts and leftover fertilizer, giving the roots a fresh start and the leaves a chance to stay green.
5. Fertilize Sparingly and Correctly
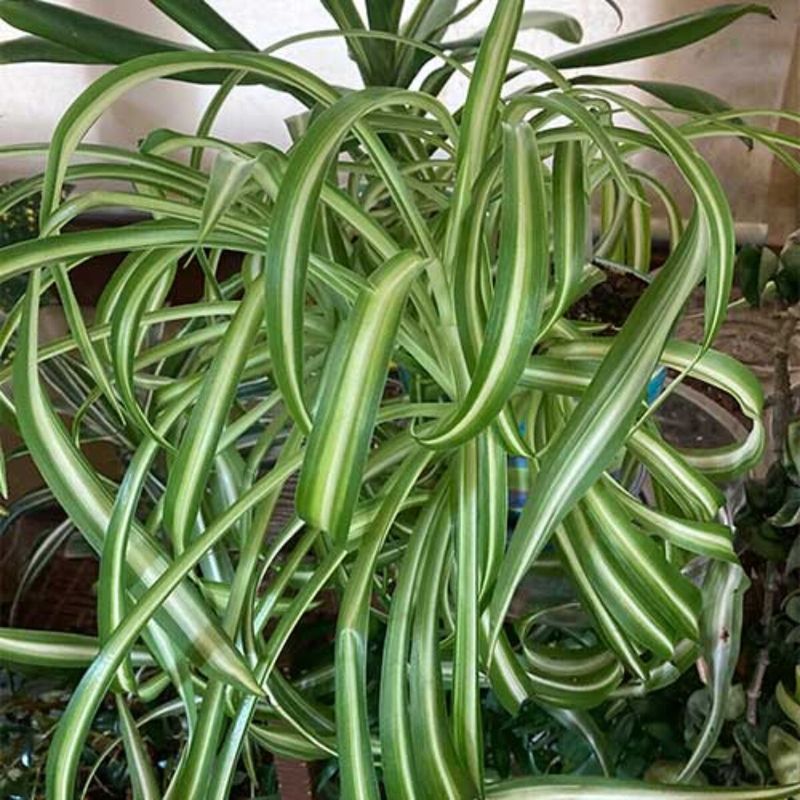
It feels helpful to feed a struggling plant, but too much fertilizer often makes brown tips worse. Excess nutrients turn into salt that scorches the roots and edges.
Spider plants are light eaters. Feed them once every one to three months during spring and summer using a balanced, water-soluble fertilizer diluted to half strength.
When growth slows in fall and winter, ease off almost completely. Your plant is resting then and simply doesn’t need the extra push.
6. Provide Bright, Indirect Light
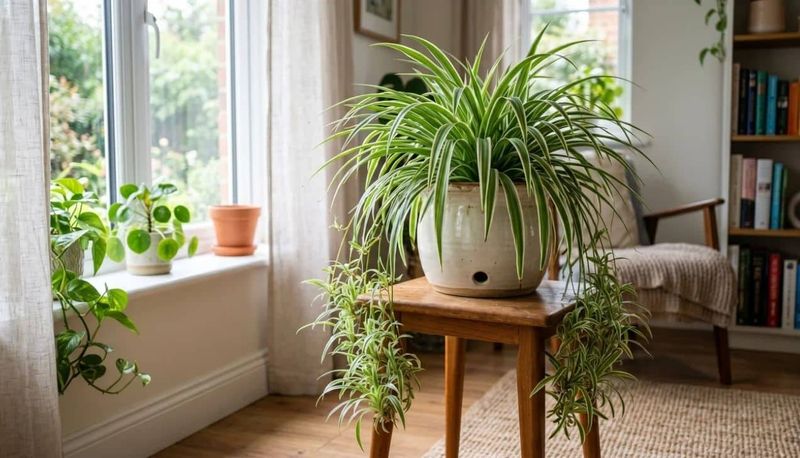
Picture a spider plant baking in a hot south-facing window and you can almost see the leaf tips crisping. Direct sun scorches those slender leaves surprisingly quickly.
What they crave instead is bright, indirect light. A spot near a north or east-facing window gives them plenty of glow without the harsh midday blast.
If your only bright spot gets some direct sun, keep a closer eye on watering, since the soil there dries out faster and the plant will thirst sooner.
7. Check for Root Rot
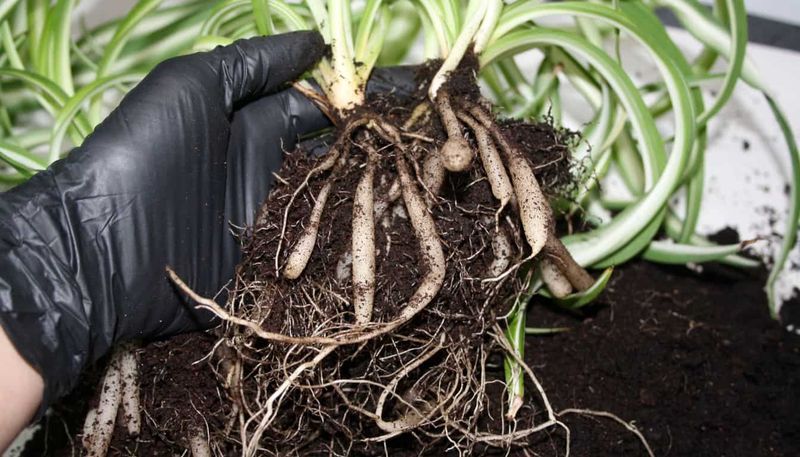
When soggy soil never gets a chance to dry, the roots below can quietly rot away. Damaged roots can’t drink or feed properly, and the plant signals its distress through browning tips.
To check, gently slide the plant from its pot and look at the roots. Healthy ones are firm and pale, while rotting roots feel soft, mushy, and dark.
Trim off every damaged root with clean scissors, then repot into fresh, well-draining mix. From there, a lighter hand with the watering can keeps the problem from returning.
8. Repot if Root-Bound
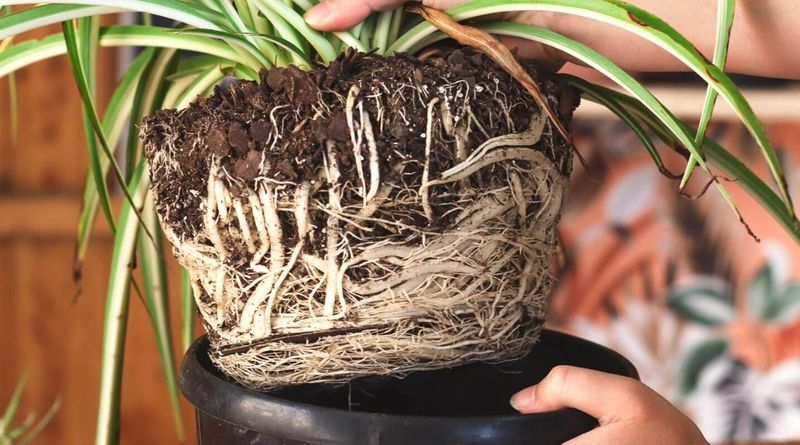
Spider plants grow fast, and their thick, fleshy roots can fill a pot before you realize it. Once they’re crammed and circling, water and nutrients can’t reach the whole plant, and tips brown as a result.
Look for roots poking out of the drainage holes or a plant that dries out almost the moment you water it. Those are clear signs it needs more room.
Move it into a container just one size larger with fresh soil. Many spider plants need this bump up every year to keep thriving.
9. Ensure Proper Drainage
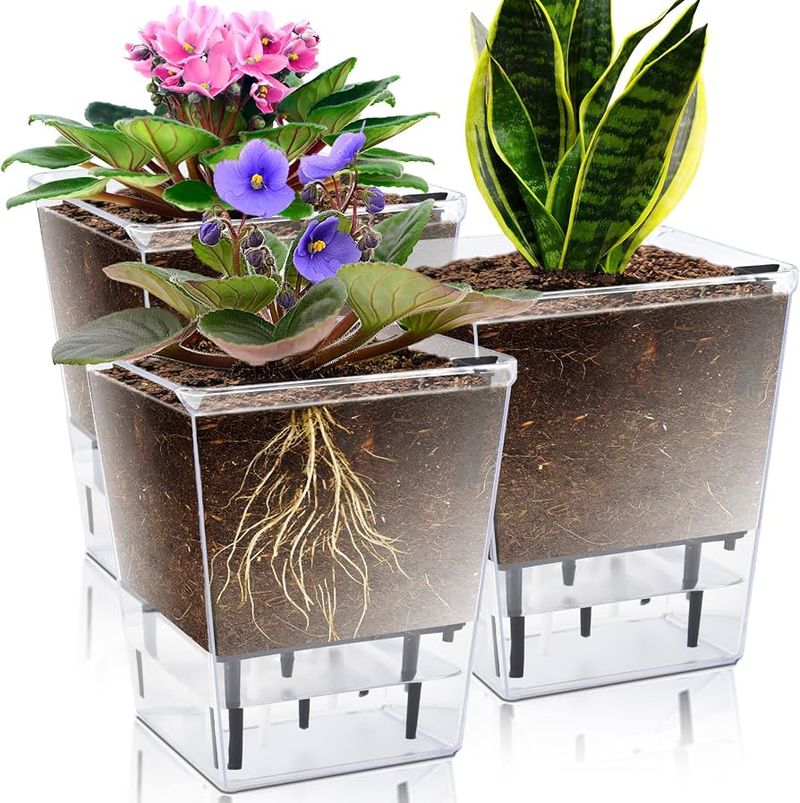
A pretty pot without a hole in the bottom is a trap for water, and trapped water is bad news for roots. Excess moisture pools around the base and slowly damages the plant from below.
Always choose a container with drainage holes so gravity can pull the extra water out. Pair it with a loose, well-draining potting mix that lets air reach the roots.
If you love a decorative pot without holes, keep the plant in a plain nursery pot inside it, then empty out any water that collects.
10. Avoid Drafts and Sudden Temperature Changes
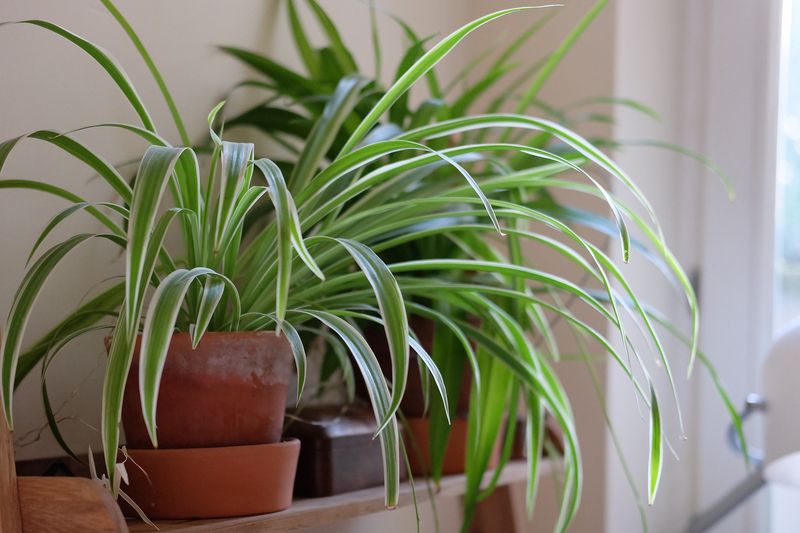
Plants dislike surprises just as much as people do. A spider plant parked near a cold window, a drafty door, or a blasting heat vent gets jostled by temperature swings it can’t handle.
That stress often shows up as browning leaf tips even when watering and light are spot on. The roots and leaves simply can’t adjust fast enough.
Find a steady, stable spot away from vents and drafts, and keep the room temperature consistent. Calm surroundings let the plant settle in and grow evenly.
11. Trim Brown Tips (for Aesthetics)
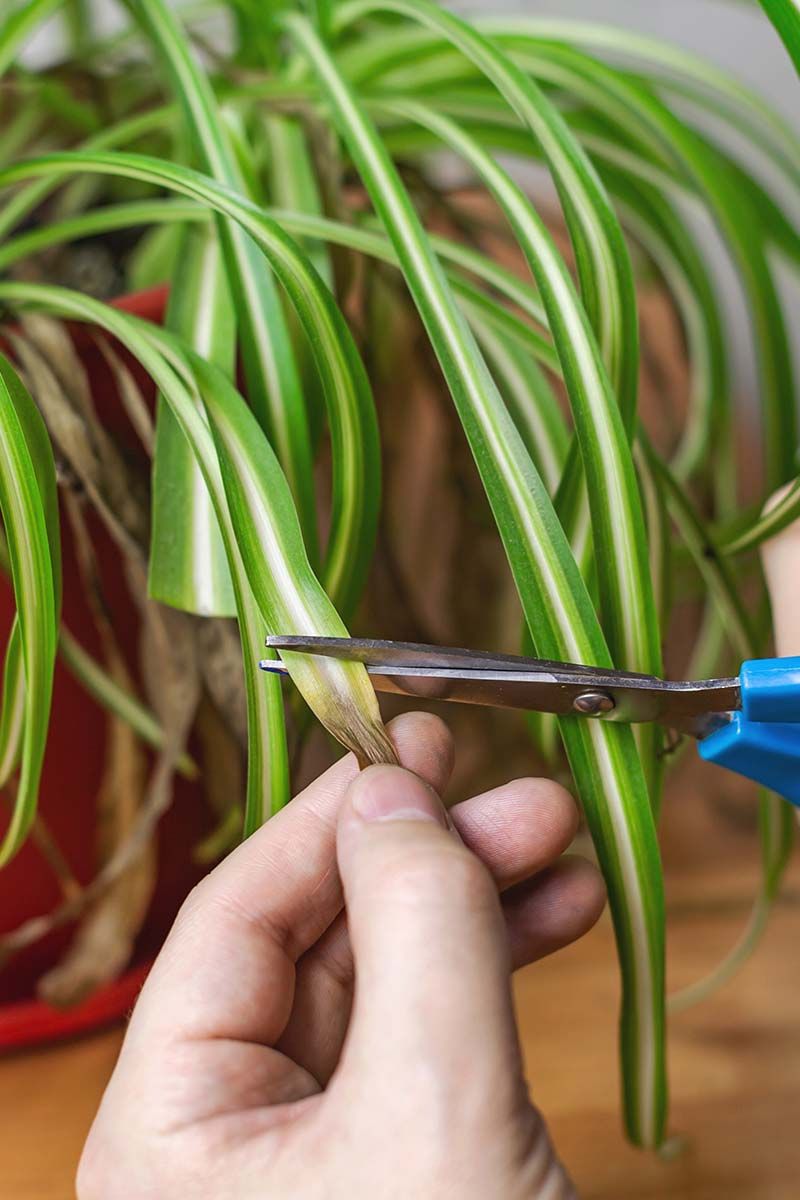
Here’s an honest truth: once a leaf tip turns brown, it will never turn green again. Trimming won’t cure the cause, but it will make your plant look tidy while the real fixes take hold.
Grab clean, sharp scissors and snip just above the discolored part. Cutting at a slight angle that mirrors the leaf’s natural point keeps the trim from looking blunt or obvious.
Think of this as cosmetic cleanup, not a solution. Pair it with the watering, water-quality, and humidity fixes so new growth comes in clean and stays that way.
12. Address Pests or Diseases
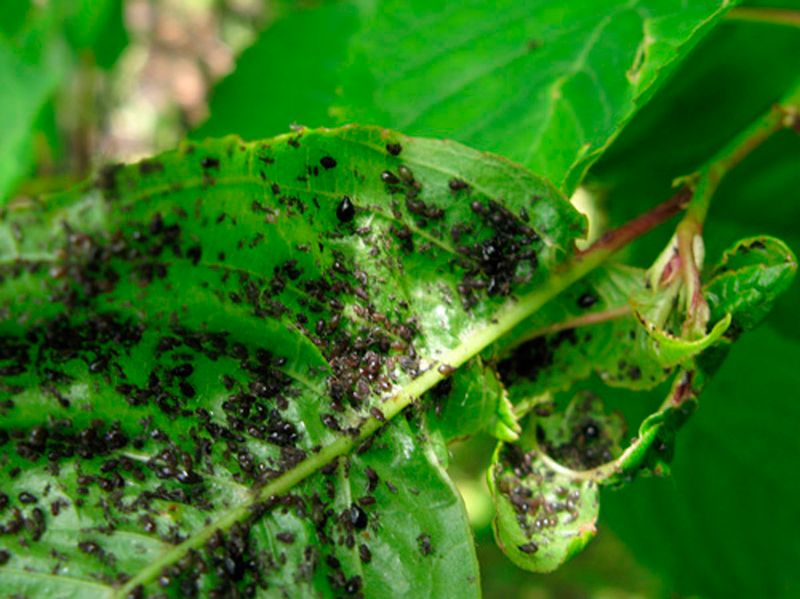
Pests and disease are the least likely reason for brown tips, but they’re worth ruling out when nothing else explains the damage. Tiny invaders like aphids or spider mites can sap a plant and leave edges browning.
Give your plant a careful look, checking under the leaves and along the stems for bugs, sticky residue, or unusual spots. Bacterial leaf blight can also cause discoloration in humid, stuffy conditions.
If you spot pests, wipe them off or treat with insecticidal soap. For suspected disease, remove affected leaves and improve air circulation so the plant can recover and stay healthy.